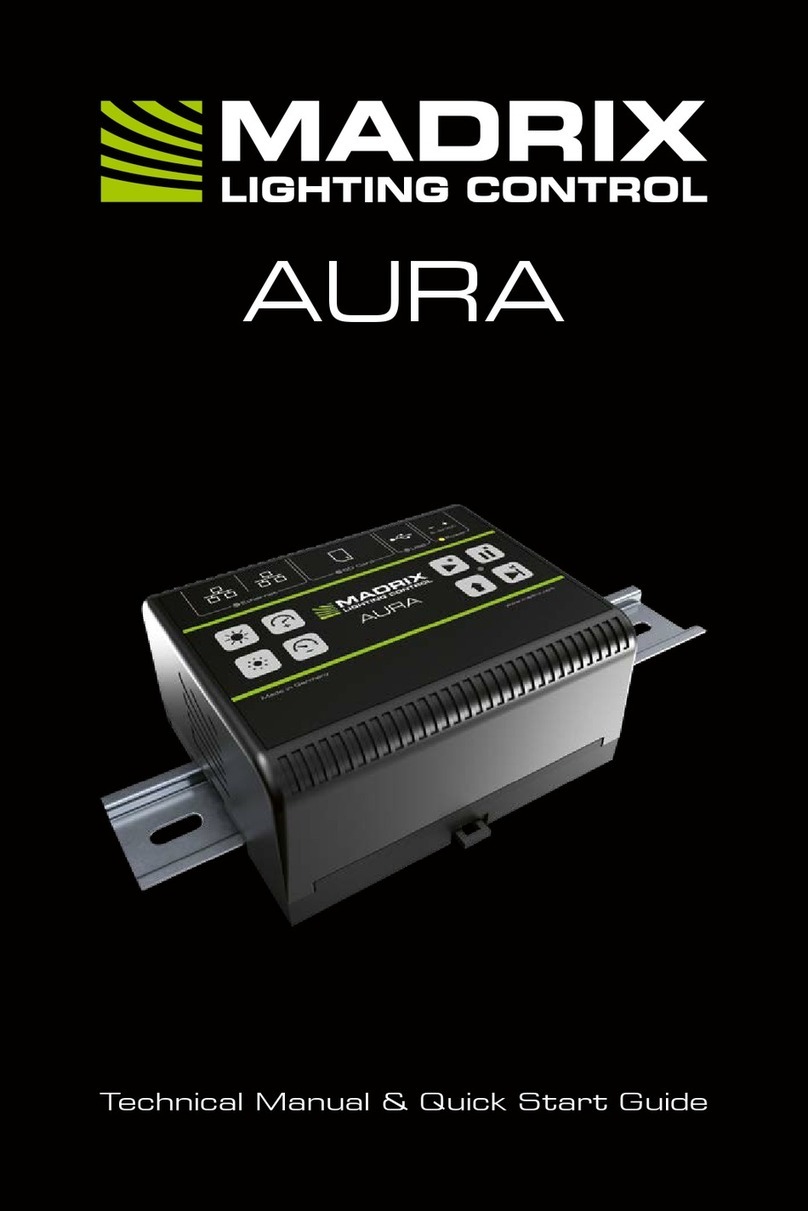
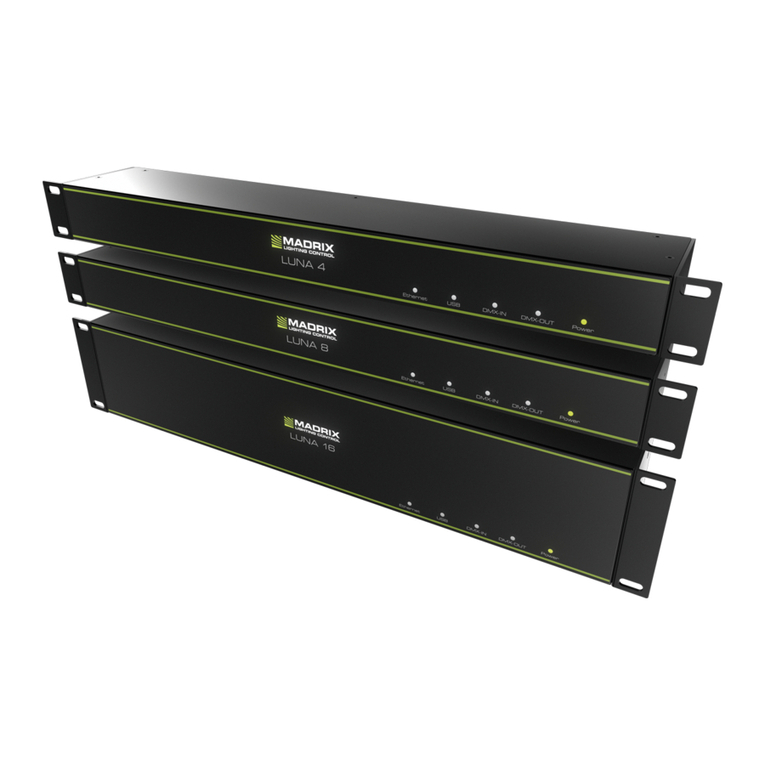
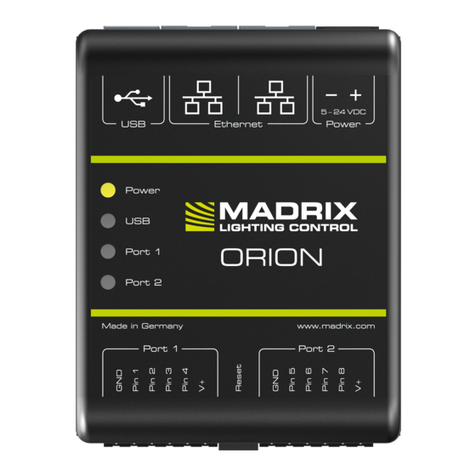
MADRIX AURA 2 User manual

© 2022 inoage GmbH
MADRIX AURA User Manual
Date: March 2022
[Hardware User Guide]

//2
Table Of Contents
www.madrix.com
Table Of Contents
Part 1 General 3
. . . . . . . . . . . . . . . . . . . . . . . . . . . . . . . . . . . . . . . . . . . . . . . . . . . . . . . . . . . . . . . . . . . 41 Introduction
. . . . . . . . . . . . . . . . . . . . . . . . . . . . . . . . . . . . . . . . . . . . . . . . . . . . . . . . . . . . . . . . . . . 52 Hardware Features
. . . . . . . . . . . . . . . . . . . . . . . . . . . . . . . . . . . . . . . . . . . . . . . . . . . . . . . . . . . . . . . . . . . 133 Web Links
Part 2 Web Configuration 15
. . . . . . . . . . . . . . . . . . . . . . . . . . . . . . . . . . . . . . . . . . . . . . . . . . . . . . . . . . . . . . . . . . . 181 Control - Live Control
. . . . . . . . . . . . . . . . . . . . . . . . . . . . . . . . . . . . . . . . . . . . . . . . . . . . . . . . . . . . . . . . . . . 222 Scenes - Scene Files
. . . . . . . . . . . . . . . . . . . . . . . . . . . . . . . . . . . . . . . . . . . . . . . . . . . . . . . . . . . . . . . . . . . 253 Cue List - Cue List Editor
. . . . . . . . . . . . . . . . . . . . . . . . . . . . . . . . . . . . . . . . . . . . . . . . . . . . . . . . . . . . . . . . . . . 284 Timers - Timer Settings
. . . . . . . . . . . . . . . . . . . . . . . . . . . . . . . . . . . . . . . . . . . . . . . . . . . . . . . . . . . . . . . . . . . 345 Recording - Network Recording Settings
. . . . . . . . . . . . . . . . . . . . . . . . . . . . . . . . . . . . . . . . . . . . . . . . . . . . . . . . . . . . . . . . . . . 366 Playback - Network Playback Settings
. . . . . . . . . . . . . . . . . . . . . . . . . . . . . . . . . . . . . . . . . . . . . . . . . . . . . . . . . . . . . . . . . . . 417 Channel Mask - Channel Mask Settings
. . . . . . . . . . . . . . . . . . . . . . . . . . . . . . . . . . . . . . . . . . . . . . . . . . . . . . . . . . . . . . . . . . . 508 Remote - Remote Control
. . . . . . . . . . . . . . . . . . . . . . . . . . . . . . . . . . . . . . . . . . . . . . . . . . . . . . . . . . . . . . . . . . . 619 Settings - Device Settings
. . . . . . . . . . . . . . . . . . . . . . . . . . . . . . . . . . . . . . . . . . . . . . . . . . . . . . . . . . . . . . . . . . . 7410 Information - Device Information
Part 3 MADRIX 5 Software 79
. . . . . . . . . . . . . . . . . . . . . . . . . . . . . . . . . . . . . . . . . . . . . . . . . . . . . . . . . . . . . . . . . . . 801 Using MADRIX 5
. . . . . . . . . . . . . . . . . . . . . . . . . . . . . . . . . . . . . . . . . . . . . . . . . . . . . . . . . . . . . . . . . . . 892 MADRIX Device Configuration
Part 4 Technical Support 92
. . . . . . . . . . . . . . . . . . . . . . . . . . . . . . . . . . . . . . . . . . . . . . . . . . . . . . . . . . . . . . . . . . . 931 Firmware Updates
. . . . . . . . . . . . . . . . . . . . . . . . . . . . . . . . . . . . . . . . . . . . . . . . . . . . . . . . . . . . . . . . . . . 1042 Tips And Tricks
. . . . . . . . . . . . . . . . . . . . . . . . . . . . . . . . . . . . . . . . . . . . . . . . . . . . . . . . . . . . . . . . . . . 1043 Troubleshooting
Part 5 Legal 106
. . . . . . . . . . . . . . . . . . . . . . . . . . . . . . . . . . . . . . . . . . . . . . . . . . . . . . . . . . . . . . . . . . . 1071 Imprint And Copyright

1//PART
General

[Part 1] General
//5
www.madrix.com
MADRIX AURA User Manual
The advanced lighting-control recorder and stand-alone playback unit.
The MADRIX AURA is the central stand-alone controller for simple recording and large-scale pixel mapping. It
redefines what is possible in a compact control unit with exceptional performance.
3 versions are available:
§
MADRIX AURA 2
§
MADRIX AURA 8
§
MADRIX AURA 32
Stand-Alone Playback & Central Hub
Independently run the most sophisticated light shows from this energy-efficient playback unit via Art-Net or Streaming
ACN. Easily control up to 2, 8, or 32 universes per device.
Simply connect compatible MADRIX hardware interfaces or third-party nodes to provide the correct output for your
lighting fixtures.
1.2 Hardware Features
This topic includes:
§
Important Notes
§
Using A 3rd-Party Controller
§
Daisy-Chain Support
§
On-Device Buttons
§
LED Status Codes
§
Reset To Factory Default Settings
§
SD Cards
Important Notes

[Part 1] General
//6
www.madrix.com
MADRIX AURA User Manual
§
Make sure to read the provided MADRIX AURA Technical Manual & Quick Start Guide first!
Find it in your product box or download it from »help.madrix.com
Using A 3rd-Party Controller
MADRIX AURA is a standard network node for Art-Net or Streaming ACN. You can use the device with any compatible
application, console, or controller.
Daisy-Chain Support
§
MADRIX AURA features 2 separate Ethernet network ports. Either one is fully functionally for IN and OUT.
§
They can also be used for the data connection in daisy-chain manner without using a separate network switch or
router.
§
We recommend to connect a maximum of
- 160x MADRIX AURA 2,
- 40x MADRIX AURA 8, or
- 10x MADRIX AURA 32
after one another in a row without any additional devices connected to this network line.
§
You can also use MADRIX AURA 2, 8, or 32 together in any combination.
On-Device Buttons
Overview
Buttons
Press
Description

[Part 1] General
//7
www.madrix.com
MADRIX AURA User Manual
Short
Plays Current Cue
Please note:
§
Make sure that MADRIX AURA is the
only sender in the network when
playing back scenes.
[You will run into issues if the original
sender from which the device recorded
its data from is still sending to the same
universes.]
When Paused
Plays Current [Last Played] Cue
When Stopped
Short
Pauses Playback
[The last frame will still be sent.]
+
Short
Starts Recording
Please note:
§
Make sure to send control data to the
device before you start a recording
process [Art-Net or Streaming ACN]!
§
Based on the FAT32 file system, files on
the SD card can only have a maximum
file size of 4 GB. Should the current
recording process create files with such
a file size, MADRIX AURA will
automatically create new files and
continue recording, and add a second
index number to the file name in
addition to the original index.
§
Recorded data that is saved on the SD
card will be encrypted first.
When Stopped
+
Short
Stops Playback Or Recording
-

[Part 1] General
//8
www.madrix.com
MADRIX AURA User Manual
Short
Skips To Next Cue
+
Short
Returns To Previous Cue
+
Short
Sends Art-Net PollReply
-
+
During Startup
Resets To Manufacturer Default Settings
[Incl. Default IP Address]
Make sure to disconnect and re-connect
Power and/or USB first.
All status LEDs blink 3x for
confirmation.
Short
Increases Intensity By 10 %
Up To 100 %
[MADRIX logo blinks if maximum
has been reached.]
Medium
Increases Intensity Slowly
Long
Increases Intensity Quickly
Short
Decreases Intensity By 10 %
Down To 0 %
[MADRIX logo blinks if minimum
has been reached.]
Medium
Decreases Intensity Slowly
Long
Decreases Intensity Quickly
+
For 3 Seconds
Resets Intensity To 100 %
-
Short
Increases Speed By 10 %
Up To 1000 %
[MADRIX logo blinks if maximum
has been reached.]
Medium
Increases Speed Slowly
Long
Increases Speed Quickly
Short
Decreases Speed By 10 %
Down To 1 %

[Part 1] General
//9
www.madrix.com
MADRIX AURA User Manual
[MADRIX logo blinks if minimum
has been reached.]
Medium
Decreases Speed Slowly
Long
Decreases Speed Quickly
+
For 3 Seconds
Resets Speed To 100 %
-
Special Commands
§
Technical support might ask you to perform the following commands.
+
For 2 Seconds
During Startup
Load Bootloader Only
Disconnect and re-connect Power and/or USB
first.
If successful, the status LED
Power is blinking green.
LED Status Codes
Overview
The following tables describe the LED status codes of the device.
STATUS
STATUS LED POWER
Off
Power not connected. > The device has no power.
Green on
Connected to power. > The power is on.
Green blinking
Bootloader activated. > Reset device / upload firmware.
STATUS
STATUS LED USB

[Part 1] General
//10
www.madrix.com
MADRIX AURA User Manual
Off
USB not connected.
Green on
USB connection established.
STATUS
STATUS LED SD CARD
Off
No SD card inserted.
Green on
SD card inserted.
STATUS
STATUS LED ETHERNET
Off
Ethernet not connected.
Green on
Ethernet connection established.
STATUS
STATUS LEDS ETHERNET PORTS
Off
No network connected.
Green on
1000 MBit/s connected.
Green blinking
Sending or receiving data. > The Ethernet port works.
Orange on
100 MBit/s connected.
Orange blinking
Sending or receiving data. > The Ethernet port works.
Green + Orange on
10 MBit/s connected.
Green + Orange blinking
Sending or receiving data. > The Ethernet port works.
STATUS
STATUS LED OPERATION
Off
No playback or recording active / playback stopped.
Green on
Playback paused.
Green blinking
Playback from SD card.
Red blinking
Recording currently active.
STATUS
STATUS LED ETHERNET
On
Normal status.
Fading
Changing intensity or speed.

[Part 1] General
//11
www.madrix.com
MADRIX AURA User Manual
Blinking
Min./max. intensity/speed reached or Highlight Device active.
Recording
Note: MADRIX AURA will be recording blank scenes [DMX value = 0 = black] even if no data is
received.
This behavior is necessary to ensure synchronicity between devices regarding Master-Slave Synchronization. If you
record 5 scenes with multiple devices, but one unit only recorded 3 scenes because no data has reached it during two
scenes, the cue lists of the devices would not match and the synchronization would fail.
This is true even if you are not using Master-Slave Synchronization. You might want to record the same scenes to
several devices and use them in different projects. This behavior will ensure that they all create the same scenes and
cue lists; independently of the data they received.
LED Status Indicators [ArtAddress]
MADRIX AURA supports the ArtAddress feature of Art-Net. The device will operate as desired if the correct commands
are sent to it.
Mute Status
Indicators
Switches off and disables all built-in status indicators of a device over Art-Net
[ArtAddress > AcLedMute].
Operate Status
Indicators Normally
Allows the built-in status indicators of a device to operate normally again, after having
them switched off [ArtAddress > AcLedNormal].
Highlight Device
Activates the highlight mode [ArtAddress > AcLedLocate]. The corresponding status
indicators of the selected interfaces will flash for a better identification or tests. This
makes it easier to see them on site/stage. It considerably speeds up the procedure of
programming or testing the selected interfaces.

[Part 1] General
//12
www.madrix.com
MADRIX AURA User Manual
See also »Highlight Device
Reset To Factory Default Settings
Reset Via On-Device Buttons
§
Press the following 3 buttons during startup:
+ +
§
All status LEDs blink 3x for confirmation.
Reset Via USB [MADRIX 5 Device Updater / MADRIX 5 AURA Updater]
§
Connect MADRIX AURA to power.
[Please see more information in the MADRIX AURA Technical Manual & Quick Start Guide!]
§
Connect MADRIX AURA to your computer over USB.
§
Close the MADRIX 5 Software.
§
Start the separate MADRIX 5 Device Updater tool.
[In Windows 10, go to Start > MADRIX 5 > MADRIX 5 Device Updater]
§
Select Load MADRIX AURA and confirm with OK.
§
In the MADRIX AURA Updater, click Reset To Factory Default Settings (F4).
§
Wait for the reset process to end [usually it takes only seconds].
Learn more »MADRIX 5 AURA Updater

[Part 1] General
//13
www.madrix.com
MADRIX AURA User Manual
SD Cards
Overview
MADRIX AURA uses a memory card to run automatic light shows without the need for a computer.
§
The integrated SD-card slot is located at the top of the device.
§
It supports SD, SDHC, or SDXC cards (tested up to 64 GB).
Attention:
§
Format SD cards for usage with MADRIX AURA with FAT32 File System and 32 kilobytes Allocation Unit Size.
You can use the special function provided on the device's website. Learn more »Special Commands
§
For the best performance and operation, always use a freshly formatted SD card.
Recording Length
§
Recording length AURA 2 – 64 GB: ~526 h (33 FPS) / ~347 h (50 FPS)
§
Recording length AURA 8 – 64 GB: ~131 h (33 FPS) / ~86 h (50 FPS)
§
Recording length AURA 32 – 64 GB: ~32 h (33 FPS) / ~21 h (50 FPS)
1.3 Web Links
This topic includes:
§
Overview
Overview
You can find a selection of useful internet links here:
§
MADRIX Website
»www.madrix.com

[Part 1] General
//14
www.madrix.com
MADRIX AURA User Manual
§
Drivers
»www.madrix.com/support/download
§
User Guides [Online And Downloadable PDF]
»help.madrix.com
§
Hardware Technical Manuals / Quick Start Guides [Downloadable PDF]
»help.madrix.com
§
Online Forum
»www.madrix.com/support/forum
§
Software Release Notes
»www.madrix.com/products/software/releases
§
Online Text Tutorials
»help.madrix.com/tutorials/html/index.html
§
Video Tutorials
»https://www.madrix.com/training/video-tutorials

2//PART
Web Configuration

[Part 2] Web Configuration
//16
www.madrix.com
MADRIX AURA User Manual
2Web Configuration
This topic includes:
§
Overview
§
How To Access
§
Topics Of This Chapter
Overview
When connected to Ethernet network, you can easily configure MADRIX AURA using the built-in web configuration.
How To Access
You have 2 options to access the web interface. Both, MADRIX AURA and your computer, need to be in the same
network.
A] Using a standard web browser:
§
Connect MADRIX AURA and your computer to the same network.
§
Assign correct network settings for your PC in the Windows operating system.
[Recommended default settings: IP address 10.0.0.1 / Subnet mask 255.0.0.0]
[Please note: Your devices and the sender, such as the PC that runs MADRIX 5, need to have the same subnet
mask!]
§
Open your web browser and enter the IP address of MADRIX AURA.
[You can find the default IP address on the right side of the device.]
§
The built-in web configuration will be launched. You will have access to various information and settings.
B] Using the MADRIX 5 Software:
§
Connect MADRIX AURA and your computer to the same network.
§
Assign correct network settings for your PC in the Windows operating system.
[Recommended default settings: IP address 10.0.0.1 / Subnet mask 255.0.0.0]

[Part 2] Web Configuration
//17
www.madrix.com
MADRIX AURA User Manual
[Please note: Your devices and the sender, such as the PC that runs MADRIX 5, need to have the same subnet
mask!]
§
Go to the menu Tools > MADRIX Device Configuration...
[Keyboard shortcut: Ctrl+Alt+L]
§
Select your MADRIX AURA device in the list.
§
Click
§
Your default web browser will open and the web configuration will be launched. You will have access to various
information and settings.

[Part 2] Web Configuration
//18
www.madrix.com
MADRIX AURA User Manual
Topics Of This Chapter
The following sections are explained in this chapter:
§
Control - Live Control
§
Scenes - Scene Files
§
Cue List - Cue List Editor
§
Timers - Timer Settings
§
Recording - Network Recording Settings
§
Playback - Network Playback Settings
§
Channel Mask - Channel Mask Settings
§
Remote - Remote Control
§
Settings - Device Settings
§
Information - Device Information
2.1 Control - Live Control
This topic includes:
§
Overview
§
Operating Panel
§
Output Panel
§
Intensity Group Panel
Overview
The Control section allows you to directly control the status of the device.

[Part 2] Web Configuration
//19
www.madrix.com
MADRIX AURA User Manual
Operating Panel
Sync. Type
The panel shows if the device has been set as a Master or Slave device.
Control Buttons
These include Skip To Previous Cue, Record, Stop, Pause, Play, and Skip To Next
Cue.
Attention:
§
Make sure to send control data to the device before you start a recording process [Art-Net or
Streaming ACN]!
§
You will see a status message, when the inserted memory card is not ready for recording
[No SD Card, SD Card Full, SD Card Protected].
§
Make sure that MADRIX AURA is the only sender in the network when playing back scenes.
[You will run into issues if the original sender from which the device recorded its data from is
still sending to the same universes.]
§
Based on the FAT32 file system, files on the SD card can only have a maximum file size of 4
GB. Should a recording process create such large files, MADRIX AURA automatically creates
new files and continues recording, and adds a second index number to the file names in
addition to the original index.
§
Recorded data that is saved on the SD card will be encrypted first.
Cue :
Shows the index number and name of the current cue.

[Part 2] Web Configuration
//20
www.madrix.com
MADRIX AURA User Manual
Time :
Shows the duration of the cue in HH:MM:SS [Hours:Minutes:Seconds].
Loop :
Shows the current loop number [as you can set cues to repeat and play several times in the Cue
List Editor].
00:00:00
Shows the current time position of playback or recording. A green visual indicator acts as a
progress bar.
Playing - Indicates that a cue list is being played back.
Paused - Indicates that playback has been halted.
Stopped - Indicates that playback has been stopped.
Fading - Indicates that the scene includes a fade-in time as set in the Cue List Editor.
Starting - Indicates that the playback starts soon.
Recording - Indicates that a recording process is currently active.
Recording (Awaiting Data) - Indicates that a recording process has been started, but
that the device is currently not receiving any incoming data it could record.
Output Panel
§
Use a left mouse double-click to reset to the default value.
This manual suits for next models
2
Table of contents
Other MADRIX Controllers manuals
Popular Controllers manuals by other brands

Hobby Model Technology
Hobby Model Technology DS600 quick start guide

INTERSPIRO
INTERSPIRO RS4 user manual

Honeywell
Honeywell IAQ Poin user manual

Echelon
Echelon Excel 50 installation instructions

ASO Safety Solutions
ASO Safety Solutions SK 35 operating manual

Allen-Bradley
Allen-Bradley powerflex 700 installation instructions

maxon motor
maxon motor ESCON 70/10 Hardware reference

Dell
Dell PowerEdge RAID Controller S100 user guide

Lynx
Lynx RCT 5023-G Reference manual

National Instruments
National Instruments NI cRIO-9022 User manual and specifications

Universal Devices
Universal Devices ISY-26 user guide

salmson
salmson EC-Drain 2x4,0 Installation and starting instructions