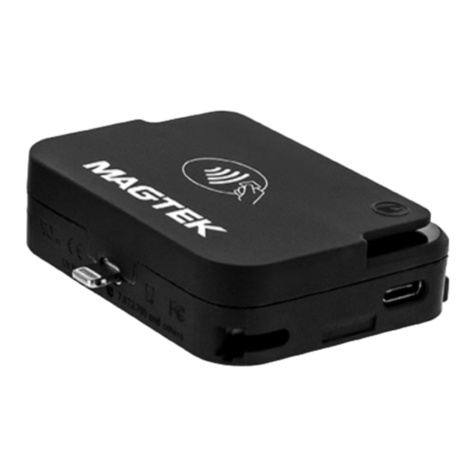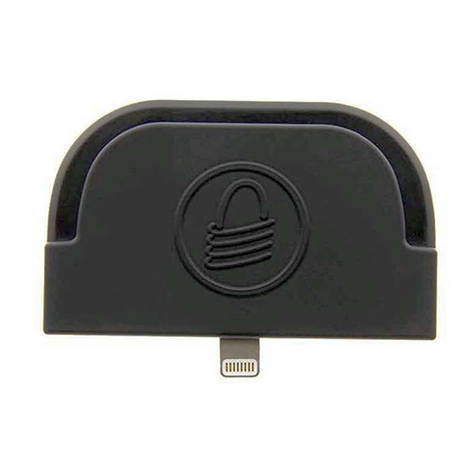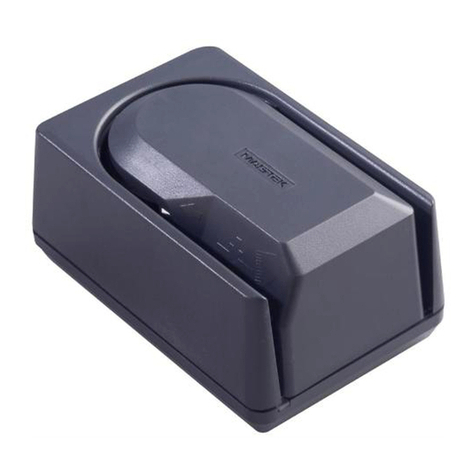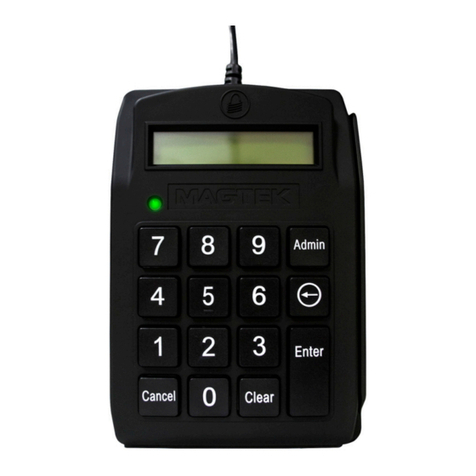
How to Manually Enter Card Data: The host software and
operator may opt to enter card data manually. During manual entry, the
device expects the account number to be between 16 and 19 digits long,
the expiration date to be 4 digits long, and the card verication code to be
3-4 digits long.
Technical Support
When contacting the support team please have your reader charged and
have the part number and serial number(s) available.
Declaration of Conformity
RF Frequencies and Power
802.11 Wireless:
Average Power Radiated: 1.02mW (0.08 dBm)
Conducted Power = 97.7mW (19.89 dBm)
Frequency range 2400 MHz to 2497 MHz
Contactless Reader:
Radiated Power: 10.34dBm
Frequency range: 13.553 MHz to 13.567MHz
Hereby, MagTek Inc. declares that the radio equipment types Wideband Transmission System (802.11
wireless) and Non-Specic Short Range Device (contactless) are in compliance with Directive 2014/53/EU.
The full text of the EU declaration of conformity is available at the following Internet address:
https://www.magtek.com/Content/DocumentationFiles/D998200238.pdf
Important Health and Safety Information
The device implements electronic labels (“e-labels”) that report its Health and Safety certication
information. To access them, press the sequence Left Function key, 7, 8, 0, Right Function key. This
brings up a page with indicators on the bottom that show more information is available by scrolling.
Press Left Function key and Right Function key to scroll to the previous and next e-label. To return
to the Welcome screen, press the Cancel key, or wait 10 seconds. For further instructions please
reference Installation and Operation Manual (D998200129).
Compliance
FCC INFORMATION
This device complies with Part 15 of the FCC Rules. Operation is subject to the following two
conditions: (1) This device may not cause harmful interference, and (2) This device must accept any
interference received, including interference that may cause undesired operation.
Note: This equipment has been tested and found to comply with the limits for a Class B digital device,
pursuant to part 15 of the FCC Rules. These limits are designed to provide reasonable protection
against harmful interference in a residential installation. This equipment generates, uses and can
radiate radio frequency energy and, if not installed and used in accordance with the instructions, may
cause harmful interference to radio communications. However, there is no guarantee that interference
will not occur in a particular installation. If this equipment does cause harmful interference to radio
or television reception, which can be determined by turning the equipment off and on, the user is
encouraged to try to correct the interference by one or more of the following measures:
• Reorient or relocate the receiving antenna.
• Increase the separation between the equipment and receiver.
• Connect the equipment into an outlet on a circuit different from that to which the receiver is
connected.
• Consult the dealer or an experienced radio/TV technician for help.
Caution: Any changes or modications not expressly approved by the party responsible for compliance
could void the user’s authority to operate this equipment.
CUR/UR
This product is recognized per Underwriter Laboratories and Canadian Underwriter Laboratories 1950.
CANADIAN DOC STATEMENT
This digital apparatus does not exceed the Class B limits for radio noise from digital apparatus set out in
the Radio Interference Regulations of the Canadian Department of Communications.
Le présent appareil numérique n’émet pas de bruits radioélectriques dépassant les limites applicables
aux appareils numériques de la classe B prescrites dans le Réglement sur le brouillage radioélectrique
édicté par le ministère des Communications du Canada. This Class B digital apparatus complies with
Canadian ICES-003. Cet appareil numérique de la classe B est conformé à la norme NMB-003 du
Canada. IC: 23169-30056216. Contains Transmitter module IC: 10147A-362
CE STANDARDS
Testing for compliance with CE requirements was performed by an independent laboratory. The unit
under test was found compliant with standards established for Class B devices.
UL/CSA
This product is recognized per UL 60950 1, 2nd Edition, 2011 12 19 (Information Technology
Equipment - Safety - Part 1: General Requirements), CSA C22.2 No. 60950 1 07, 2nd Edition, 2011 12
(Information Technology Equipment - Safety - Part 1: General Requirements).
ROHS STATEMENT
When ordered as RoHS compliant, this product meets the Electrical and Electronic Equipment (EEE)
Reduction of Hazardous Substances (RoHS) European Directive 2002/95/EC. The marking is clearly
recognizable, either as written words like “Pb-free,” “lead-free,” or as another clear symbol ( ).
PCI DEVICE VALIDATION
Search for MagTek and nd the product name, DynaPro Go, on the web page. Compare the Hardware
# and Firmware #. Compare the hardware ID (HW ID) on the printed label and the rmware ID (FW
IDs), accessible via the device and displayed on the screen, to the hardware # and rmware # posted
on the PCI compliance web page: https://www.pcisecuritystandards.org/assessors_and_solutions/
pin_transaction_devices
Works with Operating Systems
USB Hosts: Windows 7, Windows 8 and 8.1, Windows 10, Android 4.4.2 and
above with USB OTG support
802.11 wireless TLS 1.2 hosts: iOS 7.1 and above, Android 6.0
and above, Windows 7 SP1 and above
Bluetooth LE hosts: iOS 7.1 and above, Android 5.0 and above,
Windows 8.1 and above on hosts that support Bluetooth LE
Secure Connections per Bluetooth Core Specication 4.2.
LCD Display
The device’s LCD display uses a backlight and can be congured to either
remain at a constant user selected brightness level (Manual mode) or adapt
its brightness to ambient lighting based on the device’s light sensor (Auto
mode). The factory default of the device is Manual mode at 75% brightness.
To change the LCD display backlight mode, press Left Function key 5, 2, 2,
Right Function key to open the LCD Brightness Cong screen. To exit without
saving changes, press the Cancel key or wait 10 seconds for the device to
return to the Welcome screen.
Host and Controls
Installing DynaPro Go: Conguration is done prior to deployment
for the certicate authority public keys and terminal and payment brand
settings; end users need only set up a host with appropriate software,
congure the software, and connect the device to the host. In any solution,
DynaPro Go is connected to a host, which must have software installed
that knows how to communicate with the device, and which is capable of
processing transactions. To set up the host to work with DynaPro Go, follow
the installation and conguration instructions provided by the vendor of the
host or the host software.
How to Accept Payments
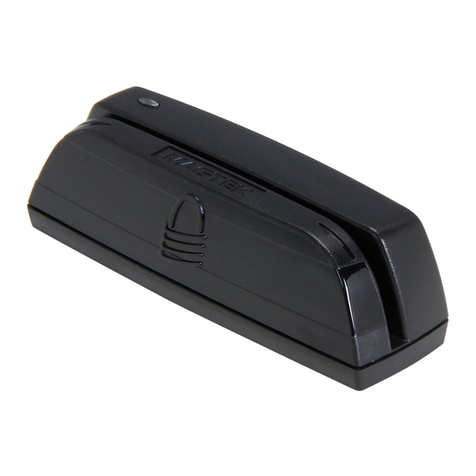
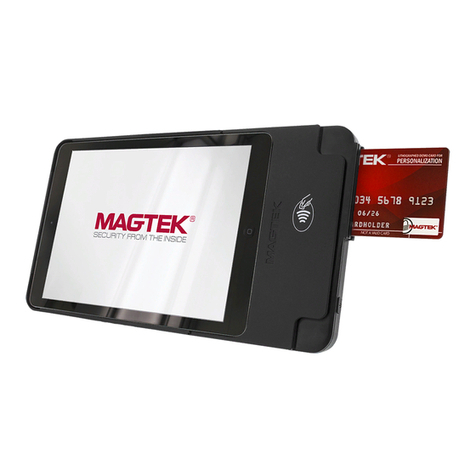
How to Swipe a Card: To swipe magnetic stripe cards: 1)
Wait for the device to display an action prompt. 2) Locate the
magnetic stripe reader on the top of the device. 3) Orient the card
with the magnetic stripe facing away from the padlock logo on the
magnetic stripe reader. 4) Swipe the card through the magnetic
stripe reader.
How to Insert a Card: To insert contact chip cards: 1) Wait
for the display to show an action prompt. If the host has directed
the device to accept contactless payments for the transaction,
the device toggles between the transaction amount and an action
prompt. 2) Locate the slot on the front of the device. 3) Orient
the chip card so the chip faces the ceiling and toward the slot. 4)
Insert the chip card into the slot, then push gently on the card until
it stops. There should not be any substantial resistance until the
chip card is fully inserted. 5) Wait for the device to prompt with
REMOVE CARD, then remove the card.
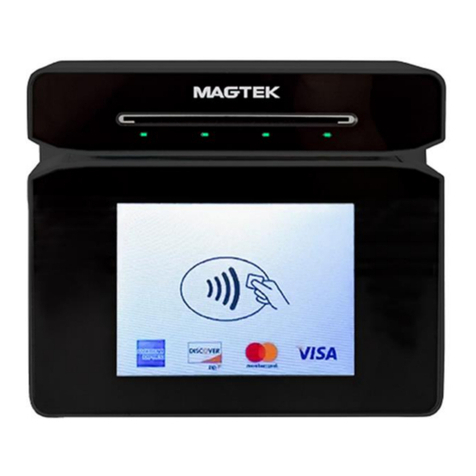
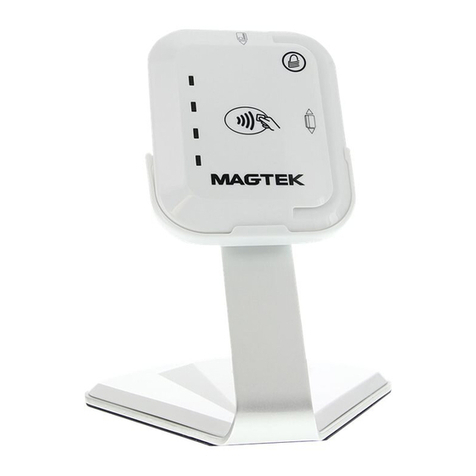
How to Tap a Card/Smart-device: To tap for payment: 1)
Wait for the display to toggle between the transaction amount and
an action prompt. The device also shows a solid green rectangle at
the upper left corner of the display indicating it is ready for a tap.
2) Briey hold the card, smartphone, or other contactless payment
device over the contactless logo on the display. The device quickly
shows two solid green rectangles at the upper left to show it is
processing, then three rectangles to show it has successfully read
the tap, then four rectangles to show the read is complete. The
device also beeps when the read is complete.
Please note that the use of this accessory with an Apple product may affect wireless performance. Apple®, Apple Pay®, OS X®, iPhone®, iPad®, iPad Air®, iPad Pro®, Lightning®, and Mac® are trademarks of Apple Inc., registered in the U.S. and other countries.
EMV® is a registered trademark in the U.S. and other countries and an unregistered trademark elsewhere. The EMV trademark is owned by EMVCo, LLC. The Contactless Indicator mark, consisting of four graduating arcs, is a trademark owned by and used with
permission of EMVCo, LLC.
MAGTEK: Registered to ISO 9001:2015 © Copyright 2021 MagTek, Inc. PN D998200135 70 4/21
MagTek® Inc., 1710 Apollo Court, Seal Beach CA 90740 | p 562-546-6400 | support 651-415-6800 | f 562-546-6301 | www.magtek.com
Pb
Use and Compliance
DynaPro Go
