Page 5
OFF
&OVERFLOW
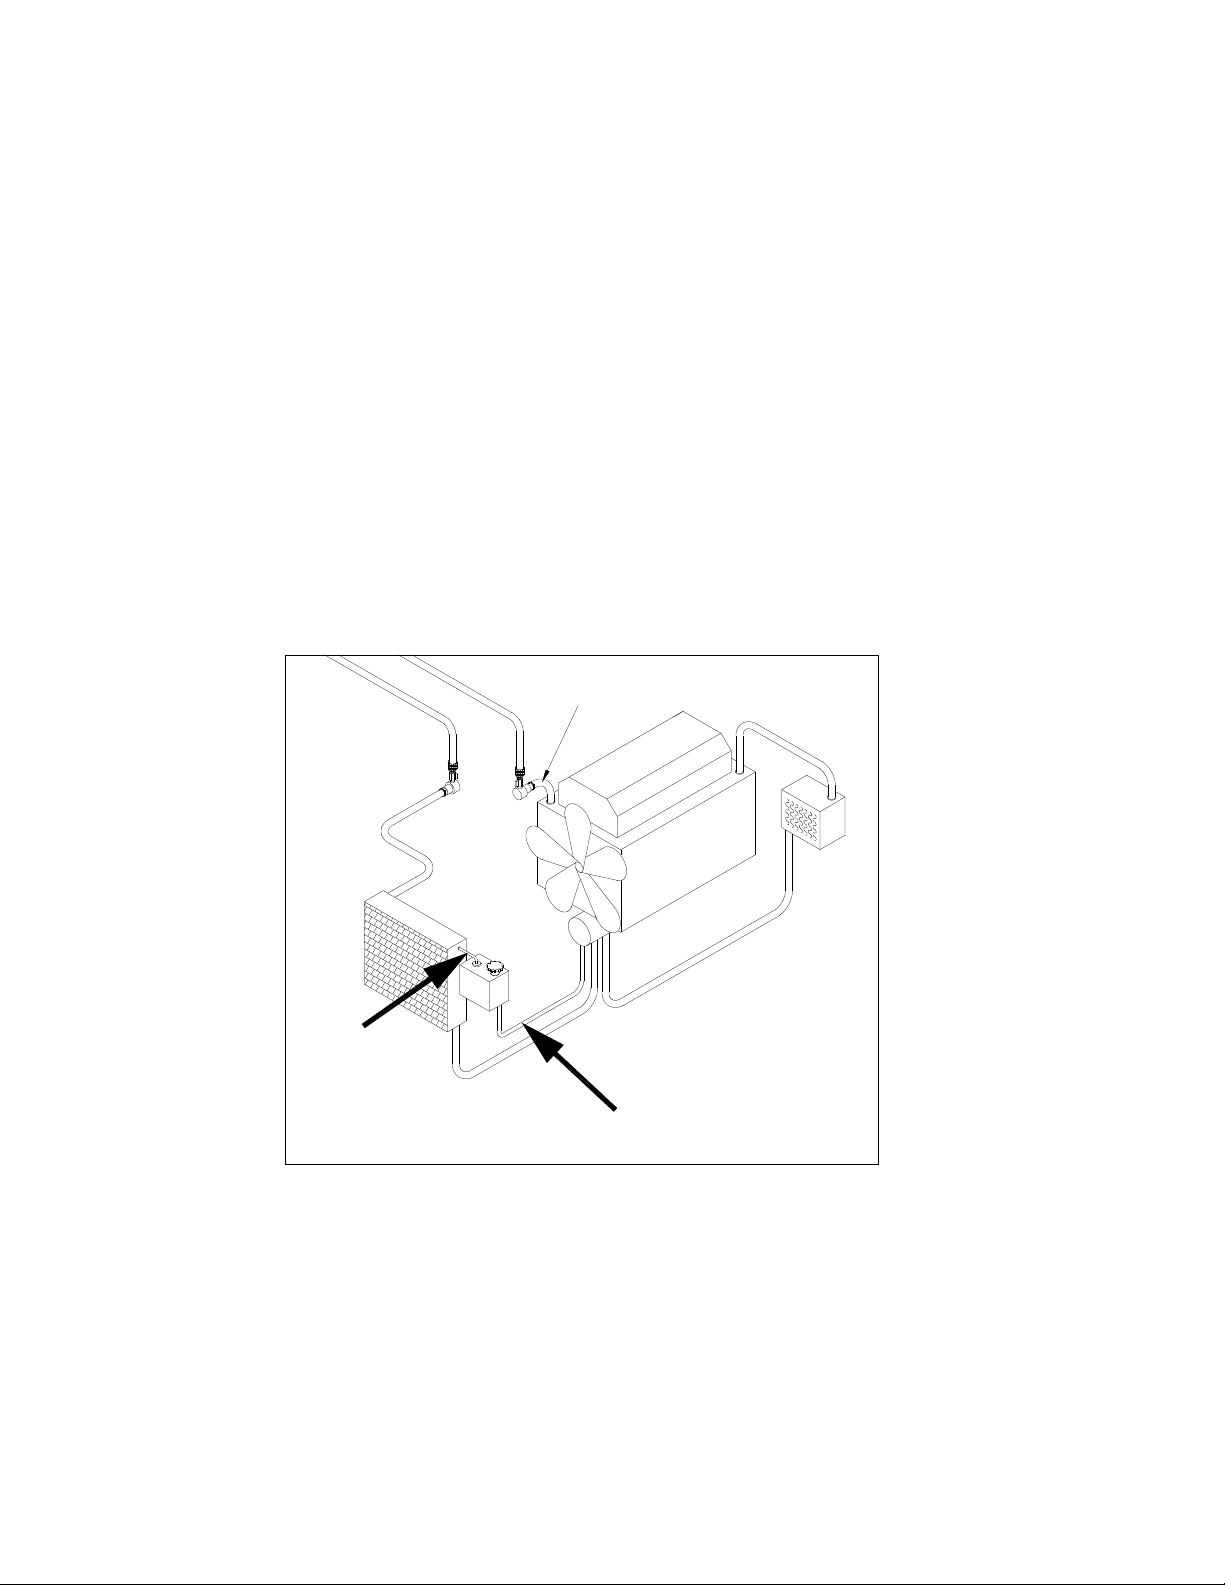
LOWERRADIATOR
OFF
EXCHANGECOOLANTOR
FILLRADIATOR&OVERFLOW
&OVERFLOW
LOWERRADIATOR
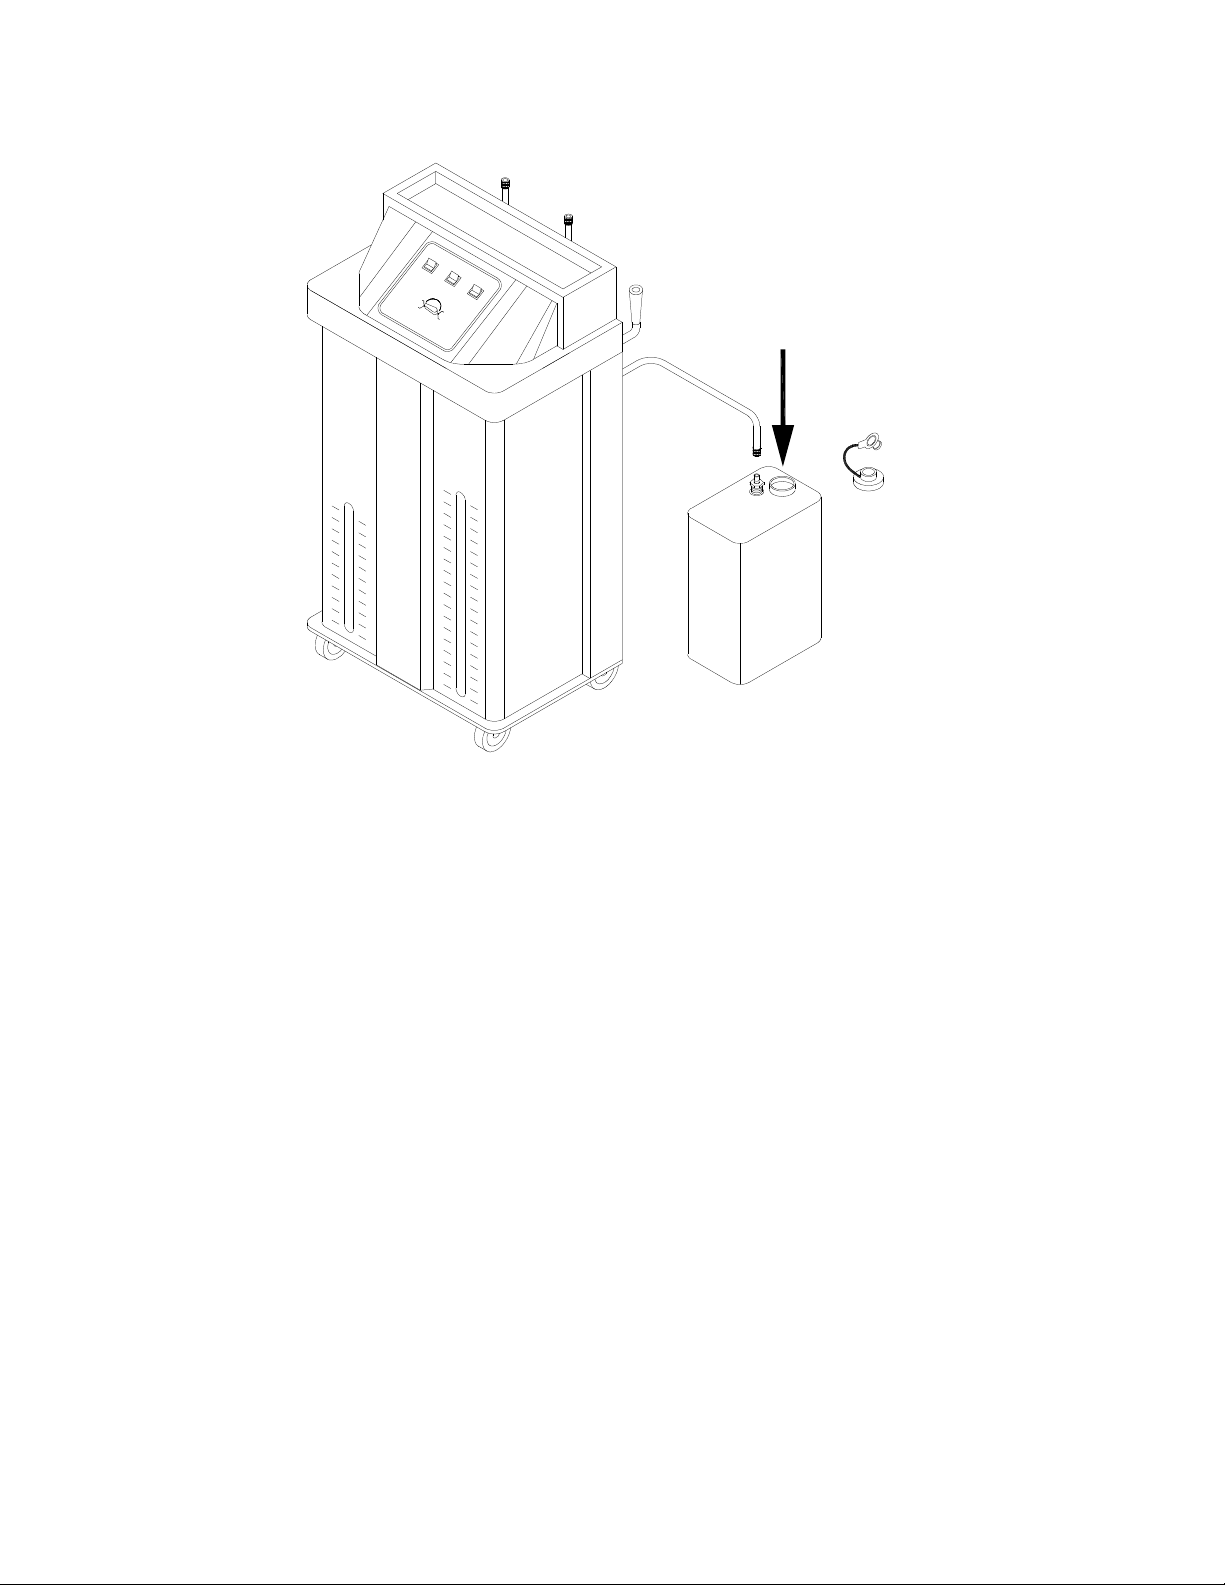
EMPTYWASTETANK
EXCHANGECOOLANT
&OVERFLOW
FILLRADIATOR
OFF
EMPTYWASTETANK
CONNECTION TO POWER
The MCX-1 control panel is illustrated above. Note that the bottom o all three selector
switches has been pressed which turns all unctions o .
Make sure all switches are o
Make sure all switches are o Make sure all switches are o
Make sure all switches are o
be ore connecting the battery cable clips to the battery o the vehicle.
be ore connecting the battery cable clips to the battery o the vehicle.be ore connecting the battery cable clips to the battery o the vehicle.
be ore connecting the battery cable clips to the battery o the vehicle.
WARNING:
WARNING:WARNING:
WARNING:
Handle battery connection cable with extreme caution. Batteries generate
Handle battery connection cable with extreme caution. Batteries generate Handle battery connection cable with extreme caution. Batteries generate
Handle battery connection cable with extreme caution. Batteries generate
explosive gases during normal operation. Working in the vicinity o
explosive gases during normal operation. Working in the vicinity o explosive gases during normal operation. Working in the vicinity o
explosive gases during normal operation. Working in the vicinity o a
a a
a
lead
leadlead
lead-
--
-acid or other automotive battery is dangerous. Wear eye protection.
acid or other automotive battery is dangerous. Wear eye protection. acid or other automotive battery is dangerous. Wear eye protection.
acid or other automotive battery is dangerous. Wear eye protection.
Never smoke or allow a spark or lame in the vicinity o the battery. Do not
Never smoke or allow a spark or lame in the vicinity o the battery. Do not Never smoke or allow a spark or lame in the vicinity o the battery. Do not
Never smoke or allow a spark or lame in the vicinity o the battery. Do not
connect the black power clip to the negative post o the battery to avoid a
connect the black power clip to the negative post o the battery to avoid a connect the black power clip to the negative post o the battery to avoid a
connect the black power clip to the negative post o the battery to avoid a
spark.
spark.spark.
spark.
1. Veri y that all switches are in the o position.
2. Connect the red power clip to the A+@ (positive) post o the vehicle battery. The battery
must be 12 volt.
3. Connect black power clip to an engine ground (not the negative post o the battery).
..
.