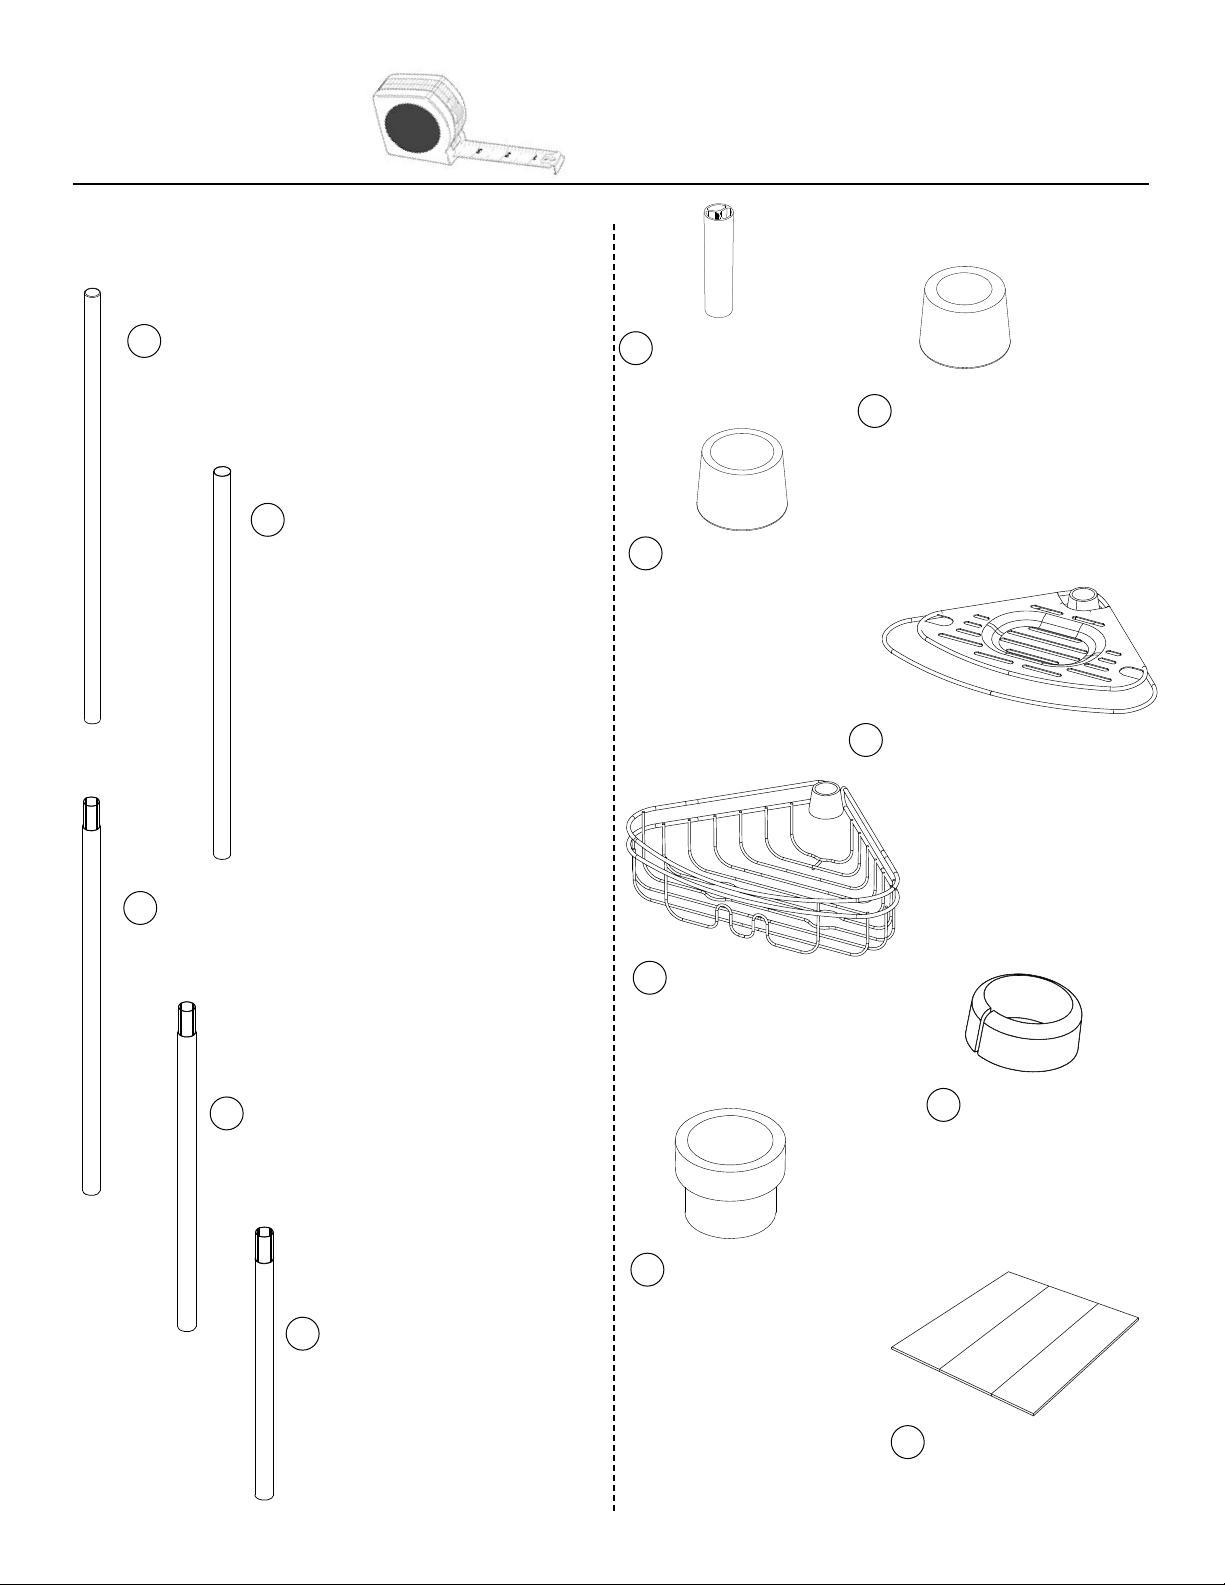
Pg 4 of 20 1-800-892-3986 IS02176-I
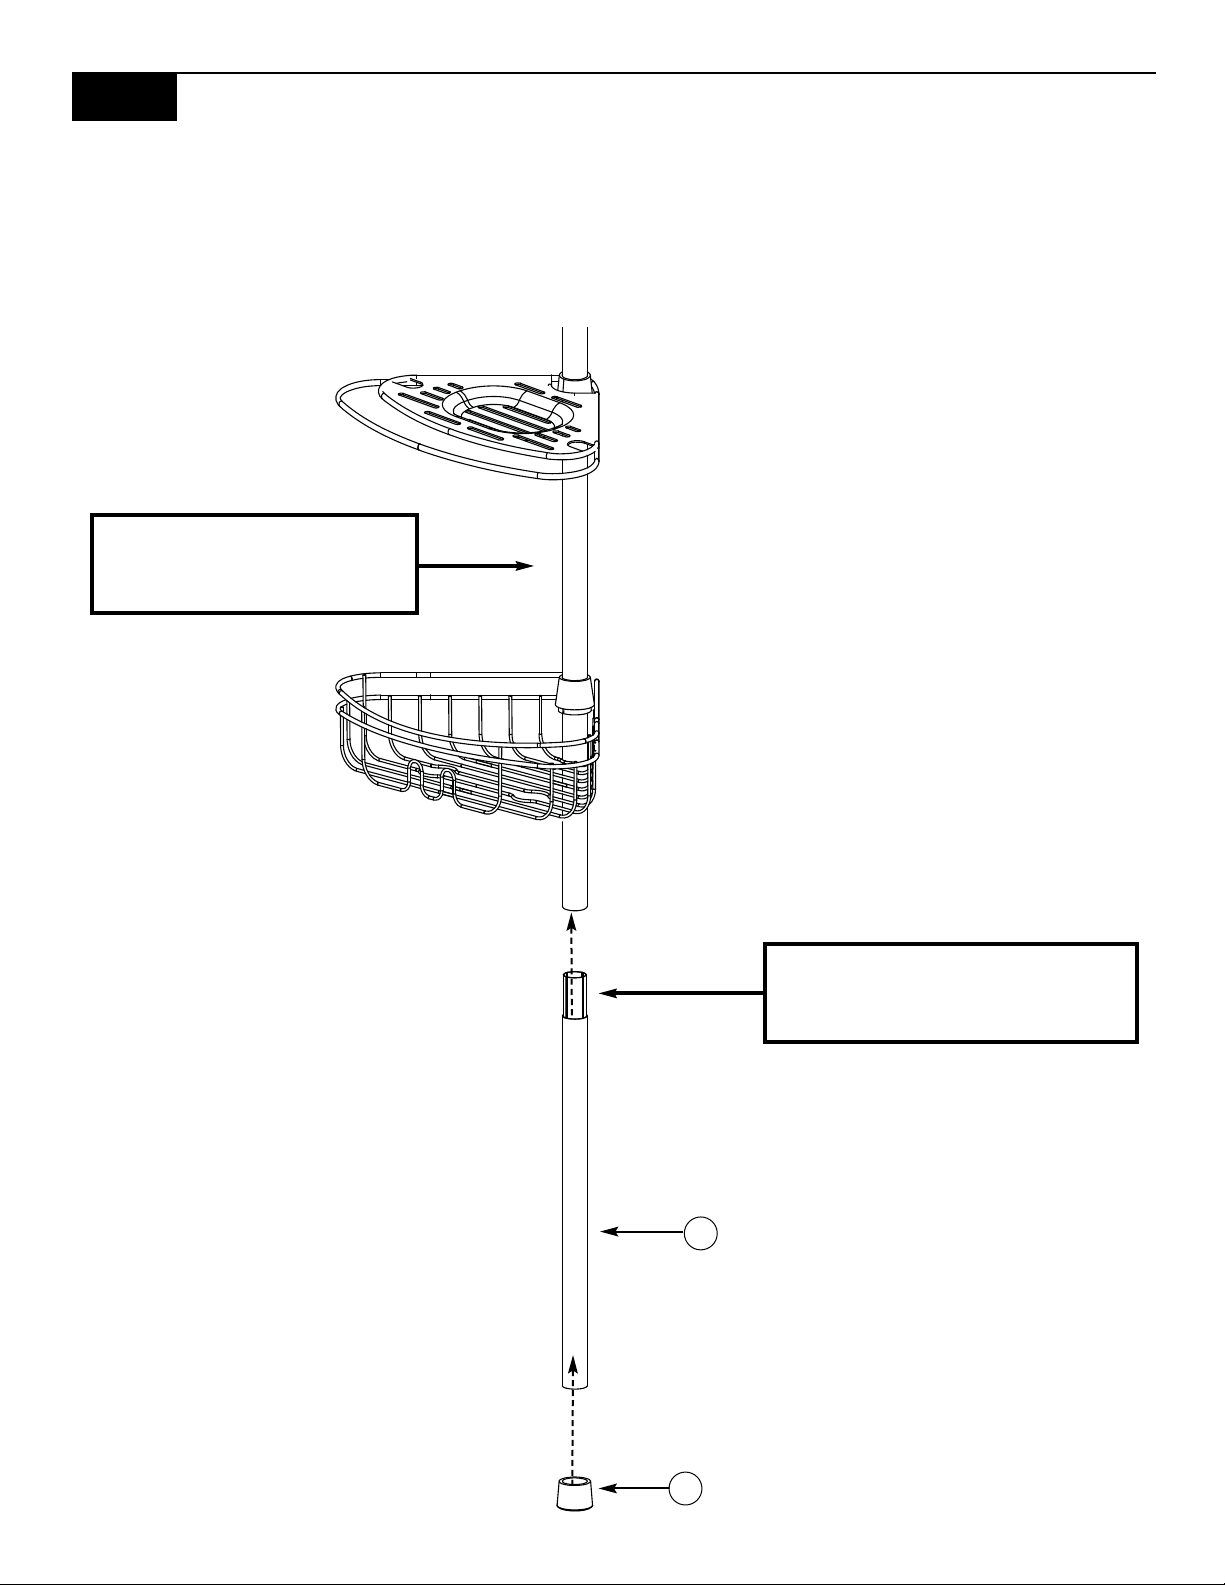
1. See the chart to determine what tubes (C), (D), (E) and spacers (F) are needed.
NOTE: No matter the distance, tubes (A) and (B) are ALWAYS used.
Opening Height (see fig.1, 2) Use Tubes (C), (D), and (E)
as Needed
Number of Spacers (F)
Used
60 - 61.5 in. (D) 3
62 - 64 in. (C) 2
64.5 - 67 in. (C) 3
67.5 - 71 in. (C) and (E) 0
71.5 - 73 in. (C) and (E) 1
73.5 - 75 in. (C) and (D) 0
75.5 - 78 in. (C) and (D) 1
78.5 - 81 in. (C) and (D) 2
81.5 - 84.5 in. (C) and (D) 3
85 - 88.5 in. (C), (D) and (E) 0
89 - 91.5 in. (C), (D) and (E) 1
92 - 95 in. (C), (D) and (E) 2
95.5 - 97 in. (C), (D) and (E) 3
Opening Height: _________________________
Use Tubes: _______________________________
Number of Spacers (F) Used: ______________
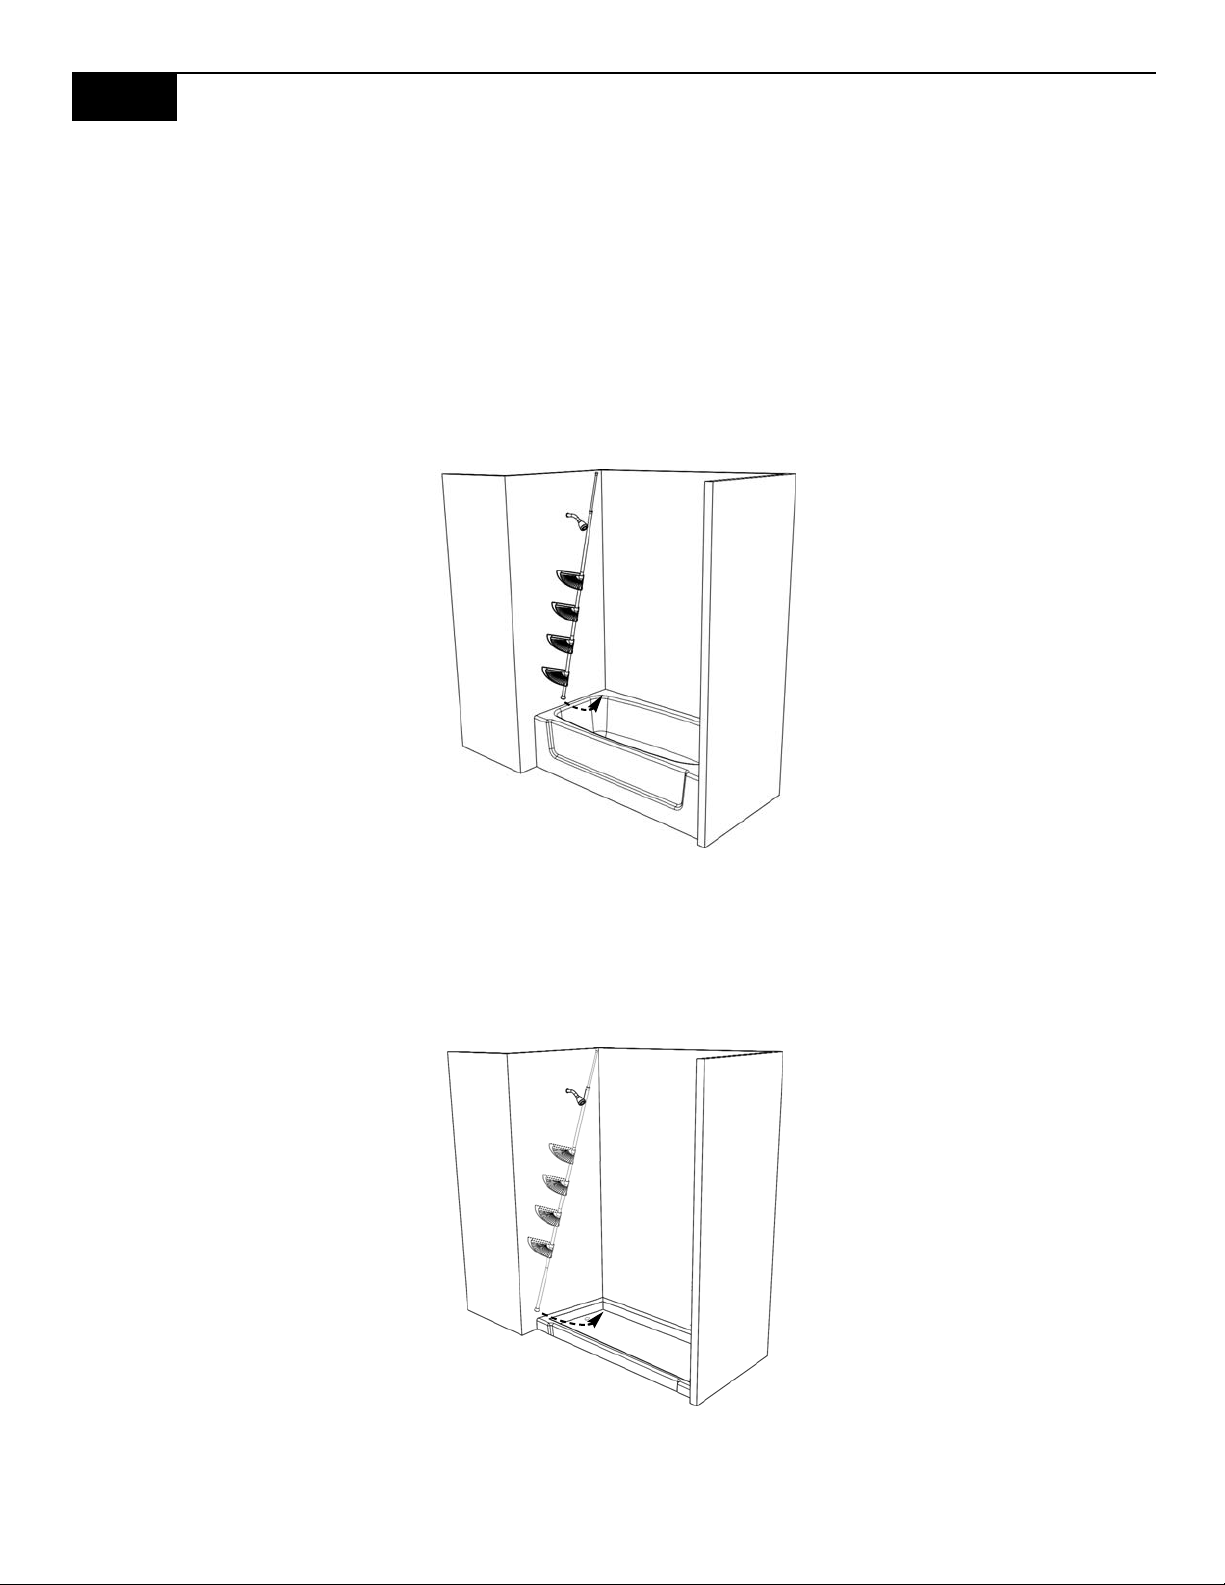
STEP 2