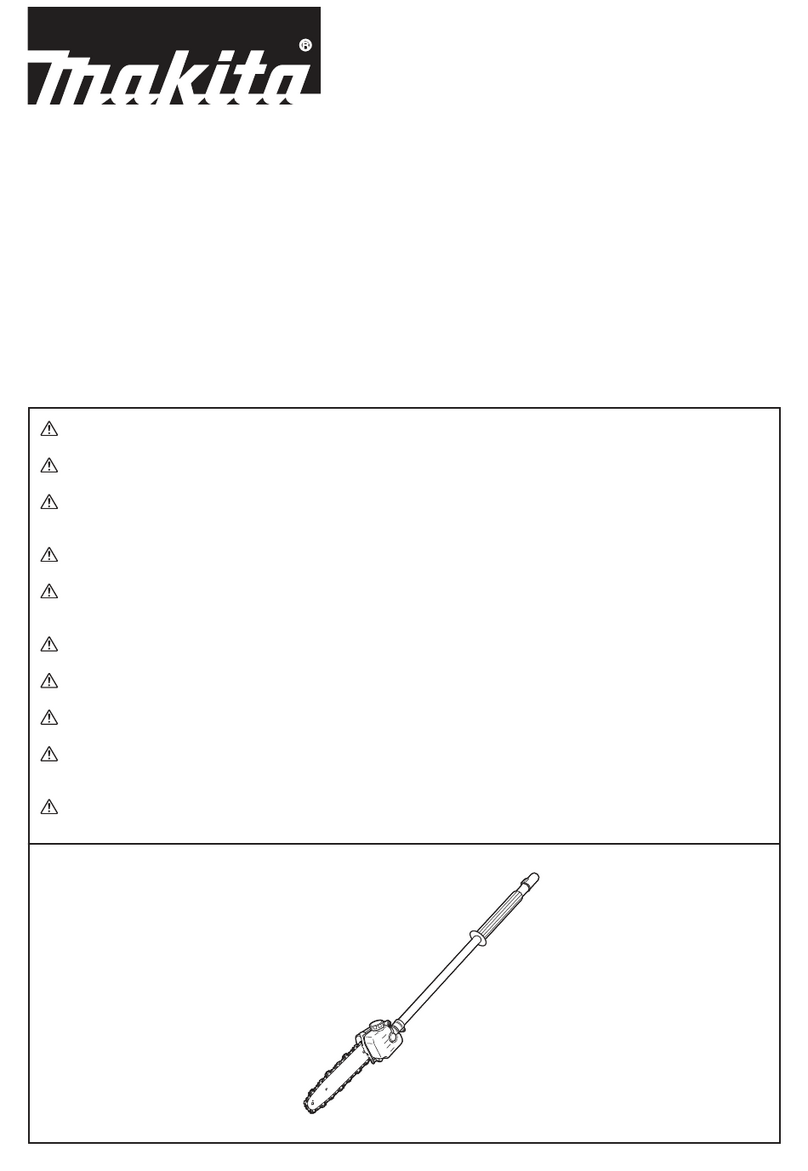
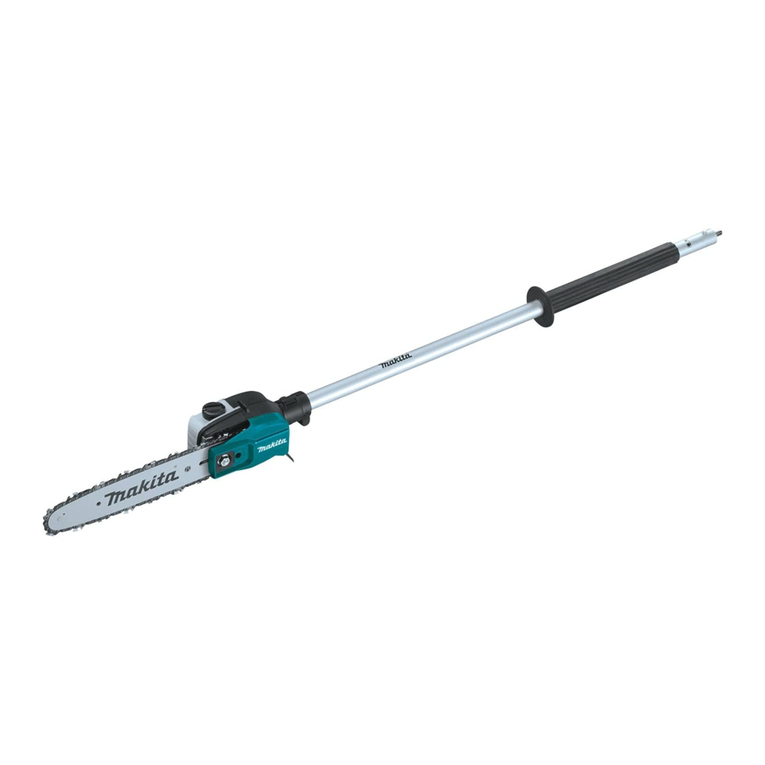
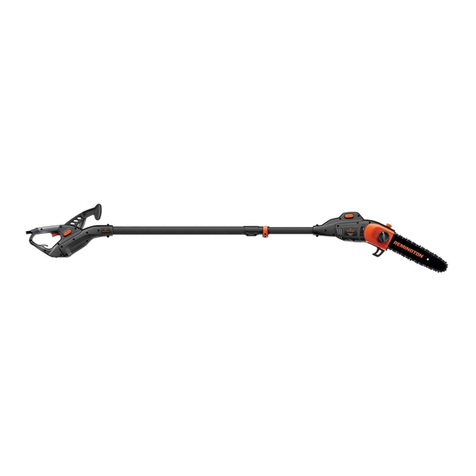
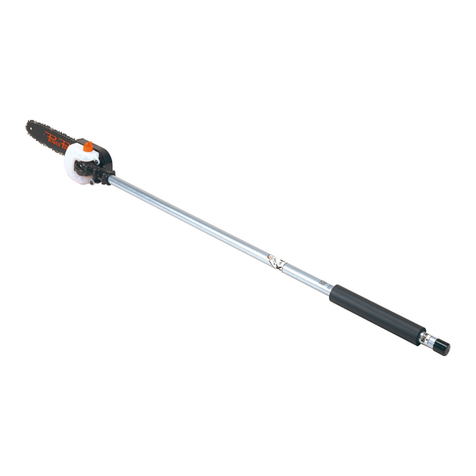
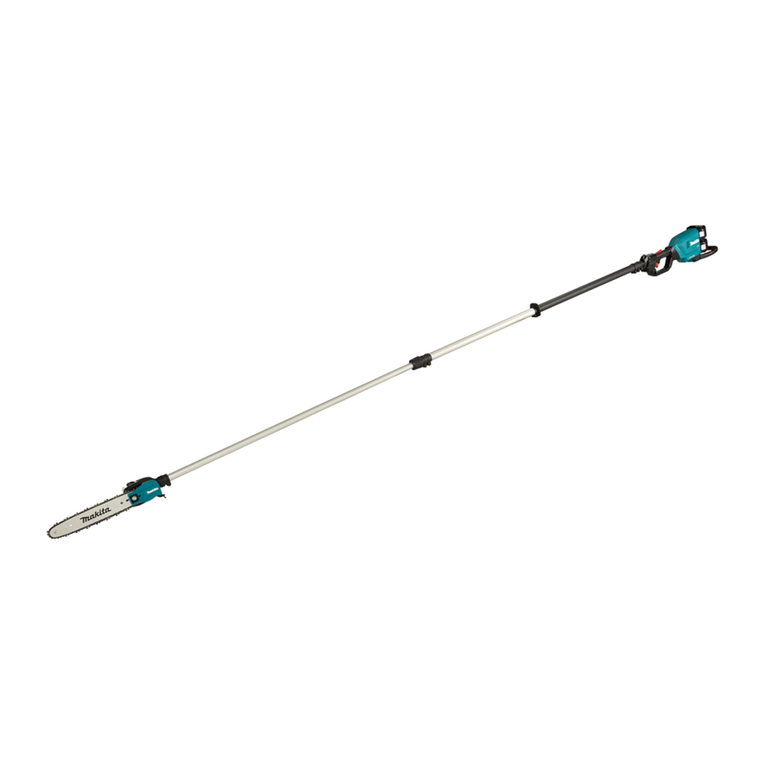
Makita EY401MP User manual

EY401MP
Instruction Manual
Manuel d’instructions
Manual de instrucciones
Manual de Instruções
使用说明书(保留备用)使用說明書사용 설명서
Petunjuk penggunaan
Ti liu hưng dn
คู่มือการใช้งาน
Warning: Before use, read this booklet and the instruction manual of the power unit. Failure to follow the
warnings and instructions may cause serious or fatal injury.
Avertissement : Avant toute utilisation, veuillez lire ce mode d’emploi et le manuel d’instructions du groupe
moteur. L’ignorance des avertissements et des instructions comporte un risque de blessure grave ou mortelle.
Advertencia: Antes de usar lea este folleto, así como el manual de instrucciones del equipo motorizado. No
seguir las advertencias e instrucciones puede que resulte en lesiones graves o mortales.
Aviso: Antes de usar, leia este livreto e o manual de instruções da unidade motorizada. A falha em seguir
os avisos e as instruções pode causar ferimentos graves ou fatais.
警告:使用前请阅读本手册及动力装置的指导手册。违反这些警告和指示可能导致严重或致命的人身伤害。警告:使用前,請閱讀本手冊與動力裝置的說明手冊。若未遵循警告事項與說明,可能會導致嚴重或致命 傷害。경고 : 사용하기 전에 본 책자와 동력 장치의 사용 설명서를 읽으십시오 . 경고 및 지침을 준수하지 않으면
중상 또는 치명상을 입을 수 있습니다 .
Peringatan: Sebelum menggunakan, bacalah buklet ini dan petunjuk penggunaan unit penggerak.
Kelalaian untuk mengindahkan peringatan dan petunjuk dapat mengakibatkan cedera serius atau fatal.
Cnh bo: Trưc khi s dng, hy đc cun sch nh ny v ti liu hưng dn v thit b đin. Không
tuân theo cc cnh bo v hưng dn c th dn đn thương tch nghiêm trng hoc thương tch cht ngưi.
คำเตือน: ก่อนการใช้งาน โปรดอ่านคู่มือฉบับนี้และคู่มือใช้งานของเครื่องมือไฟฟ้า การไม่ปฏิบัติตาม คำเตือนและคำแนะนำดังกล่าวอาจ
ทำให้ได้รับบาดเจ็บรุนแรงหรือเสียชีวิต

2
8
3
5
1
764
2
1 2
3 4
A
B
C
D
A
B
C
D
E
5 6

3
A
B
C
D
E
F
K
J
7 8
G
H
I
E
K
J
D
9 10
A
B
11 12

4
AB
13 14
A
B
A
B
15 16
0.3 mm
A
B
C
17 18
19

5
Foreword
Thank you very much for purchasing Makita pole saw attachment.
This attachment is designed to be mounted on Makita power unit
mentioned in this instruction manual.
Before use, please read this booklet and the instruction manual of
the power unit. They will assist you to obtain the best possible result
from your Makita pole saw attachment.
Table of Contents Page
Foreword ..........................................................................................5
Symbols ...........................................................................................5
Approved power unit.........................................................................5
Approved attachment .......................................................................5
Part description.................................................................................6
Safety precautions............................................................................6
Assembly and adjustment ................................................................7
Inspection and maintenance.............................................................8
Storage.............................................................................................8
Maintenance schedule......................................................................9
Troubleshooting................................................................................9
Technical data...................................................................................9
Symbols
The following symbols are used on the attachment and this
instruction manual. Understand these denitions.
Read and follow the instruction manual.
Take particular care and attention!
Wear protective helmet, eye and ear
protection.
Wear sturdy boots with non-slip soles.
Keep a distance of at least 15 m (50 ft)
between the equipment and bystanders
and/or electrical line (including any
branches contacting it). Risk of electrical
shock and/or personal injury.
Never hold the pole saw at an angle of
more than 60°.
Chain oil
First Aid
Approved power unit
This attachment is approved to use only with the following power
unit(s):
EX2650LH Multi Function Power Head
HXU01, HXU02, BUX360, BUX361, BUX362, UX360D,
UX361D, UX362D, XUX01, DUX60
Cordless Multi Function Power Head
WARNING: Never use the attachment with non-approved
power unit. Non-approved combination may cause serious injury.
Approved attachment
This attachment is approved to use only with the following
attachment(s):
(Shaft extension attachment)•
LE400MP
WARNING: Never use a non-approved attachment. Non-
approved combination may cause serious injury.
English (Original instructions)

6
Part description (Fig. 1)
The numbers below refer to the gure
1. Shaft
2. Gear Case
3. Oil cap
4. Oil tank
5. Bar holder
6. Guide bar
7. Saw chain
8. Guide bar cover
Safety precautions
WARNING: Read all safety warnings and all instructions
in this booklet and the instruction manual of the power unit.
Failure to follow the warnings and instructions may result in
electric shock, re and/or serious injury.
Save all warnings and instructions for future reference.
The term “pole saw” and “equipment” in the warnings and
precautions refer to the combination of the attachment and the
power unit.
The term “motor” in the warnings and precautions refers to the
engine or electric motor of the power unit.
Intended use
This attachment is designed for only the purpose of pruning•
branches and limbs less than 15 cm in diameter in conjunction
with an approved power unit. Never use the attachment for the
other purpose. Abusing the attachment may cause serious injury.
General precautions
Before starting the pole saw, read this booklet and the instruction•
manual of the power unit to become familiar with the handling of
the pole saw.
Do not lend the attachment to a person with insufcient •
experience or knowledge regarding handling of pole saws.
When lending the attachment, always attach this instruction•
manual.
Do not allow children or young persons under 18 years old to use•
the pole saw. Keep them away from the pole saw.
Handle the pole saw with the utmost care and attention.•
Never use the pole saw after consuming alcohol or drugs, or if•
feeling tired or ill.
Never attempt to modify the attachment.•
Do not use the equipment in bad weather conditions, especially•
when there is a risk of lightning. This decreases the risk of being
struck by lightning.
National regulations may restrict of the use of the equipment.•
Follow the regulations about handling of pole saws and chain
saws in your country.
Personal protective equipment
Wear safety helmet, protective goggles and protective gloves to•
protect yourself from ying debris or falling objects. (Fig. 2)
Wear ear protection such as ear muffs to prevent hearing loss.•
Wear proper clothing and shoes for safe operation, such as•
a work overall and sturdy, non-slip shoes. Do not wear loose
clothing or jewelry. Loose clothes, jewelry or long hair can be
caught in moving parts.
When handling the saw chain or adjusting the chain tension, wear•
protective gloves. Saw chain can cut bare hands severely.
Work area safety
• Danger: Keep the pole saw at least 15 m away from electric
lines and communication cables (including any branches
contacting them). Touching or approaching high-voltage lines with
the pole saw can result in death or serious injury. Watch power
lines and electrical fences around the work area before starting
operation.
Operate the pole saw under good visibility and daylight conditions•
only. Do not operate the pole saw in darkness or fog.
Start and operate the engine only outdoors in a well ventilated•
area. Operation in a conned or poorly ventilated area can result
in death due to suffocation or carbon monoxide poisoning.
During operation, never stand on an unstable or slippery surface•
or a steep slope. During the cold season, beware of ice and snow
and always ensure secure footing.
During operation, keep bystanders or animals at least 15 m•
away from the pole saw. Stop the motor as soon as someone
approaches.
Before operation, examine the work area for wire fences, walls,•
or other solid objects. They can damage the saw chain.
• WARNING: Use of this product can create dust containing
chemicals which may cause respiratory or other illnesses.
Some examples of these chemicals are compounds found in
pesticides, insecticides, fertilizers and herbicides.
Your risk from these exposures varies, depending on how often
you do this type of work. To reduce your exposure to these
chemicals: work in a well ventilated area, and work with approved
safety equipment, such as those dust masks that are specially
designed to lter out microscopic particles.
Putting into operation
Before assembling or adjusting the equipment, switch off the•
motor and remove the spark plug cap or the battery cartridge.
Before handling the saw chain or adjusting the chain tension,•
wear protective gloves.
Before starting the motor, inspect the equipment for damages,•
loose screws/nuts or improper assembly. Sharpen blunt saw
chain. If the saw chain is bent or damaged, replace it. Check all
control levers and switches for easy action. Clean and dry the
handles.
Never attempt to start the motor if the equipment is damaged or•
not fully assembled. Otherwise serious injury may result.
Adjust the shoulder harness and hand grip to suit the operator’s•
body size.
Adjust the chain tension properly. Rell the chain oil, if necessary.•
Starting motor
Wear the personal protective equipments before starting the motor.•
Start the engine at least 3 meters (10 feet) away from the fueling•
spot.
Before starting the motor, make sure that there is no person or•
animal in the work area.
When starting the engine or inserting a battery cartridge, keep•
the saw chain and guide bar clear of your body and other object,
including the ground. The saw chain may move when starting
and may cause serious injury or damage to the saw chain and/or
property.
Place the equipment on rm ground. Maintain good balance and •
secure footing.
When pulling the starter knob, hold the power unit rmly against •
the ground by your left hand. Never step on the drive shaft of the
power unit. (Fig. 3)
Follow the instruction manual of the power unit for starting the•
motor.
Check that there is sufcient difference between idling and •
engagement speed to ensure that the attachment is at a standstill
while the engine is idling (if necessary reduce idling speed).
If the saw chain moves at idle, stop the engine and adjust the idle•
speed down.
Operation
In the event of an emergency, switch off the motor immediately.•
If you feel any unusual condition (e.g. noise, vibration) during•
operation, switch off the motor. Do not use the equipment until
the cause is recognized and solved.
The saw chain continues to move for a short period after•
releasing the throttle trigger or switch off the motor. Don’t rush to
contact the saw chain.
With the engine running only at idle, attach the shoulder harness.•
During operation, use the shoulder harness. Keep the equipment•
on your right side rmly. (Fig. 4)
Hold the front handle with the left hand and the rear grip with the•
right hand, no matter you are right-hander or left-hander. Wrap
your ngers and thumbs around the handles.
Hold the equipment by insulated gripping surfaces only as above•
described, because the saw chain may contact hidden wiring. A
saw chain contacting a “live” wire may make exposed metal parts
of the extended-reach pruner “live” and could give the operator
an electric shock.
Never attempt to operate the equipment with one hand. Loss of•
control may result in serious or fatal injury. To reduce the risk of
injury, keep your hands and feet away from the blades.
Do not overreach. Keep proper footing and balance at all times.•
Watch for hidden obstacles such as tree stumps, roots and

7
ditches to avoid stumbling. Clear fallen branches and other
objects away.
Never work on a ladder or tree to avoid loss of control.•
If the equipment gets heavy impact or fall, check the condition•
before continuing work. Check the fuel system for fuel leakage
and the controls and safety devices for malfunction. If there is
any damage or doubt, ask Makita authorized service center for
the inspection and repair.
Do not touch the gear case. The gear case becomes hot during•
operation.
Take a rest to prevent loss of control caused by fatigue. We•
recommend to take a 10 to 20-minute rest every hour.
When you leave the equipment, even if it is a short time, always•
switch off the engine or remove the battery cartridge. The
equipment unattended with the engine running may be used by
unauthorized person and cause serious accident.
Follow the instruction manual of the power unit for proper use of•
the control lever and switch.
Pay attention to the environment. Avoid unnecessary throttle•
operation for less pollution and noise emissions. Adjust the
carburetor correctly.
During or after operation, do not put the hot equipment onto dry•
grass or combustible materials.
Do not hold your right hand above shoulder height.•
During operation, never hit the saw chain against hard obstacles•
such stones and nails. Take particular care when cutting
branches next to walls, wire fences or the like.
If branches get caught in the attachment, always stop the motor•
and remove the spark plug cap or battery cartridge. Otherwise
unintentional start may cause serious injury.
If the saw chain becomes clogged, always switch off the motor•
and remove the spark plug cap or battery cartridge before
cleaning.
Accelerating the motor with the saw chain blocked increases the•
load and will damage the motor and/or clutch.
Before cutting limbs, keep an escape area away from the falling•
limb. First, clear obstructs such as limbs and branches from the
work area. Move all tools and goods from the escape area to
another safe place.
Before cutting branches and limbs, check the falling direction of•
them, considering the condition of branches and limbs, adjoining
trees, wind direction, etc. Pay full attention to the falling direction,
and the rebound of the branch, which hit the ground.
• Never hold the pole saw at an angle of more than 60°.
Otherwise falling objects can hit the operator and cause
serious injury. Never stand underneath the limb being cut.
Pay attention to broken or bent branches. They may bounce back•
in cutting, causing unexpected injury.
Before cutting limbs that you intend to cut, remove branches and•
leaves around them. Otherwise the saw may be caught by them.
To prevent the saw from being caught in the kerf, do not release•
the throttle lever before pulling the saw out of the kerf.
If the saw chain is bound in the kerf, immediately stop the motor,•
carefully move the branch to open the kerf and release the saw.
Avoid kickback (rotational reactive force towards the operator).•
To prevent kickback, never use the guide bar nose or perform a
penetrating cut. Always beware of the position of the guide bar
nose.
Check the chain tension frequently. When checking or adjusting•
the chain tension, switch off the motor and remove the spark plug
cap or battery cartridge. If the tension is loose, tighten it.
Vibration
People with poor circulation who are exposed to excessive•
vibration may experience injury to blood vessels or the nervous
system. Vibration may cause the following symptoms to occur in
the ngers, hands or wrists: “Falling asleep” (numbness), tingling,
pain, stabbing sensation, alteration of skin color or of the skin. If
any of these symptoms occur, see a physician!
To reduce the risk of “white nger disease”, keep your hands •
warm during operation and well maintain the equipment and
accessories.
Transport
Before transporting the equipment, switch off the motor and•
remove the spark plug cap or battery cartridge. Always t the
guide bar cover during transportation.
When transporting the equipment, carry it in a horizontal position•
by holding the shaft. Keep the hot mufer away from your body.
When transporting the equipment in a vehicle, properly secure•
it to avoid turnover. Otherwise fuel spillage and damage to the
equipment and other baggage may result.
Maintenance
Have your equipment serviced by our authorized service center,•
always using only genuine replacement parts. Incorrect repair
and poor maintenance can shorten the life of the equipment and
increase the risk of accidents.
Before doing any maintenance or repair work or cleaning the•
equipment, always switch off the motor and remove the spark
plug cap or the battery cartridge. Wait until the motor gets cold.
To reduce the risk of re, never service the equipment in the •
vicinity of re.
Always wear protective gloves when handling the saw chain.•
Always clean dust and dirt off the equipment. Never use gasoline,•
benzine, thinner, alcohol or the like for the purpose. Discoloration,
deformation or cracks of the plastic components may result.
After each use, tighten all screws and nuts, except for adjustment•
screws.
Keep the saw chain sharp. If the saw chain has become blunt•
and cutting performance is poor, ask Makita authorized service
center to sharpen it or replace it with new one.
Do not attempt any maintenance or repair not described in this•
booklet or the instruction manual of the power unit. Ask Makita
authorized service center for such work.
Always use Makita genuine spare parts and accessories only.•
Using parts or accessories supplied by a third party may result
in the equipment breakdown, property damage and/or serious
injury.
Request Makita authorized service center to inspect and maintain•
the equipment at regular interval.
Storage
Before storing the equipment, perform full cleaning and•
maintenance. Fit the guide bar cover. Remove the spark plug
cap or the battery cartridge. Drain the fuel and chain oil after the
engine gets cold.
Store the equipment in a dry and high or locked location out of•
reach of children.
Do not prop the equipment against something, such as a wall.•
Otherwise it may fall suddenly and cause an injury.
First aid
• Always have a rst-aid kit close by. Immediately replace
any item taken from the rst aid kit.
When asking for help, give the following information:•
Place of the accident–
What happened–
Number of injured persons–
Nature of the injury–
Your name–
Assembly and adjustment
WARNING:
Before assembling or adjusting the equipment, switch off the•
engine and remove the spark plug cap or the battery cartridge.
Otherwise the saw chain or other parts may move and result in
serious injury.
Before handling the saw chain or adjusting the chain tension,•
wear protective gloves. Otherwise the saw chain can cut bare
hands severely.
When assembling or adjusting the equipment, always put it down.•
Assembling or adjusting the equipment in an upright position may
result in serious injury.
Follow the warnings and precautions in the chapter “Safety•
precautions” and the instruction manual of the power unit.
Assembling the attachment (Fig. 5)
Assemble the attachment as the following steps.
1. Loosen the screw (A) and (B).
2. Insert the shaft into the gear case. Make sure that the pin (D) is
on the upside. If it is difcult to fully insert it, turn the drive axle
(C) manually.
3. Adjust the position of the hole on the shaft to the screw hole (B).
4. Tighten the screw (B) rst and then tighten the screw (A).

8
Mounting the attachment to a power unit (Fig. 6)
To mount the attachment to a power unit, follow the steps below.
1. Make sure that the lock lever (A) is not tightened.
2. Align the pin (B) with the arrow mark (C).
3. Insert the shaft into the drive shaft of the power unit until the
position line (E) and the release button (D) pops up.
4. Tighten the lock lever (A) rmly as shown.
To remove the attachment, loosen the lock lever, press the lock
button and withdraw the shaft.
NOTICE: Do not tighten the lock lever (A) without the shaft of the
attachment inserted. Otherwise the lock lever may tighten the
entrance of the drive shaft too much and damage it.
Assembling saw chain and guide bar
CAUTION: Make sure that the saw chain, guide bar and
sprocket match each other in gauge and pitch.
Assemble the saw chain and guide bar as the following steps.
(Fig. 7- 9)
1. Loosen the nut (A) and remove the bar holder (B).
2. Turn the tension screw (C) counterclockwise until the tensioning
nut (D) touches the left end.
NOTICE: Do not turn the tension screw counterclockwise too much,
otherwise the tension screw and the tensioning nut comes off from
the housing.
3. Fit the saw chain (E) into the groove of guide bar (F). Start the
procedure from the bar nose.
4. Align the position bolt (G) with the notch of the guide bar (H),
and then t the saw chain (E) onto the sprocket (I). Make sure
that the saw chain is kept tting along the guide bar during the
procedure.
5. Install the guide bar (F) so that the tensioning nut (D) ts into the
hole (J) on the guide bar. Holes (K) are not used.
6. Place the saw chain onto the groove of the guide bar properly.
If the saw chain is not placed into the groove of the guide bar
properly at this point, adjust and t it appropriately.
7. Fit the bar holder (B) and tighten the nut (A) securely. Then
loose the nut a half turn as a provision of the chain tension
adjustment.
8. Adjust the chain tension. Refer to the section “Adjusting the
chain tension.”
CAUTION:
Keep the applicable chain tension. Loose tension can cause the•
saw chain derail. (Fig. 10)
To remove the saw chain and guide bar, turn the tension screw (C)
counterclockwise rst.
Pull the saw chain outward to let the saw chain comes out from
the groove of the guide bar, then remove them from the housing.
(Fig. 11)
Adjusting the chain tension
WARNING:
Before check or adjust the chain tension, switch off the motor and•
remove the spark plug cap or the battery cartridge.
Before check or adjust the chain tension, wear protective gloves.•
CAUTION:
Keep the applicable chain tension. Loose tension can cause the•
saw chain to come off during operation. Too tight tension can
damage the saw chain or guide bar.
During operation, check the chain tension frequently. The saw•
chain stretches and becomes loose during operation. When use
a new saw chain, adjust the tension more frequently. (Fig. 12)
Adjust the chain tension as the following steps.
1. Loose the nut (A) a half turn.
2. Hold the bar nose up. Turn the tensioning screw (B) clockwise
until the saw chain ts the underside of the guide bar snugly.
3. Pull the saw chain along the guide bar by hand. If it is hard to
move, turn the tensioning screw counterclockwise slightly and do
the step 2 again.
4. Tighten the nut (A) securely.
Filling the chain oil tank
The saw chain must be lubricated with chain oil during operation.
Before operation, ll the chain oil tank. After supplying the oil,
tighten the oil cap securely.
Use Makita genuine chain oil only.
NOTICE: Never use waste oil. It may damage the oil pump.
During operation, always pay attention to the oil level. Rell the
tank if the oil level becomes low. The tank becomes empty in
approximately 40 minutes of operation (depending on the setting of
the chain lubrication).
Adjusting the chain-oil feeding rate (Fig. 13 & 14)
The chain-oil feeding rate is adjustable in three steps. According
to the operation, for example cutting hard limbs, adjust the feeding
rate.
To adjust the chain-oil feeding rate, use a at-bladed screwdriver.
Push in the adjusting screw and turn it. To increase feeding rate,
turn the adjusting screw counterclockwise (A). To reduce feeding
rate, turn it clockwise (B).
After adjusting the chain-oil feeding rate, check the feeding rate by
driving the equipment at medium speed.
Inspection and maintenance
WARNING:
Before inspecting or maintaining the equipment, switch off the•
motor and remove the spark plug cap or the battery cartridge.
Otherwise saw chain or other parts may move and result in
serious injury.
Before handling or working around saw chain, wear protective•
gloves. Otherwise the saw chain can cut bare hands severely.
When inspecting or maintaining the equipment, always put it•
down. Assembling or adjusting the equipment in an upright
position may result in serious injury.
Follow the warnings and precautions in the chapter “Safety•
precautions” and the instruction manual of the power unit.
Cleaning the chain-oil feed port (Fig. 15)
Clean the chain-oil feed port (A) daily. To access it, remove the bar
holder and guide bar.
Cleaning and inspecting the guide bar (Fig. 16)
Clean the guide bar daily. Remove saw dust from the groove (A)
and chain-oil feed port (B).
To avoid one side wear of the guide bar, turn it over every time you
replace or sharpen the saw chain.
If the groove is worn, bent or deformed, replace the guide bar.
Inspecting sprocket (Fig. 17)
Check the sprocket for wear every 50 hours of use. Replace it if the
wear marks becomes 0.3 mm or deeper.
Inspecting the saw chain
When you feel the saw chain is worn, deformed, cracked or you
need more effort for the cutting, replace it or ask Makita authorized
service center to sharpen it.
Lubricating moving parts (Fig. 18)
NOTICE: Follow the instruction of the frequency and amount of
grease supplied. Otherwise insufcient lubrication may damage
moving parts.
Gear case:
Remove the grease plug (A) and ll lithium-base grease through the
grease hole (B) every 25 hours of operation.
Drive axle:
Apply grease (Shell Alvania No. 2 or equivalent) every 25 hours of
operation.
Guide bar nose:
Apply grease (Shell Alvania No. 2 or equivalent) from the grease
hole (C) every 10 hours of operation.
Overall inspection
Tighten loose bolts, nuts and screws.•
Check for damaged parts. Ask Makita authorized service center•
to replace them.
Check the bar holder. If there is crack or deformation, replace it.•
Storage
WARNING: Follow the warnings and precautions in the chapter
“Safety precautions” and the instruction manual of the power unit.
When storing the pole saw attachment separated from the power
unit, put the cap onto the end of the shaft. (Fig. 19)

9
Maintenance schedule
Operating hour Before
Operation
Daily
(10 h) 25 h 50 h If
required Corresponding page
Whole unit Visually inspect for
damaged parts
8
All xing screws and nuts Tighten 8
Chain oil feed port Clean 8
Guide bar Clean the groove and the
chain oil feed port
8
Visually inspect 8
Supply grease to the nose 8
Gear case Supply grease 8
Drive axle Supply grease 8
Sprocket Visually inspect 8
Saw chain Replace or ask for
sharpening
8
Power unit Refer to the instruction manual of the power unit
Troubleshooting
Problem Probable cause Solution
The motor does not start. Refer to the instruction manual of the power unit.
The motor stops soon after its start.
The maximum speed is limited.
The saw chain does not move.
Stop the motor immediately!
The guide bar is bent or damaged. Replace the guide bar.
A twig is caught by the saw chain. Remove the foreign matter.
The drive system does not work properly. Ask Makita authorized service center to
inspect and repair it.
The unit vibrates abnormally.
Stop the motor immediately!
The drive system does not work properly. Ask Makita authorized service center to
inspect and repair it.
The saw chain does not stop.
Stop the motor immediately!
The power unit does not work properly. Refer to the instruction manual of the power
unit.
Chain oil is not supplied. The oil tank is empty. Fill the oil tank with chain oil.
The chain-oil feed port is dirty. Clean the chain-oil feed port on the unit and
guide bar.
The adjusting screw of the chain-oil feed rate
is improperly set.
Set the adjusting screw properly.
Technical data
Model EY401MP
Dimensions (L x W x H) mm 1,166 x 74 x 105
Mass kg 1.2
Guide bar length mm 255 (10”)
Saw chain 91VXL-39E
Chain gauge inch 0.050”
Number of sprocket teeth 7
Chain oil Makita genuine chain oil
Chain oil pump Plunger pump
(Self lubricating type)
Chain oil tank capacity ml 120
Gear ratio (speed increasing) 0.94
Other manuals for EY401MP
3
Table of contents
Other Makita Pole Saw manuals

Makita
Makita EY401MP User guide

Makita
Makita DUA300 User manual

Makita
Makita EY2650H User manual

Makita
Makita AR-3733 User manual

Makita
Makita XAU02 User manual

Makita
Makita UA002G User manual

Makita
Makita DUC101 User manual

Makita
Makita DUA301 User manual

Makita
Makita DUA301Z User manual

Makita
Makita DUA300ZB User manual

Makita
Makita EY2650H User manual

Makita
Makita DUC101 User manual

Makita
Makita UA004G User manual

Makita
Makita DUP361Z User manual

Makita
Makita UA003GM101 User manual

Makita
Makita EY401MP User guide

Makita
Makita DUA301 User manual

Makita
Makita DUA301 User manual

Makita
Makita DUA300 User manual

Makita
Makita UA003G User manual