Makita UH7580 Manual

PRODUCT
TECHNICAL INFORMATION
P 1/ 7
Model No.
Description
CONCEPT AND MAIN APPLICATIONS
Specification
UH7580/ UH6580/ UH5580
Models UH7580/ UH6580/ UH5580 for professional
applications have been developed as the successors
to the current UH6540/ UH5540/ UH4540, featuring
renewed external appearance and more improved handling.
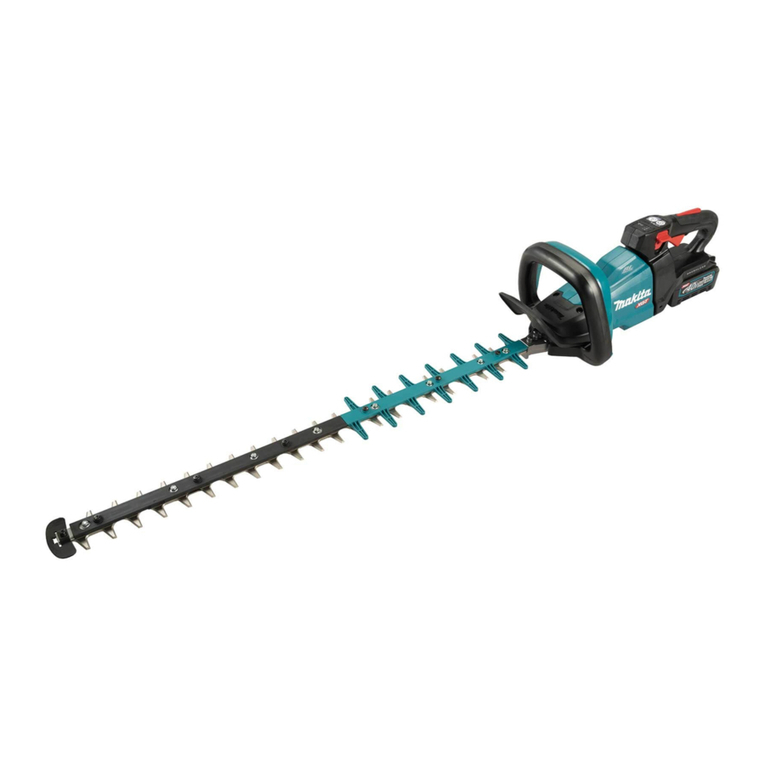
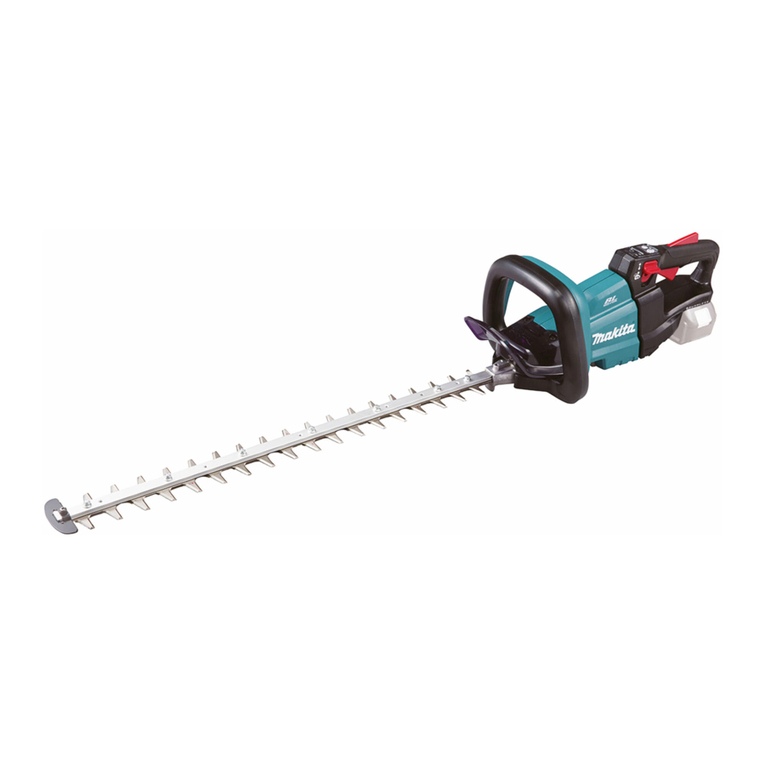
Hedge Trimmers 750mm/ 650mm/ 550mm
Dimensions: mm (")
Height (H)
Length (L)
Width (W)
Model No.
1,157 (45-1/2) 1,049 (41-1/4) 970 (38-1/4)
206 (8-1/8)
223 (8-3/4)
UH7580 UH6580 UH5580
LH
Standard equipment
Optional accessories
Blade cover .................................... 1
Hook complete ................................ 1
Cord holder complete set ................ 1
Extension cord (10m) ..................... 1 (for UK [240V] only)
Shear blade assembly set
Blade cover
Hook complete
Cord holder complete set
Arm band complete set
Chip receiver assembly set
Blade length: mm (")
Protection from electric shock
Net weight: kg (lbs)
No load speed: min-1=spm*1
Model No.
Specifications UH7580 UH6580 UH5580
550
(21-5/8)
750
(29-1/2)
650
(25-1/2)
Double insulation
Tooth pitch: mm (") 28 (1-1/8)
1,500
4.4
(9.7)
4.3
(9.4)
4.2
(9.2)
Power supply cord: m (ft)
*1: spm= strokes per minute
*2: Kuwait: 2.5m (8.2ft)
0.3 (0.98)*2
Note: The standard equipment for the tool shown above may differ by country.
Continuous Rating (W)
Voltage (V) Cycle (Hz) Input Output Max. Output (W)
120
220
230
240
5.9
3.2
3.1
3.0
50/60
50/60
50/60
50/60
---
670
670
670
330
380
380
380
500
500
500
500
Current (A)
W

Repair
[2] LUBRICATION
Apply Makita grease N. No.2 to the following portion to protect parts and product from unusual abrasion. Refer to Fig. 5.
1) Gear room (6g: Refer to Fig. 5.)
2) Contact portion of Shear blade ass’y and Crank (3g: Refer to Fig. 7)
Remove two 4x18 Tapping screws and Top cover from Housing set. (Fig. 1)
Pick out two Carbon brushes using thin slotted screwdriver. (Fig. 2)
[3] DISASSEMBLY/ASSEMBLY
[3] -1. Carbon brush
[3] DISASSEMBLY/ASSEMBLY
[3] -2. Shear blade ass’y and Gear ass’y
[1] NECESSARY REPAIRING TOOLS
CAUTION: Unplug the machine for safety before repair/ maintenance !
1) Turn the machine upside down and keep it in a horizontal position by the use of a horizontal portion of Front grip.
2) Remove four M4x25 Pan head screws and Under cover. (Fig. 3)
Note: Set Blade cover in place to prevent being injured as illustrated in Fig. 3.
3) Remove Gear housing cover by levering with two 1R263 or slotted screwdrivers. (Fig. 4)
4) Turn crank portion with slotted screwdriver inserted to the groove on Spindle. (Fig.5) Two oval holes of Shear blades
and the crank portion of Gear ass’y have to be aligned as illustrated in Fig. 5.
Note: It is possible that Two oval holes of Shear blades and the crank portion of Gear ass’y do not be aligned because
Gear ass’y is in locked position by Pin 5. Turn Spindle counterclockwise with strong force to release the locked
condition. (The spring and the lock washer in Gear ass’y will be slid, and Pin 5 will be out of the locked position.)
DISASSEMBLING
Fig. 3
Slotted
screwdriver
groove on Spindle of Gear ass’y Tangential lines of Crank portion and straight lines
of Shear blades’ oval holes
Viewed from the upper sideHousing set
Center line of Housing set
and Shear blade ass’y
90
Fig. 5
Fig. 1 Fig. 2
Fig. 4
Code No. Description
1R003 Retaining ring pliers ST-2N Removing Lifter section
1R212 Tip for Retaining ring pliers Modular use with 1R003
1R263 Bearing extractor Removing Gear housing cover
Use for
P 2/ 7
REPLACING
Blade cover
Under cover
Gear housing cover
Front grip
1R263 or Slotted screwdriver (2pcs.)
M4x25 Pan head
screw (4pcs.)
Oval holes of
Shear blades
(one hole each)
Blade cover
90
4x18 Tapping
screw (2pcs.)
Thin slotted screwdriver
Top cover
Housing set
Carbon brush (2pcs.)

Repair
[3] DISASSEMBLY/ASSEMBLY
[3] -2. Shear blade ass’y and Gear ass’y (cont.)
[3] -3. Motor, Switch and Power supply cord
P 3/ 7
ASSEMBLING
Fig. 9Fig. 8
Fig. 11
Fig. 10
DISASSEMBLING
DISASSEMBLING
slotted screwdriverShear blades
Gear housing complete
Dust guard
Flat shape
Guide plate
Take the disassembling step in reverse.
Note: Regarding the new Shear blade ass’y;
- make sure that the routes for the two M5x25 Pan head screws are secured.
- pass two M5x25 Pan head screws through the holes for Shear blade ass’y in advance.
The flat shape of Dust guard has to be inserted into the groove of Gear housing before putting Shear blade ass’y on
Gear housing. (Fig. 8)
Pass the two M5x25 Pan head screws through Shear blade ass’y to align the holes of Shear blade ass’y with
Sleeves, and tighten the two M5x25 Pan head screws. (Refer to Fig. 6.)
When reusing two M5x25 Pan head screws, apply adhesive to the threads.
When the holes and Sleeves for two M5x25 Pan head screws are not aligned, slide only Guide plate back and forth.
(Fig. 9)
After tightening M5x25 Pan head screws, make sure that Shear blades reciprocates smoothly with turning Crank
with slotted screwdriver. (Fig. 6)
5) Loosen two M5x25 Pan head screws (threadlocker type) and separate Shear blade ass’y from the machine. (Fig. 6)
Note: 1. Leave the two M5x25 Pan head screws in their holes of Shear blade ass’y when setting Shear blade ass’y in place
without disassembly.
Removing two M5x25 Pan head screws may cause misalignment between two sleeves and holes of Shear blade ass’y.
2. Leave Dust guard in the groove of Gear housing.
6) Pull out Gear ass’y from Gear housing using two 1R263 or slotted screwdrivers. (Fig. 7)
Fig. 6 Fig. 7
Blade cover
Sleeve (2pcs.)
in the holes of
Shear blade ass’y
Dust guard
M5x25 Pan head screw (2pcs.) 1R263 or slotted screwdriver (2pcs.)
Shear blade ass’y
Gear room
Gear ass’y
Gear ass’y
Gear housing
1) Remove Shear blade ass’y. (Refer to Fig. 6.)
2) Remove Top cover and Carbon brushes. (Figs. 1 and 2)
3) Remove two M5x30 Pan head screws, and then slide
the following parts together the forward direction. (Fig. 10)
*Switch lever B *Front grip *Protector complete
The above parts can be pulled out from Housing set.
4) Remove ten 4x18 Tapping screws and separate Housing R
from Housing L. (Fig. 11)
M5x30 Pan head
screw (2pcs.)
Switch lever B
Front grip
Protector
complete
4x18 Tapping screw
(10pcs.)
Housing R

Repair
5) Remove Switch lever A with Compression spring 5, Switch lever C with Rod and Link, and Switch from Housing L.
(Fig. 12) (The position of Switch interferes with disassembly of Lifter section.)
6) Remove Lifter section from Housing L. (Fig. 13)
Note: Lifter section of UH5580, UH6580 and UH7580 is different from that of UH4570, UH5570 and UH6570.
Enlarge the distance between Pin holder and Cap holder using 1R003 with 1R212, and keep Compression spring 5
compress to separate the bottom end of Pin 5 from the hole of Gear housing. See Fig. 14 for the detail.
7) After removing Brush holders, separate Armature ass’y, Field ass’y, Lever and Gear housing as a assembled part from
Housing L. (Fig. 15)
[3] DISASSEMBLY/ASSEMBLY
[3] -3. Motor, Switch and Power supply cord (cont.)
P 4/ 7
Fig. 12
Fig. 14
Fig. 15
Fig. 13
DISASSEMBLING
Housing L
Switch lever A
Switch lever C
Rod
Switch
Pins of
Housing L
Compression
spring 5
Link Lifter
section
Lifter
section
1R003
Pin holder
Pin holder
Cap holder
Compression spring 5
The bottom end
of Pin 5
Brush holders
Gear housing
Pin 5
When the bottom end of Pin 5 penetrates the hole of Gear
housing, Lifter section can not be removed without difficulty.
Because a part of Lifter section often interferes with ribs of
Housing L.
Gear housing Gear housing
1R212
1R003
1R212
Cap holder
Enlarge the distance between Pin holder and Cap holder
using 1R003 with 1R212, and keep Compression spring 5
compress, and Lifter section will be pulled out from the
hole of Gear housing as illustrated by black arrow.
Lever
Armature ass’y
Field ass’y

Repair
[3] DISASSEMBLY/ASSEMBLY
[3] -3. Motor, Switch and Power supply cord (cont.)
P 5/ 7
ASSEMBLING
Fig. 17
Fig. 16
Pin portion of
Gear housing
Hinge portion of
Lever
Gear housing complete
A part of Ball bearing 6000ZZ
Take the disassembling step in reverse.
Note: Refer to Fig. 16.
1) When setting Armature ass’y and Gear housing complete in place, pass Lever through Field ass’y at the same time
while inserting the hinge portion of Lever into Housing L carefully because the hinge tends to remove.
Insert the pin portion of Gear housing complete into Housing L as well.
2) When Armature ass’y, Field ass’y, Gear housing and Lever are set in place, Ball bearing 6000ZZ on Fan side of
Armature has to be partly exposed from Gear housing as illustrated in Fig. 17.
Field ass’y
Armature ass’y
A part of Ball bearing 6000ZZ has to
be exposed from Gear housing complete.

Repair
[3] DISASSEMBLY/ASSEMBLY
[3] -4. Lifter section
P 6/ 7
DISASSEMBLING
Fig. 18
ASSEMBLING
Refer to the clause of [3]-3.
Switch lever A
Switch lever C
Rod
Link
Gear housing
Lever
Set the components in place while pay attention to the linked portions illustrated in Fig. 18.
Three plates X, Y and Z of Lifter have to be linked with each appropriate portion in the following order.
1. Plate X is fit into the U groove of Pusher cap.
2. Plate Y is put on the hook portion of Lever.
3. Plate Z is fit into the groove of Switch lever A.
Insulation cap
Compression
spring 8
Pin 5 (to the hole of
Gear housing through
Cap holder, Lifter,
Pin holder,
Compression spring 5
and Stop ring E-4)
Lifter
Pin holder
Pusher cap
Pin 3
(for pushing Link)
Cap holder
Compression
spring 5
Stop ring E-4
X
Y
Z
Y
X
Z

Repair
[3] DISASSEMBLY/ASSEMBLY
[3] -5. Switch lever B, Front grip and Protector
P 7/ 7
DISASSEMBLING Fig. 19
ASSEMBLING
Refer to Fig. 10.
1) When separating Front grip from Switch lever B;
- hook one end of Compression spring 9 with the protrusion of Front grip.
- hook the tab of Switch lever B with the edge of Front grip. And hook
the other end of Compression spring 9 with the protrusion of Switch lever B.
(Fig. 19)
2) Hook Front grip, Switch lever B and Protector complete with Housing set,
and then tighten two M5x30 Pan head screws to assemble Front grip,
Switch lever B and Protector complete to Housing set. (Fig. 10)
3) Set Shear blade ass’y in place. Refer to the clause of [3]-2.
protrusion of
Front grip
tab of Switch
lever B
Compression
spring 9
protrusion of
Switch lever B
Circuit diagram
White
Color index of lead wires' sheath
Black
Brown is used
for some countries. Terminal block
Terminal block
Blue is used
for some countries.
Noise
suppressor
(if used)
Field
Fig. D-1
Fig. D-2
Noise suppressor
(if used)
Brush holder
Lead wires have to be insert into the bottom
of Lead wire holder here.
Lead wires have to be insert into
the bottom of Lead wire holder here.
Connect Receptacles for
Motor so that their lead
wires face Housing L side.
Wiring diagram
This manual suits for next models
2
Table of contents
Other Makita Trimmer manuals

Makita
Makita UR012GT401 User manual

Makita
Makita UR002G User manual

Makita
Makita UR014G User manual

Makita
Makita EN4950H User manual

Makita
Makita UR002G User manual

Makita
Makita LXRU01 User manual

Makita
Makita UH013G User manual

Makita
Makita EBH252U User guide

Makita
Makita Trimmer User manual

Makita
Makita UR002G User manual

Makita
Makita DUH501 User manual

Makita
Makita DUR365UPM2 User manual

Makita
Makita DUR362L User manual

Makita
Makita BUH550 User manual

Makita
Makita DUR365U User manual

Makita
Makita EN422MP User manual

Makita
Makita UH3000D User manual

Makita
Makita HNU01 User manual

Makita
Makita DUH607 User manual

Makita
Makita DUR192L User manual