manuals.online logo
Brands
  1. Home
  2. •
  3. Brands
  4. •
  5. Malco
  6. •
  7. Cutter
  8. •
  9. Malco FSXC User manual

Malco FSXC User manual

Thank you for purchasing the FSXC CUTTER from Malco. The FSXC CUTTER
may be used by professionals to cut the ver cal leg of mechanically seamed
panels in the event the roof needs to be removed or repaired. Keep reading
to learn more about how to setup and use the FSXC CUTTER.
Video instruction
sPECIFICATIONS
•
Malco Products warrants to the original customer/consumer that its
products will be free from manufacturing defects in materials or work-
manship when subject to normal and proper use.
DEVICE WEIGHT
MAX. CUTTING DIMENSIONS
DESCRIPTION
MAX. SPEED
SET UP OPERATION
Always remove drills power source when se ng up the
FSXC CUTTER for your own safety!
1. Install drive sha into drill chuck. Tighten the chuck. If using a keyless
chuck we recommend  ghtening fully by hand then rota ng the chuck
back to lock the chuck if equipped.
2. Adjust and  ghten support bar.
3. Stretch the bunjee cord around the drills/drivers’ ba ery accordingly.
4. Set drill to drill mode, set drill speed to 1 (lowest RPM), then verify the
drill is spinning clock wise, this will ensure the cu er moves in a forward
direc on.
5. You are all set up and ready to go. Please move on to the opera on sec on.
The FSXC CUTTER is height adjustable for 1” and 1.5” profi les. The cu ng
discs must be posi oned under the seam, and all 4 wheels need to be set to
the same height for best results.
Height adjustment
All 4 wheels must be in the same height!
Check whether material thickness and roof profi le dimensions are
within allowable range specifi ed in this instruc on.
TO CUT FULL LENGTH PROFILE
TO CUT FROM THE MIDDLE OF THE PROFILE
Use correct cu ng posi on! Machine is not designed to cut the mid-
dle of the seam con nuously. It is only allowed for crossing the seam
– going in and out. Do not cut more than 4 layers of metal!
Warranty
• Should any such defect occur following original purchase, Malco Prod-
ucts will repair or replace, at its discre on, the defec ve product.
• See full terms and condi ons on our website.
• Malco Products shall not be liable or responsible for labor charges or
other expenses whatsoever in connec on with removal or installa on
of either the original or replacement product. In the event of repair
or replacement under the terms of this warranty, the original warranty
shall apply to the repaired or replacement product.
Cu ng wheels must ride under the seam.
Cu ng disc
Cu ng disc
Roof seam
Tilt the drill by 20 ° to 30 °
and start cu ng.
Wheels must touch the sheet while cu ng!
Do not use impact driver or hammer drill in hammer mode
while opera ng this tool.
FIRST STage SECOND STage
Standard
Seaming Profiles
7/16” (11.5 mm)9/16” (15.5 mm)
1 1/2” (38mm)
11/16” (18.5 mm)
1
2
3
4
Special design
to adjust tension
MAX. THICKNESS
• Stainless steel: 26 ga. (0.5 mm)
• Aluminum, Copper, Zinc: 20 ga. (0.8 mm)
• Steel: 24 ga. (0.7 mm)
dRILL/DRIVER REQUIREMENTS
• 1325 in./lb.
MAX. TORQUE
• 975 in./lb.
RECOMMENDED TORQUE
• 535 in./lb. for so roof material
MIN. TORQUE
Before cu ng the ver cal leg, confi rm the cu er is able to ride under the
seamed profi le as shown in the image below.
1. Expose both ends of the seam to ensure the FSXC CUTTER may operate
over the full length of the seam.
2. Posi on the FSXC CUTTER at a seam end with the seam centered be-
tween the wheels.
3. With the drill set to speed 1, use the variable speed trigger to feed the
cu er on to the seam. Once the cu er is feeding material correctly, fully
depress the trigger and cut the seam off of the roofi ng material.
The FSXC CUTTER may be started or stopped mid seam if required.
1. Center the cu er over the seam and  lt the cu ng wheels down (20-30
degrees towards the direc on you intend to cut.
2. Apply downward pressure towards the direc on of cut and use the vari-
able speed trigger to feed the material into the cu er. Once the seam
has been cut, fully depress the trigger and cut the ver cal leg as needed.
1. Remove the wheels using the provided 5mm wrench.
2. Refasten the wheels in correct posi on.
3.
Visually confi rm the height of the cu ng discs is correct for the seam
height and that all 4 wheels are contac ng the material.
4. Tighten the fasteners retaining the wheels.
5. You are all set up and ready to go. Please move on to the opera on sec on.
• 9 lbs. (4.0 kg)
• 56  ./min. (17 m / min)
1” (25 mm) profi le
1.5” (38 mm) profi le
1” (25 mm) profi le
1.5” (38 mm) profi le
Safety Information
• Not recommended for cu ng non-metals. Malco Products takes no
responsibility for the safety of the a achment if it is used in any way
other than the intended purpose as specifi ed in the opera ng instruc-
 ons.
• Only use cordless drills that meet the manufacturer requirements.
• Visually inspect components before installing on drill/driver. Do not
use if cracked or broken.
• Be aware of rota ng parts. Keep hands, fi ngers, hair, clothes, and other
tools at a safe distance. Do not wear loose clothing or jewelry. Keep
your hair, clothing, and gloves away from moving parts because they
can be caught in moving parts.
• Avoid cu ng point. Never place your hands and fi ngers between
guards and cu ng discs. It is strictly forbidden to remove guards.
• Make sure ligh ng is suffi cient.
• Do not operate tool when you are  red or under the infl uence of
drugs, alcohol, or medica on. A moment of ina en on while opera ng
may result in serious personal injury
• Do not over-reach to perform cu ng opera on. Always use roof
lifeline and follow all safety regula ons.
• Keep any power cables away from cu ng path, cu ng discs, and any
cut metal.
• Do not force cut. If the cu ng discs becomes jammed, change driving
direc on and drive backwards out of the seam. Do not try to cut the
jammed place – use scissors or other suitable tools.
• To prevent the tool from falling off the roo op, se le tool steady on
one side avoiding direct wheel contact with angular surfaces.
• Wear protec ve gloves when opera ng and performing maintenance.
• Always wear goggles or safety glasses.
• Keep away from children.
• Do not let familiarity with product replace strict adherence to safety
rules. Misuse may cause serious personal injury.
• Use hearing protec on when opera ng.
• It is strictly forbidden to install, dismantle, replace and modify compo-
nents, parts and equipment not provided for in this manual without
wri en agreement from the manufacturer.
Care and maintenance
cutting disc replacement
Malco ROOFING essentials
Seamers
• Store in the case when tool is not in use. Clean and dry tool a er each
use.
• Do not expose tool to extreme temperatures (below 0 degrees) and
weather condi ons.
• Always clean dirt, dust, sand, and other scrap from cu ng discs, axles,
and guards.
• Maintain tool using factory original replacement parts if the cu ng
discs, bolts, or guards show signs of wear.
DO NOT use case for any other purposes than caring and storing
only Malco FSXC CUTTER. Do not put other tools – such as snips,
pliers etc. in the case!
Keep the cu ng discs of the FSXC CUTTER sharp replace when necessary
to ensure quality cu ng performance.
Important: Always make sure that the power source is removed
from the cordless drill before doing care/maintenance opera ons!
Copyright © 2023 Malco Products. All rights reserved.
6 mm hex key
Two new cu ng discs
+
Use M5 bolts to help
Unscrew and change discs
Modular Benders
2 Sta on
Benders
Disc Benders
1. Remove two 6 mm hex key screws.
2. Remove the cu ng discs. If necessary, use M5 bolts to push out the
blades.
3. Clean all the dirt and dust from guards and axles under the discs.
4. Place the new cu ng discs.
5. Reassemble the screws and  ghten the blades.
mALCO
fsxC CUTTER
SL18630A
• Do not use tool under wet and moist condi ons.

Other Malco Cutter manuals

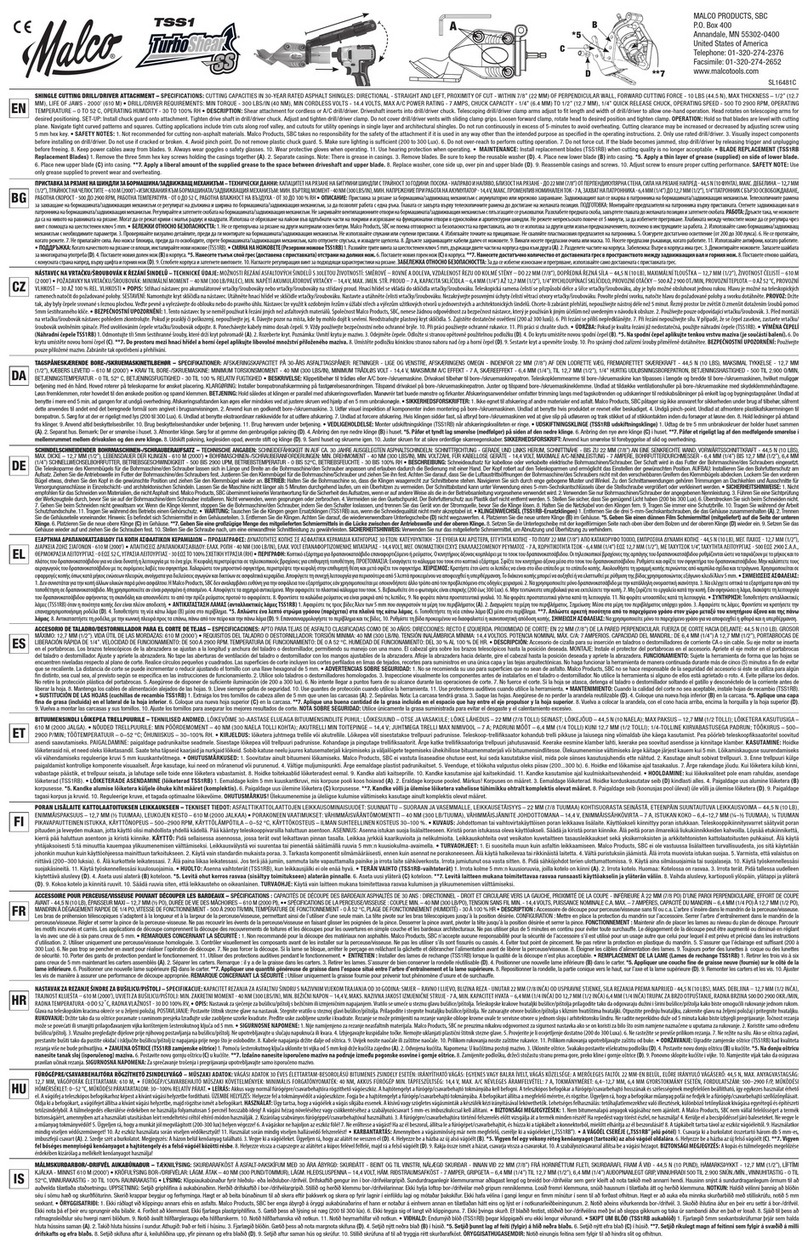
Malco TurboShear SS User manual

Malco

Malco TurboShear SS User manual

Malco TurboShear TSV1 User manual

Malco

Malco TurboShear TSV1 User manual

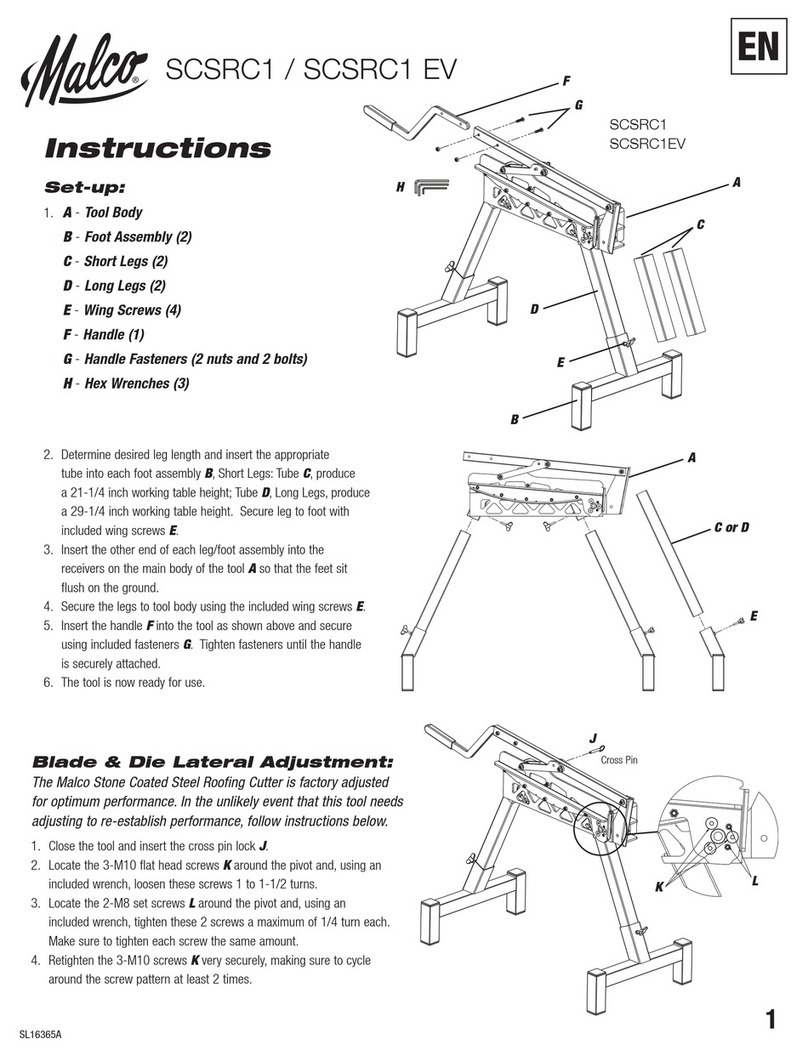
Malco SCSRC1 User manual

Malco

Malco SCSRC1 User manual

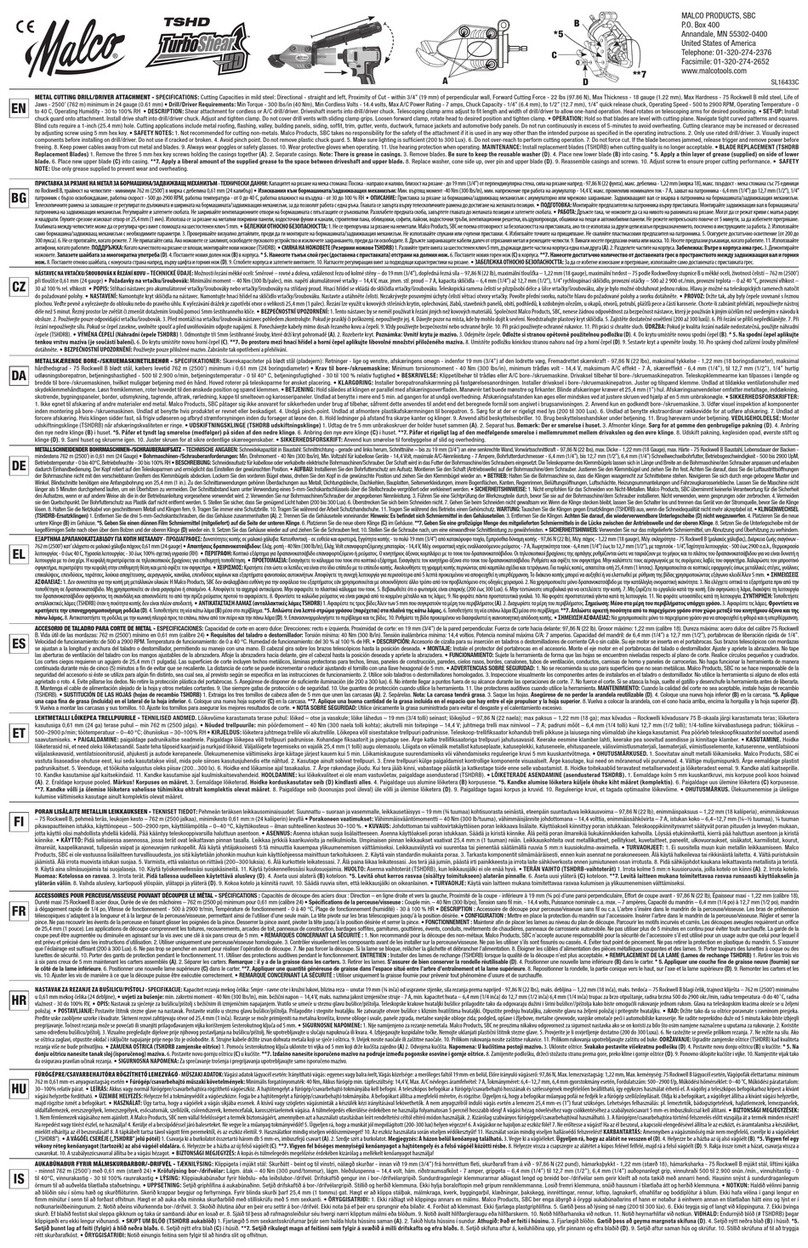
Malco TurboShear HD User manual

Malco

Malco TurboShear HD User manual

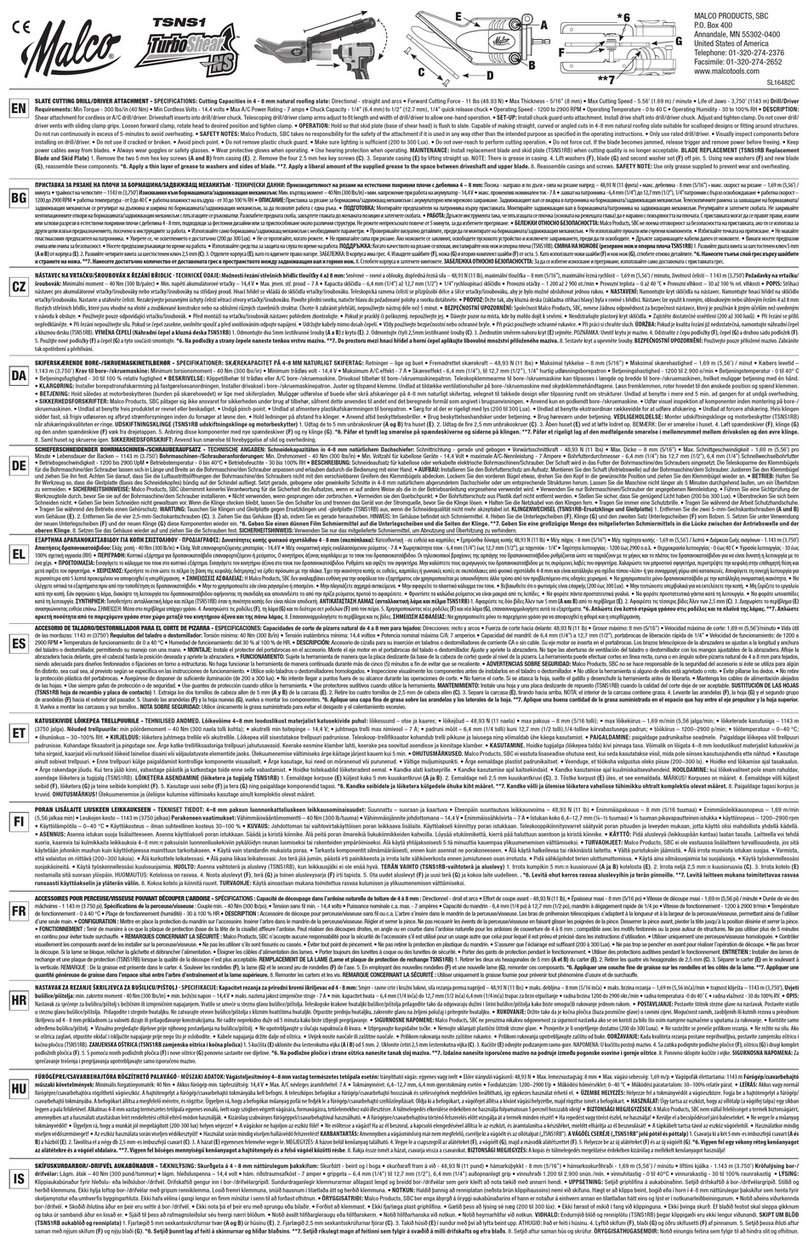
Malco TurboShear NS User manual

Malco

Malco TurboShear NS User manual

Malco HC1 User manual

Malco

Malco HC1 User manual

Popular Cutter manuals by other brands

Makita DCE090 instruction manual

Makita

Makita DCE090 instruction manual

Costway TL35162 user manual

Costway

Costway TL35162 user manual

IMER Combi 200 Use and maintenance

IMER

IMER Combi 200 Use and maintenance

ceylan DEVRAN user manual

ceylan

ceylan DEVRAN user manual

BOCI BLT4X operating instructions

BOCI

BOCI BLT4X operating instructions

Sealey PC40.V2 instruction manual

Sealey

Sealey PC40.V2 instruction manual

GRAPHTEC FCX4000 SERIES Service manual

GRAPHTEC

GRAPHTEC FCX4000 SERIES Service manual

Cricut Gypsy quick start guide

Cricut

Cricut Gypsy quick start guide

ES manufacturing MB110 Series OPERATING INSTRUCTIONS, MAINTENANCE & SAFETY

ES manufacturing

ES manufacturing MB110 Series OPERATING INSTRUCTIONS, MAINTENANCE & SAFETY

Grafalex 450VS+ Operation instructions

Grafalex

Grafalex 450VS+ Operation instructions

YABE 110T operating instructions

YABE

YABE 110T operating instructions

GMP Apollo Lasher Operation and maintenance

GMP

GMP Apollo Lasher Operation and maintenance

Black & Decker 73-515 owner's manual

Black & Decker

Black & Decker 73-515 owner's manual

Weber Rescue Systems S 50 operating instructions

Weber Rescue Systems

Weber Rescue Systems S 50 operating instructions

Sealey DC16 quick start guide

Sealey

Sealey DC16 quick start guide

AMTI Products Slice 123 quick start guide

AMTI Products

AMTI Products Slice 123 quick start guide

Uchida Yoko AeroCut nano+ Operation manual

Uchida Yoko

Uchida Yoko AeroCut nano+ Operation manual

WOLFF WO 630 Translation of the original instruction

WOLFF

WOLFF WO 630 Translation of the original instruction

manuals.online logo
manuals.online logoBrands
  • About & Mission
  • Contact us
  • Privacy Policy
  • Terms and Conditions

Copyright 2025 Manuals.Online. All Rights Reserved.