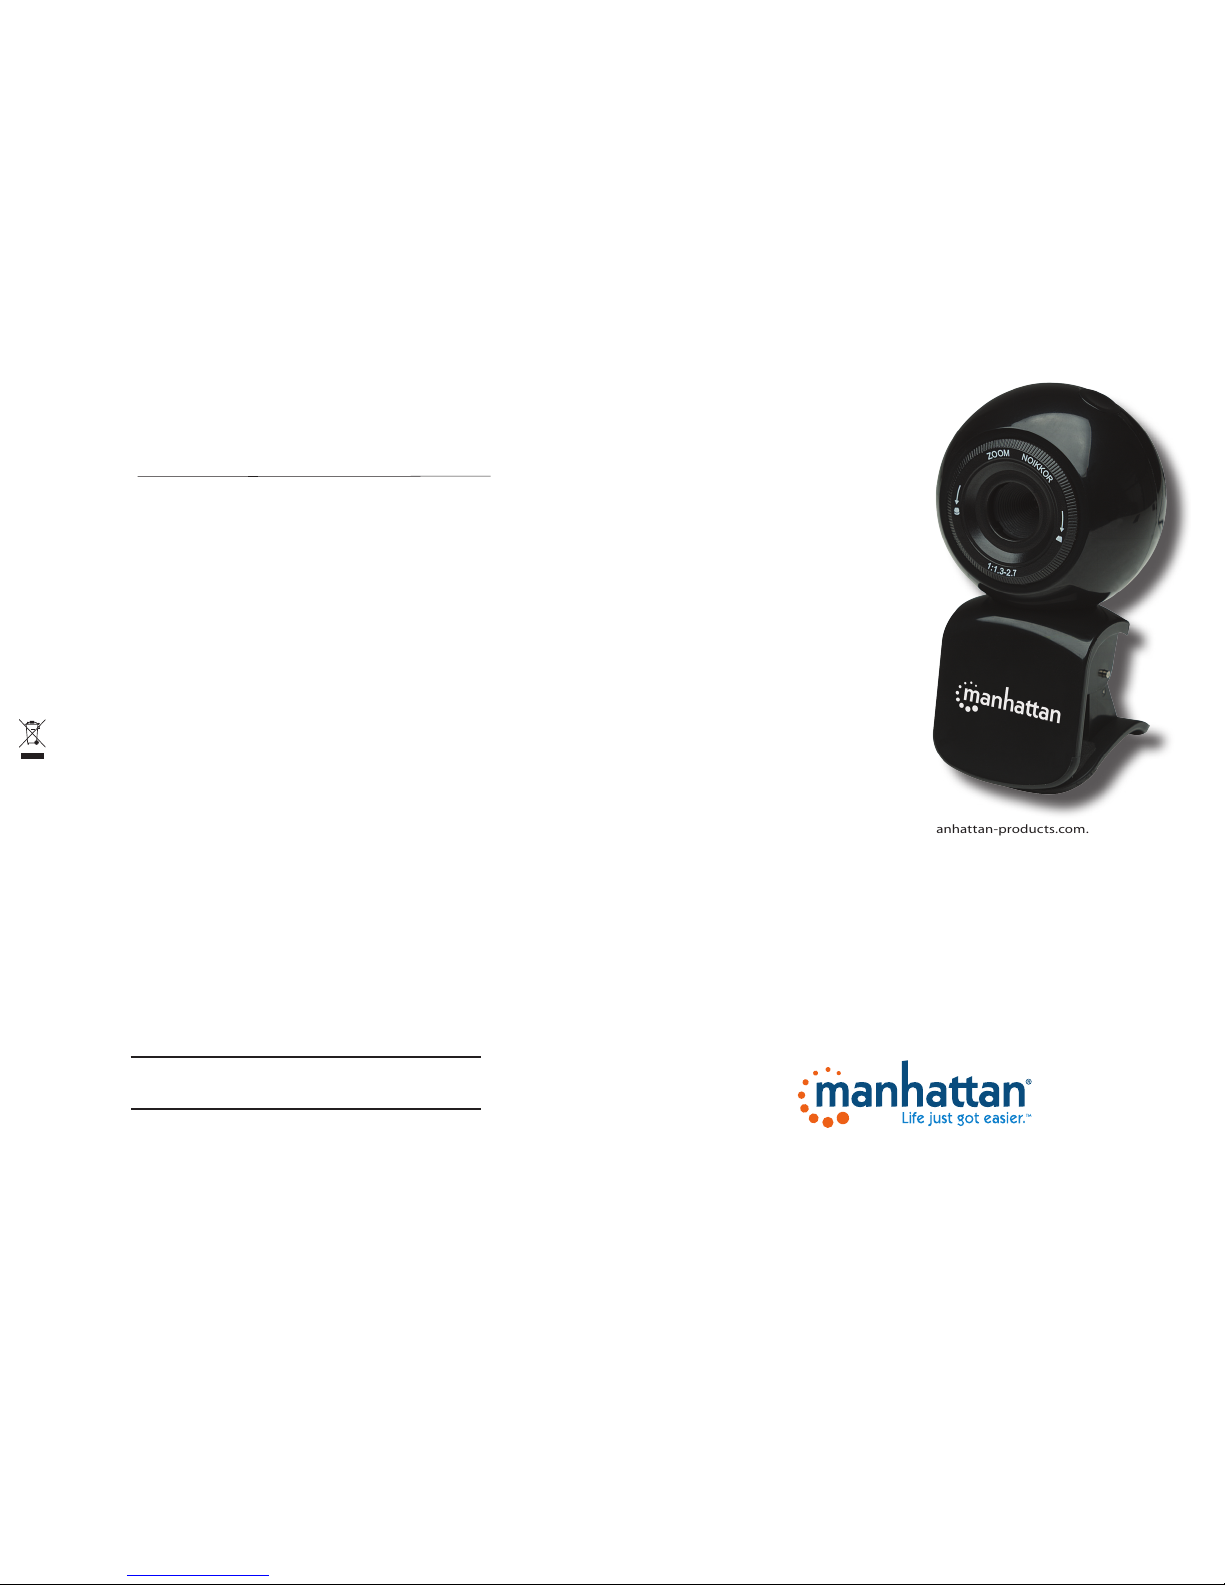
manuals.online logo
Brands
  1. Home
  2. •
  3. Brands
  4. •
  5. Manhattan
  6. •
  7. Webcam
  8. •
  9. Manhattan 460514 User manual

Manhattan 460514 User manual

HD 760 PRO
WEBCAM
QUICK
INSTALL
GUIDE
MODEL 460514
WARRANTY INFORMATION
English: For warranty information, go to manhattan-products.com/warranty.
Deutsch: Garantieinformationen finden Sie unter manhattan-products.com/warranty.
Español: Si desea obtener información sobre la garantía, visite manhattan-products.com/warranty.
Français: Pour consulter les informations sur la garantie, visitez manhattan-products.com/warranty.
Polski: Informacje dotyczące gwarancji znajdują się na stronie manhattan-products.com/warranty.
Italiano: Per informazioni sulla garanzia, accedere a manhattan-products.com/warranty.
Русский: Для получения информации о гарантии посетите страницу manhattan-products.com/warranty.
En México: Póliza de Garantía Manhattan – Datos del importador y responsable ante el consumidor IC Intracom México, S.A.P.I. de C.V. •
Av. Interceptor Poniente # 73, Col. Parque Industrial La Joya, Cuautitlán Izcalli, Estado de México, C.P. 54730, México. • Tel. (55)1500-4500
La presente garantía cubre los siguientes productos contra cualquier defecto de fabricación en sus materiales y mano de obra.
A. Garantizamos los productos de limpieza, aire comprimido y consumibles, por 60 dias a partir de la fecha de entrega, o por el tiempo
en que se agote totalmente su contenido por su propia función de uso, lo que suceda primero.
B. Garantizamos los productos con partes móviles por 3 años.
C. Garantizamos los demás productos por 5 años (productos sin partes móviles), bajo las siguientes condiciones:
1. Todos los productos a que se reere esta garantía, ampara su cambio físico, sin ningún cargo para el consumidor.
2. El comercializador no tiene talleres de servicio, debido a que los productos que se garantizan no cuentan con reparaciones, ni
refacciones, ya que su garantía es de cambio físico.
3. La garantía cubre exclusivamente aquellas partes, equipos o sub-ensambles que hayan sido instaladas de fábrica y no incluye en
ningún caso el equipo adicional o cualesquiera que hayan sido adicionados al mismo por el usuario o distribuidor.
Para hacer efectiva esta garantía bastará con presentar el producto al distribuidor en el domicilio donde fue adquirido o en el domicilio
de IC Intracom México, S.A.P.I. de C.V., junto con los accesorios contenidos en su empaque, acompañado de su póliza debidamente
llenada y sellada por la casa vendedora (indispensable el sello y fecha de compra) donde lo adquirió, o bien, la factura o ticket de compra
original donde se mencione claramente el modelo, número de serie (cuando aplique) y fecha de adquisición. Esta garantía no es válida
en los siguientes casos: Si el producto se hubiese utilizado en condiciones distintas a las normales; si el producto no ha sido operado
conforme a los instructivos de uso; o si el producto ha sido alterado o tratado de ser reparado por el consumidor o terceras personas.
© IC Intracom. All rights reserved. Manhattan is a trademark of IC Intracom, registered in the U.S. and other countries.
All trademarks and trade names are the property of their respective owners.
Alle Marken und Markennamen sind Eigentum Ihrer jeweiligen Inhaber.
Todas las marcas y nombres comerciales son propiedad de sus respectivos dueños.
Toutes les marques et noms commerciaux sont la propriété de leurs propriétaires respectifs.
Wszystkie znaki towarowe i nazwy handlowe należą do ich właścicieli.
Tutti i marchi registrati e le dominazioni commerciali sono di proprietà dei loro rispettivi proprietari.
Все торговые марки или торговые названия являются собственностью их соответствующих владельцев.
manhattan-products.com
This guide presents the basic
steps to set up and operate this
device. For specifications and
detailed instructions, refer to the
user manual on the enclosed CD or at manhattan-products.com.
Driver Installation
1 Insert the included CD in the CD-ROM drive. The installation interface
will automatically display.
2When the first InstallShield Wizard screen displays, click Driver.
3On the screens that follow, click Next or Continue Anyway.
4When the Wizard displays a Complete screen, click Finish.
Camera Installation
1 Connect the camera to your computer’s USB port.
2The operating system will find and recognize the camera, then display
a Found New Hardware Wizard Welcome screen. Click Next.
3On the screens that follow, click Next or Continue Anyway.
4When the Wizard displays a Complete screen, click Finish.
Important: Read before use. • Importante: Leer antes de usar.
English: This symbol on the product or its packaging indicates that this product
shall not be treated as household waste. Instead, it should be taken
to an applicable collection point for the recycling of electrical and
electronic equipment. By ensuring this product is disposed of correctly,
you will help prevent potential negative consequences to the environ-
ment and human health, which could otherwise be caused by inappropriate
waste handling of this product. If your equipment contains easily removable
batteries or accumulators, dispose of these separately according to your local
requirements. The recycling of materials will help to conserve natural resources.
For more detailed information about recycling of this product, contact your lo-
cal city office, your household waste disposal service or the shop where you
purchased this product. In countries outside of the EU: If you wish to discard
this product, contact your local authorities and ask for the correct manner of
disposal.
Deutsch: Dieses auf dem Produkt oder der Verpackung angebrachte Symbol
zeigt an, dass dieses Produkt nicht mit dem Hausmüll entsorgtwerden darf. In
Übereinstimmung mit der Richtlinie 2002/96/EG des Europäischen Parla-
ments und des Rates über Elektro- und Elektronik-Altgeräte (WEEE) darf
dieses Elektrogerät nicht im normalen Hausmüll oder dem Gelben Sack ents-
orgt werden. Wenn Sie dieses Produkt entsorgen möchten, bringen Sie es bitte
zur Verkaufsstelle zurück oder zum Recycling-Sammelpunkt Ihrer Gemeinde.
Español: Este símbolo en el producto o su embalaje indica que el producto
no debe tratarse como residuo doméstico. De conformidad con la Directiva
2002/96/CE de la UE sobre residuos de aparatos eléctricos y electrónicos (RAEE),
este producto eléctrico no puede desecharse se con el resto de residuos no cla-
sificados. Deshágase de este producto devolviéndolo a su punto de venta o a
un punto de recolección municipal para su reciclaje.
Français: Ce symbole sur Ie produit ou son emballage signifie que ce produit ne
doit pas être traité comme un déchet ménager. Conformément à la Directive
2002/96/EC sur les déchets d’équipements électriques et électroniques (DEEE),
ce produit électrique ne doit en aucun cas être mis au rebut sous forme de
déchet municipal non trié.Veuillez vous débarrasser de ce produit en Ie renvoy-
ant à son point de vente ou au point de ramassage local dans votre munici-
palité, à des ns de recyclage.
Italiano: Questo simbolo sui prodotto o sulla relativa confezione indica che il
prodotto non va trattato come un rifiuto domestico. In ottemperanza alla Di-
rettiva UE 2002/96/EC sui riuti di apparecchiature elettriche ed elettroniche
(RAEE), questa prodotto elettrico non deve essere smaltito come riuto mu-
nicipale misto. Si prega di smaltire il prodotto riportandolo al punto vendita o al
punto di raccolta municipale locale per un opportuno riciclaggio.
Polski: Jeśli na produkcie lub jego opakowaniu umieszczono ten symbol, wów-
czas w czasie utylizacji nie wolno wyrzucać tego produktu wraz z odpadami ko-
munalnymi. Zgodnie z Dyrektywą Nr 2002/96/WE w sprawie zużytego sprzętu
elektrycznego i elektronicznego (WEEE), niniejszego produktu elektrycznego
nie wolno usuwać jako nie posortowanego odpadu komunalnego. Prosimy o
usuniecie niniejszego produktu poprzez jego zwrot do punktu zakupu lub odd-
anie do miejscowego komunalnego punktu zbiórki odpadów przeznaczonych
do recyklingu.
Русский: Данный знак на изделии либо на его упаковке означает, что
настоящий продукт нельзя утилизировать вместе с бытовыми отходами.
Вместо этого его следует доставить в подходящий пункт сбора для
переработки электрического и электронного оборудования. Путем
правильной утилизации продукта вы предотвращаете возможные
негативные последствия для человека и окружающей среды, которые
могли бы наступить при ненадлежащем способе утилизации. Если
в оборудовании применяются съемные батареи или аккумуляторы,
их следует утилизировать отдельно в соответствии с местными
требованиями. Переработка материалов помогает экономить природные
ресурсы. Для получения подробной информации об утилизации и
переработке настоящего продукта обратитесь в местное городское
управление, службу утилизации отходов или в магазин, где было
приобретено изделие. В странах за пределами ЕС: если вы хотите
избавиться от данного изделия, обратитесь к местным властям за
указаниями по процедуре утилизации.
WASTE ELECTRICAL & ELECTRONIC EQUIPMENT
Disposal of Electric and Electronic Equipment (applicable in the European Union and other European countries with separate collection systems)
North & South America
IC Intracom Americas
550 Commerce Blvd.
Oldsmar, FL 34677
USA
Asia & Africa
IC Intracom Asia
Far Eastern Technology Center
7-F No. 125, Section 2, Da Tong Rd.
Shijr, Taipei, Taiwan, ROC
Europe
IC Intracom Europe
Löhbacher Str. 7
D-58553 Halver
Germany
Español: Cámara Web de Alta Definición 760 Pro
Esta guia presenta los pasos basicos para instalar este dispositvo. Para ver una hoja de datos con la lista
completa de caracteristicas y especificaciones, revise el manual de usuario dentro del CD adjunto o visite
manhattan-products.com.
Instalación del Driver
1 Inserte el CD incluido. La interfaz de instalación se mostrará automáticamente.
2Cuando el primer asistente de instalación muestra la pantalla, haga clic en Driver.
3En las pantallas que siguen, haga clic en Next o Continuar.
4Cuando el asistente muestra una pantalla completa, haga clic en Finalizar.
Instalación de la Cámara
1 Conecte la Cámara Web al puerto USB del ordenador.
2El sistema operativo encontrara y reconocera la Cámara Web, a continuación se mostrara el asistente
para agregar nuevo hardware. Haga clic en Next.
3En las pantallas que siguen, haga clic en Next o Continuar.
4Cuando el asistente muestra una pantalla completa, haga clic en Finalizar.
Polski: Kamera USB HD 760 Pro
Poniższa instrukcja zawiera podstawowe informacje dotyczące instalacji urządzenia. Specyfikacje i
szczegółowe instrukcje można znaleźć w instrukcji obsługi na płycie CD lub na manhattan-products.com.
Instalacja sterowników
1 Włóż załączoną płytę CD. Powinien automatycznie pojawić się interfejs kreatora instalacji.
2W oknie kreatora instalacji (InstallShield Wizard) kliknij pozycję Driver.
3W kolejnych oknach klikaj Dalej (Next) lub Kontynuuj mimo wszystko (Continue Anyway).
4Kliknij Finish, aby zakończyć.
Podłączenie kamery
1 Podepnij kamerę do wolnego portu USB komputera.
Русский: Оптическая мышь Silhouette
Эта инструкция представляет основные этапы установить и пользоваться в дальнейшем устройством.
Для спецификации и подробные инструкции см. в руководстве пользователя на прилагаемом
компакт-диске или на manhattan-products.com.
Инстоляционный драйвер
1 Вставьте прилагаемый CD. Установочный интерфейс автоматически отобразиться.
2Когда первое диалоговое установочное окно появится – нажмите на Driver (Драйвер).
3На экране будут кнопки Next (Следующее) или Continue Anyway (Продолжить в любом случае).
4Когда диалоговое окно по установке выведет сообщение о завершении. Нажмите кнопку Finish
(Завершить).
Установка камеры
1 Подсоедините камеру к вашему компьютеру через USB.
2
Операционная система обнаружит камеру, появится уведомление – Найдено новое оборудование-
щелкните на Next (Следующее).
3На экране будут кнопки Next (Следующее) или Continue Anyway (Продолжить в любом случае).
4Когда диалоговое окно по установке выведет сообщение о завершении. Нажмите кнопку Finish
(Завершить).
REGULATORY STATEMENTS
FCC Class B
This equipment has been tested and found to comply with the limits for a Class B digital device, pursuant to Part 15 of Federal Communi-
cations Commission (FCC) Rules. These limits are designed to provide reasonable protection against harmful interference in a residential
installation. This equipment generates, uses and can radiate radio frequency energy, and if not installed and used in accordance with the
instructions may cause harmful interference to radio communications. However, there is no guarantee that interference will not occur in
a particular installation. If this equipment does cause harmful interference to radio or television reception, which can be determined by
turning the equipment o and on, the user is encouraged to try to correct the interference by one or more of the following measures:
reorient or relocate the receiving antenna; increase the separation between the equipment and the receiver; connect the equipment to an
outlet on a circuit dierent from the receiver; or consult the dealer or an experienced radio/TV technician for help.
CE / R&TTE
English: This device complies with the requirements of R&TTE Directive 1999/5/EC.
The Declaration of Conformity for this product is available at manhattan-products.com.
Deutsch: Dieses Gerät enspricht der Direktive R&TTE Direktive 1999/5/EC.
Die Konformitätserklärung für dieses Produkt nden Sie unter manhattan-products.com.
Español: Este dispositivo cumple con los requerimientos de la Directiva R&TTE 1999/5/EC.
La declaración de conformidad para este producto esta disponible en manhattan-products.com.
Français: Cet appareil satisfait aux exigences de la directive R&TTE 1999/5/CE.
La Déclaration de Conformité pour ce produit est disponible à l’adresset manhattan-products.com.
Polski: Urządzenie spełnia wymagania dyrektywy R&TTE 1999/5/EC.
Deklaracja zgodności dostępna jest na stronie internetowej producenta manhattan-products.com.
Italiano: Questo dispositivo è conforme alla Direttiva 1999/5/EC R&TTE.
La dichiarazione di conformità per questo prodotto è disponibile al manhattan-products.com.
Русский: Данное устройство соответствует требованиям Директивы R&TTE 1999/5/EC.
Декларацию соответствия для данного устройства вы можете получить по адресу manhattan-products.com.
Diese Kurzanleitung zeigt die grundlegenden
Schritte zur Einrichtung und Inbetriebnahme dieses
Geräts. Für genauere Anweisungen nutzen Sie bitte
das Handbuch auf der beiliegenden CD oder auf
manhattan-products.com.
Treiberinstallation
1 Legen Sie die beiliegende CD. Der Installations-
assistent wird automatisch gestartet.
2Klicken Sie im ersten Schritt des Assistenten auf
Driver.
3Klicken Sie in den folgenden Schritten auf Next
oder Continue Anyway.
4Sobald die Installation abgeschlossen ist, klicken
Sie auf Finish.
Kamerainstallation
1 Schließen Sie die Web Cam an einen USB-Port Ihres
PCs an.
2Das Betriebssystem erkennt die Web Cam, die
Meldung “Neue Hardware gefunden” erscheint.
Klicken Sie auf Next.
3Klicken Sie in den folgenden Schritten auf Next
oder Continue Anyway.
4Sobald die Installation abgeschlossen ist, klicken
Sie auf Finish.
Deutsch: HD 760 Pro Webcam
Ce guide décrit les bases pour configurer et utiliser
cet appareil. Pour les instructions et spécifications
détaillées, veuillez lire le manuel de l’utilisationsur le
CD inclus ou sur manhattan-products.com.
Installation du logiciel
1 Insérez le CD inclus. L’assistant d’installation
s’affiche automatiquement.
2Dès que la première étape de l’assistant s’affiche,
cliquez sur Driver.
3
Aux étapes suivantes, cliquez sur Next ou Continue
Anyway.
4Dès que l’installation est complète, cliquez sur
Finish.
Installation de la caméra
1 Connectez la Webcam à un port USB de votre PC.
2Le système d’exploitation détecte la Webcam,
puis affiche l’assistant d’installation. Cliquez sur
Next.
3
Aux étapes suivantes, cliquez sur Next ou Continue
Anyway.
4Dès que l’installation est complète, cliquez sur
Finish.
Français: HD 760 Pro Webcam
2
System operacyjny automatycznie wykryje nowe urządzenie i pojawi się okno kreatora instalacji nowego
sprzętu. Kliknij Dalej (Next).
3W kolejnych oknach klikaj Dalej (Next) lub Kontynuuj mimo wszystko (Continue Anyway).
4Kliknij Finish, aby zakończyć.
Questa guida fornisce gli elementi basilari per set-
tare e rendere operativa la periferica. Per specifiche
e istruzioni dettagliate, fate riferimento al manuale
d’istruzione presente nel CD incluso o vistare il sito
manhattan-products.com.
Installazione dei driver
1 Inserire il CD incluso all’interno. L’interfaccia di
installazione apparirà automaticamente.
2Quando compare l’interfaccia di installazione
guidata, cliccare Driver.
3Sulle schermate che seguono, cliccare Next o
Continue Anyway.
4Quando la procedura guidata è visualizzata sullo
schermo come completa, cliccare Finish.
Installazione della telecamera
1
Collegare la Web Cam alla porta USB del computer.
2Il sistema operativo troverà e riconoscerà al Web
Cam, quindi appare sullo schermo che è stato
rilevato un nuovo hardware. Cliccare Next.
3Sulle schermate che seguono, cliccare Next o
Continue Anyway.
4Quando viene visualizzato sullo schermo che la
procedura guidata è completa, cliccare Finish.
Italiano: HD 760 Pro Webcam
MAN-460514-QIG-ML-0513-04-0

Other manuals for 460514

1

Other Manhattan Webcam manuals

Manhattan 460668 User manual

Manhattan

Manhattan 460668 User manual

Manhattan 460668 User manual

Manhattan

Manhattan 460668 User manual

Manhattan 460668 User manual

Manhattan

Manhattan 460668 User manual

Manhattan 460392 User manual

Manhattan

Manhattan 460392 User manual

Manhattan 760 Pro XL 460521 User manual

Manhattan

Manhattan 760 Pro XL 460521 User manual

Manhattan 500 User manual

Manhattan

Manhattan 500 User manual

Manhattan 460477 User manual

Manhattan

Manhattan 460477 User manual

Manhattan 500 User manual

Manhattan

Manhattan 500 User manual

Manhattan 760 Pro XL 460521 Instructions for use

Manhattan

Manhattan 760 Pro XL 460521 Instructions for use

Manhattan FUN!CAM User manual

Manhattan

Manhattan FUN!CAM User manual

Manhattan 460668 User manual

Manhattan

Manhattan 460668 User manual

Manhattan 460668 User manual

Manhattan

Manhattan 460668 User manual

Manhattan HD 760 User manual

Manhattan

Manhattan HD 760 User manual

Manhattan 460668 User manual

Manhattan

Manhattan 460668 User manual

Manhattan 460668 User manual

Manhattan

Manhattan 460668 User manual

Manhattan 460521 User manual

Manhattan

Manhattan 460521 User manual

Manhattan 500 SX 460491 User manual

Manhattan

Manhattan 500 SX 460491 User manual

Manhattan Mega Cam 460453 User manual

Manhattan

Manhattan Mega Cam 460453 User manual

Manhattan 860 Pro User manual

Manhattan

Manhattan 860 Pro User manual

Manhattan 860 PRO 460545 User manual

Manhattan

Manhattan 860 PRO 460545 User manual

Manhattan Pro Cam 460484 User manual

Manhattan

Manhattan Pro Cam 460484 User manual

Manhattan MegaCam 460460 User manual

Manhattan

Manhattan MegaCam 460460 User manual

Manhattan 460545 User manual

Manhattan

Manhattan 460545 User manual

Manhattan 460514 User manual

Manhattan

Manhattan 460514 User manual

Popular Webcam manuals by other brands

ClearLinks CL-UWC-P Quick installation guide

ClearLinks

ClearLinks CL-UWC-P Quick installation guide

Canyon CN-WCAMN1 user manual

Canyon

Canyon CN-WCAMN1 user manual

Logitech QuickCam Orbit AF quick start guide

Logitech

Logitech QuickCam Orbit AF quick start guide

Philips SPC210NC - SPC Web Camera Specifications

Philips

Philips SPC210NC - SPC Web Camera Specifications

Philips PCVC675K user manual

Philips

Philips PCVC675K user manual

Genius EYE 311Q manual

Genius

Genius EYE 311Q manual

Philips SPC2050NC/00 user manual

Philips

Philips SPC2050NC/00 user manual

ViewSonic VB-CAM-002 quick start guide

ViewSonic

ViewSonic VB-CAM-002 quick start guide

FS FC270 user manual

FS

FS FC270 user manual

HP LASERJET 3100 quick start guide

HP

HP LASERJET 3100 quick start guide

Microsoft XBOX 360 Live Vision manual

Microsoft

Microsoft XBOX 360 Live Vision manual

Microsoft 68C-00001 Technical data sheet

Microsoft

Microsoft 68C-00001 Technical data sheet

Creative WebCam Pro eX user manual

Creative

Creative WebCam Pro eX user manual

Philips SPC 700NC Specifications

Philips

Philips SPC 700NC Specifications

Boynq Alibi speaker & webcam manual 

Boynq

Boynq Alibi speaker & webcam manual 

Airlink101 AICN1747W user manual

Airlink101

Airlink101 AICN1747W user manual

ADS USB Turbo 2.0 user guide

ADS

ADS USB Turbo 2.0 user guide

Conceptronic CLLCHATCAM v2.0 Quick installation guide

Conceptronic

Conceptronic CLLCHATCAM v2.0 Quick installation guide

manuals.online logo
manuals.online logoBrands
  • About & Mission
  • Contact us
  • Privacy Policy
  • Terms and Conditions

Copyright 2025 Manuals.Online. All Rights Reserved.