Mannagum KALBARRI TOURER TC015 User guide

KALBARRI TOURER
OWNER’S HANDBOOK

Page 2of 8
MODEL: Kalbarri Tourer
(Model No: TC015)
PARTS:
1 x Tent Skin Including Heavy Duty PVC Floor
2 x 25mm Powder Coated Adjustable Steel Poles
1 x Steel “A” Frame
2 x 19mm Powder Coated Awning Poles
Steel Tent Pegs
Oxford Nylon Carry Bag
TOOLS REQUIRED: Hammer or mallet
Congratulations on the purchase of your new tourer tent.
To make the best use of your new tent, please read and use this
Handbook.
Please Note: This tent requires 1 or more people to set-up
We recommend set up of this tent prior to your trip –this will
ensure you have all the necessary components and will help
familiarise you with the assembly of your tent.

Page 3of 8
TIPS FOR SUCCESSFUL CAMPING.
Your tent has been designed for recreational purposes, not as a
permanent dwelling.
When selecting your camping site be careful to avoid overhanging
branches and excessive wind areas.
Never peg your inner tent out too tightly with the doors open as
this can cause undue stress on zips.
Keep doors and windows open where possible to minimise
condensation.
Check poles for signs of wear and tear and replace where
necessary.
Lower the lift-up awnings during heavy rain or strong winds.
Use warm soapy water and a sponge to clean your tent.
Do not erect the tent too close to the camp fire.
Never cook inside the tent.
Do not use chemical contaminants (such as insecticides, bug
repellents, hair spray, stove fuel, fruit juice etc.) on or near the tent
as this can create deterioration of fabrics.
Clean the zippers frequently by flushing them with fresh water if
using your tent in sandy soil.
Always ensure your tent and poles are clean and dry before packing
away.
Pegs should never be removed by pulling on the elastic or webbing
that form part of the tent.
Do not peg out your tent too tightly as this will cause long–term
damage.
Pack up and go home in extreme weather.

Page 4of 8
DIAGRAM A:
Centre “A”
Frame
Adjustable
Side Pole
Adjustable
Side Pole
DOOR/AWNING
Leg Pole
Support
Pole
Leg Pole

Page 5of 8
ERECTION INSTUCTIONS
Set up your tent prior to your first camping adventure.
At least two people are required to set up this tent.
Select a clear, level site that is free from sticks, stones & ant nests. Be
careful to avoid overhanging branches, excessive wind and areas where
water may pool under your tent floor.
Utilise all floor and fly peg points.
Use ALL guy ropes at ALL times.
Never lose these instructions!
ASSEMBLY
1. Lay out the inner tent on your selected site.
2. Peg down the inner tent at the four corners only.
3. Assemble all steel poles ensuring that each section is firmly seated.
4. Connect the support frame as per Diagram A.
5. Seat the “Tip” of steel A Frame to centre peak of tent.
6. Fit Adjustable Steel Poles to either side of “A” frame.
7. Adjust steel poles upward to tension tent and “create” tent shape.
8. Peg out all remaining floor peg points.
DISASSEMBLY
1. Pull down the tent in the reverse order of erection.
2. Leave the door partially open for air to escape when rolling.
3. Fold the tent around the roof frame, looking at the carry bag to get the
size that it should pack down to.
Whilst every effort is taken to provide accurate information on
weights, colours and dimensions, specifications may vary due to
constant product development.

Page 6of 8
BEFORE USING YOUR NEW TENT
Your tent is made from a Polyester/Cotton canvas. This fabric
MUST be conditioned before being used.
Set your tent up at home, and then wet the tent down with either
the hose or by letting the tent get rained on.
Make sure that the seams are treated well so that the stitch holes
tighten up and stop any leakage.
Let your tent dry and then redo the wetting down process.
Your tent has had a waterproofing applied to the fabric. The
wetting down process tightens up the seams and the fabric ready
for your next adventure.
Once completely dry, pack your tent away ready for use.
OTHER TIPS AND HINTS.
If you get a small tear in your tent, duct tape or a self adhesive patch
kit is the way to go. For bigger tears we recommend a canvas or
outdoor gear repairer.
Sometimes in very heavy weather the seams of your tent may leak.
Use a seam sealing stick or a wax candle on the inside of the seam
to stop further leaks.
By always making sure that your tent is packed away dry, you will
stop mildew. If you do happen to get mildew on the tent use a luke
warm mild soap solution with a soft bristle brush and sponge to
clean the fabric. Make sure it is completely dry before resealing any
seams (if required).

Page 7of 8
FREQUENTLY ASKED QUESTION’S
Will I need to use a wax stick or seam sealer?
As your tent is a Polyester/Cotton fabric you may be required to put extra
seam sealing on the seams. A wax stick can be used by rubbing the wax over
the seams (on the inside and outside) to create a seal. Alternatively use a
seam sealer which is a durable, flexible adhesive ideal for tents, coats, boots
and other outdoor equipment. It bonds to both natural and synthetic fabrics,
and other difficult-to-glue materials. We recommend you follow the
instructions on the seam sealing product you opt to use.
My tent appears to be leaking.
Through perspiration and breathing, an adult gives off about a litre of water
overnight. When you sleep in a tent, this water vapour is trapped. If it cannot
escape, water vapour reappears as condensation and this can make it appear
that the tent is leaking. The tent windows should be left partially open at night
to aid with cross ventilation which allows excess moisture to escape, reducing
condensation. With a Polyester/Cotton fabric tent, some condensation is
normal.
Do I need to use guy ropes? How do I guy out my tent?
When high winds or a storm are predicted, do not count on the pegs alone
to keep your tent secure. All DMH tents have built in loops at optimal guy-
out locations. It’s important to put in the extra time guying out your tent.
Correctly done, it can save your tent during harsh weather. Attach the guy
ropes to the loops & peg them in the ground three or four feet from the
edge of the tent. If pegged too close to the tent, wind can cause an upward
pull that could dislodge the pegs.

Page 8of 8
What should I use to clean my tent?
Clean the tent by setting it up and wiping it down with a mild soap and
lukewarm water solution. Rinse thoroughly and dry completely. Never use
detergent, washing machines or dryers because they can damage the tent’s
protective coating and seams. After cleaning, be sure the tent is completely
dry, especially the heavier, double-stitched areas such as the seams, before
storing or mould and mildew are likely to grow. Clean the tent poles with a
soft, dry cloth. This is especially necessary after ocean-side camping trips to
remove salt spray so the poles don’t corrode or stay gritty. Clean the
zippers with a quick dip in water and then dry them off. This is especially
important if you’ve been camping in a location with sand/dirt. If you don’t
clean the zippers, the sliders will wear out and eventually the teeth will
become inoperable.
WARRANTY
Your Mannagum Tent is warranted for a period of 3 years from the date of
original purchase against defects in workmanship or materials. This warranty
means that only the parts that prove to be defective during the warranty
period will either be repaired or replaced at our option. The manufacturer
cannot be responsible for tents not inspected or conditioned according to the
instructions as outlined in the Owner’s Manual. Should repair become
necessary during the warranty period then the product should be returned to
the place of purchase or the nearest service centre. This warranty does not
apply if the damage occurs because of:
Accident,
Fair wear & tear,
Misuse, neglect or abuse,
Storm damage or other acts of God,
Unauthorised repairs made or attempted.
Made in China for Debenham International
www.mannagumoutdoors.com
Table of contents
Popular Tent manuals by other brands
Party Warehouse
Party Warehouse Electron instructions
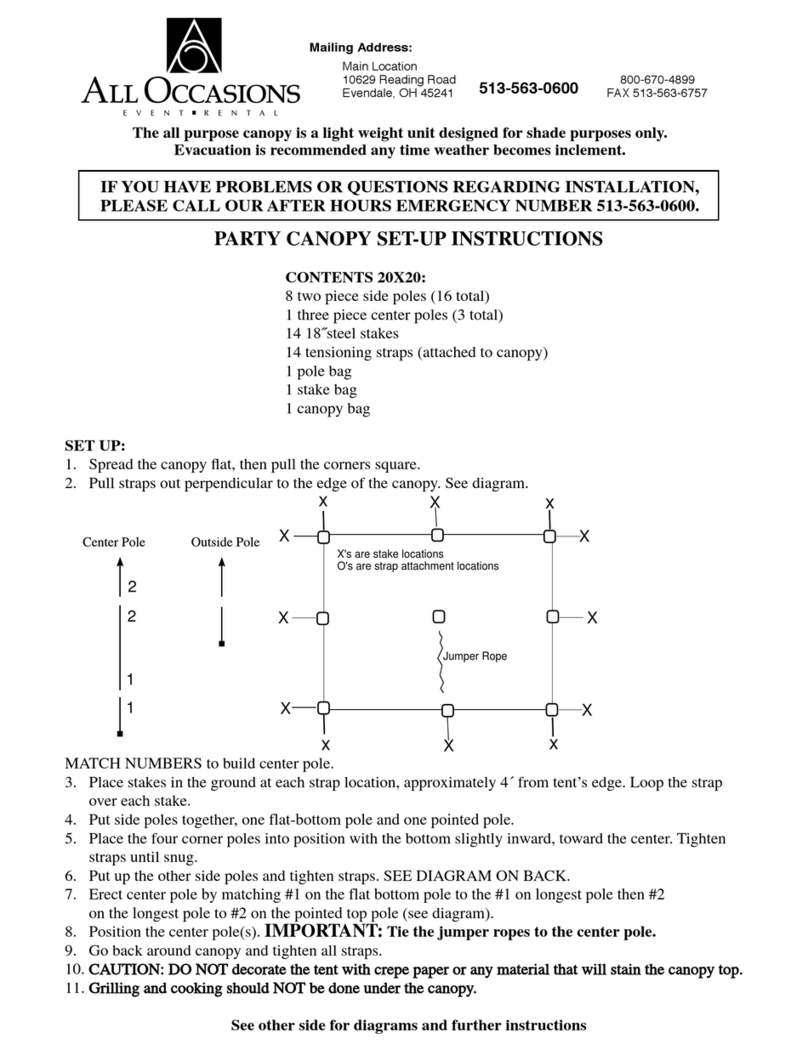
All Occasions
All Occasions PARTY CANOPY Setup instructions

Napier
Napier SPORTZ 84000 installation instructions
Magellan Outdoors
Magellan Outdoors SwiftRise 6P instruction manual
Ozark Trail
Ozark Trail WMT-1390S-1 owner's manual

Knirps
Knirps Apoll 9021290 Assembly instructions and user's manual
Tentipi
Tentipi Comfort 7 12170 Assembling & installation instructions
Hudora
Hudora 64037 INSTRUCTIONS ON ASSEMBLY AND USE
Vango
Vango BLADE Pitching instructions
ShelterLogic
ShelterLogic ShelterTech 4,6 x 4,3 m Assembly instructions
sotecc
sotecc canopy flash User's manual & installation instructions

Outwell
Outwell JACKSONVILLE 5SA quick start guide

