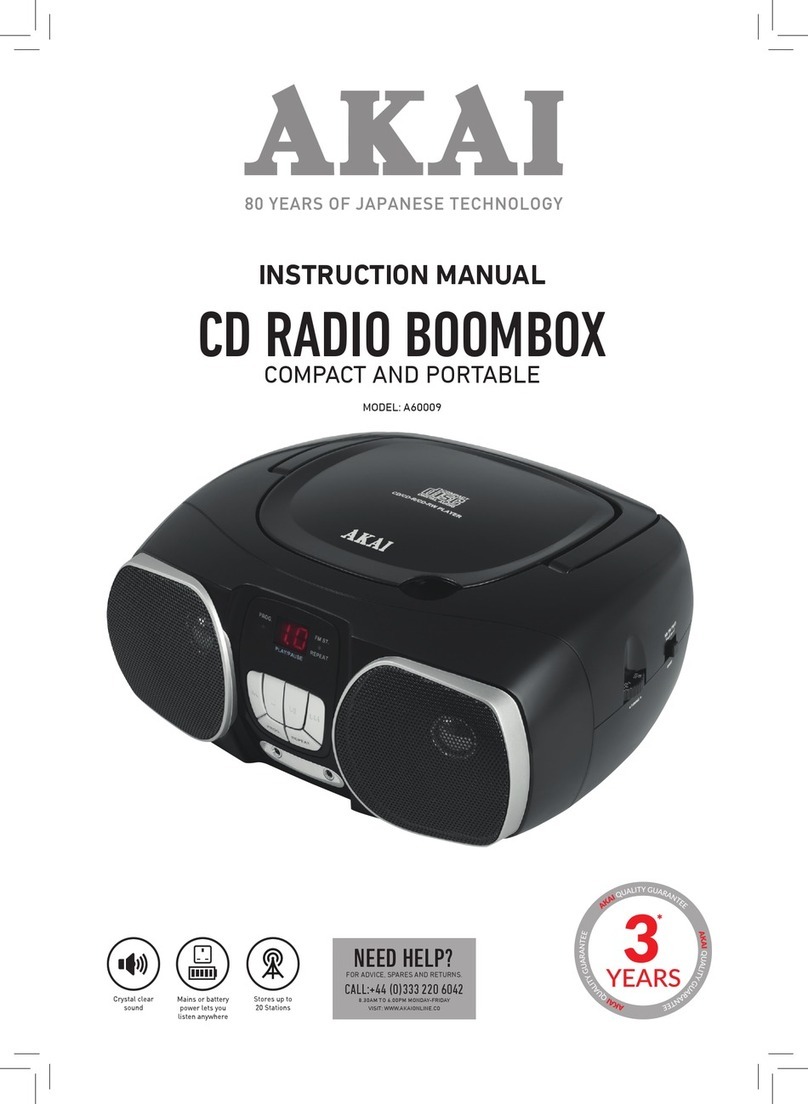
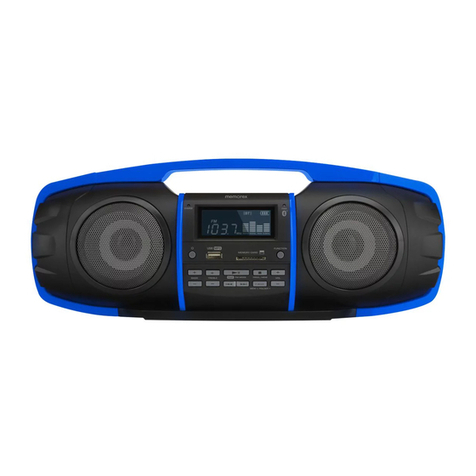
Manta MM270 User manual

Instrukcja obsługi
User’s Manual
Snow Boombox BT
MM270

MM270
2
User’s Manual
IMPORTANT NOTES.....................................................................................................................................................................................................................3
SCHEMAT..........................................................................................................................................................................................................................................5
POWER SOURCE.............................................................................................................................................................................................................................6
BASIC FUNCTION..............................................................................................................................................................................................................................6
SPECIFICATIONS..............................................................................................................................................................................................................................14
Instrukcja obsługi
WAŻNE INFORMACJE....................................................................................................................................................................................................................16
SCHEMAT........................................................................................................................................................................................................................................18
ZASILANIE..........................................................................................................................................................................................................................................20
FUNKCJE PODSTAWOWE............................................................................................................................................................................................................21
SPECIFICATIONS..............................................................................................................................................................................................................................30

MM270
3
IMPORTANT: Please read before using and retain for future reference.
FAVOR DE LEER EL MANUAL COMPLETAMENTE ANTES DE OPERAR
ESTE PRODUCTO. CONSERVAR EL MANUAL PARA FUTURAS REFERENCIAS
IMPORTANT NOTES
INTRODUCTION
• Thank you for buying this product.
• Please read through these operating instructions, so you will know
how to operate your equipment properly. After you nished reading
the instructions manual, put it in a safe place for future reference
CAUTION
•
Use of controls or adjustment or performance of procedures other than
those specied herein may result in hazardous radiation exposure
DANGER
•
Use of controls or adjustment or performance of procedures other than
those specied herein may result in hazardous radiation exposure
Use of controls or adjustment
or performance of procedures
other than those specied herein
may result in hazardous radia-
tion exposure
NOTE
•
The manufacturer is not responsible for any radio or TV interference
caused by unauthorized modications.

MM270
4
• Avoid installing the unit in locations described below:
1. Places exposed to direct sunlight or close to heat radiating applian-
ces such as electric heaters, or other equipments that radiate too
much heat.
2. Places subjected to constant vibration.
3. Unventilated or dusty places.
4. Humid or moist places.
• Operate buttons and switches as instructed in the manual.
•
Before turning on the power for the rst time, make sure that the power
cord is properly installed and the voltage switch is correctly set.
•
Store your CD or other devices in a cool area to avoid damage from heat.
CAUTION
• Remove batteries if exhausted or if they will not be used for a long
period.
• The incorrect use of batteries can cause electrolyte leakage and will
corrode the compartment or cause the batteries to burst. Therefore:
• Do not mix battery types, e.g. alkaline with zinc carbonate.
• When inserting new batteries, replace all batteries at the same time.

MM270
5
Schemat
1. FOLDING HANDLE
2. CD COMPARTMENT
3. POWER INDICATOR
4. LCD DISPLAY
5. FM STEREO INDICATOR
6. BASS BOOST BUTTON
7. FOLD-/-10 BUTTON
8. CD SKIP/SEARCH
BACKWARD BUTTON
9. CD PROG./P-MODE
10.FOLD+/+10
11.CD SKIP/SEARCH
FORWARD
12.SPEAKERS
13.CD PLAY/PAUSE/
STANDBY
14.CD /USB STOP
15.USB PORT
16.FM TELESCOPIC
ANTENNA
17.FUNCTION SWITCH
18.DIAL SCALE
19.TUNING CONTROL
20.VOLUME CONTROL
21.AC SOCKET
22.
BATTERY COMPARTMENT
23.AUX IN JACK
24.AC VOLTAGE SELECTOR
(For dual voltage ver-
sion only)

MM270
6
POWER SOURCE
This unit is designed to be operated on AC/DC
AC OPERATION
•
PlugthesmallerendofACpowercordintoACjackonunitandtheotherbig-
ger end into AC wall outlet. The batteries will be automatically disconnec-
ted. For dual voltage version, make sure that the AC voltage selector (loca-
ted on the bottom of the unit) is switched to your local voltage.(optional)
DC OPERATION
•
Open the BATTERY COMPARTMENT DOOR. Install 6 pcs UM-2/C size
batteries (not included) into compartment. Please follow correct pola-
rities as indicated
CAUTION
• Remove batteries if they are at or not being used for a long period of
time.
•
Batteries contain chemical substances, so they should be disposed
of properly
BASIC FUNCTION
SWITCHING ON THE UNIT
Set the FUNCTION switch to CD/MP3/USB/AUX or RADIO
• NOTE: In CD/MP3/USB/AUX mode when the unit is not providing the
main function for 15 minutes, the unit will automatically switch into
standby mode. To turn on the unit again, press „STANDBY” button or
replug the unit.
•
ESD hints – The product maybe reset or not reset to operation of control
due to electrostatic discharge, just switch o and reconnect again.

MM270
7
TO ADJUST VOLUME
Rotate the VOLUME CONTROL back and forth to increase and decrease
volume
BASS BOOST SYSTEM
• The BASS BOOST BUTTON controls the bass of the unit. Bass sound is
the lower frequency ranges of sound. The knob can be pushed to OFF
or ON position, When the BASS BOOST is on, the unit boosts (increases)
the sound output of the bass frequencies
USING THE RADIO
TUNING IN RADIO STATIONS
• Move the FUNCTION switch to RADIO position, the POWER indicator
will illuminate.
• Tune to required station by rotating the TUNING KNOB.
• Rotate the VOLUME CONTROL to comfortable volume level.
• Extend the TELESCOPIC ANTENNA to its full length if you are listening
to FM broadcasting.
•
Note: The FM STEREO indicator will be on if you are receiving FM stereo
program.
• Turn o the radio by switching the FUNCTION switch to „OFF” position
USING THE CD/MP3
Discs for Playback
•
This system can playback all digital audio CD, MP3, WMA nalized digital
audio CD-Recordable (CD-R) discs, nalized digital audio CD-Rewritable
(CD-RW) discs and CD-DA format digital audio CD/CD-R/CD-RW discs.

MM270
8
Loading a disc
Set the FUNCTION switch to CD/MP3/USB/AUX position.
• Open the CD door.
• Place an audio CD into the tray with the label side facing up.
•
Close the CD door. The total number of tracks will appear on the display
after several seconds.
• To remove the CD, press to open CD compartment lid, grasp the CD
by its edges, and carefully take it out.
Note
•
To ensure good system performance; wait until the disc tray completely
reads the disc before proceeding.
• If no disc is loaded into the compartment, or the disc is placed upside
down, the display will show N0D.
PLAYING A DISC
• Press the PLAY/PAUSE/USB button to start playback. The playback
starts from track
1, the “ ” indicator is shown on the display. To interrupt playback,
press the PLAY/PAUSE/USB button.
The “ ” indicator and the current track will ash on the display. To
resume playback, press the PLAY/PAUSE/USB button again.
• To stop playback, press the STOP button, the total number of tracks
appears on the display

MM270
9
SELECTING A DESIRED TRACK/PASSAGE
To select a song/track which number exceeds 10, Press the
FOLD+/+10 or FOLD-/-10 button each time to skip forward/backward
10 tracks, then press the CD SKIP FORWARD/BACKWARD button
to select desired track. For example: to select the 17th track, press
FOLD+/+10 button, and then the CD SKIP FORWARD button six times
immediately..
To Select A Desired Folder (for MP3 disc only)
To select a song/track which number exceeds 10, Press the
FOLD+/+10 or FOLD-/-10 button each time to skip forward/backward
10 tracks, then press the CD SKIP FORWARD/BACKWARD button
to select desired track. For example: to select the 17th track, press
FOLD+/+10 button, and then the CD SKIP FORWARD button six times
immediately.
To Select A Desired Folder (for MP3 disc only)
(if the MP3 disc contains more than one folder) To skip to the desired
folder during playback, press and hold the FOLD+/+10 or FOLD-/-10
button for about 2 seconds to skip to next/previous folder.
MM270
10
PROGRAM TRACKS
Programming tracks of disc are possible when playback is stopped.
Up to CD 20 tracks /MP3 99 tracks can be stored in the memory in any
order.
•
In stop mode, press the PROG./P-MODE button, the PROG will ash and
the P01 indicator will be on.
• Press the CD SKIP/SEARCH FORWARD button to select the rst desired
track to be programmed.
•
Press the PROG./P-MODE button to enter. The display changes to show
P02.
•
Repeat steps 2 & 3 to store other desired tracks until all tracks are
programmed.
• Press the PLAY/PAUSE/USB button to start playback from the rst pro-
grammed track.
• Press the STOP button to stop program playback
TO ERASE THE MEMORY PROGRAM
To clear the program, you have two options:
• Press the STOP button when the disc is stopped, or
•
Open the CD compartment lid, program will be erased

MM270
11
REPEAT
To Repeat a Single Track
•
Press the PROG./P-MODE button once in play mode, “ ” will ash on
the display. The current track will be played repeatedly until the STOP
button is pressed
• Press the PROG./P-MODE button once more to cancel.
To repeat all the Tracks
• Press PROG./P-MODE button in play mode till “ ” shows steady on
the display, all tracks on the disc will be played repeatedly until the STOP
button is pressed.
• To cancel repeat play, press the PROG./P-MODE button once more.
To repeat current Directory (for MP3 only)
•
Press PROG./P-MODE button in play mode till “ FOLDER” shows
steady on the display, The current directory will be played repeatedly
until the STOP button is pressed.
• Press the PROG./P-MODE button once to cancel.
RANDOM PLAY
•
Press the PROG./P-MODE button in play mode till the “RDM ” shows
steady on the display, the random play will start from next track auto-
matically(or press CD skip forward button), until all tracks are played
over and then stop. Press the PROG./P-MODE button once to cancel.
INTROSCAN PLAY (for CD disc only)
• Press the PROG./P-MODE button in play mode till the “INTRO ” shows
steady on the display, the unit will start to play the rst 10 seconds of
music of each track , until all tracks are played over and then stop. Press
the PROG./P-MODE button once to cancel

MM270
12
LISTENING TO USB
USB PLAYBACK
•
Press and hold the PLAY/PAUSE/USB button to select USB playing mode
while the FUNCTION switch on main unit is set to CD/MP3/USB/AUX
position.
Connect the USB to the USB INPUT. The CD will display total number of
tracks stored inside the USB.
•
Press the PLAY/PAUSE/USB button to start playing. Press the PLAY/
PAUSE/USB button once again to temporarily stop. The track number
will ash.
•
Press the STOP button to stop playing. The display will show total number
of tracks.
• Proceed repeat play (repeat 1/repeat all/repeat folder)/program play/
random play/skip up and down operation as the same described in
above “USING THE CD/MP3”.
NOTE
•
To exit USB operation, press and hold PLAY/PAUSE/USB button to return
the CD mode.
CAUTION
•
Do not use any USB extension cable for connecting the USB stick which
may cause harmful interference
•
In case of malfunction due toelectrostatic discharge, justreset theproduct
(reconnect of power source may berequired) toresume normaloperation.

MM270
13
AUX-IN OPERATION
This unit has provided special AUX-IN jack, through this jack other
audio sources can be connected to this unit and be amplied.
• Set the FUNCTION switch to CD/MP3/USB/AUX position.
•
Connect the audio cable into the AUX-IN jack and the other end connect
to the AUDIO OUT jack of the external audio source. The unit will change
to AUX mode automatically.
• Adjust the volume of the main unit to your desired level.
•
Press PLAY of the external audio source (eg. MP3 player) to start playback.

MM270
14
SPECIFICATIONS
CD SECTION
Channels 2 channels
Optical pick-up 3 beams laser
Frequency Response: 100Hz - 16KHz
RADIO SECTION
Receiving Band FM ST
Tuning Range: FM ST.: 87.5 - 108 MHz
GENERAL
Output Power 1.2W x 2 (MAX)
Aux in jack: 3.5mm
Power Source:
AC 230V ~ 50Hz DC 9V 1.5V UM-2/C
x 6pcs (YOUR EXACT AC POWER
CAN BE CHECKED ON THE BACK
PLATE OF UNIT)
Power Consumption: 14 W
Note: Specications are subject to change for continuous improve
ment without prior notice.

MM270
15

MM270
16
WAŻNE INFORMACJE
WPROWADZENIE
• •Dziękujemy za zakup naszego produktu.
• •Prosimy o dokładne zapoznanie się z niniejszą instrukcją obsługi, aby
dowiedzieć się, jak prawidłowo obsługiwać zakupiony sprzęt. Zaleca-
my, aby po przeczytaniu instrukcji odłożyć ją w bezpieczne miejsce i
umożliwić skorzystanie z niej w przyszłości.
UWAGA
Użytkowanie elementów sterowania bądź regulacyjnych innych, niż
opisane w instrukcji, lub wykonywanie procedur, które nie zostały przed
stawione w tym dokumencie, może spowodować narażenie na działanie
groźnego promieniowania.
NIEBEZPIECZEŃSTWO
Ten odtwarzacz płyt kompaktowych jest
klasykowany jako PRODUKT LASEROWY klasy 1.
Etykietę oznaczającą PRODUKT LASEROWY
KLASY 1 umieszczono z tyłu urządzenia.
UWAGA:
Producent nie ponosi odpowiedzialności za zakłócenia fal radiowych
lub telewizyjnych wywołane przez nieuprawnione modykacje sprzętowe.
•
Nie zaleca się instalowania urządzenia w miejscach wymienionych
poniżej:
1.
Miejscach narażonych na bezpośrednie działanie światła słonecznego
lub znajdujących się w pobliżu urządzeń emitujących promieniowanie
cieplne, np. grzejników elektrycznych lub innych urządzeń wydzielają-
cych nadmierne ilości ciepła.
2. Miejscach narażonych na ciągłe drgania.
3. Miejscach nienapowietrzonych lub zakurzonych.
PRODUKT LASEROWY KLASY 1
LUOKAN 1 LASERLAITE
KLASS 1 LASERAPPARAT

MM270
17
4. Miejscach o dużej wilgotności.
•
Przyciski i przełączniki muszą być obsługiwane zgodnie ze wskazówkami
podanymi w instrukcji.
•
Przed pierwszym uruchomieniem zasilania sprawdzić, czy przewód
zasilania został zainstalowany prawidłowo oraz czy przełącznik napięcia
został ustawiony poprawnie.
•
Odtwarzacz CD oraz inne urządzenia muszą być umieszczone w chłod-
nym miejscu, aby zapobiec ich uszkodzeniu w wyniku działania wysokich
temperatur.
UWAGA: NIE WOLNO ZDEJMOWAĆ POKRYWY (POKRYWY TYLNEJ), ABY
ZMNIEJSZYĆ ZAGROŻENIE PORAŻENIEM PRĄDEM. NIE WOLNO SAMO
DZIELNIE OTWIERAĆ URZĄDZENIA. W PRZYPADKU KONIECZNOŚCI JEGO
SERWISOWANIA SKONTAKTOWAĆ SIĘ Z WYKWALIFIKOWANYM CENTRUM
NAPRAWCZYM.
OSTRZEŻENIE:
• Baterie rozładowane muszą być wyjęte z urządzenia. To samo dotyczy
baterii, które nie będą używane przez dłuższy czas.
•
Niewłaściwe użytkowanie baterii może spowodować wyciek elektrolitu,
co wywoła korozję w gnieździe na baterie lub spowoduje ich eksplozję.
Z tego względu:
•
Nie wolno mieszać ze sobą typów baterii, np. baterii alkalicznych z
węglowo-cynkowymi.
•
Podczas wymiany baterii każdorazowo wszystkie stare zastąpić nowymi.

MM270
18
Schemat

MM270
19
1. UCHWYT SKŁADANY
2. MIEJSCE NA PŁYTĘ
3. LAMPKA ZASILANIA
4. WYŚWIETLACZ LCD
5. LAMPKA PASMA FM STEREO
6. PRZYCISK WZMOCNIENIA BASÓW BASS BOOST
7. PRZYCISK PRZESKAKIWANIA FOLD -/-10
8. PRZYCISK PRZESKOCZENIA UTWORU/WYSZUKIWANIA WSTECZ
9. PRZYCISK PROGRAMOWANIA/TRYBU PROGRAMOWANIA
PROG./P-MODE
10.PRZYCISK PRZESKAKIWANIA +/+10
11.PRZYCISK PRZESKOCZENIA UTWORU/WYSZUKIWANIA DO PRZODU
12.GŁOŚNIKI
13.PRZYCISK ODTWARZANIA/WSTRZYMYWANIA/PRZEŁĄCZANIA W
TRYB OCZEKIWANIA
14.PRZYCISK ZATRZYMYWANIA PŁYTY CD/USB
15.PORT USB
16.ANTENA TELESKOPOWA FM
17.PRZEŁĄCZNIK FUNKCJI
18.SKALA Z PODZIAŁKĄ
19.STROJENIE
20.REGULACJA GŁOŚNOŚCI
21.GNIAZDO PRĄDU ZMIENNEGO
22.KOMORA NA BATERIE
23.WTYCZKA DO URZĄDZEŃ DODATKOWYCH
24.WYBIERAK NAPIĘCIA PRĄDU ZMIENNEGO (Dotyczy wyłącznie
urządzeń pracujących w dwóch wariantach zasilania)

MM270
20
ZASILANIE
Urządzenie zaprojektowano do pracy z prądem stałym/zmiennym.
ZASILANIE PRĄDEM ZMIENNYM
• Włożyć mniejszą końcówkę przewodu zasilania AC do gniazda wtycz-
kowego AC na urządzeniu, natomiast końcówkę większą do gniazda
ściennego AC. Spowoduje to automatyczne rozłączenie zasilania ba-
teryjnego. W przypadku urządzenia pracującego w dwóch wariantach
zasilania sprawdzić, czy wybierak zasilania AC (znajdujący się na spodzie
urządzenia) został przełączony zgodnie z lokalną wartością zasilania
(opcjonalnie).
ZASILANIE PRĄDEM STAŁYM
•
Otworzyć KLAPKĘ KOMORY NA BATERIE. W środku zainstalować 6
sztuk baterii o wielkości UM-2/C (nie są dostarczane razem z urządze-
niem). Pamiętaj, aby ułożyć baterie zgodnie ze wskazanymi kierunkami
biegunowości.
UWAGA
• Baterie rozładowane lub nieużywane od dłuższego czasu muszą być
bezwzględnie wyjęte.
• Baterie zawierają substancje chemiczne i należy je usuwać zgodnie z
przepisami.
Table of contents
Languages:
Other Manta Portable Stereo System manuals

Manta
Manta Silver Rock Boombox BT User manual

Manta
Manta MM271 User manual

Manta
Manta BBX002 User manual

Manta
Manta BBX003 User manual

Manta
Manta Chilli MM210 User manual

Manta
Manta DroP II MM208BT Assembly instructions

Manta
Manta ChilliBoombox MM210BT Assembly instructions

Manta
Manta BBX005 NERVA User manual

Manta
Manta DroP II Assembly instructions

Manta
Manta Cosmo Boombox BT MM272 User manual