1-BIT MD / CD SYSTEM SD-FX10
7
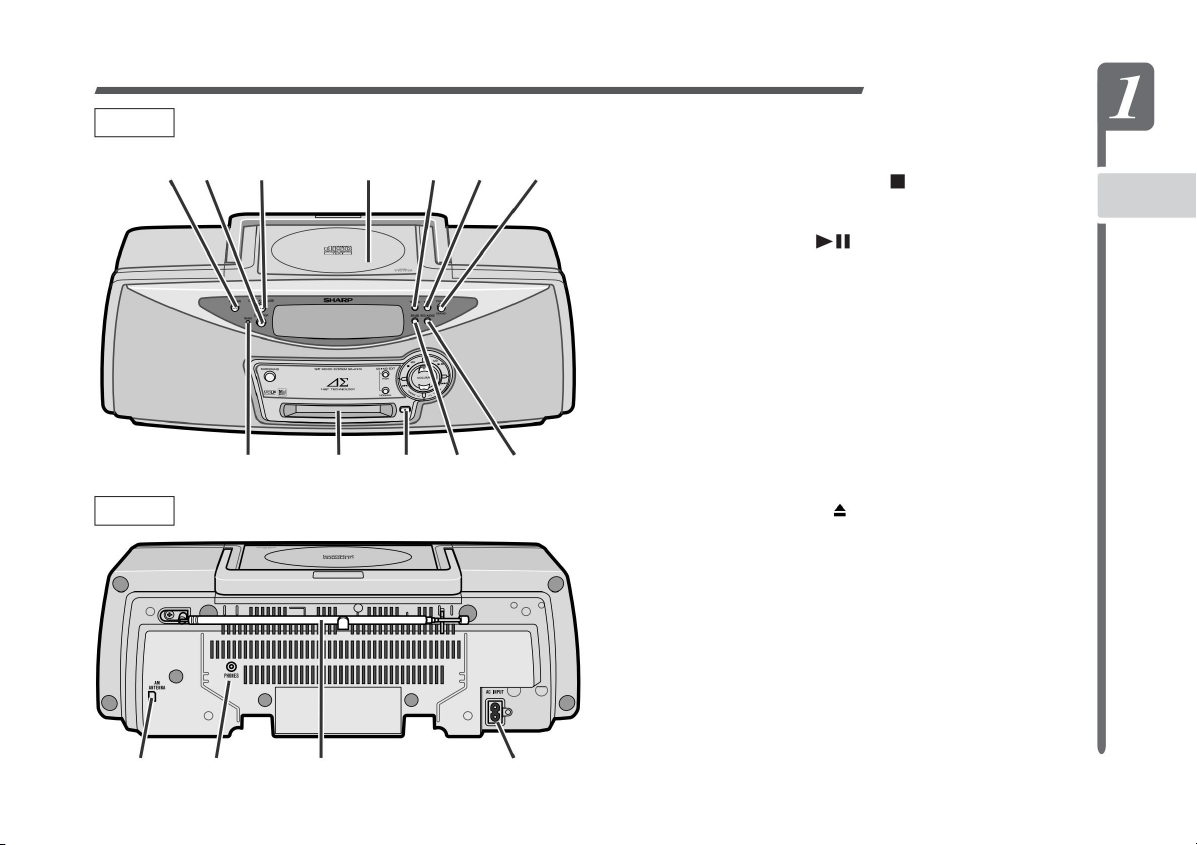
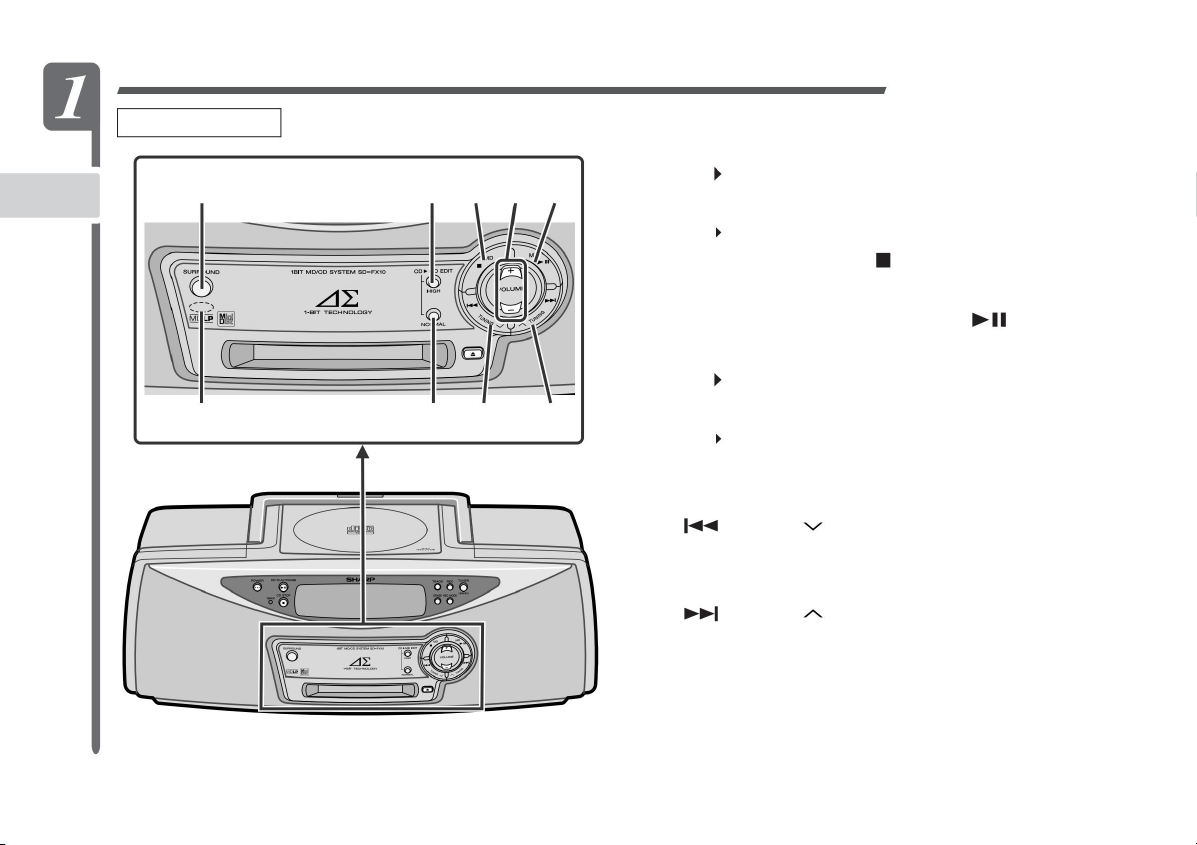
When removing the CD , stop playing
and then open the CD pig.
Special CDs Do not use special
shaped discs (heart-shaped, octagonal, etc.)
YUJITAKEBAYASHI
YUJITAKEBAYASHI
ABCDEFGHIJKLMNOPQRSTUVWXYZ1234567890abcdefghijklmn
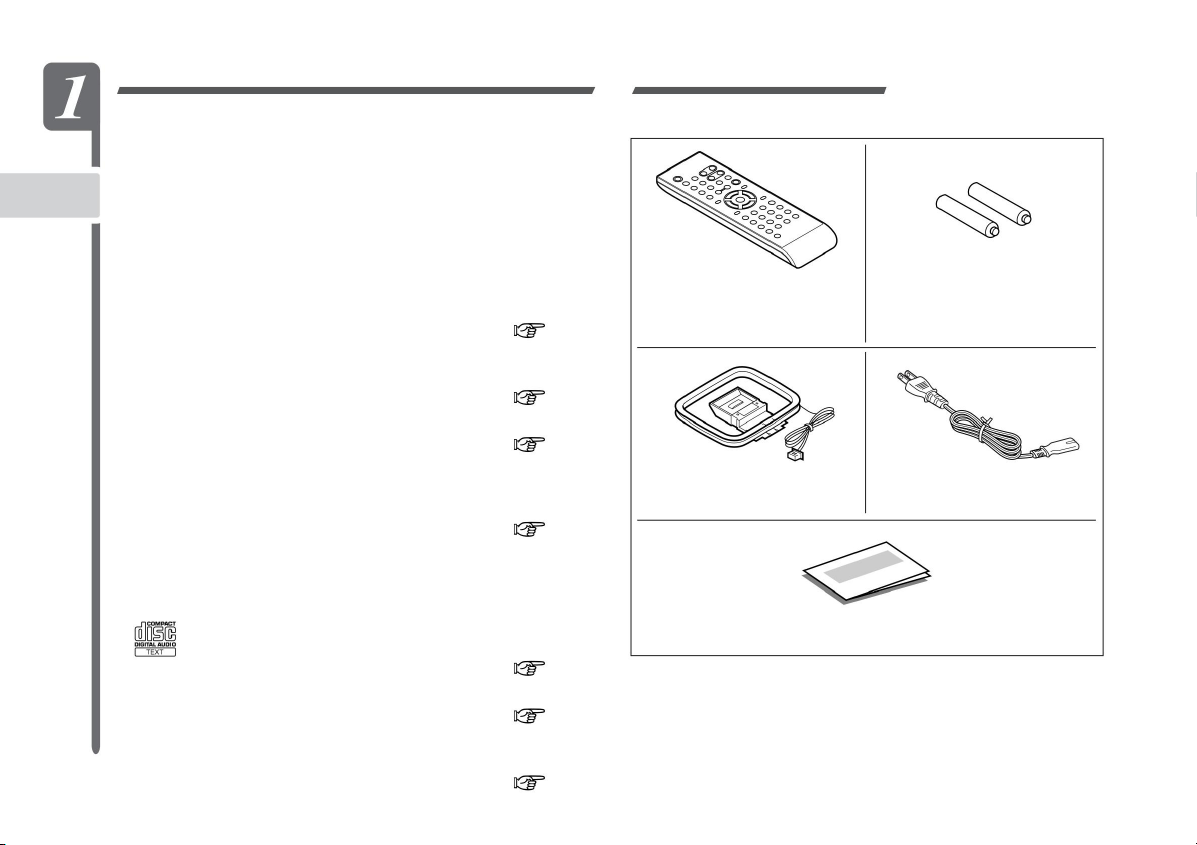
When moving , turn off the
power and disconnect the power cord, antenna wire, and
connection cord. The cord may be damaged, resulting in
fire or electric shock.
YUJITAKEBAYASHI
• This product is shipped after undergoing strict quality
control and inspection, but if there is any failure or
malfunction, please contact the store where you
purchased the product or the Sharp Customer
Support Center. (P.81) • The customer or a third
party is legally liable for any misuse of this product,
malfunctions that occur during use, other defects, or
damages incurred by using this product. Except in
some cases, we are not responsible for it.
0abcdefghijklmnopqrstuvwxyzABCDEFGHIJKLMNOPQRSTU
beginning
YUJITAKEBAYASHI
It may cause injury or damage to the CD.
YUJITAKEBAYASHI
YUJITAKEBAYASHI
DEFGHIJKLMNOPQRSTUVWXYZ12345678
90abcdefghijklmnopqrstuvwxyz
Handling dry batteries If used improperly, it may
cause electric shock, explosion, or fire. It can also cause
liquid leakage, corrode the equipment, and stain your
hands and clothing. Pay particular attention to the
following:
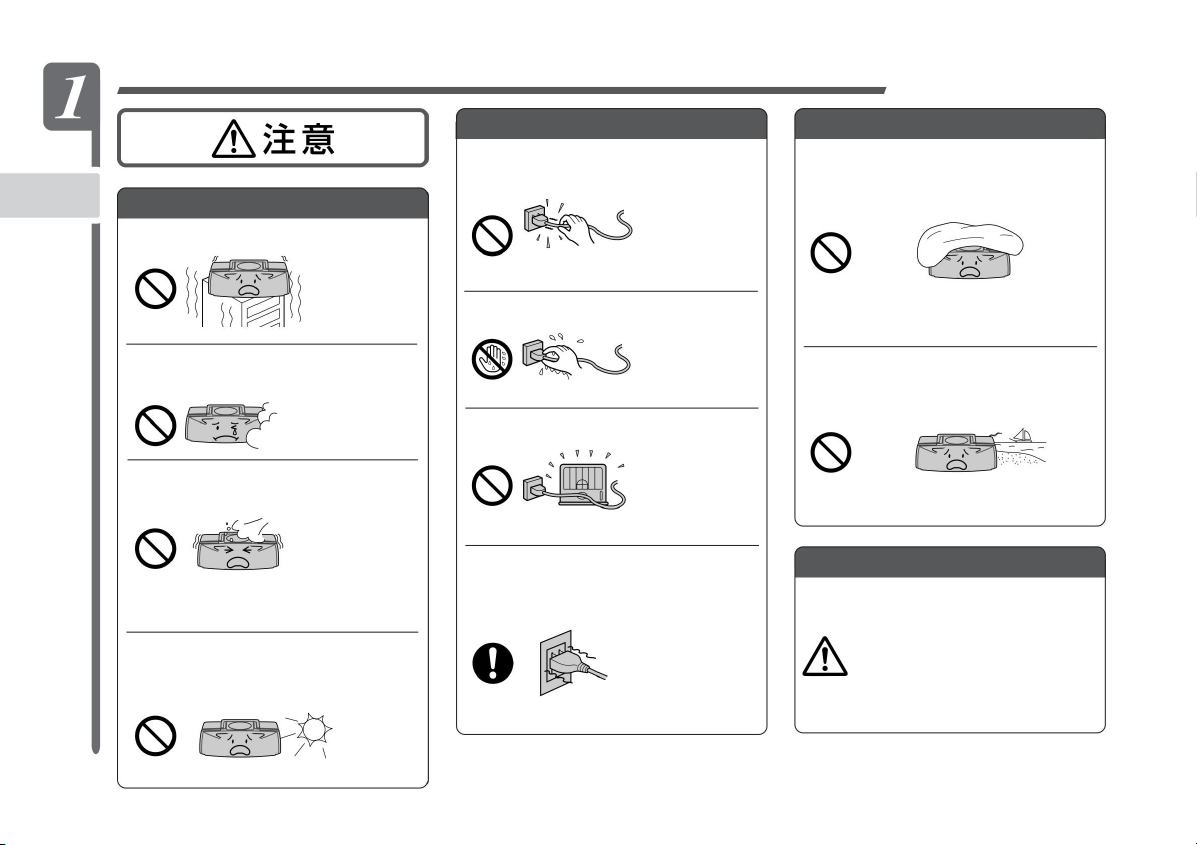
When cleaning, be sure to turn
off the power and unplug the power cord from the outlet
for safety.
• Do not get wet with
water • Never heat or throw into fire • Do not
disassemble • Do not solder • Do not short-
circuit terminals • Do not mix different types of
dry batteries • Rechargeable batteries (Nickel-
cadmium batteries) Etc.) is not used
YUJITAKEBAYASHI
YUJITAKEBAYASHI
• Dry batteries that have been used once with new batteries Do not mix batteries when not in use for a long
period of time Be sure to turn off the power for safety and power cord • Metal accessories (keys, decorative
neckless coins, etc.) Please unplug it from the outlet. Donot put it in your pocket or bag.
opqrstuvwxyzABCDEFGHIJKLMNOPQRSTUVWXYZ123456789
YUJITAKEBAYASHI
YUJITAKEBAYASHI
YUJITAKEBAYASHI
YUJITAKEBAYASHI
VWXYZ1234567890abcdefghijklmnopqrstuvwxyzABC
• Before making an important recording, make a trial
recording in advance to make sure that the recording
is normal. (When making a trial recording from a CD
to an MD, record at a constant speed.) • If the product
was not recorded due to a malfunction of this product
while using this unit, it was deleted. Please forgive
me for the compensation of the contents at that time.
• If you cannot use the dry batteries or do not
use them for a long time, remove all the
dry batteries.
• Insert the positive + and negative-directions
of the dry cell correctly as shown. If the
liquid leaks, wipe off the liquid on the dry
cell case and then insert a new dry cell. Should the
leaked liquid get on your body, wash it off thoroughly
with water.
High-speed rotation may cause the disc to pop out,
resulting in injury.
YUJITAKEBAYASHI
For safe and correct use (continued)
YUJITAKEBAYASHI
It may cause electric shock or injury.
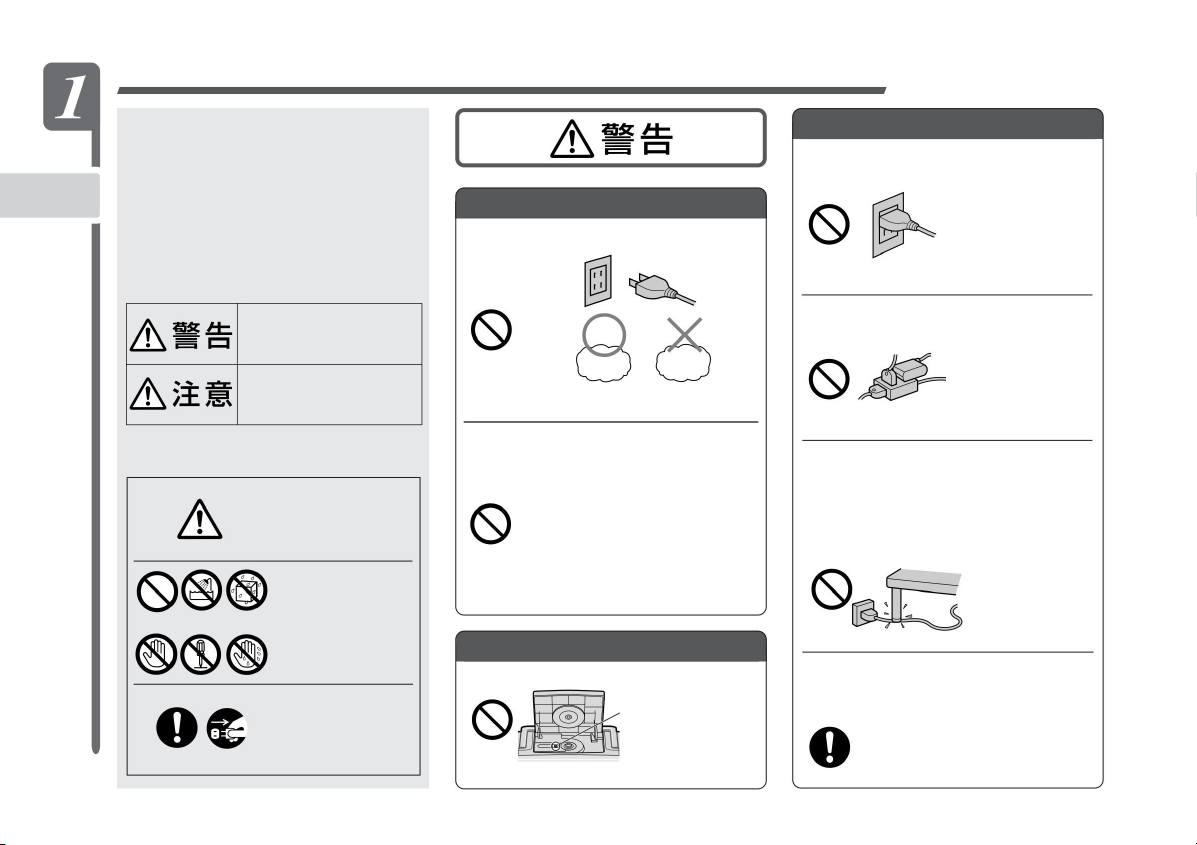
For safe and correct use
Machine Translated by Google

 User manual")


 User manual")