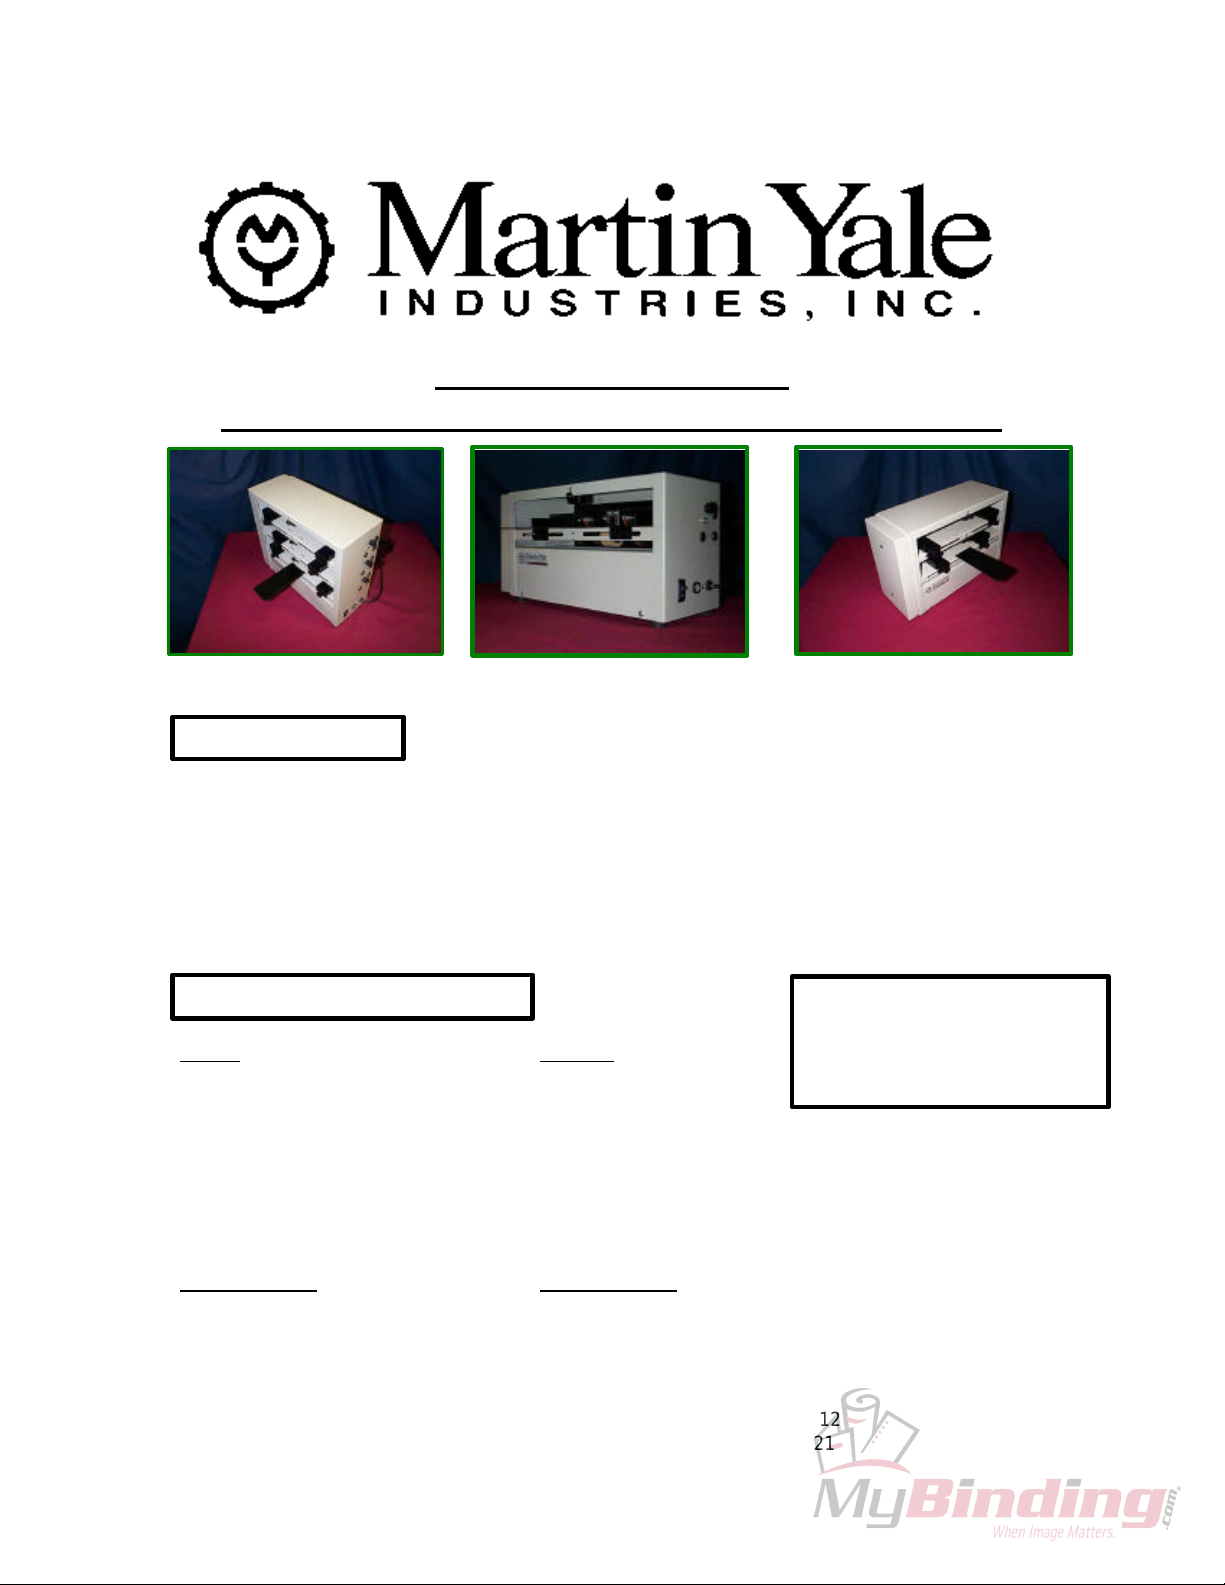
V
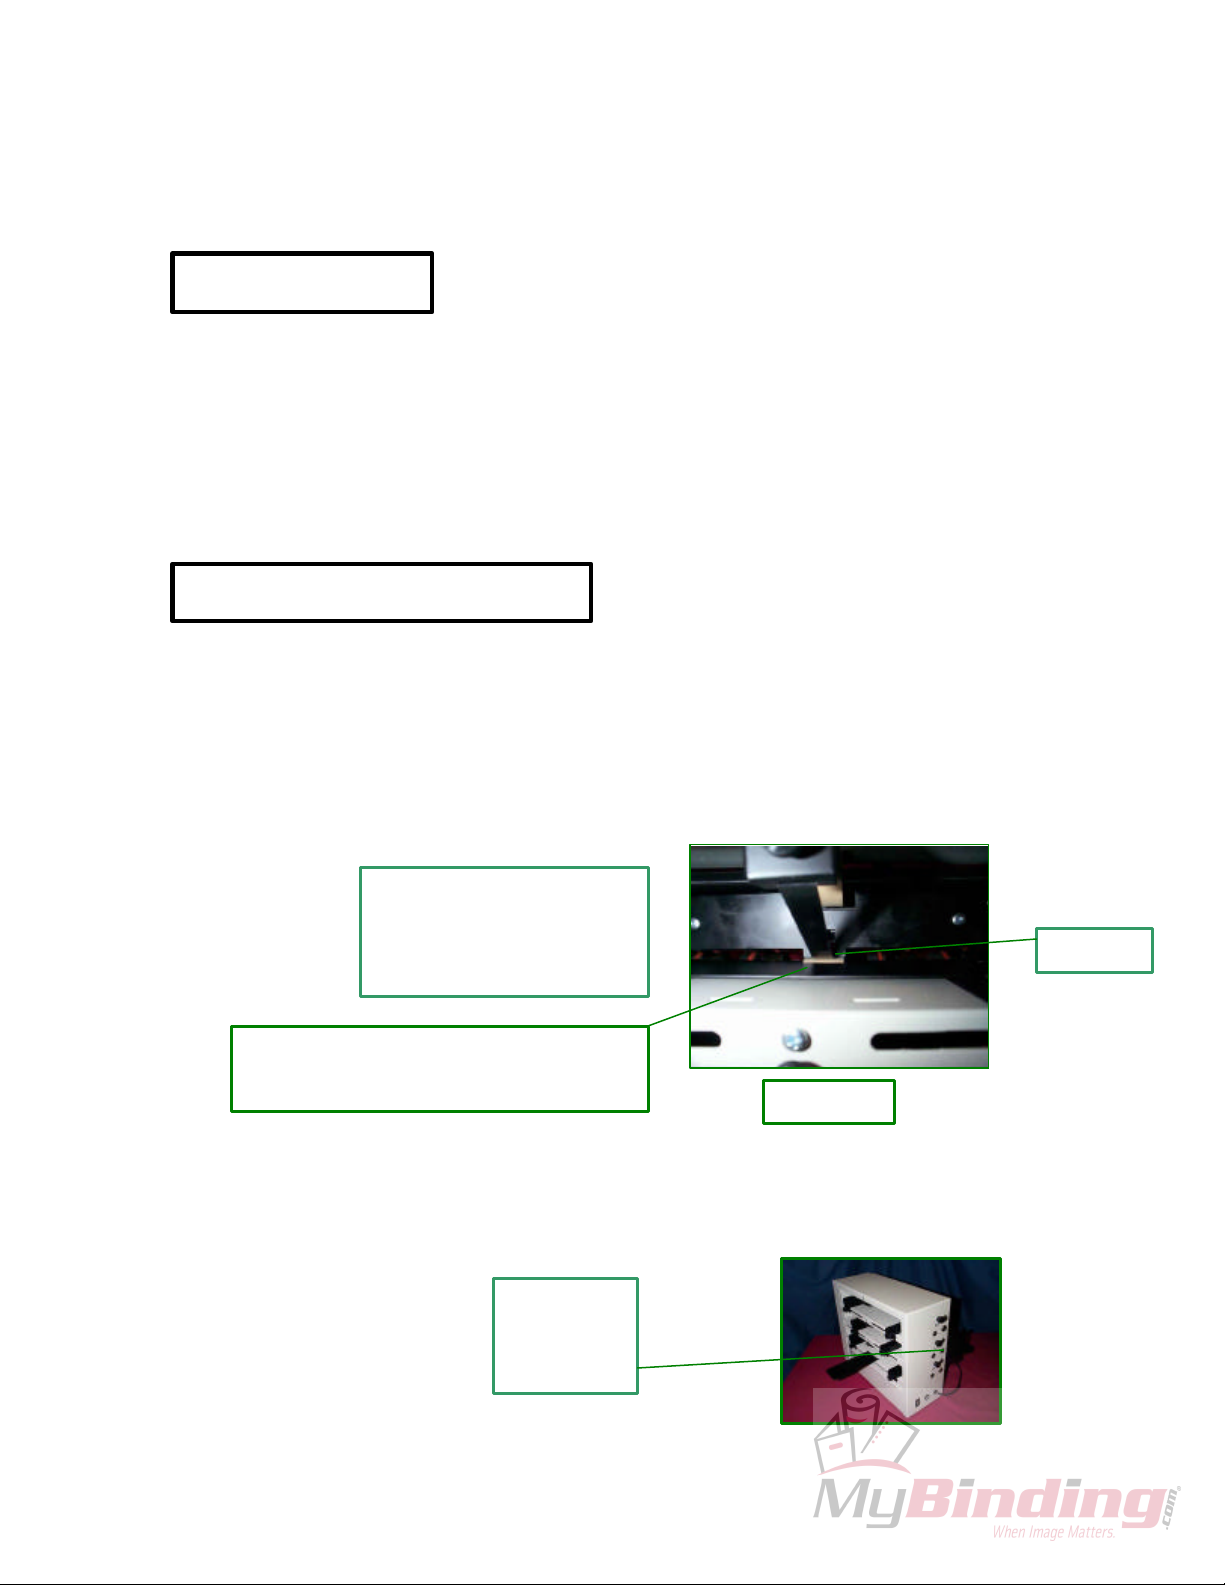
1. Using the adjustment knob on the front of the feed shelf, position feed pressure arm so
that it is just above the feed wheel, make sure there is no contact. (Figure 7).
Figure 7
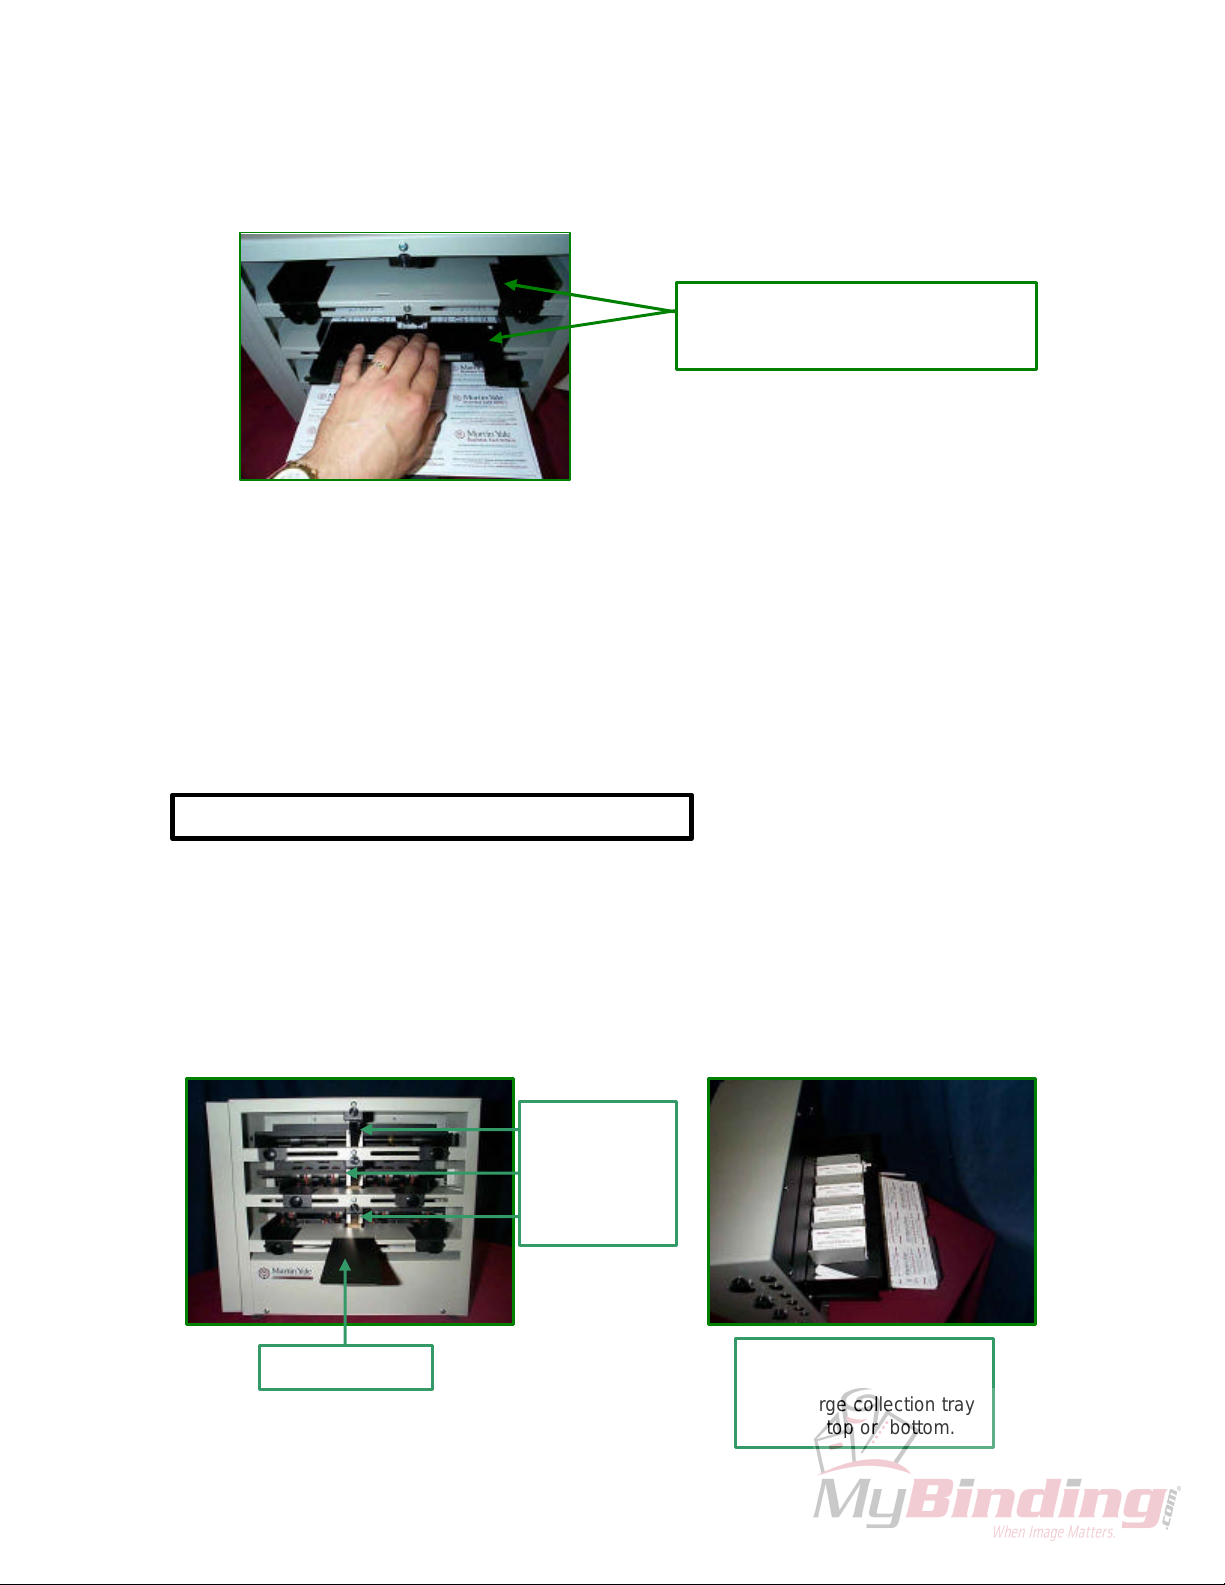
2. Using adjustment knob on side of feed shelf, raise retarder off feed wheel.
Insert one piece of stock to be ran in between the retarder and feed wheel so that sheet
passes freely. Lower retarder so that there is a slight drag on the stock as it is pulled out.
3. Place a neat stack of three sheets into the unit and test. Readjust as necessary until one
sheet feeds steadily.
Feeding Thermographic or severely curled stock:
In some applications a hesitant feed can occur if the raise of the lettering prevents the
sheet retarder from functioning normally. This can also occur with heavier stocks should they
develop a curl when printed.
Should this become an issue, the following steps can be performed:
1. Run stock through image side down.
2. Apply some weight to the stock for a period of time before it is to be ran.
3. Use the 8.5” and 11.0” weights on top of the stack..
Should stock still have feed issues call technical support at Martin Yale Industries, Inc. at
219-563-0641.
Obtaining Service
Should your machine need to be professionally serviced, Martin Yale Industries, Inc. can
refer you to the nearest Factory Authorized Technician. Contact us at the phone number given
above.
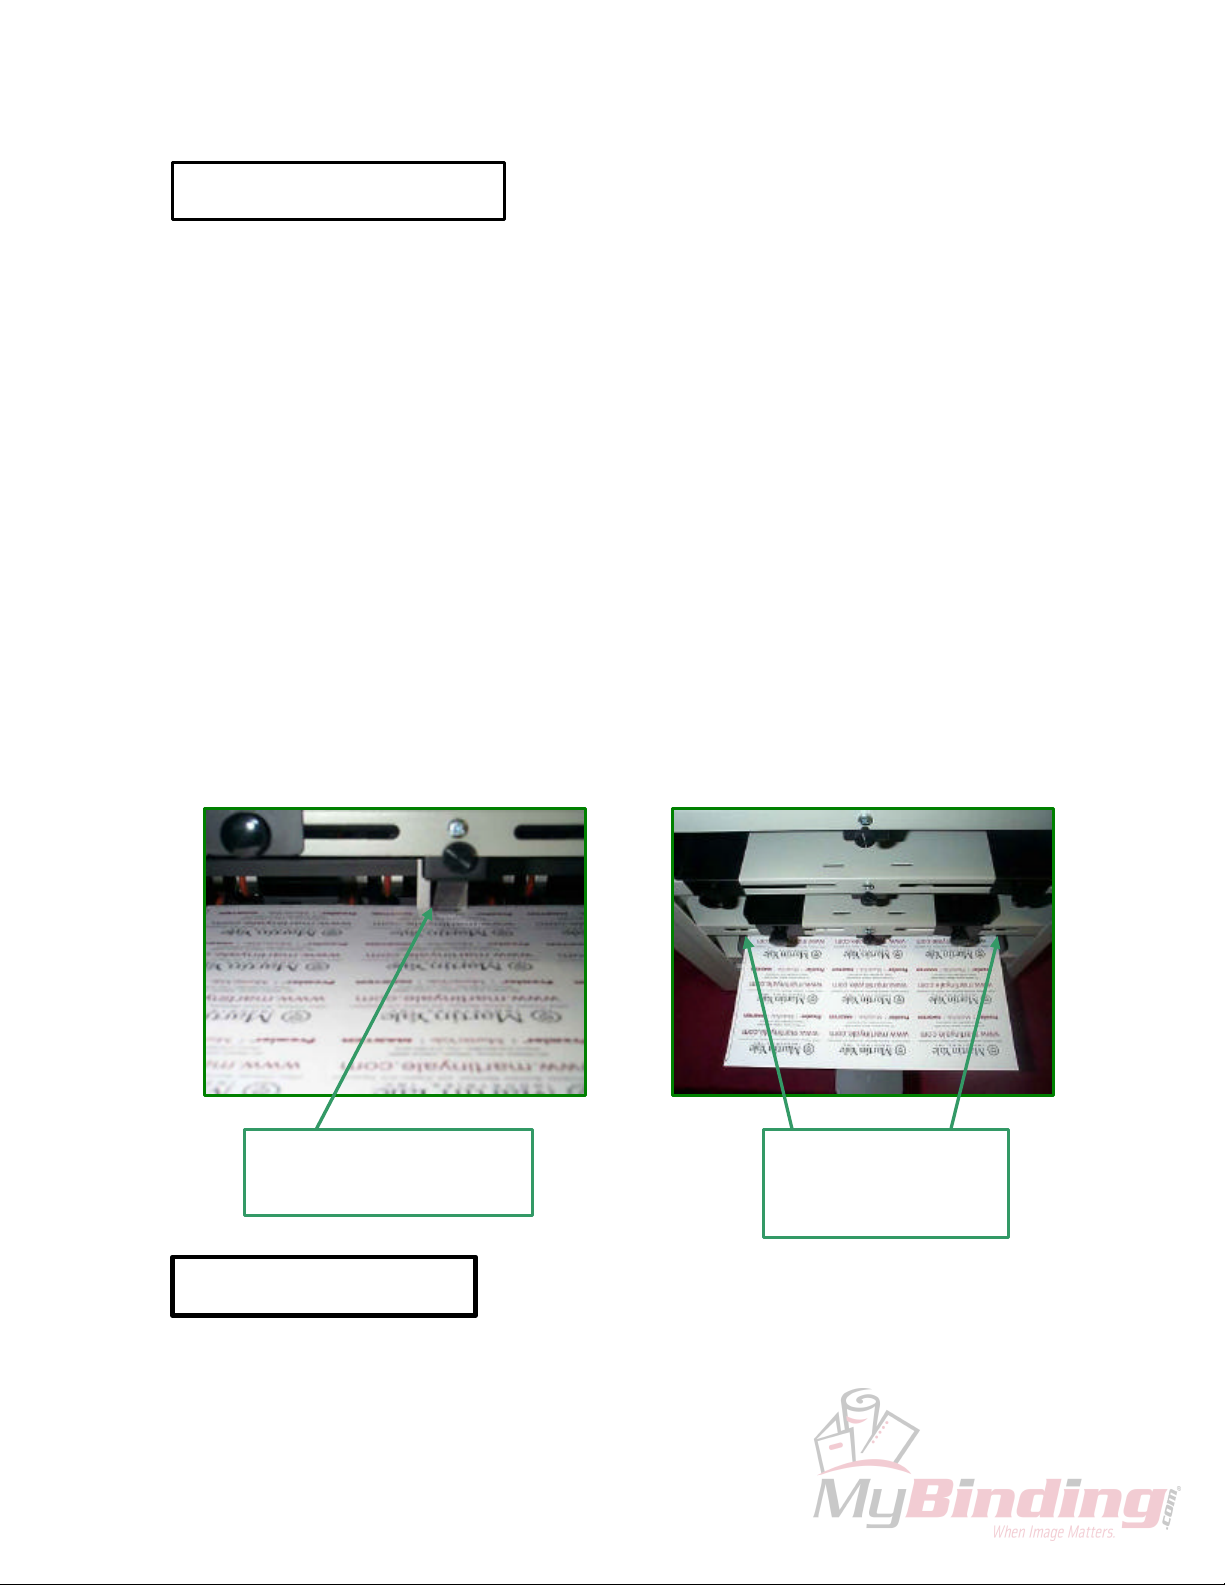
6.0 Accessory Function
Factory standard accessories include scoring wheels and perforator wheels. Each component
uses its own cutting hub as an assembly, and the components cannot be separated.
To engage the scoring roller, follow the instructions below:
1. Loosen the 3/32” Allen set screw in the lower back up hub.
2. Slide the scoring roller and hub to the appropriate location.
3. Retighten the setscrew in the back up hub.
NOTE: The scoring roller does not contain a setscrew. This component should be free
spinning.
To engage the perforator wheel, follow the instructions below:
1. Loosen the 3/32” Allen set screw in the perforating wheel and in the backup hub.
2. Slide components to the appropriate location. Retighten both setscrews.
For SP100/ BCS400 series
adjustment
should rest just
out of contact
with feed wheel.