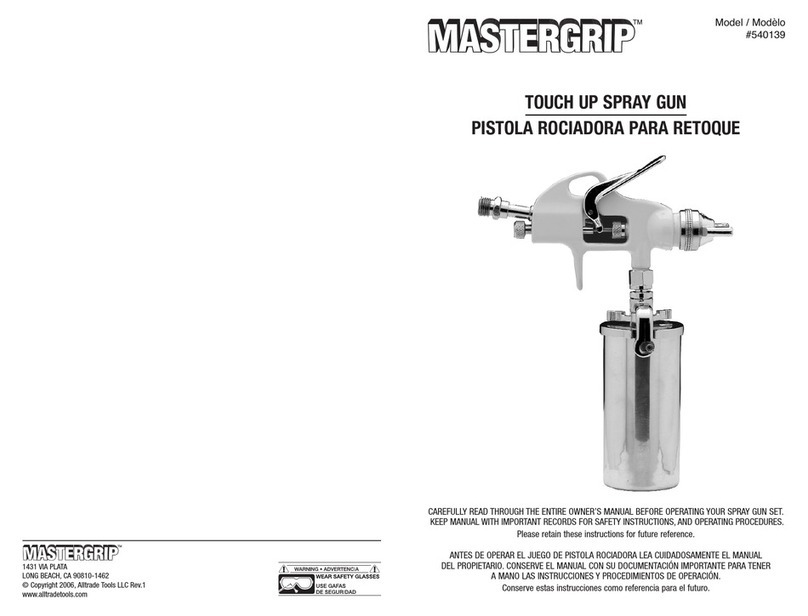
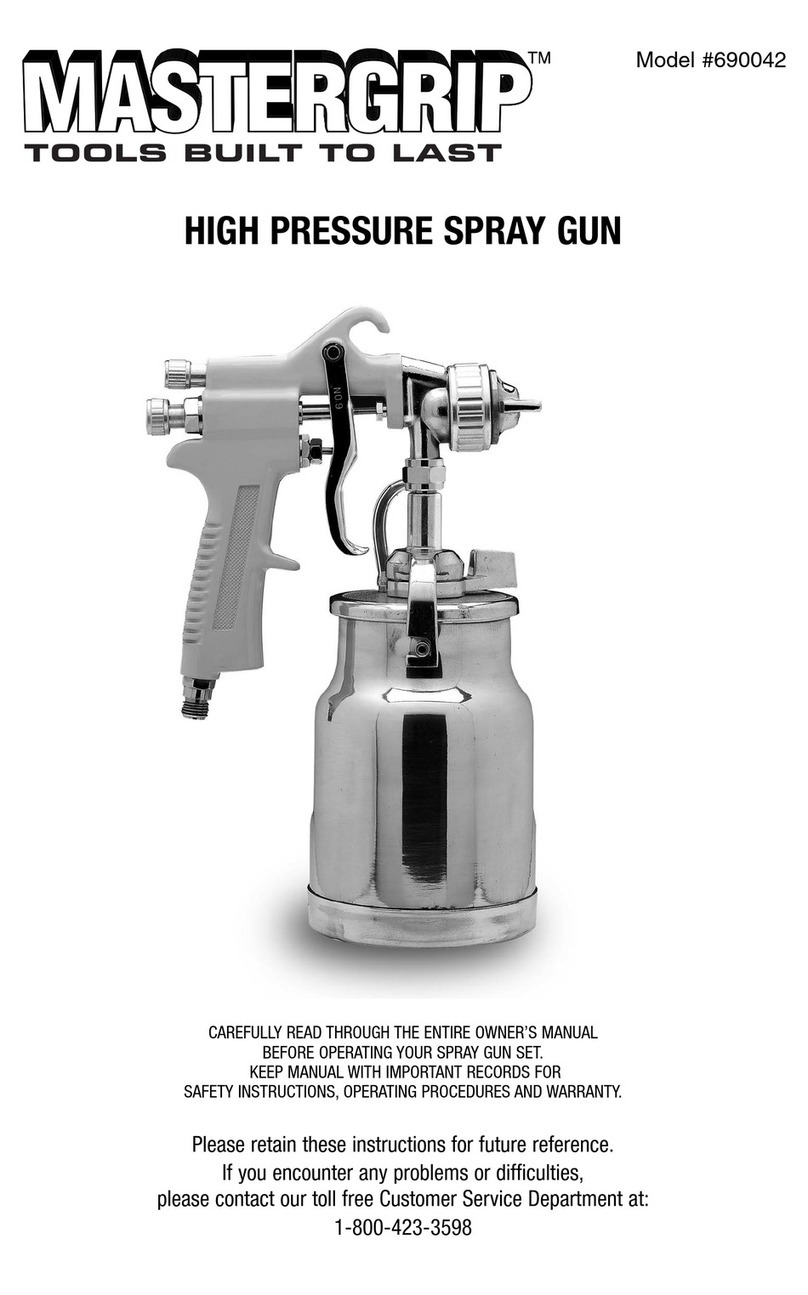
Mastergrip 690043 User manual

®
Model #690043
690044
HVLP GRAVITY FEED SPRAY GUN & CUP
CAREFULLY READ THROUGH THE ENTIRE OWNER’S MANUAL
BEFORE OPERATING YOUR SPRAY GUN SET.
KEEP MANUAL WITH IMPORTANT RECORDS FOR
SAFETY INSTRUCTIONS, OPERATING PROCEDURES AND WARRANTY.
Please retain these instructions for future reference.
If you encounter any problems or difficulties,
please contact our toll free Customer Service Department at:
1-800-423-3598

PERSONAL HAZARD WARNINGS
During cleaning and flushing, solvents can be forcefully expelled from fluid and air passages. Some
solvents can cause eye injury. Be sure user and bystanders in the area are wearing impact resistant
eye and face protection. Even small projectiles can injure eyes and cause blindness.
Air under pressure can cause severe injury. Always shut off air supply, drain hose of air pressure and
disconnect tool from air supply when not in use, before changing accessories or when making repairs.
Never direct air at yourself or anyone else. Whipping hoses can cause serious injury. Always check for
damaged or loose hoses and fittings. Never use quick-change couplings at tool. They add weight and
could fail due to vibration. Instead, add a hose whip and connect coupling between air supply and hose
whip, between hose whip and leader hose whip, or between hose whip and leader hose. DO NOT
EXCEED MAXIMUM AIR PRESSURE. Always use tool a safe distance from other people in work area.
Maintain tools with care. Keep tools clean and oiled for best and safest performance. Follow instructions
for lubricating and changing accessories. Wiping or cleaning rags and other flammable waste materials
must be placed in a tightly closed metal container and disposed of later in the proper fashion.
Do not wear loose or ill-fitting clothing. Remove watches and rings. Do not overreach. Keep proper footing
and balance at all times. Slipping, tripping and falling can be a major cause of serious injury or death. Be
aware of excess hose left on the walking or work surface. Do not abuse hoses or connectors. Never carry
tool by the hose or yank it to disconnect from power supply. Keep hoses from heat, oil and sharp edges.
Check hoses for weak or worn condition before each use, making certain that all connections are secure.
High sound levels can cause permanent hearing loss. Protect yourself from noise. Noise levels vary with
work surface. Wear ear protectors. When possible secure work with clamps or vise so both hands are
free to operate tool.
Repetitive work motions, awkward positions and exposure vibration can be harmful to hands and
arms. Avoid inhaling dust or handling debris from work processes, which can be harmful to your health.
Operators and maintenance personnel must be physically able to handle the bulk, weight and power of
the tool. This tool is not intended for using in explosive atmospheres and is not insulated for contact with
electric power sources. Solvent and coatings can be highly flammable or combustible especially when
sprayed. Adequate exhaust must be provided to keep air free of accumulations of flammable vapors.
Smoking must never be allowed in the spray area. Fire extinguishing equipment must be present in the
spray area. Never spray near sources of ignition such as pilot lights, welders, etc.
Spray materials may be harmful if inhaled, or if there is contact with the skin. Adequate exhaust must
be provided to keep the air free of accumulations of toxic materials. Use a mask or respirator whenever
there is a chance of inhaling sprayed materials. The mask must be compatible with the material being
sprayed and its concentration.
2
• FAILURE TO HEED ALL WARNINGS COULD RESULT IN SEVERE PERSONAL OR BYSTANDER INJURY,
EVEN DEATH.
• ONLY USE TOOLS FOR PURPOSE THEY ARE INTENDED FOR.
• YOU MUST WEAR PROTECTIVE EYEWEAR AND SUITABLE RESPIRATORY PROTECTION (OSHA
APPROVED) WHILE SPRAYING OR CLEANING THIS GUN OR ITS ATTACHMENTS.
• NEVER AIM SPRAY GUN AT PEOPLE. SOLVENTS AND THINNERS CAN CAUSE INJURY.
• DO NOT EXCEED RATED OPERATING PRESSURE.
• CAUTION: POTENTIAL FLAMMABILITY OF SPRAYED PAINT, AND AVOID SPRAYING NEAR FLAMES
OR SPARKS.
• USE PAINT MASK/RESPIRATOR WHILE OPERATING PRODUCT.
• USE PRODUCT ONLY IN WELL-VENTILATED AREAS.
• WEAR EAR PROTECTORS.

SPECIFICATIONS: GRAVITY FEED SPRAY GUN (690043)
Fluid Tip Size: 0.8 mm Diameter
Air Inlet: 1/4" (6,35mm) NPS
Air Consumption: 4.5 CFM (40 PSI)
Capacity of Cup: 5.3 fl. oz. (156.7 cc)
Maximum Pressure: 70 PSI
SPECIFICATIONS: DELUXE HIGH PRESSURE SPRAY GUN (690044)
Fluid Tip Size: 1.4 mm Diameter
Air Inlet: 1/4" (6,35mm) NPS
Air Consumption: 10 CFM (60 PSI)
Capacity of Cup: 20 fl. oz. (0.6 liter)
Feed Type: Gravity
Maximum Pressure: 90 PSI
3
Plastic Cup
Filter
Air Nozzle
Air Cap
External Needle Pack
Adjustment
(Packing Nut)
Trigger Handle
Air Volume Control Knob
Fluid Control Knob
Spray Pattern
Adjustment Knob
Fluid Control Knob
Spray Pattern
Adjustment Knob
FIGURE 1690044 690043

AIR SUPPLY
Never mount oil and water extractor on or near the air compressor. During compression, air temperature
is greatly increased. As the air cools down to room temperature, moisture condenses in the air line, on
its way to the spray supply system where the compressed air temperature is lowest. Drain air lines
properly. Pitch all air lines back towards the compressor so that condensed moisture will flow back into
the air receiver where it can be drained off. Each low point in an air line acts as a water trap. Such
points should be fitted with an easily accessible drain. See diagram above.
4
AIR FLOW LENGTH OF PIPE
CFM 50 ft. [15,24m] 100 ft. [30,48m] 150 ft. [45,72m] 200 ft. [60,96m]
10 [17 m3/h] 1/2" [12,7mm] 3/4" [19mm] 3/4" [19mm] —
20 [34 m3/h] 3/4" [19mm] 3/4" [19mm] 3/4" [19mm] 3/4" [19mm]
30 [51 m3/h] 3/4" [19mm] 3/4" [19mm] 1" [2,5cm] 1" [2,5cm]
40 [68 m3/h] 1" [2,5cm] 1" [2,5cm] 1" [2,5cm] 1" [2,5cm]
50 [85 m3/h] 1" [2,5cm] 1" [2,5cm] 1" [2,5cm] 1" [2,5cm]
70 [119 m3/h] 1" [2,5cm] 1" [2,5cm] 1-1/4" [3,2cm] 1-1/4" [3,2cm]
25 ft. (7,62 meters) OR MORE
Oil and Water Extractor should be at least 25 ft. (7,62 meters) from the compressor, farther if possible.

SPRAY GUN HANDLING
This spray gun is rugged in construction and is built to yield exceptional value. The life of this product
and the efficiency of its operation depend upon knowledge of its construction use and maintenance.
GRAVITY FEED CUP HOOKUP
Air pressure for atomization is regulated
at extractor. Amount of fluid is adjusted by
Fluid Control Knob on gun, paint viscosity
and air pressure.
FOR BEST PERFORMANCE, PLEASE BE SURE TO DO THE FOLLOWING
BEFORE USING THIS TOOL.
Tighten the gun to the cup securely with the nut and fitting supplied. Be sure to have the proper air
pressure at the gun to operate. Proper air pressure for this tool should be 35 PSI for lacquer and 45 PSI
for enamel. Adjust fluid control screw and spray width adjustment screw to your desired pattern before
using on production. Clean all parts after use.
ADJUSTMENTS
SPRAY PATTERN ADJUSTMENT KNOB:
Turn right for round, left for fan.
FLUID CONTROL KNOB:
Turn right to decrease flow, left to increase.
5
Plastic Cup
Plastic Cup
Fluid
Control
Knob
Air Inlet
Air Hose
Compressed
Air
Oil and Water
Extractor

In normal use, the nozzle wings are horizontal as shown here.
This provides a vertical fan-shaped pattern which gives maximum,
even, material coverage as the gun is moved back and forth parallel
to the surface being finished.
Spray pattern may be infinitely adjusted
from round to flat.
The spray pattern of the gun is variable
from round to flat with all patterns in between.
Set atomization pressure at approximately 35 PSI for lacquer and 45 PSI for enamel. Try spray.
If spray is too fine, then decrease the air pressure or open fluid control screw. If the spray is too thick,
then close the fluid control screw. Regulate the pattern width and repeat adjustment of spray as needed.
OPERATION
Proper handling of the gun is essential for obtaining a good finish. The gun should be held at right
angle to the surface being covered, moving parallel with the surface. For precise control of the gun
and material, the trigger should be released before the end of the stroke.
Hold the gun from 6 to 12 inches (15,24cm to 30,48cm) away from the surface depending on material
and atomizing pressure. For a uniform finish, lap each stroke over the preceding stroke, making sure
the spray is smooth and wet.
Using the lowest possible atomizing air pressure will reduce over-spray and provide maximum efficiency.
6
Start
stroke
End of
stroke
Pull
trigger
Release
trigger
RIGHT
6 to 12 inches
(15,24cm to 30,48cm)
Coating should be even
and wet when spraying
TRAVEL OF GUN
Coating will be light
at this point
Coating will be heavy
at this point
WRONG

CLEANING AND MAINTENANCE
1. Submerge the front end of the gun in solvent just until the fluid connection is covered.
2. Paint that has built up on the gun should be removed using a bristle brush and solvent.
3. Never submerge all of the spray gun in solvent. This will dissolve the lubricant in the leather packing
and on wear surfaces, causing them to dry out and resulting in difficult operation and faster wear. Air
passages in the gun will become clogged with dirty solvent.
4. Using a rag moistened with solvent, wipe down the outside of the gun.
5. Oil gun daily. Use a drop of lightweight machine oil on:
A. External Needle Pack Adjustment (Packing Nut)
See FIGURE 1 on page 3 for location of above point.
SERVICE
• Tool service must be performed only by qualified repair personnel. Service or maintenance performed
by unqualified personnel could result in a risk of injury.
• When servicing a tool, use only identical replacement parts. Follow instructions in the Maintenance
section of this manual. Use of unauthorized parts or failure to follow Maintenance Instructions may
create a risk of electrical shock or injury.
7
DO NOT USE LUBRICANTS CONTAINING SILICONE.
SILICONE MAY CAUSE DEFECTS IN THE FINISH APPLICATION.
ALL PARTS ON A SPRAY GUN SHOULD BE SCREWED IN BY HAND AT FIRST.
THIS WILL AVOID THE POSSIBILITY OF CROSS THREADING THE PARTS. IF THE PARTS
CANNOT BE TURNED BY HAND EASILY, MAKE SURE YOU HAVE THE CORRECT PARTS,
UNSCREW, REALIGN, AND TRY AGAIN. NEVER USE UNDUE FORCE IN MATING PARTS.
• RESPONSIBILITY. IT SHALL BE THE TOOL OWNER'S RESPONSIBILITY TO ASSURE THAT TOOLS ARE
MAINTAINED IN A SAFE OPERATING CONDITION. IF TOOLS ARE DAMAGED, REMOVE FROM SERVICE
IMMEDIATELY.
• AUTHORIZED PERSONNEL. TOOL MAINTENANCE AND REPAIR SHALL BE PERFORMED BY
AUTHORIZED, TRAINED, COMPETENT PERSONNEL. PLEASE CALL OUR CUSTOMER SERVICE AT
1-800-423-3598 FOR INFORMATION.
• REPAIRS. TOOLS SHALL BE DISCONNECTED FROM THEIR COMPRESSED AIR SUPPLY BEFORE
REPAIR IS ATTEMPTED. REPAIRS SHALL BE CONSISTENT WITH MANUFACTURER'S RECOMMENDED
PROCEDURES. PLEASE REFER TO CLEANING AND MAINTENANCE OR TROUBLESHOOTING SECTIONS.
• REPLACEMENT. TOOLS, HOSES AND FITTINGS SHALL BE REPLACED IF UNSUITABLE FOR SAFE
OPERATION.

8
SPRAY PATTERN
CONDITION PROBLEM SOLUTION
One side of nozzle wing is clogged. Soak nozzle in solvent to loosen
clogs, then blow air through until
clean. To clean orifices use a
toothpick. Never try and detach
dried material with sharp tool.
a) Loose air nozzle.
b) Material around outside of air
nozzle has dried.
a) Trigger air nozzle.
b) Take off air nozzle and
wipe off fluid tip, using
rag moistened with thinner.
a) Atomization air pressure is set
too high.
b) Trying to spray a thin material
in too wide a pattern.
a) Reduce air pressure.
b) Increase material control by
turning fluid. Control screw
to left, while reducing spray
width by turning spray width
adjustment screw to right.
Spitting
a) Packing around needle valve is
dried out.
b) Fluid nozzle loosely installed or
dirt between nozzle and body.
c) Needle sealing damaged.
a) Back up knurled nut and put
a few drops of machine oil
on packing. Retighten nut.
b) Take off fluid nozzle. Clean rear
of nozzle and seat in gun body.
Replace nozzle and bring in tight
to body.
c) Replace #4 sealing.
Improper spray pattern a) Gun improperly adjusted.
b) Dirty air cap.
c) Fluid tip obstructed.
d) Sluggish needle.
a) Readjust gun.
Follow instructions carefully.
b) Clean air cap.
c) Clean.
d) Lubricate.
Unable to get round spray Fan adjustment screw
not seating properly.
Clean or replace.
Will not spray a) No air pressure at gun.
b) Fluid pressure too low with
internal mix cap and pressure
tank.
c) Fluid control screw not open
enough.
d) Fluid too heavy for suction feed.
a) Check air supply and air lines.
b) Increase fluid pressure at tank.
c) Open fluid control screw.
d) Thin material or change to
pressure feed.
TROUBLESHOOTING

SPRAY PATTERN
CONDITION PROBLEM SOLUTION
Fluid leakage from
packing nut
a) Packing nut loose.
b) Packing worn or dry.
a) Tighten, but not so tight as to
grip needle.
b) Replace packing or lubricate.
Dripping from fluid tip a) Dry packing.
b) Sluggish needle.
c) Tight packing nut.
d) Worn fluid nozzle or needle.
a) Lubricate.
b) Lubricate.
c) Adjust.
d) For pressure feed, replace with
new fluid nozzle and needle.
Thin, sandy, and coarse
finish
a) Gun held too far from surface.
b) Atomization pressure set too
high.
a) Move gun closer to surface.
b) Adjust atomization pressure.
Thick, dimpled finish
resembling orange peel
Gun held too close to surface. Move gun further away
from surface.
9

10
ITEM NO. DESCRIPTION QTY. ITEM NO. DESCRIPTION QTY.
1Air Nozzle 1 17 Piston 1
2Fluid Nozzle 1 18 Spring 1
3 Packing Nut 1 19 0-Ring 1
4 Packing Material 2 20 Air Valve Nut 1
5Gun Body 1 21 C-Clip 2
6Hook 1 22 Gasket 2
7Spray Pattern Contral Knob 1 23 Trigger 1
8Gasket 1 24 Trigger Pivot 1
90-Ring 1 25 Air Control Knob 1
10 Housing 1 26 Air Connection 1
11 Needle Valve 1 27 Filter 1
12 Spring 1 28 Gasket 1
13 Fluid Control Knob 129-1 Non-Drip Control Device 1
14 Gasket 229-2 Cover 1
15 Screw 129-3 Plastic Cup 1
16 Valve 1 30 Spanner Wrench 1
PARTS LIST 690044
1 2 5
27
28
21 21
25
26
14 15 16 17 18
1312
111098
76
29
29-1
29-2
29-3
19 20
30
3 4
22 22 2423

11
ITEM NO. DESCRIPTION QTY. ITEM NO. DESCRIPTION QTY.
01 Air Nozzle 1 14 Gasket 2
02 Fluid Nozzle 1 15 Screw 1
03 Packing Nut 1 16 Valve Stem 1
04 Packing Material 2 17 Spring 1
05 Gun Body 1 18 Air Valve Nut 1
06 Hook 1 19 C-Clip 2
07 Spray Pattern Knob 1 20 Gasket 2
08 Gasket 1 21 Trigger 1
09 0-Ring 1 22 Trigger Pivot 1
10 Housing 1 23 Air Control Knob 1
11 Needle Valve 1 24 Air Connection 1
12 Spring 1 25 Cover 1
13 Fluid Contral Knob 1 26 Plastic Cup 1
PARTS LIST 690043
1 2 5
21
14 15 16 17 18
1312
11109
9
8
7
6
3 4
22
24
23
19 20 1920
25
26

®
FOR CUSTOMER SERVICE
1-800-423-3598
WEAR
SAFETY
GLASSES
WARNING
1431 VIA PLATA
LONG BEACH, CA 90810-1462
© Copyright 2004, Alltrade Tools LLC Rev.1
www.handtoolonline.com
This manual suits for next models
1
Table of contents
Other Mastergrip Paint Sprayer manuals