PLEASE KEEP THESE INSTRUCTIONS FOR FUTURE
REFERENCE AS THEY CONTAIN IMPORTANT INFORMATION.
5+
service.mattel.com
3
INSTRUCTIONS
ADULT ASSEMBLY REQUIRED
REQUIRES 4 "D" SIZE (LR20) ALKALINE BATTERIES (NOT INCLUDED).
DISPOSE OF BATTERIES SAFELY.
TM
6 7
INCLUDES 4 VEHICLES. ADDITIONAL VEHICLES SOLD SEPARATELY.
COLORS AND DECORATIONS MAY VARY.
2
BATTERY INSTALLATION
INDEX
4
ZONE 1
5
1. 3. 4.
5.
2.
INSTALL BATTERIES FIRST
(PAGE 3)
• Unscrew the battery cover with a Phillips head screwdriver
(not included).
• Install 4 "D" size (LR20) alkaline batteries (not included)
in the orientation (+/-) shown.
• Replace battery cover and tighten screws.
• For longer life use alkaline batteries.
• Replace the batteries if elevator can no longer transport
vehicles up.
• When exposed to an electrostatic source, the product may
malfunction. To resume normal operation, remove and
re-install the batteries.
BATTERY SAFETY INFORMATION
In exceptional circumstances batteries may leak fluids that can cause a chemical burn injury or ruin your
product. To avoid battery leakage:
• Non-rechargeable batteries are not to be recharged.
• Rechargeable batteries are to be removed from the product before being charged.
• Rechargeable batteries are only to be charged under adult supervision.
• Do not mix alkaline, standard (carbon-zinc), or rechargeable batteries.
• Do not mix old and new batteries.
• Only batteries of the same or equivalent type as recommended are to be used.
• Batteries are to be inserted with the correct polarity.
• Exhausted batteries are to be removed from the product.
• The supply terminals are not to be short-circuited.
• Dispose of battery(ies) safely.
• Do not dispose of this product in a fire. The batteries inside may explode or leak.
Protect the environment by not disposing of this product or any batteries with household
waste. This symbol indicates that this product shall not be treated as household waste.
Check your local authority for recycling advice and facilities.
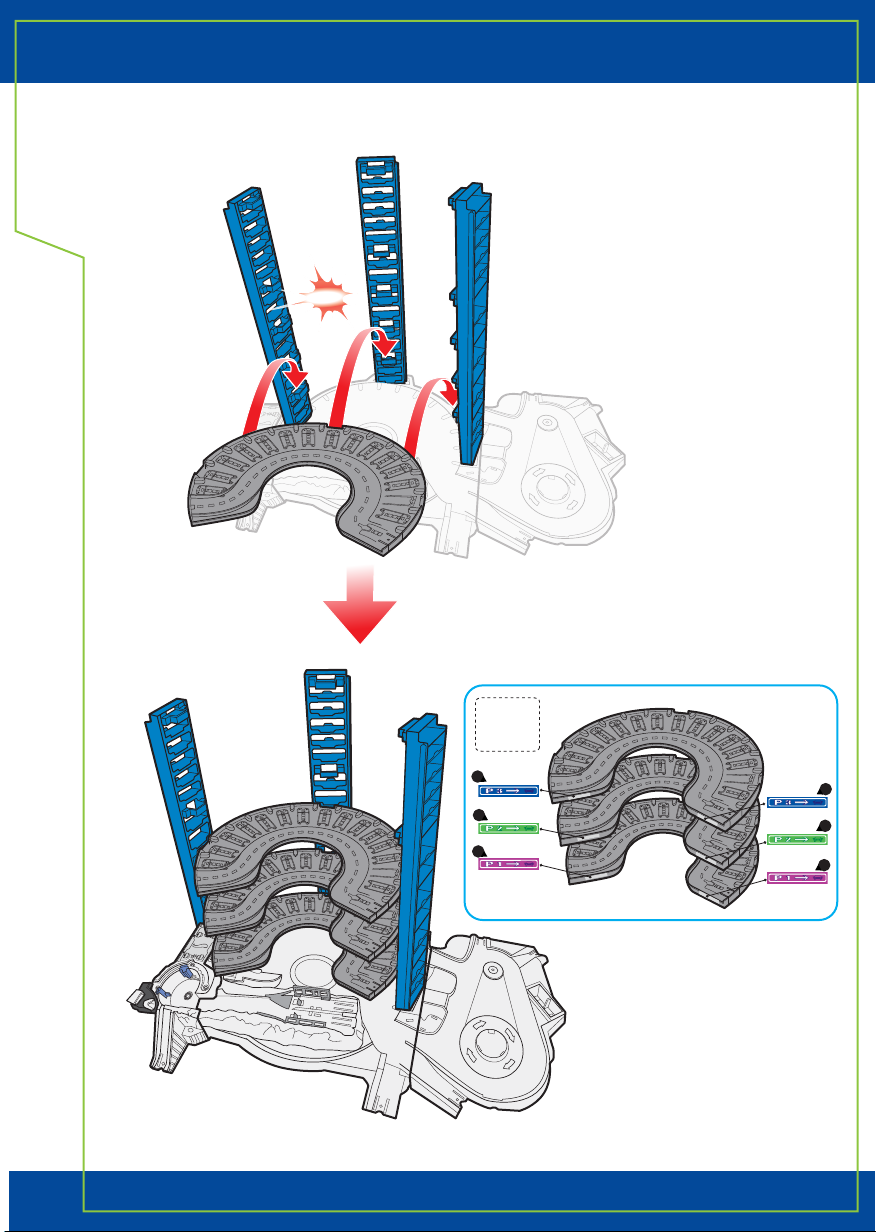
ATTACH PLATFORMS FROM THE BOTTOM UP.
FGR76-0970
1101669863-DOM
CHOKING HAZARD – Small parts.
Not for children under 3 years.
WARNING:
CONTENTS
CLICK!
CLICK!
CLICK!
LABEL SHEET
3
3
2
1
2
1
Apply
labels
44
Apply
labels
ZONE 1 ZONE 3 ZONE 4ZONE 2
BATTERY INSTALLATION 3
CONTENTS 4
ZONE 1 5
ZONE 2 10
ZONE 3 13
TO PLAY ZONE 4 17
TO PLAY 20
MORE WAYS TO PLAY 27
PERFORMANCE TIPS 28
ASSEMBLY
ZONE 2
ZONE 3
x3
x4
x2
x3
x2
x2
x4
LONG TRACK
SHORT TRACK
ZONE 1
ZONE 4
H
G
H
F
E
D
G
F
B
D
A
B
C
C
E
x3
A
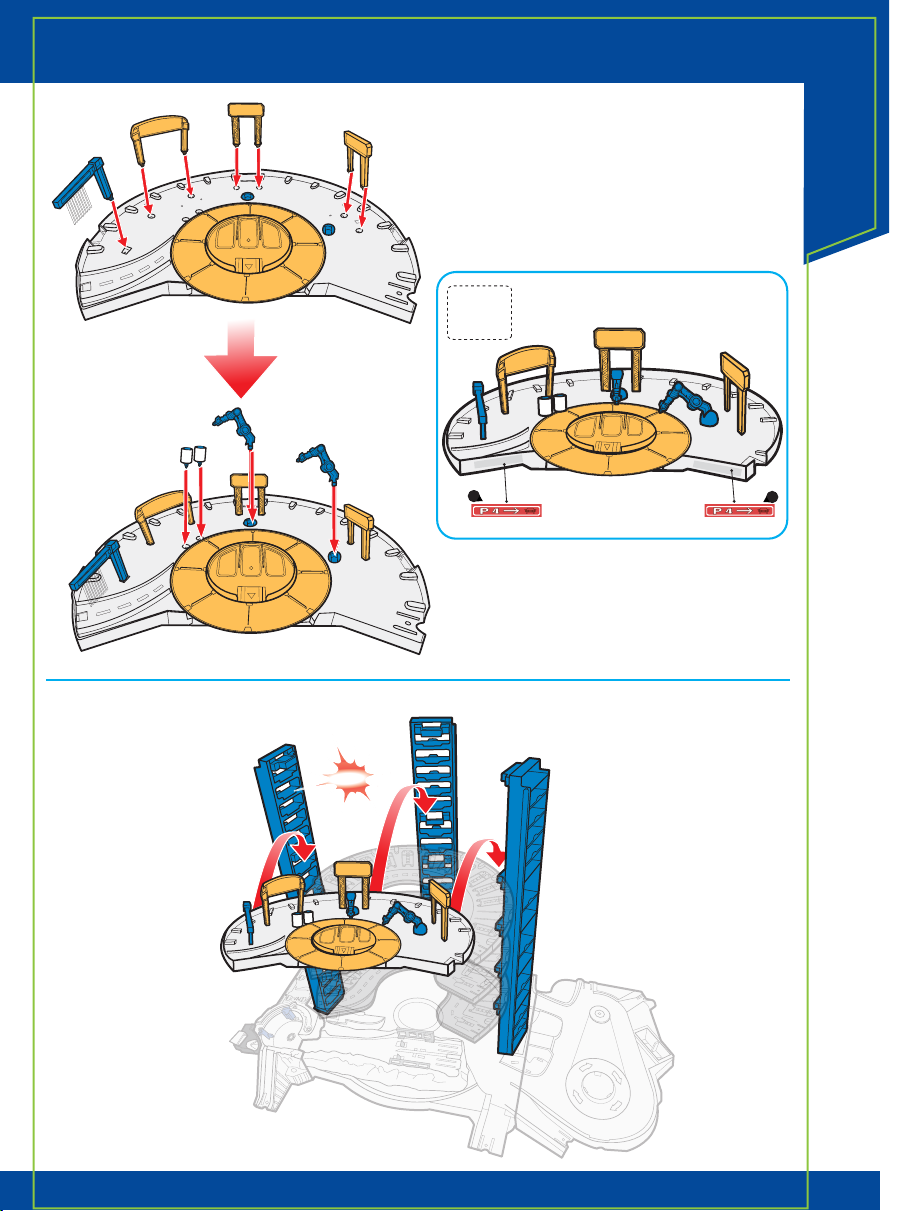
ASSEMBLY
ZONE 1
ASSEMBLY
ZONE 1
1 3 42
©2017 Mattel FDF25/FGR76-0962
1
2
3
4