English
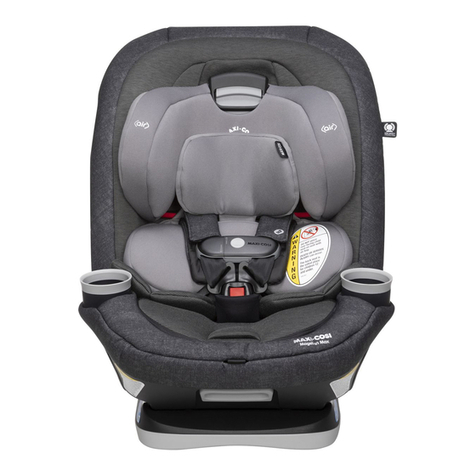
• Remove your child from the Maxi-Cosi Mobi.
• Place the Maxi-Cosi Mobi in the sleeping position (see section 3.2: Seat positions)
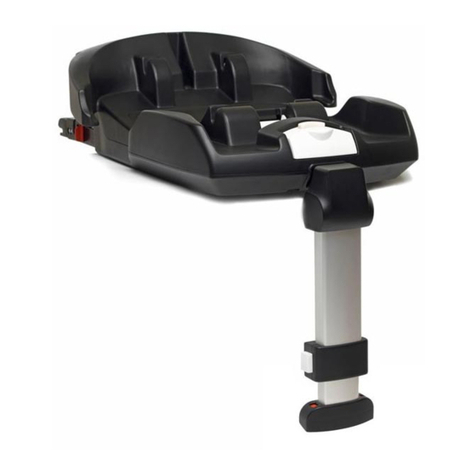
• IMPORTANT! Make sure the support leg is in the folded-out position to enable you to access the back of
the Maxi-Cosi Mobi (see Step 5; Positioning the support leg).
• Pull the shoulder belts until the belt yoke on the back appears and remove the shoulder belts from the belt
yoke (5).
• IMPORTANT! Make sure the belt buckle is locked in order to prevent the belts from twisting.
• Pull the shoulder belts out of the belt pads through the shell and cover. Do this on both sides (6).
• TIP! Loosen the top part of the cover to make it easier to remove the belts and belt pads. Remember to
reattach the cover to the shell afterwards (7).
• Remove the belt pads (8).
• From the front, thread one belt pad through the correct slot in the cover and shell and then rethread this
belt pad through the back through the adjacent slot (9).
• IMPORTANT! Make sure the strap between the belt pads lies tight against the plastic shell and does not
become entangled with the belt portion of the support leg.
• Thread the shoulder belts through the adjusted belt pads, cover and shell (10).
• Attach the shoulder belts to the belt yoke and check to make sure the 3 red stitching on the belt ends and
the belt yoke are facing the shell (11) (if not, this means the belts are twisted).
• IMPORTANT! Make sure the belts are threaded along the plastic shell, remain behind the rods and do not
become entangled with and stay behind the belt portion of the support leg (12).
Step 2: Checking for anchor points or installing the car kit
Remove the elastic band from around the tethers and let the tethers drop to the floor. There are three ways to
hook the tethers onto the anchor points in the car. Specific anchor points may already be present in the car that
can be used. If not, the car kit components or metal attachment hooks provided can serve as anchor points.
Whenever possible, use the most forward positioned anchor points to attach the tethers.
Anchor points already present in the car
• Check the passenger seat rails for anchor points.
In some cars, the child seat anchor points are part of the rail itself (13). In others, there are metal child
seat anchor loops bolted to the rail, often painted blue (14).
• Check whether the hooks of the tether can be easily connected to and disconnected from the present
anchor points (15). If so, use these points to anchor the Maxi-Cosi Mobi.
• IMPORTANT! Make sure the straps of the tethers are not twisted.
• Wait with tightening the tethers until after Step 4; Positioning the support leg.
Extra anchor points provided with the Maxi-Cosi Mobi
The Maxi-Cosi Mobi has extra anchor points that you can use to tether the Maxi-Cosi Mobi if no anchor
points are available in your car. There are several options for doing this.
Study the bottom of the car seat and the seat rails and choose the right configuration for installation; car kit
or metal attachment hooks (both included).
a) Car kit
The (below) chart shows all possible configurations for installing the car kit components.
To obtain the right length, a suitable opening in the tether must be chosen (16).
• IMPORTANT! Determine the length based on the position of the Maxi-Cosi Mobi in the car (rear, middle or
front seat).
• Simply hook the tether hook onto the anchor point (17).
• IMPORTANT! Make sure the tether straps and car kit components are not twisted.
• Wait with tightening the tethers until after Step 4; Positioning the support leg.
17
16
15
1413
12
11
10
9
8
7
6
5
GB
10
