MAYSER SG-RST 204 User manual

Control unit SG-RST 204
Original instructions
1006265 SG-RST 204 DC 24 V
Mayser GmbH & Co. KG
Örlinger Straße 1–3
89073 Ulm
GERMANY
Phone: +49 731 2061-0
Fax: +49 731 2061-222
E-mail: info.ulm@mayser.com
Internet: www.mayser.com
Innovative by tradition.
Version 1
EN | Operating instructions

Page 2/16 Operating instructions SG-RST 204 231019 v2.00-RiA
Copyright
The reproduction, distribution and utilization of this document as well as the communication of its contents with-
out express authorization are prohibited. Oenders will be held liable for the payment of damages. All rights re-
served in the event of the grant of a patent, utility model or design.
© Mayser Ulm 2019
Safety first!
•Read the manual carefully before use.
•Warning signs in the manual warn of unexpected dangers. Always ob-
serve warning signs.
•Retain the manual throughout the service life of the product.
•Pass the manual on to every subsequent owner or user of the product.
•Insert every supplement received from the manufacturer into the man-
ual.
•Observe chapter on Safety starting on page 5.
Conformity
The Declaration of Conformity is available in the download section of the website:
www.mayser.com/en/downloads
The design type of the product complies with the basic requirements of the following
directives:
•2006/42/EC (Safety of Machinery)
•2011/65/EU (RoHS)
•2014/30/EU (EMC)

231019 v2.00-RiA Operating instructions SG-RST 204 Page 3/16
Contents
Contents
About this manual 4
Safety 5
Intended use 5
Safety instructions 5
Residual dangers 6
Parts supplied 6
Storage 7
Product overview 7
Connections 7
LED indicators 7
Operation 8
Installation 9
Connection examples 10
Commissioning 10
Testing 11
Pressure-sensitive protection device actuated 11
Correlations 12
Decommissioning 12
Recommissioning 12
Maintenance and cleaning 13
Maintenance 13
Cleaning 13
Troubleshooting and remedies 13
Replacement parts 14
Disposal 15
Technical data 15

Page 4/16 Operating instructions SG-RST 204 231019 v2.00-RiA
About this manual
Symbols used Symbol Meaning
Ä... Action with one or more steps whose order is not rele-
vant.
1. ... Action with several steps whose order is relevant.
• ...
-...
Bullets first level
Bullets second level
(see Section Installation) Cross-reference
Danger symbols and
information
Symbol Meaning
DANGER Immediate danger leading to death or serious injury.
WARNING Imminent danger which may lead to death or serious injury.
CAUTION Possible danger which may lead to minor or moderate inju-
ries.
NOTE Potential danger of property damage or environmental deg-
radation.
Information on easier and safer working practices.
Other applicable
documents
ÄAlso observe the following documents:
-Drawing of the sensor system (optional)
-Wiring diagram (optional)
-Installation instructions of the sensors used
Target group This manual is intended for the owner and electricians. The electrician must be famil-
iar with the installation and commissioning.
Validity This manual is valid only for the product specified on the title page.
This manual is an integral part of the product.
Mayser will assume no liability and provide no guarantee whatsoever for damages
and consequential damages resulting from failure to comply with the manual.
About this manual
Dimensions in drawings
Unless otherwise indicated, all dimensions are stated in millimetres (mm).

231019 v2.00-RiA Operating instructions SG-RST 204 Page 5/16
Safety
Intended use
ÄDo not open the control unit
Never open, tamper with or alter the control unit.
ÄObserve degree of protection
Only use the control unit in rooms with a minimum degree of protection of IP54
(e.g. switch cabinet).
The control unit is designed for signal processing of a pressure-sensitive protective
device. It evaluates the output signals of sensors with monitoring resistor 8k2. The
integrated output signal switching device (OSSD) transmits the evaluated safety sig-
nals directly to the downstream control.
The product complies with ISO13849-1:2015 Category 3 PLe. So that the
safety classification is retained, the downstream control must be of the same or a
higher category.
Safety
Safety instructions
To prevent irreparable damage to the product, the following safety instructions ap-
ply.
ÄDo not use in ATEX zones
Do not use the Control Unit in potentially explosive environments (ATEX). The
control unit is not authorised for use in these zones.
ÄDisable in case of error
Disable the safety device in case of malfunctions or visible damage.
ÄPrevent restarting of the machine
As long as a hazard continues to exist, take measures to prevent the machine
from restarting, for example by means of a startup lockout.
ÄPrevent electric shock
When working on electrical systems, always disconnect them from the power
supply and secure them against being switched on again, to prevent injuries from
electric shock.
For your own safety the following safety instructions apply.
ÄEnsure careful configuration of interface
The quality and reliability of the interface between the safety device and the ma-
chine aects the overall safety. Take special care when setting up this interface.

Page 6/16 Operating instructions SG-RST 204 231019 v2.00-RiA
Parts supplied
Terminals Y1, Y2, Y3 and Y4 are not potential-free.
Parts supplied
1× Control unit
Enclosure with electronics module and plug connections with lift-up lock release.
1× Operating instructions
1× Declaration of Conformity
ÄUpon receipt of the parts supplied, check immediately for completeness and
good condition.
ÄContinue redundancy
Make sure you wire the unit directly in the control circuit or that the downstream
control is also in dual channel mode.
Residual dangers
There are no known residual dangers associated with this product.
ÄDo not cross link control unit
Do not cross link the control unit with other control units.
ÄFit spark absorbers
When connecting inductive loads, fit spark absorbers (RC modules) to the con-
sumer.
ÄCheck supply voltage
Check supply voltage. It must correspond with the connecting voltage USon the
type plate.
ÄObserve pin assignment
Observe pin assignment when connecting the supply voltage.
ÄProtect relay contacts
Risk of welding: Protect the relay contacts externally.
ÄDo not overload control unit
Ensure that the specified switching current is not exceeded.
ÄDo not exceed the maximum number of sensors
Do not connect more sensors on the control unit, than the number specified in
the installation instructions of the sensors.
ÄMaintain distance
When installing in the switch cabinet, ensure sucient distance from heat sourc-
es (at least 2 cm).

231019 v2.00-RiA Operating instructions SG-RST 204 Page 7/16
Storage
Connections: Terminals:
Supply voltage A1, A2
Sensor 1 (8k2) Y1, Y2
Sensor 2 (8k2) Y3, Y4
Switching channel 1.1 (K1) 13, 14
Switching channel 1.2 (K2) 23, 24
Switching channel 2.1 (K3) 33, 34
Switching channel 2.2 (K4) 43, 44
•green LED „Power“:
supply voltage connected
•green LED „Sensor 1“:
Sensor 1 not activated
•green LED „Sensor 2“:
Sensor 2 not activated
•red LED „Fault 1“:
Faulty sensor 1
•red LED „Fault 2“:
Faulty sensor 2
Product overview
Connections
ÄStore the control units in the original package, in a dry place.
ÄComply with the storage temperature specified in the technical data.
Storage
LED indicators

Page 8/16 Operating instructions SG-RST 204 231019 v2.00-RiA
Operation
The single-fault-safe electronics module has dual channels (redundant). Two mon-
itoring circuits each control two force-guided relays and check them constantly to
ensure correct functioning. The electronic system monitors the electrical resistance of
the sensor with a defined zero signal current.
The control unit is operated with DC 24 V. If the supply voltage is connected, the
green LED “Power“ is on.
In sensors that are not actuated, the relays from monitoring circuit 1 (K1, K2) and
monitoring circuit 2 (K3, K4) are energized. The green LEDs “Sensor 1” and “Sensor 2”
light up.
Monitoring circuit 1
If sensor 1 is actuated, relays K1 and K2 de-energize. The green LED “Sensor 1” goes
out and the switching channels 1.1 and 1.2 are opened. In the case of a cable break
at sensor 1, relays K1 and K2 de-energize. The green LED “Sensor 1” goes out, the red
LED “Fault 1” lights up, and the switching channels 1.1 and 1.2 are opened.
Monitoring circuit 2
If sensor 2 is actuated, relays K3 and K4 de-energize. The green LED “Sensor 2” goes
out and the switching channels 2.1 and 2.2 are opened. In the case of a cable break
at sensor 2, relays K3 and K4 de-energize. The green LED “Sensor 2” goes out, the red
LED “Fault 2” lights up, and the switching channels 2.1 and 2.2 are opened.
Automatic reset
The control unit operates without a reset function.
If the sensor 1 is released after actuation, relays K1 and K2 energized again with a
delay of tw.
If the sensor 2 is released after actuation, relays K3 and K4 energized again with a
delay of tw.
If a new sensor 1 is connected after a cable break, relays K1 and K2 re-energize with a
delay of tw.
If a new sensor 2 is connected after a cable break, relays K3 and K4 re-energize with a
delay of tw.
Delay of tw: see reactivation time twin chapter Technical data.
Operation
231019 v2.00-RiA Operating instructions SG-RST 204 Page 9/16
Installation
Sensor 2Sensor 1
Monitoring cir-
cuit 1
Monitoring cir-
cuit 2
1. Mount the control unit in any position on a 35mm mounting rail type IEC60715.
Installation
For your safety, the generally accepted safety rules also apply for assembly:
•Disconnect all devices and live parts in the immediate vicinity from the power
supply.
•Ensure that all devices and live parts cannot be switched back on.
•Test to ensure that all devices and live parts are disconnected from the power
supply.
3. Wire the sensors, relay contacts and supply voltage to the cable terminals.

Page 10/16 Operating instructions SG-RST 204 231019 v2.00-RiA
Commissioning
Contacts continued in
two-channel mode For control with 2 inputs For control with 4 inputs
Control system
Sensor 2Sensor 1
Control system
Sensor 2Sensor 1
Contact duplication
Monitoring circuit 1 Monitoring circuit 2
K1
K2
K3
K4
Monitoring circuit 1 Monitoring circuit 2
K1
K2
K3
K4
K1 K2 K3 K4
Connection examples
Commissioning
1. Make sure the plug connections are firmly attached.
2. Connect the supply voltage.
WARNING: Danger of injury due to electrocution
ÄNever unplug plug connections with the power on.

231019 v2.00-RiA Operating instructions SG-RST 204 Page 11/16
Commissioning
2. Activate sensor1.
-green LED „Sensor1“ goes o
-contacts of switching channels 1.1 and 1.2 are open
-contacts of switching channels 2.1 and 2.2 are closed
6. Disconnect sensor1.
-green LED „Sensor1“ goes o
-red LED „Fault1“ is on
-contacts of switching channels 1.1 and 1.2 are open
-contacts of switching channels 2.1 and 2.2 are closed
1. Make sure no sensors are activated.
-green LEDs „Power“, „Sensor1“ and „Sensor2“ are on
-contacts of switching channels 1.1, 1.2, 2.1 and 2.2 are closed
3. Repeat step 1.
4. Activate sensor2.
-green LED „Sensor2“ goes o
-contacts of switching channels 1.1 and 1.2 are closed
-contacts of switching channels 2.1 and 2.2 are open
5. Repeat step 1.
8. Disconnect sensor2.
-green LED „Sensor2“ goes o
-red LED „Fault2“ is on
-contacts of switching channels 1.1 and 1.2 are closed
-contacts of switching channels 2.1 and 2.2 are open
7. Repeat step 1.
9. Repeat step 1.
Testing
As long as the pressure-sensitive protection device remains actuated, the output sig-
nal switching devices of the control unit remain in the safe OFF state.
Pressure-sensitive protection device actuated
The control unit operates without a reset function. If the pressure-sensitive protection
device is no longer actuated, the output signal switching device of the control unit
automatically changes from the OFF state to the ON state. Without additional start
interlock, the machine would start up again immediately.

Page 12/16 Operating instructions SG-RST 204 231019 v2.00-RiA
Commissioning
LEDs Outputs Meaning
Power
green
Sensor 1
green
Sensor 2
green
Fault 1
red
Fault 2
red
13, 14,
23, 24
33, 34,
43, 44 LED o: LED on:
open open no supply voltage
closed closed Control unit ready for operation;
Sensor 1 and 2 are not activated
closed open Sensor1 not activated;
Sensor2 activated
open closed Sensor1 activated;
Sensor2 not activated
open open Sensor1 and Sensor2 activated
open closed Fault at sensor1 (Cable break);
Sensor2 not activated
closed open Sensor1 not activated;
Fault at sensor2 (Cable break)
open open Fault at sensor1 and sensor2 (Cable break)
Correlations
Recommissioning
Decommissioning
ÄRecommission the pressure-sensitive protection device as specified in the chapter
Commissioning (see chapter Commissioning).
ÄSwitch o the pressure-sensitive protection device and safeguard it from being
switched back on unintentionally.
ÄAx a clear warning on the pressure-sensitive protection device warning that
states it is temporarily or definitively decommissioned.

231019 v2.00-RiA Operating instructions SG-RST 204 Page 13/16
Maintenance and cleaning
Fault display Possible cause Remedy
green LED „Power“ is o No or incorrect supply voltage 1. Check supply voltage, compare with
type plate
2. Check supply voltage, compare with
type plate
If supply voltage is correctly connected:
control unit is faulty.
ÄReplace control unit
green LED „Sensor1“ is
o
Sensor 1 is faulty 1. Measure resistance at sensor 1: Set val-
ue = 8k2 ±5%
2. Actual value ≠ set value: Sensor faulty
3. Replace sensor
Control unit is faulty 1. Connect 8k2 resistor to terminals Y1,
Y2
2. Fault not remedied: Replace control
unit
green LED „Sensor2“ is
o
Sensor 2 is faulty 1. Measure resistance at sensor 2: Set val-
ue = 8k2 ±5%
2. Actual value ≠ set value: Sensor faulty
3. Replace sensor
Control unit is faulty 1. Connect 8k2 resistor to terminals Y3,
Y4
2. Fault not remedied: Replace control
unit
red LED „Fault1“ is on Sensor not connected or incorrectly con-
nected to terminal Y1 and Y2
ÄConnect sensor
Cable break at sensor 1 1. Measure resistance at sensor 1: Set val-
ue = 8k2 ±5%
2. Actual value > 1M: Sensor faulty
3. Replace sensor
Cleaning
ÄClean the outside of the enclosure with a dry cloth.
Maintenance and cleaning
Maintenance
The control unit is maintenance-free.
ÄRepeat the operational test monthly.
Troubleshooting and remedies
Prerequisite: the control unit is connected to the supply voltage and sensor. No sen-
sor is activated.

Page 14/16 Operating instructions SG-RST 204 231019 v2.00-RiA
Replacement parts
Fault display Possible cause Remedy
red LED „Fault2“ is on Sensor not connected or incorrectly con-
nected to terminal Y3 and Y4
ÄConnect sensor
Cable break at sensor 2 1. Measure resistance at sensor 2: Set val-
ue = 8k2 ±1%
2. Actual value > 1M: Sensor faulty
3. Replace sensor
green LEDs „Power“ and
„Sensor 1“ are on and
switching channels 1.1
and 1.2 are open
Control unit is faulty ÄReplace control unit
green LEDs „Power“ and
„Sensor 2“ are on and
switching channels 2.1
and 2.2 are open
Control unit is faulty ÄReplace control unit
The fault can still not be removed?
ÄContact Mayser support: Phone +49 731 2061-0.
ÄIn case of queries, have the information on the type plate at hand.
Replacement parts
CAUTION Overall safety endangered
If the sensor is not replaced with original Mayser parts, operation of the protec-
tive device may be impaired.
ÄOnly use original parts from Mayser.
Type plate A type plate for identification of the control unit is axed on the side.

231019 v2.00-RiA Operating instructions SG-RST 204 Page 15/16
Disposal
SG-RST 204 DC 24 V
Testing basis EN12978, ISO13849-1, ISO13856-1, ISO13856-2, ISO13856-3
Connecting voltage US
Nominal voltage
Voltage tolerance
Nominal current
Nominal frequency
Protection external
Power consumption
DC 24V
-10% to +10%
100mA
–
200 mA slow-acting
< 5W
Times
Reaction time ta
Re-start time tw
< 20ms
< 50ms
Safety classifications
ISO13856: Reset function
ISO13849-1:2015
MTTFD
DCavg
B10D (Load: DC 24V / 2A)
nop (Estimate)
CCF
IEC 60664-1: Creep distance and air
gap
without
Category 3 PL e
306a
90%
2× 10⁶
52560/a
Requirements fulfilled
soiling degree 2, overvoltage category III / 250V, basic insulation
Technical data
The devices produced by Mayser are professional electronic tools exclusively intend-
ed for commercial use (so-called B2B devices). Unlike devices mainly used in private
households (B2C), they may not be disposed of at the collection centres of public sec-
tor disposal organisations (e.g. municipal recycling depots). At the end of their useful
life, the devices may be returned to us for disposal.
WEEE reg. no. DE 39141253
Disposal
Control unit
Packaging •Wood, cardboard, plastics
ÄObserve the following with respect to disposal:
-Comply with the relevant national disposal regulations and legal stipulations
for these materials.
-If you enlist the services of a disposal company, the company will need the
aforementioned list of materials.
-Materials should be recycled or disposed of in an eco-friendly manner.

Page 16/16 Operating instructions SG-RST 204 231019 v2.00-RiA
Disposal
SG-RST 204 DC 24 V
Inputs
Sensor
Monitoring resistor
Short-circuit resistance
Line resistance
Line length (max.)
Switching thresholds
Sensor activated
Cable break
1: Y1, Y2 2: Y3, Y4
8k2 Ohm 8K2 Ohm
≤ 400Ohm ≤ 400Ohm
≤ 10Ohm ≤ 10Ohm
100m 100m
< 4kOhm < 4kOhm
> 13kOhm > 13kOhm
Outputs
Switching channel 1.1, 1.2, 2.1 and
2.2 (NO contact)
EN60947-5-1: Utilization
category
Switching voltage (max.)
Switching current (max.)
Switching capacity (max.)
Switching operations, mechanical
Switching operations, electrical
Contact fuse protection external
Line length (max.)
13, 14 / 23, 24 / 33, 34 und 43, 44
AC-12: 250V / 2A
DC-12: 24V / 2A
AC 250V DC 24V
2A 2A
500VA 48W
> 1× 10⁷
> 2× 10⁶(DC 24V / 2A)
3A quick-acting
30 m
Mechanical operating conditions
Cable terminals
solid wire
strand without sheath
strand with sheath
IEC60529: Degree of protection
max. humidity (23°C)
Operating temperature
Storage temperature
Impact resistance in operation
Impact resistance transport
Dimensions (W × H × D)
Weight
4× 8-pin
1× 2.5mm2or 2× 1.0mm2
1× 2.5mm2or 2× 1.5mm2
1× 2.5mm2or 2× 1.0mm2
IP20
95%
-25°C to +55°C
-25°C to +55°C
2.5g
10g
45 × 75 × 105mm
230g
Table of contents
Other MAYSER Control Unit manuals

MAYSER
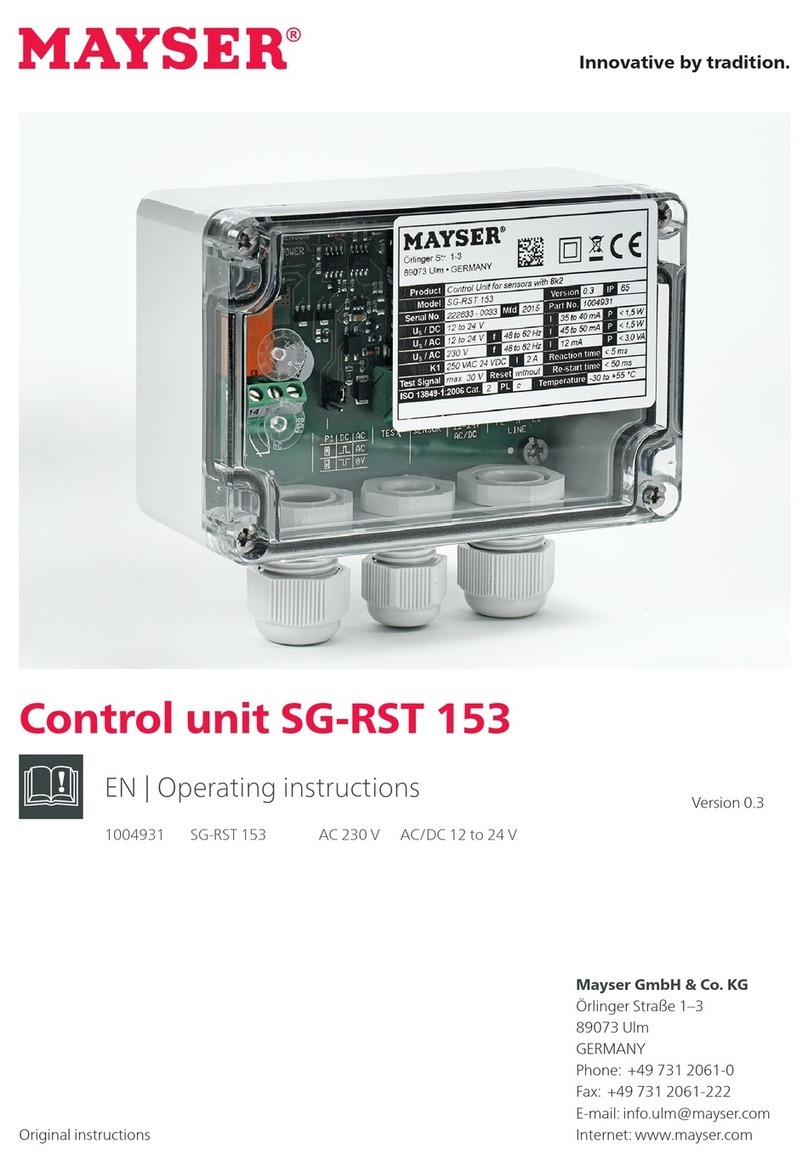
MAYSER SG-RST 153 User manual

MAYSER
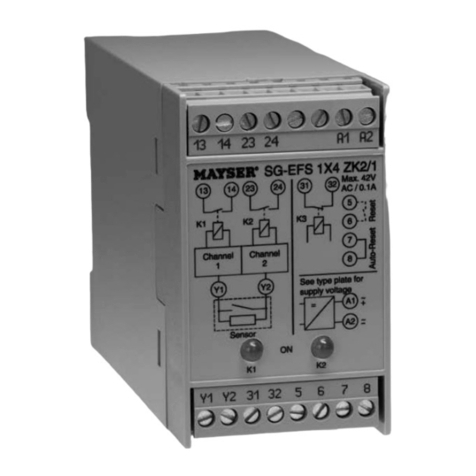
MAYSER SG-EFS User manual

MAYSER
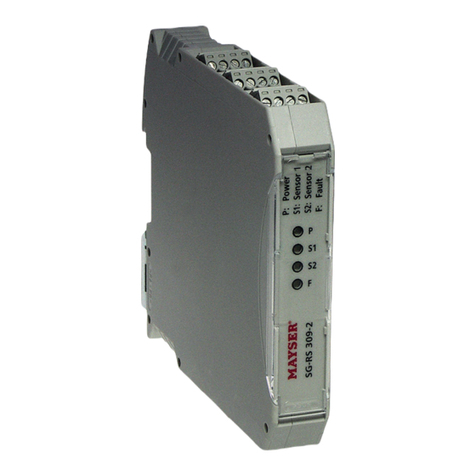
MAYSER SG-RS 309-2 User manual

MAYSER
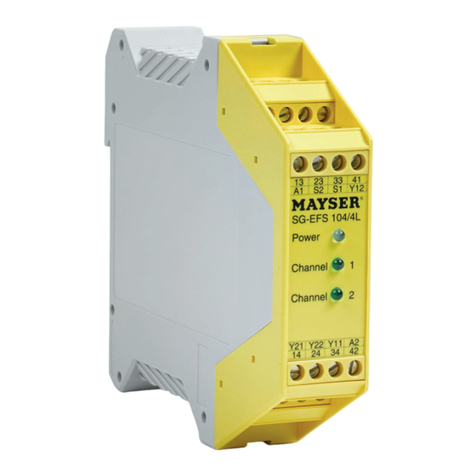
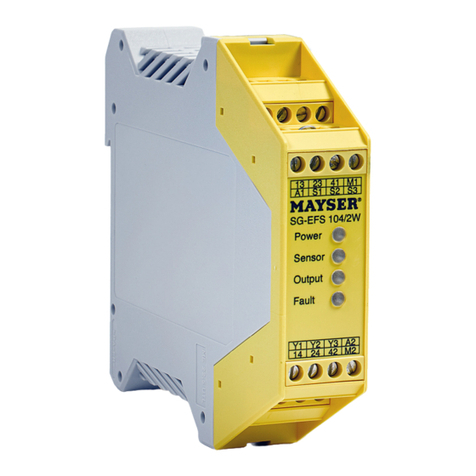
MAYSER SG-EFS 104/4L User manual

MAYSER
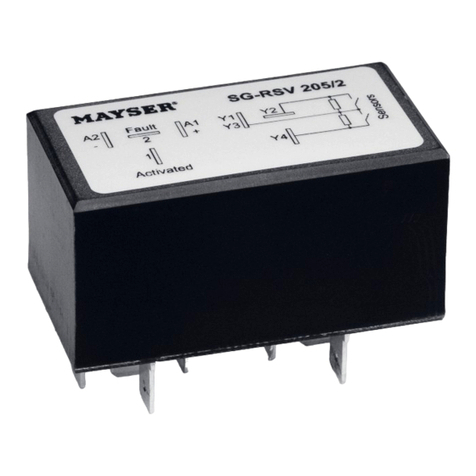
MAYSER SG-RSV 205 User manual

MAYSER
MAYSER SG-EFS 104/2W User manual

MAYSER
MAYSER SG-EFS 104 ZK2/1 8k2 User manual

MAYSER
MAYSER SG-EFS 1 4 ZK2/1 L20ms Series User manual

MAYSER
MAYSER SG-RS 309-2 User manual

MAYSER
MAYSER SG-EFS 104/2W User manual