MD SPORTS 1550013 User manual

Please contact us before returning the product to the store.
MODEL: 1550013
BJ’S
ASSEMBLY INSTRUCTIONS
TM
Register Now on themdsports.com and Earn a One-Year Warranty for Free!

LIMITED 90 DAYS WARRANTY
This product is covered by a limited warranty that is effective for 90 days from the date of purchase. If,
during the limited warranty period, a part is found to be defective or broken, we will offer replacement
parts at no cost to you, the customer. The only exceptions to the warranty include main frames, table
tops, playing surfaces, batteries or tools.
The above warranty will not apply in cases of damages due to improper usage, alteration, misuse, abuse,
accidental damage or neglect.
This Limited Warranty gives you specific legal rights and you may also have other rights which vary from
one State (province) to another.
A PURCHASE RECEIPT (or other proof of purchase) will be required before any warranty service is
initiated. For all requests for warranty service, please feel free to contact our Consumer Service
Department at :
Please be aware of your product’s Limited Warranty for the return/refund policy from the store, We, at
Medal Sports, can not handle the product which is out of product’s limited warranty since we only provide
available parts. Thank you!
PLEASE CONTACT US BEFORE RETURNING
THE PRODUCT TO THE STORE.
WEBSITE: www.themdsports.com
NOTICE!
STAPLE YOUR RECEIPT HERE
1 - Please leave your name, address, phone number, model number, parts needed on the answering
machine if there is no attendant. Failure to do so will result in a delay in shipping parts to you.
2 - Please review the replacement parts list and make sure that you have all of your parts before beginning
assembly. For questions that may arise or for missing/damaged parts, please contact us.
www.themdsports.com
1550013 1
(Continued on the next page.)

WARNING
●Product must be assembled by adult before use.
●Do not over-inflate.
●Not to be used as a floating device.
●This product is for youth use only, not intended for adult training.
CHILDREN SAFETY
● Not for children without adult supervision.
●To reduce the risk of suffocation, drowning or serious personal injury,
- Always stay within reach of children while playing.
- Keep product away from small children when it is not inflated.
PRODUCT PROTECTION
●Playing only in open area away from sharp objects.
●Avoid contact with sharp objects or hot surface with inflatable bag which could cause injury to your hands.
●The sharp objects on your body might damage the product, such as rings, watches and fingernails, etc.
●Make sure no sharp objects on your shoes which might damage the product.
SAFETY INSTRUCTION
www.themdsports.com
1550013 2(Continúe en la siguiente página.)
(Continued on the next page.)

CAUTION !
ASSEMBLY TIPS
WARNING:
WARNING: Adult Assembly Required.
IMPORTANT NOTICE!
No Children in
Assembly Area
Keep away from pets Do not use or keep product
outdoors. For indoor use only.
No wet/humid conditions.
1 - Please read the instructions carefully, and follow all assembly, operation and safety instructions
properly in order to avoid damage and injury. For the assembly, at least two adults are required.
2 - Some figures or drawings may not look exactly like your product. Please read and understand
the text before beginning each assembly step.
1 - Please do not sit, climb or lean on the product.
2 - This is not a child's toy, adult supervision is required for children playing this game.
Changes or modifications not expressly approved by the party responsible for compliance could void the
user’s authority to operate the equipment.
www.themdsports.com
1550013 3
(Continued on the next page.)

1550013 PARTS LIST
2 3 41
6 7 85
109
x10
x1
x2
x4 x2 x4
x6
x1 x1
x2 x2
11
www.themdsports.com
1550013 4
(Continued on the next page.)
FIG.1
1. Attach tube (#2), connector (#8), electronic scorer (#9) with skeet shooting target (#1) as shown in FIG 1.
2
8
1
FIG. 1
4
9
4
2
ASSEMBLY INSTRUCTIONS:
Note: Skeet Shooting Target (#1) is not included in replacement part.
2
8
9
X 2
X 1
X 1
1
X 1
4
X 2
Tube - 1
600mm Tube - 2
355mm Tube - 3
540mm
Tube - 4
560mm “L” Connector
2 Way Connector Straight
Connector
Electronic Scorer
Skeet Shooting Target
Blaster Darts

www.themdsports.com
1550013 5
(Continued on the next page.)
FIG.2
2. Attach tubes (#3, #5) with connectors (#6, #7) as shown in FIG. 2.
3. Connect the Sensor Wire from Archery Hunting Target (#1) to the Electronic Scorer (#9) as shown in FIG. 2A.
FIG.3
4. Attach the tubes (#4) and “L” Connectors (#6) to the FIG. 2 Assembly as shown in FIG. 3.
4
4
6
6
6
X 2
X 2
FIG. 3
4
3
3
3
5
5
6
6
6
X 2
X 2
X 2
7
9
1
7
7
X 2
FIG. 2
FIG. 2A
5
Target Sensor Wire
FIG. 2 Assembly

www.themdsports.com
1550013 6
(Continued on the next page.)
FIG.4
5. Connect tubes (#2), Straight Connector (#8) and “L” Connector (#6). See FIG. 4A.
6. Attach the FIG. 4A Assembly to the FIG. 3 Assembly as shown in FIG. 4.
FIG.5
7. Inflate the Skeet Shooting Target (#1) by air pump (not included). See FIG. 5.
2
6
8
X 2
X 2
X 1
FIG. 4
FIG. 5
6
6
8
FIG. 4A
2
2
FIG. 3 Assembly
FIG. 4A Assembly
1
Inflation
DO NOT OVER
INFLATE
Cover Nozzles

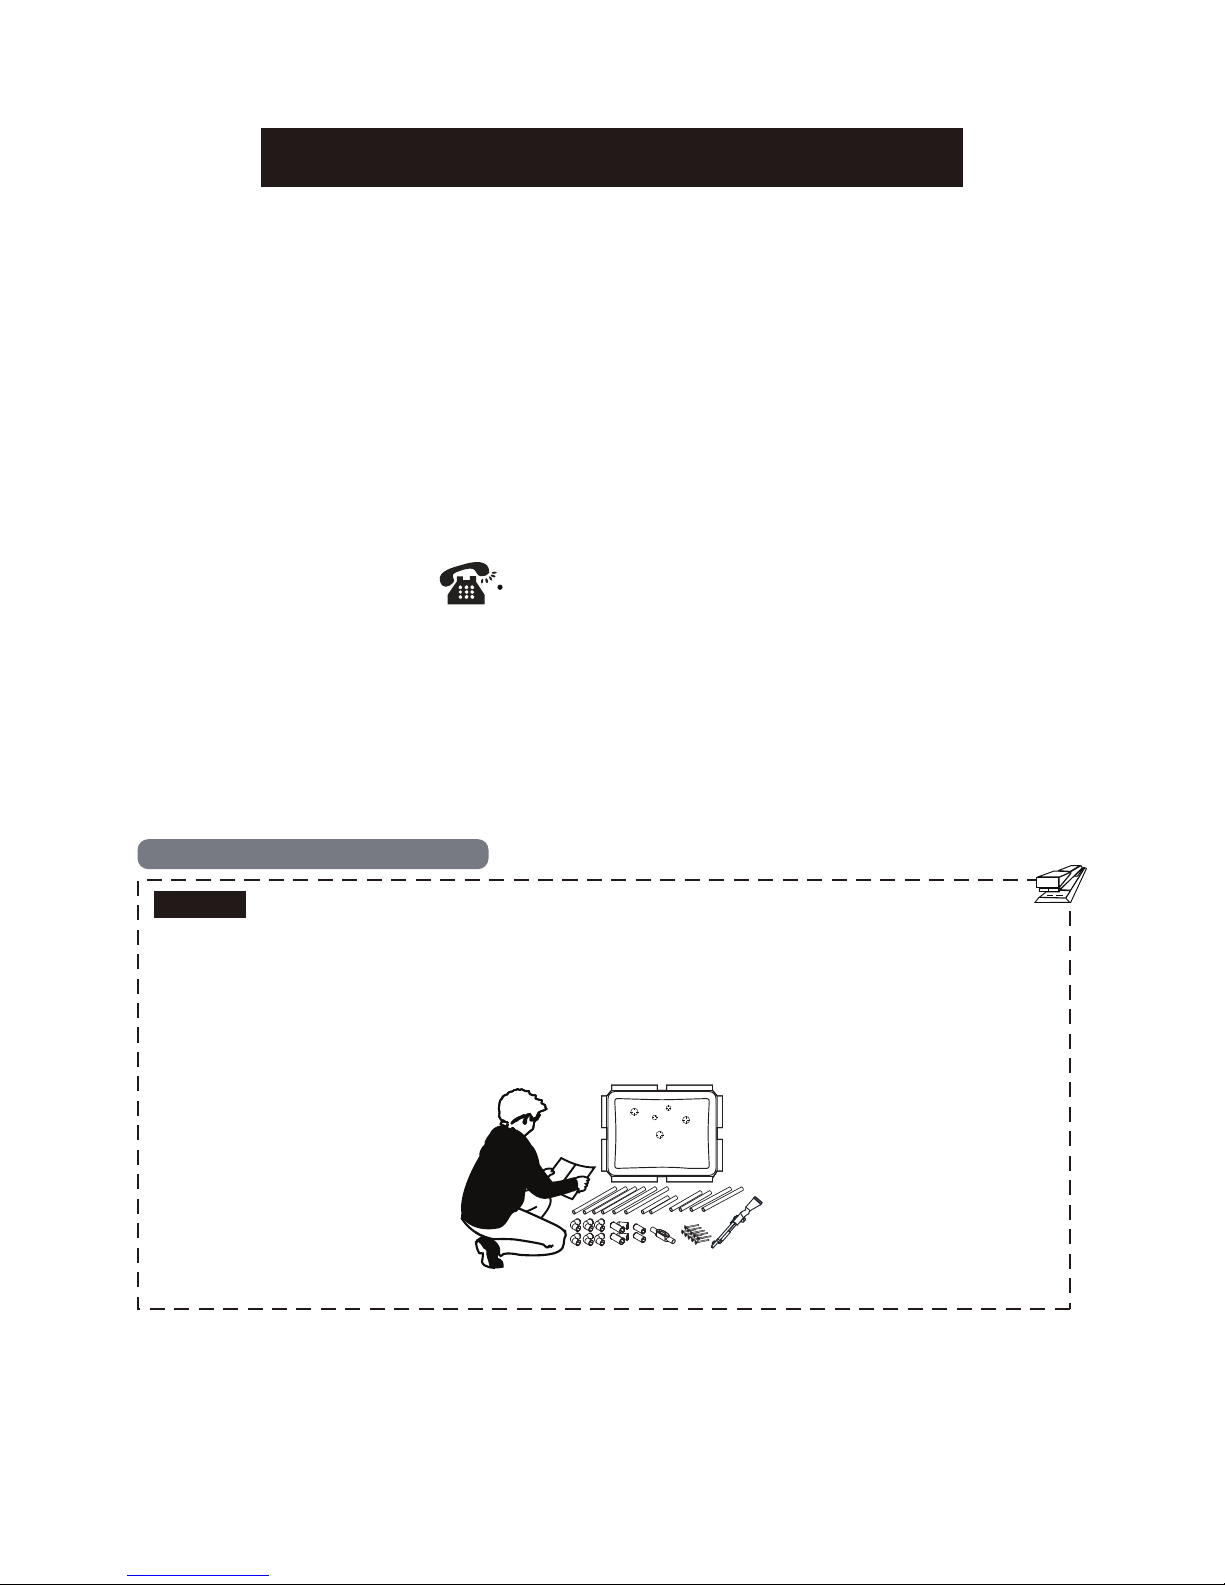
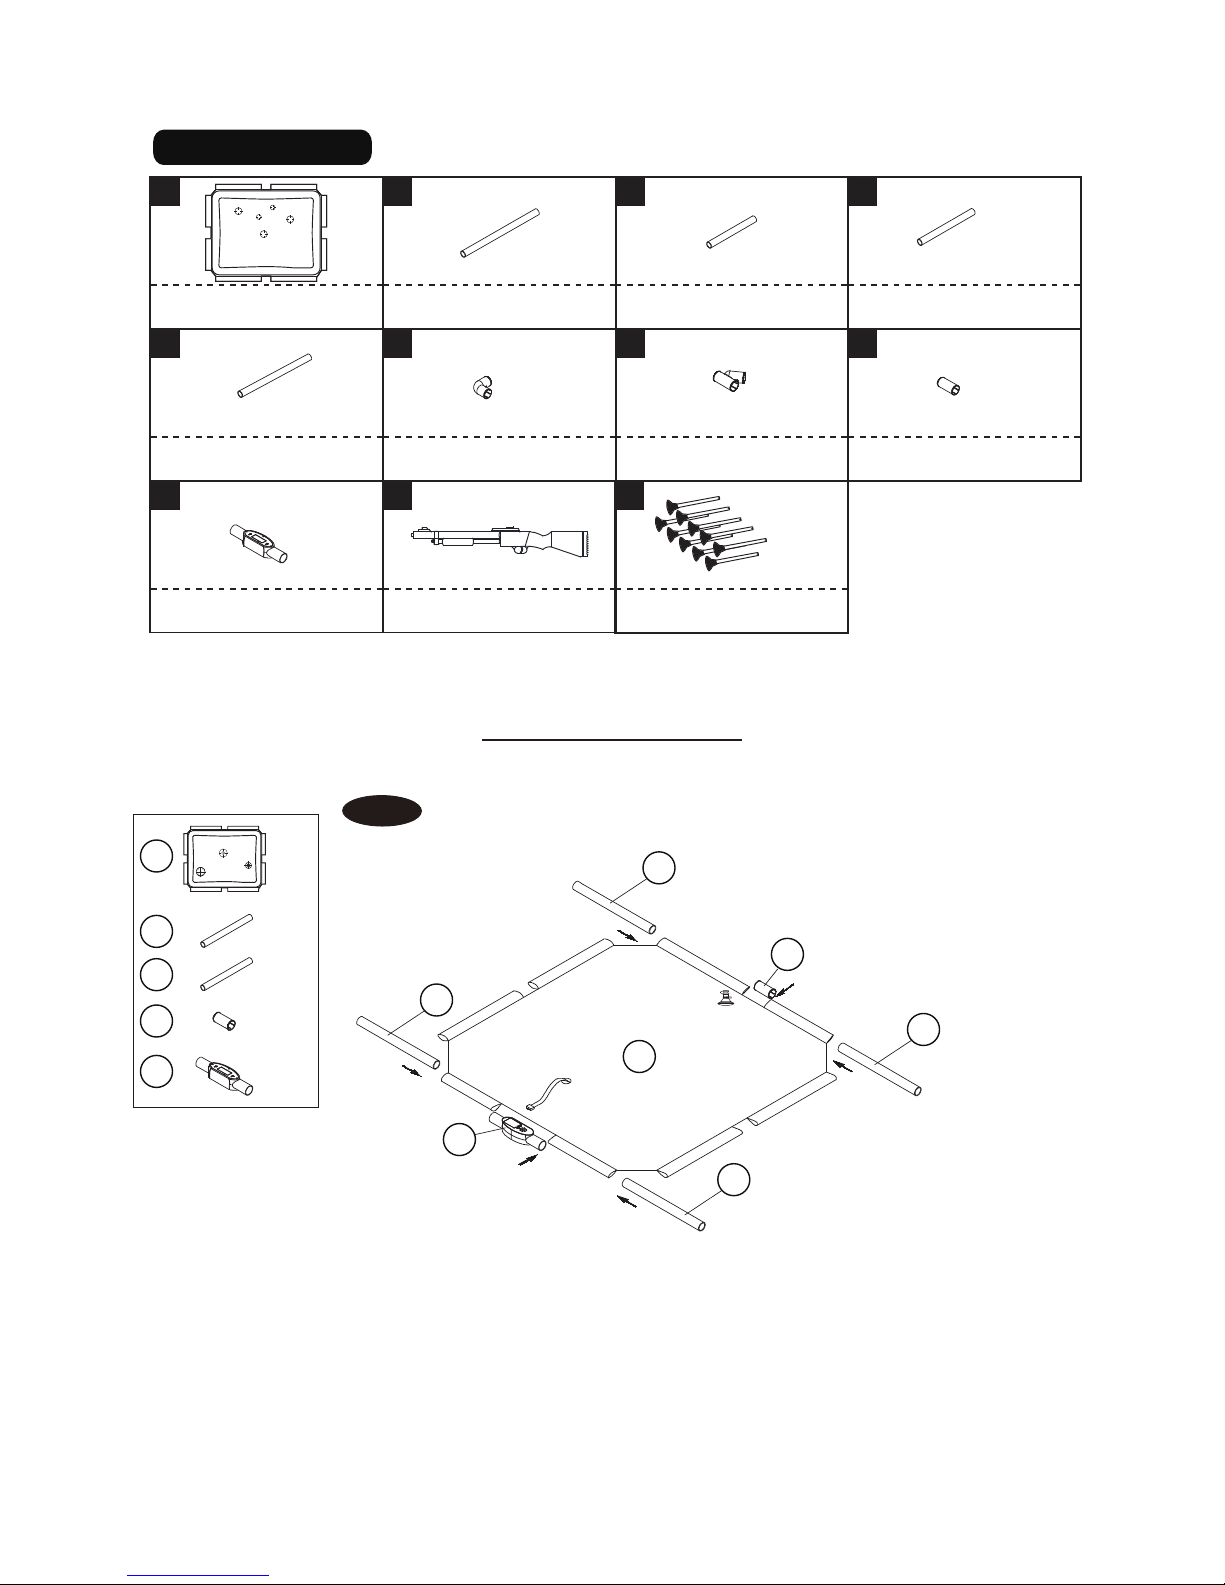
ELECTRONIC SCORER OPERATION
Battery Installation
Battery Box: Unscrew the bolt using a screwdriver and open the battery box. Insert 3 “AAA” batteries ( not included) in the order of
polarity as shown on the inside cover. Then close the cover using a screwdriver. Turn the power ON using the ON/OFF switch.
Reminder:
a. Batteries must be installed according to the correct polarization (+ and -) required.
b. Please clean the battery contacts and also those of the device prior to battery installation.
c. If the game will not be used for a long period of time, we recommend that the batteries should be removed.
How to play
When the game is plugged in, it automatically sets the game for two players for time duration of one minute and thirty seconds.
(To switch off the product, press the ON/OFF button for two seconds)
A. When the game is switched on, you will hear sound effects. The electronic scorer will display 2P, if you do not operate the sound effects will
continue to play. You can now choose the button of one or two players. If you press the button for 2P, the timer will start to count down 5. 4. 3. 2. 1.
After the countdown, you will hear PLAYER sound effect and see the time display of 1 minute and 30 seconds.
B. After the count down, you will see one of the LED lights up for 4 seconds to shoot. (There will be 5 sets of LED lights lit up randomly for the game.)
Once you shot on target, you will hear the scoring sound the scorer will display 01. If you succeed on shooting the next target within the next 4 seconds,
you will hear the scoring sound and the scorer will display 02. After the display of your score, the scorer will switch back to the countdown. If one did not
score, the time display will not be switched to score.
C. When the time is up for the first player, you will hear the sound “Next Player”. The electronic scorer will start to count down 5. 4. 3. 2. 1, and display a
countdown of 1 minute and 30 seconds. The second player starts to play the game of 1 minute and 30 seconds. After the count down, you will see one
of the LED lights up for 4 seconds to shoot. (There will be 5 sets of LED lights lit up randomly for the game.) Once you shot on target, you will hear the
scoring sound the scorer will display 01. If you succeed on shooting the next target within the next 4 seconds, you will hear the scoring sound and the
scorer will display 02. After the display of your score, the scorer will switch back to the countdown. If one did not score, the time display will not be
switched to score.
D. Before the time is up, you will hear the sound effects for 5. 4. 3. 2. 1, and GAME OVER! And TRY AGAIN! You can only start a new game after the
sound effects. The scores will flash for the winning player.
E. When one chooses 1P, press the ON/OFF button to start. After hearing the countdown 5. 4. 3. 2. 1, the game of 1 minute and 30 seconds begins with
PLAYER sound effects.
F. You will see one of the LED lights up for 4 seconds to shoot. (There will be 5 sets of LED lights lit up randomly for the game.) Once you shot on target,
you will hear the scoring sound the scorer will display 01. If you succeed on shooting the next target within the next 4 seconds, you will hear the scoring
sound and the scorer will display 02. After the display of your score for 2 seconds, the scorer will switch back to the countdown. If one did not score, the
time display will not be switched to score. Before the time is up, you will hear the sound effects for 5. 4. 3. 2. 1, and GAME OVER! And TRY AGAIN!
You can only start a new game after the sound effects. The scores will flash.
G.The game will be on SLEEP MODE if there aren’t any operations after 5 minutes.
www.themdsports.com
1550013 7
(Continued on the next page.)
WARNING:
!
1) Requires 3 “AAA” batteries (not included).
2) Do not mix old and new batteries.
3) Do not mix alkaline, standard (carbon zinc), or
rechargeable (nickel-cadmium) batteries.
9 9

www.themdsports.com
1550013 8
(The last page)
This device complies with the part 15 of the FCC rules.
Operation is subject to the following two conditions :
(1) This device may not cause harmful interference, and
(2) This device must accept any interference received,
including interference that may cause
undesired operation.
YOU ARE NOW READY TO PLAY!
10
11
Soft darts Pull the pulling lever Trigger and fire
B C
A
HOW TO OPERATE THE BLASTER
Table of contents
Other MD SPORTS Toy manuals