manuals.online logo
Brands
  1. Home
  2. •
  3. Brands
  4. •
  5. MDV
  6. •
  7. Inverter
  8. •
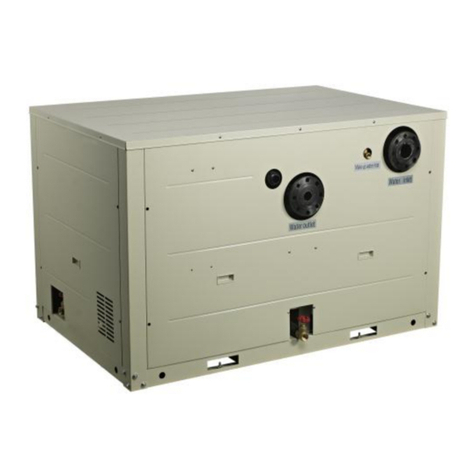
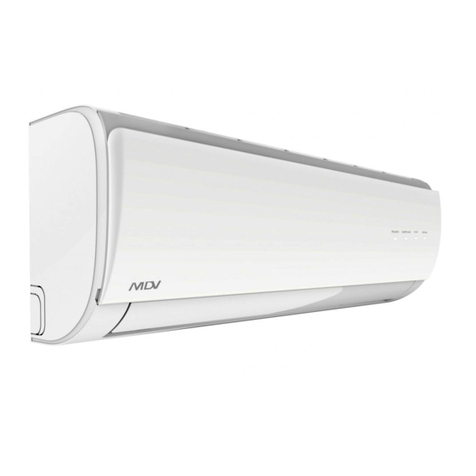
  9. MDV 24k BTU 20 SEER Installation instructions

MDV 24k BTU 20 SEER Installation instructions

Page 1
Disassembly of Super-slim Cassette
Maintenance and
Disassembly
 
1. Front Panel and Display Board
i) models except for 60k
Procedure Illustration
1) Release 2 hooks and open the panel.
(see CJ_CASSETTE_001)
2) Pull up the filter. (see CJ_
CASSETTE_002)
CJ_CASSETTE_001
CJ_CASSETTE_002
Note: This section is for reference only. Actual unit appearance may vary.
Page 2
Maintenance and
Disassembly
 
Procedure Illustration
3) Disconnect the connectors and
release the panel. (see CJ_
CASSETTE_003)
CJ_CASSETTE_003
Note: This section is for reference only. Actual unit appearance may vary.
Page 3
Maintenance and
Disassembly
 
ii) 60k models
Procedure Illustration
1) Release the 2 hooks and open the
panel. (see CJ_CASSETTE_004)
2) Turn over the panel, release the
hooks and then pull up the filter. (see
CJ_CASSETTE_005)
3) Remove the 2 screws and remove the
cover of electronic control box. (see
CJ_CASSETTE_006)
CJ_CASSETTE_004
CJ_CASSETTE_005
CJ_CASSETTE_006
Note: This section is for reference only. Actual unit appearance may vary.
Page 4
Maintenance and
Disassembly
 
Procedure Illustration
4) Disconnect the connectors of the
display board and the fan motor. (see
CJ_CASSETTE_007)
5) Remove the 4 screws and release
the 2 hooks of the panel. (see CJ_
CASSETTE_008)
CJ_CASSETTE_007
CJ_CASSETTE_008
Note: This section is for reference only. Actual unit appearance may vary.
Page 5
Maintenance and
Disassembly
 
2. Electrical parts (Antistatic gloves must be worn.)
i) models except for 60k
Procedure Illustration
1) Remove 2 screws and remove the
cover of electronic control box. (see
CJ_CASSETTE_009)
2) Remove 2 screws of the main control
board. (see CJ_CASSETTE_010)
CJ_CASSETTE_009
CJ_CASSETTE_010
Note: This section is for reference only. Actual unit appearance may vary.
Page 6
Maintenance and
Disassembly
 
Procedure Illustration
3) Disconnect the connectors and then
remove the main control board. (see
CJ_CASSETTE_011
CJ_CASSETTE_011
Note: This section is for reference only. Actual unit appearance may vary.
Page 7
Maintenance and
Disassembly
 
iii) 60k models
Procedure Illustration
1) Disconnect the connectors and then
remove the main control board. (see
CJ_CASSETTE_012)
2) Remove the 5 screws of the
electronic control box. (see CJ_
CASSETTE_012)
CJ_CASSETTE_012
Note: This section is for reference only. Actual unit appearance may vary.
Remove the 4 screws of the water
Page 8
Maintenance and
Disassembly
 
7. Water Colletor(for 60k models)
Procedure Illustration
1) Remove the 2 screws of the
ventilation ring. (see CJ_
CASSETTE_013)
2)
collector. (see CJ_CASSETTE_014)
CJ_CASSETTE_013
CJ_CASSETTE_014
Note: This section is for reference only. Actual unit appearance may vary.
Page 9
Maintenance and
Disassembly
 
3. Display Board
i) models except for 60k
Procedure Illustration
1) Remove 2 screws of display board
and remove the display board. (see
CJ_CASSETTE_015)
2) Turn over the display board, rise
3 hooks with a flat screwdriver
as shown in the figure. (see CJ_
CASSETTE_016)
CJ_CASSETTE_015
CJ_CASSETTE_016
Note: This section is for reference only. Actual unit appearance may vary.
Page 10
Maintenance and
Disassembly
 
iv) 60k models
Procedure Illustration
1) Remove the 1 screw of the display
board cover and then pull it up. (see
CJ_CASSETTE_017)
2) Turn over the panel flame, release the
3 screws of each corner. Then release
the hook of the display board. (see
CJ_CASSETTE_018)
CJ_CASSETTE_017
CJ_CASSETTE_018
Note: This section is for reference only. Actual unit appearance may vary.
Page 11
Maintenance and
Disassembly
 
Procedure Illustration
1) rotate the display board in the
direction shown in the fiure, then
take the display board down. (see
CJ_CASSETTE_019)
2) Remove the 2 screws of the step
motor and then disconnect the wire
connected to step motor. (see CJ_
CASSETTE_020)
CJ_CASSETTE_019
CJ_CASSETTE_020
Note: This section is for reference only. Actual unit appearance may vary.
Page 12
Maintenance and
Disassembly
 
4. Fan motor and fan
Procedure Illustration
1) Remove the nut of the fan and
then pull up the fan. (see CJ_
CASSETTE_021)
2) Remove 2 screws of fixing board
and 3 nuts of fan motor. (see CJ_
CASSETTE_022)
CJ_CASSETTE_021
CJ_CASSETTE_022
Note: This section is for reference only. Actual unit appearance may vary.
Remove 4 screws of the panel
Page 13
Maintenance and
Disassembly
 
5. Evaporator
Procedure Illustration
1)
and pull up the panel. (see CJ_
CASSETTE_023)
2) Remove 2 screws of pipe clamp
board. (see CJ_CASSETTE_024)
CJ_CASSETTE_023
CJ_CASSETTE_024
Note: This section is for reference only. Actual unit appearance may vary.
Remove 4 screws of the evaporator
Page 14
Maintenance and
Disassembly
 
Procedure Illustration
3)
support and then remove it. (see
CJ_CASSETTE_025)
4) Remove 2 screws of the evaporator
fixing bracket and then remove it.
(see CJ_CASSETTE_026)
CJ_CASSETTE_025
CJ_CASSETTE_026
Note: This section is for reference only. Actual unit appearance may vary.
Page 15
Maintenance and
Disassembly
 
6. Water Pump
Procedure Illustration
1) Take off the fasten belt of the water
pump. (see CJ_CASSETTE_027)
2) Pinch the metal wire in the direction
shown in the figure to release it. (see
CJ_CASSETTE_028)
CJ_CASSETTE_027
CJ_CASSETTE_028
Note: This section is for reference only. Actual unit appearance may vary.
Page 16
Maintenance and
Disassembly
 
Procedure Illustration
3) Remove 3 screws and then
remove the water pump. (see CJ_
CASSETTE_029)
CJ_CASSETTE_029
Note: This section is for reference only. Actual unit appearance may vary.

This manual suits for next models

2

Other MDV Inverter manuals

MDV MDCA3-12HRDN1 User manual

MDV

MDV MDCA3-12HRDN1 User manual

MDV HM/II-65S User manual

MDV

MDV HM/II-65S User manual

MDV 12,000k BTU Installation instructions

MDV

MDV 12,000k BTU Installation instructions

MDV MOBA30-12CFN1-BP0W User manual

MDV

MDV MOBA30-12CFN1-BP0W User manual

Popular Inverter manuals by other brands

LS SV-xxx-iP5A-2 manual

LS

LS SV-xxx-iP5A-2 manual

Huayu HYH-7.6K-NA/Pro user manual

Huayu

Huayu HYH-7.6K-NA/Pro user manual

Westerbeke 4.5BCG Operator's manual

Westerbeke

Westerbeke 4.5BCG Operator's manual

PowerFlow ERS MINI Installation and user manual

PowerFlow

PowerFlow ERS MINI Installation and user manual

Sinexcel PWS1-500K Series operating manual

Sinexcel

Sinexcel PWS1-500K Series operating manual

SolarEdge Dry-Contact switch installation guide

SolarEdge

SolarEdge Dry-Contact switch installation guide

Motomaster ELIMINATOR 299-5299-0 owner's manual

Motomaster

Motomaster ELIMINATOR 299-5299-0 owner's manual

Dynamic Power TriFuel owner's manual

Dynamic Power

Dynamic Power TriFuel owner's manual

SMA SUNNY TRIPOWER 5000TL user manual

SMA

SMA SUNNY TRIPOWER 5000TL user manual

Riello SIRIO HV MT K64 user manual

Riello

Riello SIRIO HV MT K64 user manual

Senci AP2000i user guide

Senci

Senci AP2000i user guide

Xantrex XPower Mobile Plug 75 quick guide

Xantrex

Xantrex XPower Mobile Plug 75 quick guide

Sunways NT 2600 user manual

Sunways

Sunways NT 2600 user manual

Hensel Tria 24 S user manual

Hensel

Hensel Tria 24 S user manual

Rowan Elettronica 400 Series quick start guide

Rowan Elettronica

Rowan Elettronica 400 Series quick start guide

Seraphim SRP 6MA-HV Series installation guide

Seraphim

Seraphim SRP 6MA-HV Series installation guide

ASHAPOWER ROVER-5000LV-48V user manual

ASHAPOWER

ASHAPOWER ROVER-5000LV-48V user manual

Sungrow SG250HX-US user manual

Sungrow

Sungrow SG250HX-US user manual

manuals.online logo
manuals.online logoBrands
  • About & Mission
  • Contact us
  • Privacy Policy
  • Terms and Conditions

Copyright 2025 Manuals.Online. All Rights Reserved.