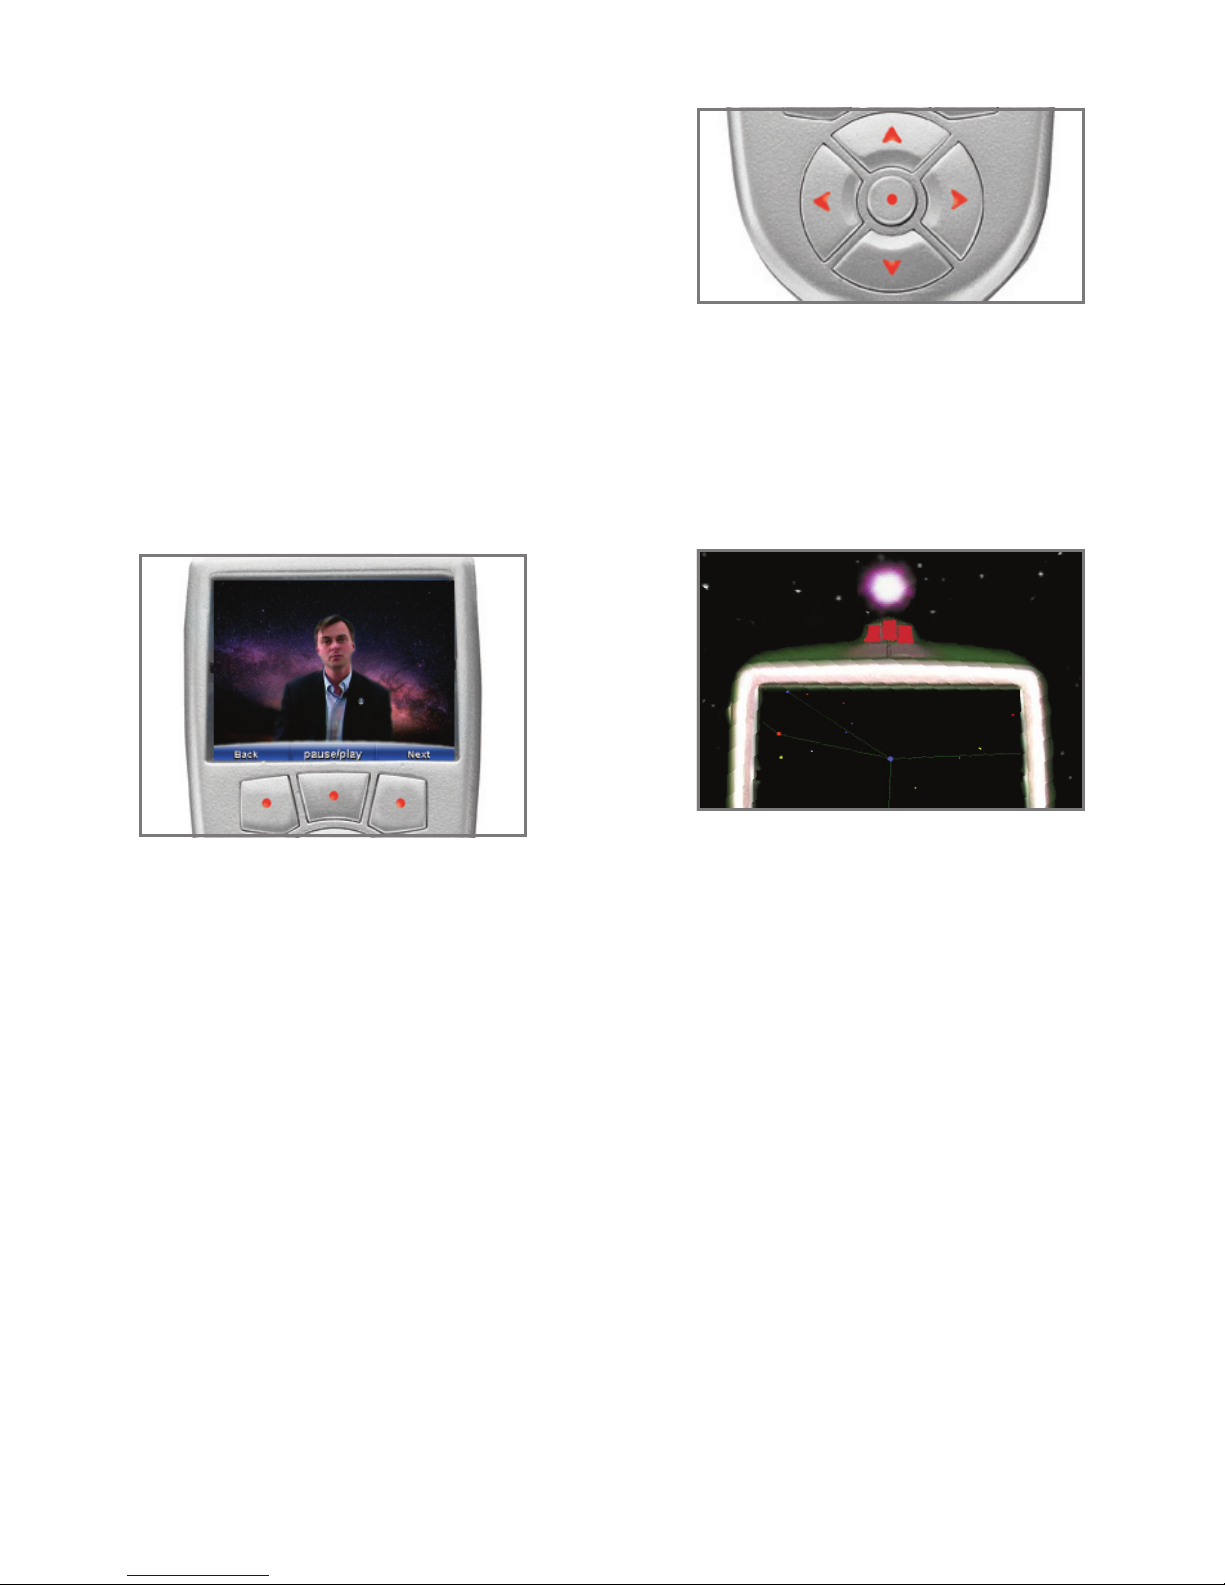
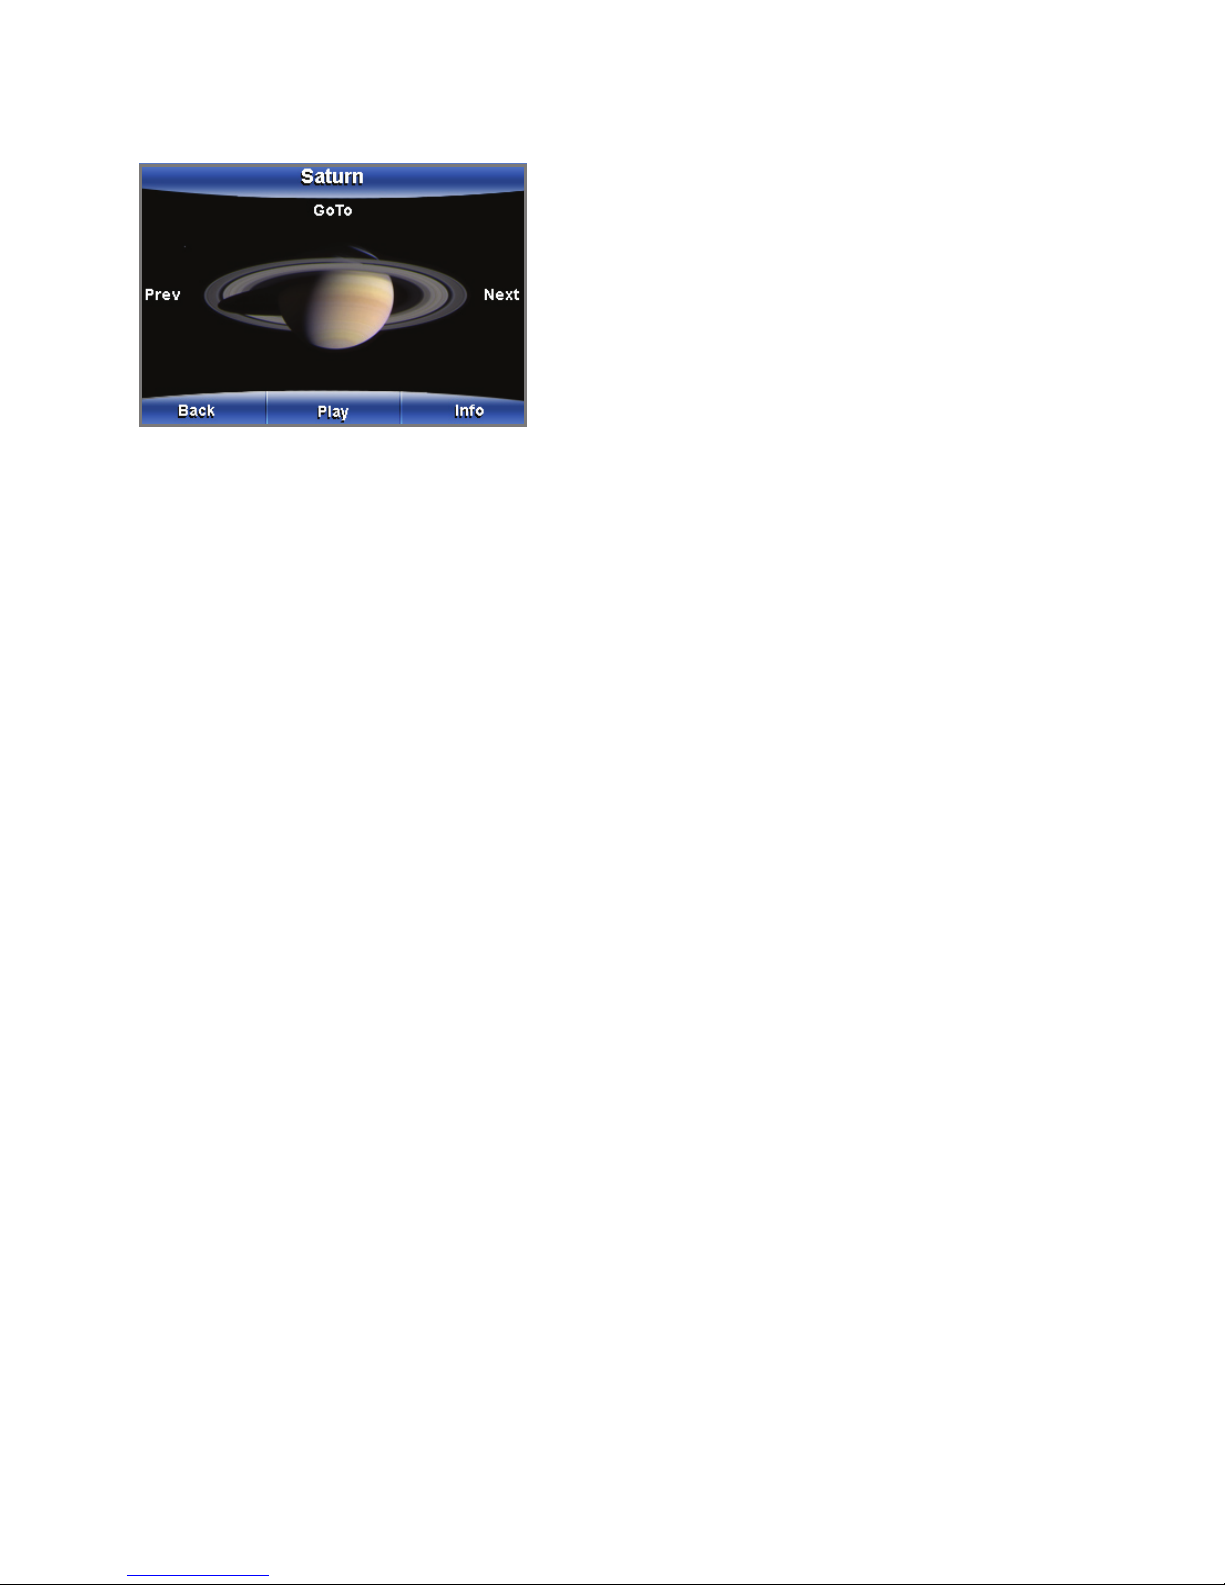
For most objects (in this case, Saturn), you will see an image
of the object or a similar object representing the object type.
If you press “Play,” you may see additional images of the
object on the screen and hear a description of the object
in your earbuds. All the planets, constellations, major stars
and most popular celestial objects have both audio and
visual information. If “Play” is not shown as an option or you
want technical data about the object, press “Info” and text
with details about the object will be displayed.
If the object you selected is part of a list or catalog, you can
use the left or right arrows to display the previous or next
object in the list. When the object you want is displayed,
press “Play” or “GoTo.”
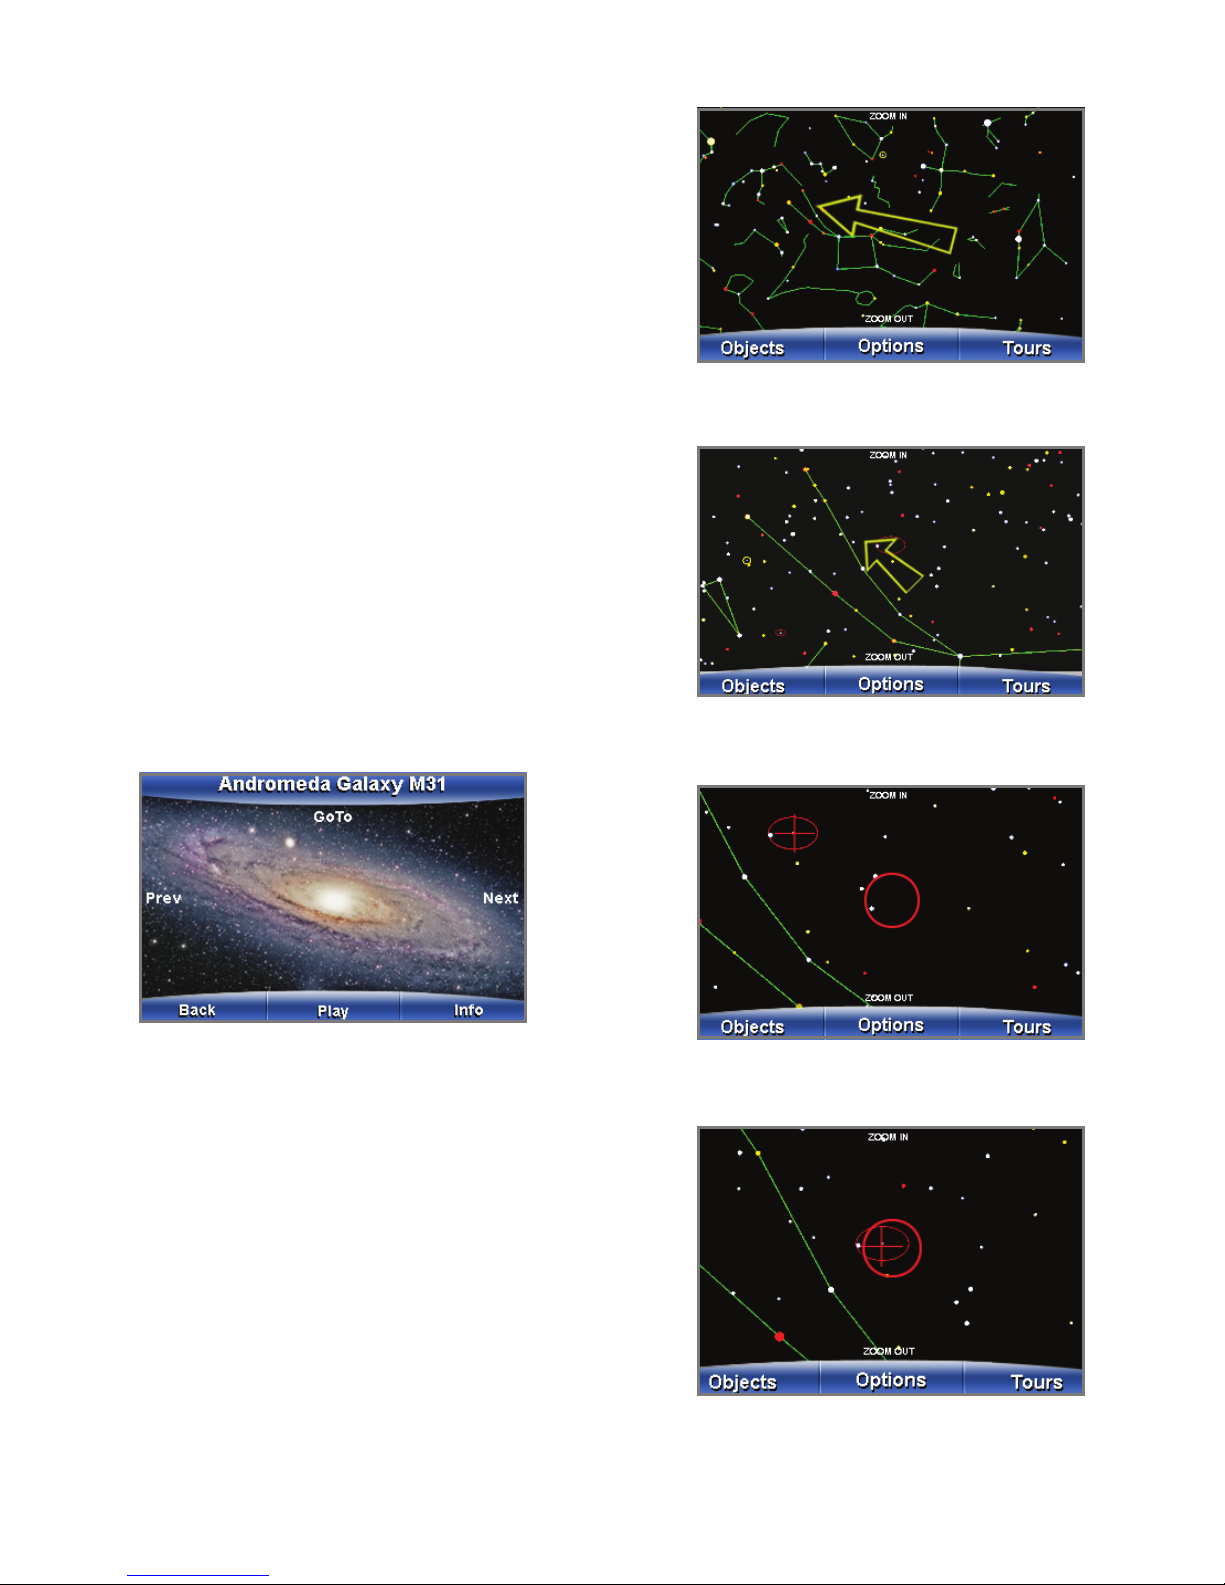
If you select “GoTo” with the up arrow, mySKY will display
the SkyMap and guide you to Saturn with an arrow as
described earlier. Congratulations! You have located Saturn!
Use this technique to nd other objects in the sky. mySKY
contains over 30,000 celestial objects and you can locate
any of these objects just as easily.
30,000 objects may seem overwhelming at rst and you
may never check all of these out. Start with the planets
and constellations. Then move to Messier objects and
Named Stars, or perhaps Variable Stars (stars that vary
in brightness). You will not be able to see many of these
objects without a telescope, but you will become more and
more familiar with the night sky and with the objects that
inhabit it. mySKY can be a personalized astronomy course
that lets you learn at your own speed while having fun.
Constellations
If you choose a selection from mySKY’s Constellation list
and then select “Trace,” mySKY will highlight, one by one,
the major stars of the chosen constellation, tracing out its
popular shape on the displayed star map (for example,
it will trace out the “dipper” shape of Ursa Major).
The rst star in the constellation will be highlighted when
you select “Trace.” Press “Next” and the second star will
be highlighted. Continue to press “Next” to highlight each
star in the constellation. Press “Go To” to have mySKY lead
you to the star currently highlighted on the star map. Press
“Back” to trace more stars.
Other Options
Explore the features of the “Options” menu—you may nd
them quite useful while using mySKY. The features include
Battery Level, Night Vision, Lights and Connection.
Battery Level
After selecting “Options,” press the down arrow to select
“Technical Info.” Press the right arrow to select “Battery.”
A screen will display showing your current battery level.
If you notice mySKY acting erratically, it may be time
to change the batteries. Keep pressing “Back” to exit
this menu.
Nightvision
Press the up arrow to toggle between Nightvision and the
Full Color Display. When you select Nightvision, the screen
is displayed in red to protect your night vision.
Lights
The Lights menu offers you two submenus: Blink Sights
and Light Balance.
Blink Sights: This option allows you to blink the three sights
on top of mySKY. This will help when you’re lining up with
a celestial object that is dim. Select the Blink Sights option
and then press the left arrow to enable blinking. Press the
left arrow again to turn on the lights without blinking.
Light Balance: Select the Light Balance option and then
press the right or left arrow to change the brightness of the
three sights on top of mySKY. Select “Done” after you have
set the brightness level. Note that the Brightness button
on the side of mySKY sets the brightness level for both the
sights and the display. The Light Balance option does not
set the brightness level of the display.
Connection
This option allows you to connect to a PC or a Meade®
computerized telescope (cable sold separately). Use the
up and down arrows to toggle between the two selections.
Select “Done” after you make your choice.
Connecting mySKY
to a Meade®Computerized Telescope
If you have a Meade computerized telescope, you can
connect mySKY with a special cable (sold separately).
This will allow you to command your telescope to move
(GoTo) any object you have selected with mySKY. Your
telescope must rst be setup and aligned as usual. Then
connect one end of the cable to mySKY and the other
7