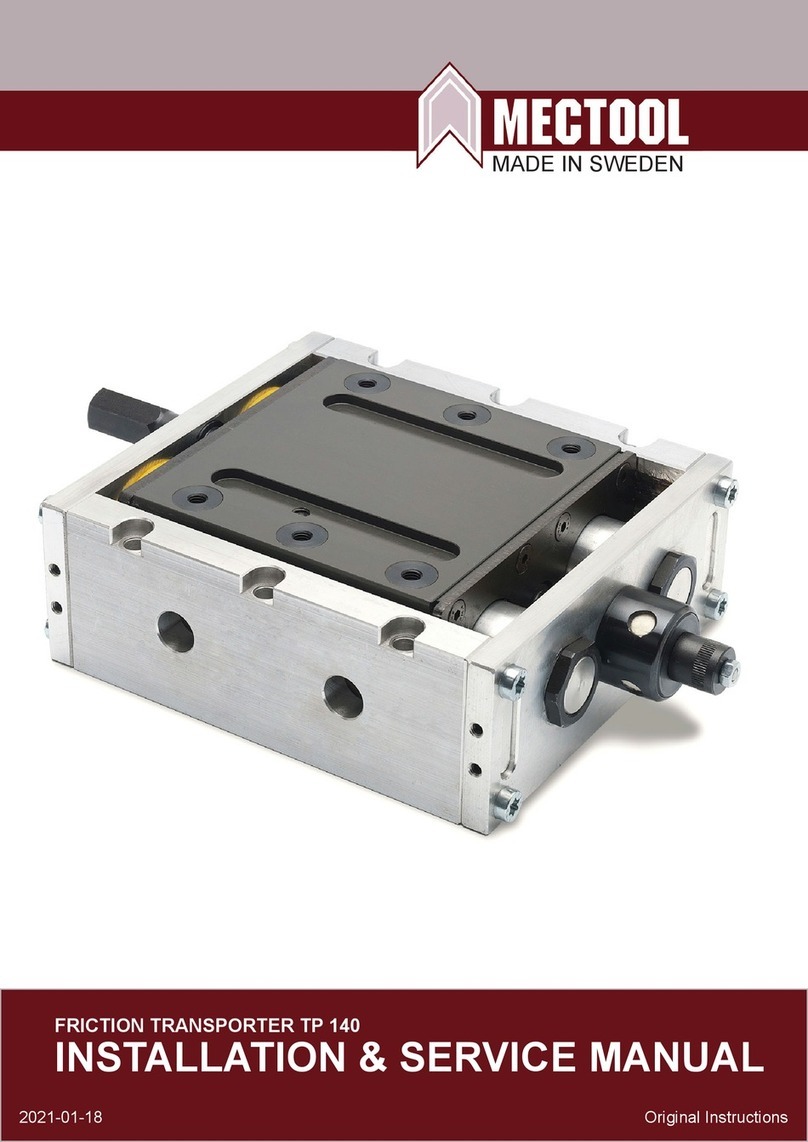
MECTOOL TP3 Supplement

MADE IN SWEDEN
FRICTION TRANSPORTER
INSTALLATION & SERVICE MANUAL
2021-01-18
TP 10
Original Instructions

Model Quantity Metric Inch
TP3 4 M8 5/16
TP10 4 M8 5/16
TP40 2 M10 3/8
TP70 6 M8 5/16
TP140 6 M8 5/16
1. Rigidly mount the Transporter to a solid surface using
these recommended bolt sizes:
Recommended Air Line
Connection to Eliminate Moisture
and Particles from Main Line
3. Fill the lubricator with a good grade of hydraulic oil such
as Shell Tellus 32 or equivalent. Set the lubricator for
one (1) drop per minute.
4. Connect the air line with exible poly-ow tubing into the
threaded inlet. On model TP3 use 1/4” tubing for 1/8” NPT.
Models TP10, TP40, TP70 and TP140 use
3/8” tubing for 1/4” NPT.
5. A custom ”U” prole tray or chute
must be designed to handle each
specic application or tool. Any
material can be used but we
recommend aluminum or any light
gauge material to reduce tray weight.
Maximum tray weight should not
exceed the following table data:
2. Air line requires use of an oil mist-type combination
lter/regulator/lubricator, and pressure gauge. Set pressure
to 4-5 bar (60-75 psi). Do not exceed 5.5 bar (80 psi) as
excess pressure will damage the Transporter.
Main Air Line
Drain
To Transporter
Filter/Regulator/Lubricator
Model Max. weight
tray only
Max. weight
of parts
Kg Lbs. Kg Lbs.
TP3 1,5 3,3 3 6,6
TP10 3 6,6 10 20
TP40 15 33 40 80
TP70 50 110 70 140
TP140 100 200 140 300
6. Fasten the tray or chute to the Transporter with metric
screws at all holes. Be sure to use spacers or washers
between the Transporter and the tray to reduce contact friction
between the moving tray and the Transporter body.
Refer to the following table:
Model Quantity Screw size Depth
TP3 6 M6 8 mm
TP10 6 M6 8 mm
TP40 6 M8 9 mm
TP70 6 M8 8 mm
TP140 6 M8 8 mm
7. The conveyor tray or chute must be supported at both ends
to minimize vibration and deection. A block of Delrin GP-500
or Nylon, low friction material can be used for the tray to slide.
Ball bearing
roller
TransporterChute
or tray
Roller slide
Spacer
Press bolster
Solid slide -
Low Friction
Material
Feed Direction
8. The speed adjustment is preset at the factory with the
correct frequency for a lightweight tray or chute. The speed
can be adjusted by turning the screw or knob clockwise to
decrease the movement on the models TP3, TP10 and TP40.
The TP70 and TP140 are adjusted by turning the screw or
knob counter-clockwise to decrease the movement.
Maximum speed is not required to move parts or scrap
eciently.
9. If the TP40 speed frequency is inadequate, release the
air regulator rod 40-029 and gently push forward to increase
speed or backwards to decrease.
10. The TP10 may require a slight adjustment to maintain
proper speed frequency after a period of operation.
If speed adjustment screw 10-405 does not slow the unit
suciently, it may be necessary to slightly snug the two
screws at the air regulator valve 10-603. This reduces the air
being released from the valve and decreases speed.
Snugging the screws too tightly will cause bending of the air
regulator rod and poor performance.
11. Spray the same Tellus oil used in lubrication on the
pistons every week.
12. If there is a build-up of sticky oil on the conveyor tray or if
the scrap parts are very oily, they may stick to the surface and
reduce movement. To reduce friction, try dimpling the surface
of the conveyor chute with a ballpeen hammer or use a
dierent material like expanded metal or proled, roll-formed
material.
Installation

TP 10 Service
Disassembly.
1. Remove the locking nuts 10-214 and the screws
10-210.
2. Pull out the front holder 10-202 together with the
air regulator rod & nut 10-604 and guide columns
10-203.
3. Pull out the rear holder 10-201 together with the
rear pistons 10-303.
4. Remove the air inlet 10-601 with an 8 mm hex
wrench.
5. Remove the nut 10-305 from the piston 10-302.
6. Remove the disc 10-311 from the valve rod
10-310 using a screwdriver at the screw 10-325,
and a 13 mm socket at the opposite end.
7. Remove the piston 10-606.
8. Carefully disassemble the piston 10-606.
9. Examine all springs, O-rings and valve discs for
damage and replace as needed.
Reassembly.
1. Note that the extension 10-324, inner disc 10-311
and valve rod 10-310 must be very straight and not
overtightened.
2. Assemble all components of the piston 10-606,
install it in the machine body, and add the outer disc
10-311.
3. If many parts have been replaced, the TP10
Transporter may require a brief run-in period before
nal adjustments are made.
Please note that some parts may
not be available because they
are not eld replaceable. If this
is the case, a subassembly must
be used. Some parts are only
available as a subassembly and
cannot be purchased individually.
Check the spare parts reference
lists for details.

TP 10 Dimensional drawing

TP 10 Spare parts

Part No. Description Qty
3-325 O-ring 1
10-106 Composite bearing 4
10-201 Rear holder 1
10-202 Front holder 1
10-203 Guide column 2
10-204 Tray holder (L + R) 2
10-209 Circlip 2
10-210 Screw 4
10-212 Urethane washer 4
10-213 Guide column spacer 2
10-214 Nut 4
10-303 Rear piston 2
10-305 Nut 1
10-311 Valve disc 2
10-313 Spring 1
10-314 Spring 1
10-316 Gasket 1
10-318 O-ring 1
TP 10 Spare parts
Part No. Description Qty
10-319 O-ring 2
10-320 O-ring 2
10-407 O-ring 1
10-413 Felt 1
10-414 Circlip 1
40-035 O-ring 1
Subassemblies
Part No. Description Qty
10-001 Repair kit -
10-601 Air inlet 1
10-602 Valve rod 1
10-603 Air regulator 1
10-604 Air regulator rod 1
10-605 Speed adjustment screw 1
10-606 Piston 1

Part No. Description Qty
10-102 Air inlet * 1
* Not sold separately
Part No. Description Qty
40-035 O-ring 1
10-601 Air inlet

Part No. Description Qty
3-325 O-ring 1
* Not sold separately
Part No. Description Qty
10-310 Valve rod * 1
10-602 Valve rod

Part No. Description Qty
10-318 O-ring 1
10-401 Air regulator * 1
10-403 Urethane Washer * 1
* Not sold separately
Part No. Description Qty
10-404 Washer * 1
10-408 Screw 2
10-603 Air regulator

Part No. Description Qty
10-321 Nut 1
* Not sold separately
Part No. Description Qty
10-402 Air regulator rod * 1
10-604 Air regulator rod & nut

Part No. Description Qty
10-405 Speed adjustment screw * 1
* Not sold separately
Part No. Description Qty
10-407 O-ring 1
10-605 Speed adjustment screw

Part No. Description Qty
3-325 O-ring 1
10-302 Piston * 1
10-310 Valve rod 1
10-311 Valve disc 2
10-313 Spring 1
* Not sold separately
Part No. Description Qty
10-314 Spring 1
10-320 O-ring 2
10-324 Extension 1
10-325 Screw 1
10-606 Piston

TP 10 Repair kit Part no. 10-001

TP Technical data
TP 3
Air pressure
Air consumption
Length of stroke
Rate of feed
Max gradient on feed chute
Sound level
Weight
Transportation capacity
Max weight chute
4 - 5,5 bar
5 l/min
23 mm
8 - 10 m/min
8 °
56 dB (A)
1,5 kg
3 kg
1,5 kg
TP 10
Air pressure
Air consumption
Length of stroke
Rate of feed
Max gradient on feed chute
Sound level
Weight
Transportation capacity
Max weight chute
4 - 5,5 bar
11 l/min
23 mm
8 - 10 m/min
8 °
60 dB (A)
3 kg
10 kg
3 kg
TP 40
Air pressure
Air consumption
Length of stroke
Rate of feed
Max gradient on feed chute
Sound level
Weight
Transportation capacity
Max weight chute
4 - 5,5 bar
31 l/min
27 mm
8 - 10 m/min
8 °
68 dB (A)
8,5 kg
40 kg
15 kg
TP 70
Air pressure
Air consumption
Length of stroke
Rate of feed
Max gradient on feed chute
Sound level
Weight
Transportation capacity
Max weight chute
4 - 5,5 bar
44 l/min
27 mm
8 - 10 m/min
8 °
68 dB (A)
6 kg
70 kg
50 kg
TP 140
Air pressure
Air consumption
Length of stroke
Rate of feed
Max gradient on feed chute
Sound level
Weight
Transportation capacity
Max weight chute
4 - 5,5 bar
42 l/min
27 mm
8 - 10 m/min
8 °
62 dB (A)
8,5 kg
140 kg
100 kg
Air consumption is measured at a pace of 120 strokes per minute and an air pressure of 4 bar.

Contact information
Factory repair service.
If your Transporter requires repair, return it to our Service Center. A technician will examine your
Transporter and get back to you with a quote of estimated costs.
Repairs include fault tracing and repair or replacement of failed components, as well as nal testing to
ensure your Transporter is functioning according to specications.
All items with the warranty period are evaluated by technicians to verify warranty eligibility.
All Transporters repaired by Mectool receive a new three month manufacturer’s warranty period
(wear parts excluded).
Mectool Sweden AB
P.J. Rösjös Väg 121-3
293 40 Olofström
SWEDEN
Phone:
Email:
Website:
+46 454 30 90 40
www.mectool.se

Other manuals for TP3
1
This manual suits for next models
4
Table of contents
Other MECTOOL Farm Equipment manuals