Medela B-Well User manual

Bottle Warmer
EN Instructions for use
DE Gebrauchsanweisung
FR Mode d‘emploi
IT Istruzioni per l‘uso
NL Gebruiksaanwijzing
ES Manual de instrucciones
PT Manual de instruções
EL Οδηγίες χρήσης
HE
SV Bruksanvisning
DA Brugsanvisning
FI Käyttöohjeet
NO Bruksanvisning
PL Instrukcja obsługi
RU Инструкция по применению
HU Használati utasítás
CS Návod na použití
TR Kullanma talimatları
JA 使用説明書
KO 사용 설명서
TW 使用說明書
ZH 使用说明书
שומיש תוארוה

3
2
1
4
5
6
7
8
9
EN Parts List IX
DE Teileliste IX
FR Liste des pièces IX
IT Elenco componenti IX
NL Onderdelenlijst IX
ES Lista de piezas IX
PT Lista de peças IX
EL Κατάλογος εξαρτημάτων IX
HE IX םיקלח תמישר
SV Lista över delar IX
DA Reservedelsliste IX
FI Osaluettelo IX
NO Reservedelsliste IX
PL Wykaz części zamiennych IX
RU Список деталей IX
HU Alkatrészek listája IX
CS Seznam dílů IX
TR Parça Listesi IX
JA 部品リスト IX
KO 부품 명칭 IX
TW 配件清單 IX
ZH 零件列表 IX

3
EN
Instructions for use
Manual de instrucciones
Gebrauchsanweisung
Manual de instruções
Mode d’emploi
Οδηγίες χρήσης
Istruzioni per l’uso
EN
ES
DE
PT
FR
EL
IT
HE
NL
SV
DA
FI
NO
PL
5
50
14
59
23
68
32
85
Gebruiksaanwijzing 41
Bruksanvisning 86
Brugsanvisning 95
Käyttöohjeet 104
Bruksanvisning 113
Instrukcja obsługi 122
שומיש תוארוה

4EN
Инструкция по применению
사용 설명서
Használati utasítás
使用說明書
Návod k použití
使用说明书
Kullanma talimatları
RU
KO
HU
TW
CS
ZH
TR
JA
131
176
140
185
149
194
158
使用説明書 167

5EN
BreastfeedingSolutionCircle
Dear Parents,
Congratulations on your decision to purchase a Medela product. For over 40 years, Medela has
helped to enhance babies’ health through the life-giving benefits of breast milk and supported
mothers during their breastfeeding experience – making it as safe and as easy as possible.
Medela strives to understand nature and over the years has become one of the world’s leading
experts in breastfeeding.
Breastfeeding is one of the most beautiful and natural experiences you can share with your
baby. It’s a unique time when you feel intensely close and intimate. Medela provides products
for your various needs during breastfeeding. The Medela Bottle Warmer which is easy to trans-
port and clean helps you to safely warm your precious breast milk.
Medela wishes you and your baby all the best!
Pumping
Collecting
Breastmilk Management
Feeding
Breast Care
Innovation
Evidence
Based
Research
Professionals
Service
Expertise
Education

6EN
ProductOverview
BottleWarmerI
The new Medela Bottle Warmer brings liquids or food to a constant 34°C – be they frozen, out
of the fridge or at room temperature. Helps preserve nutrients and vitamins.
IndicationsforUseII
The Medela Bottle Warmer
• heats milk bottles and pre-cooked baby food to the ideal feeding temperature (around 34°C
+/– 3 °C) and stabilises the temperature.
• is intended for home use only.
On/Off Select Enter
ml/ oz
Breastmilk Baby Food
Room-Temperature
~20°C
Fridge-Temperature
~7°C
Freeze-Temperature
~-18°C
30 ml/1.0 oz 80 ml/2.7 oz 150 ml/5.0 oz 200 ml/6.7 oz 250 ml/8.5 oz
< 150 g > 150 g not selectable not selectable not selectable

7EN
ImportantSafeguardslll
When using electrical devices, basic safety precautions should always be followed.
Read all instructions carefully before use.
Product
• Use the product only for its intended use as described in this instruction manual.
• Only use the power cord that comes with the Bottle Warmer.
• Keep appliance dry and do not place in direct sunlight.
• Never immerse the Bottle Warmer in water.
• Only use the Medela components supplied with the unit.
• Check components for wear or damage.
Electrical
• Make sure the voltage of the device is compatible with the power source.
• Plug the power cord into the Bottle Warmer first and then into wall socket.
• Always unplug electrical devices immediately after use.
• Separation from the mains is only assured through the disconnection of the power cord from
the wall socket outlet.
• Keep the power cord away from heated surfaces.
• Never operate an electrical device if it has a damaged power cord or plug, if it is not
working properly, if it has been dropped or damaged, or dropped into water.
• Do not reach for any electrical device if it has fallen into water. Unplug immediately.
• If the supply cord is damaged, it must be replaced by a new cord set immediately to avoid a
hazard.
Using / Feeding
• This appliance is intended for use by responsible persons, keep out of the reach of children.
• This appliance is not intended for use by persons with reduced physical, sensory or mental
capabilities, or lack of experience or knowledge, unless they have been given supervision or
instruction concerning use of the appliance by a person responsible for their safety.
• Children should be supervised to ensure they do not play with the appliance.
• There are no user-serviceable parts inside the Bottle Warmer. Do not attempt to repair the
Bottle Warmer yourself.
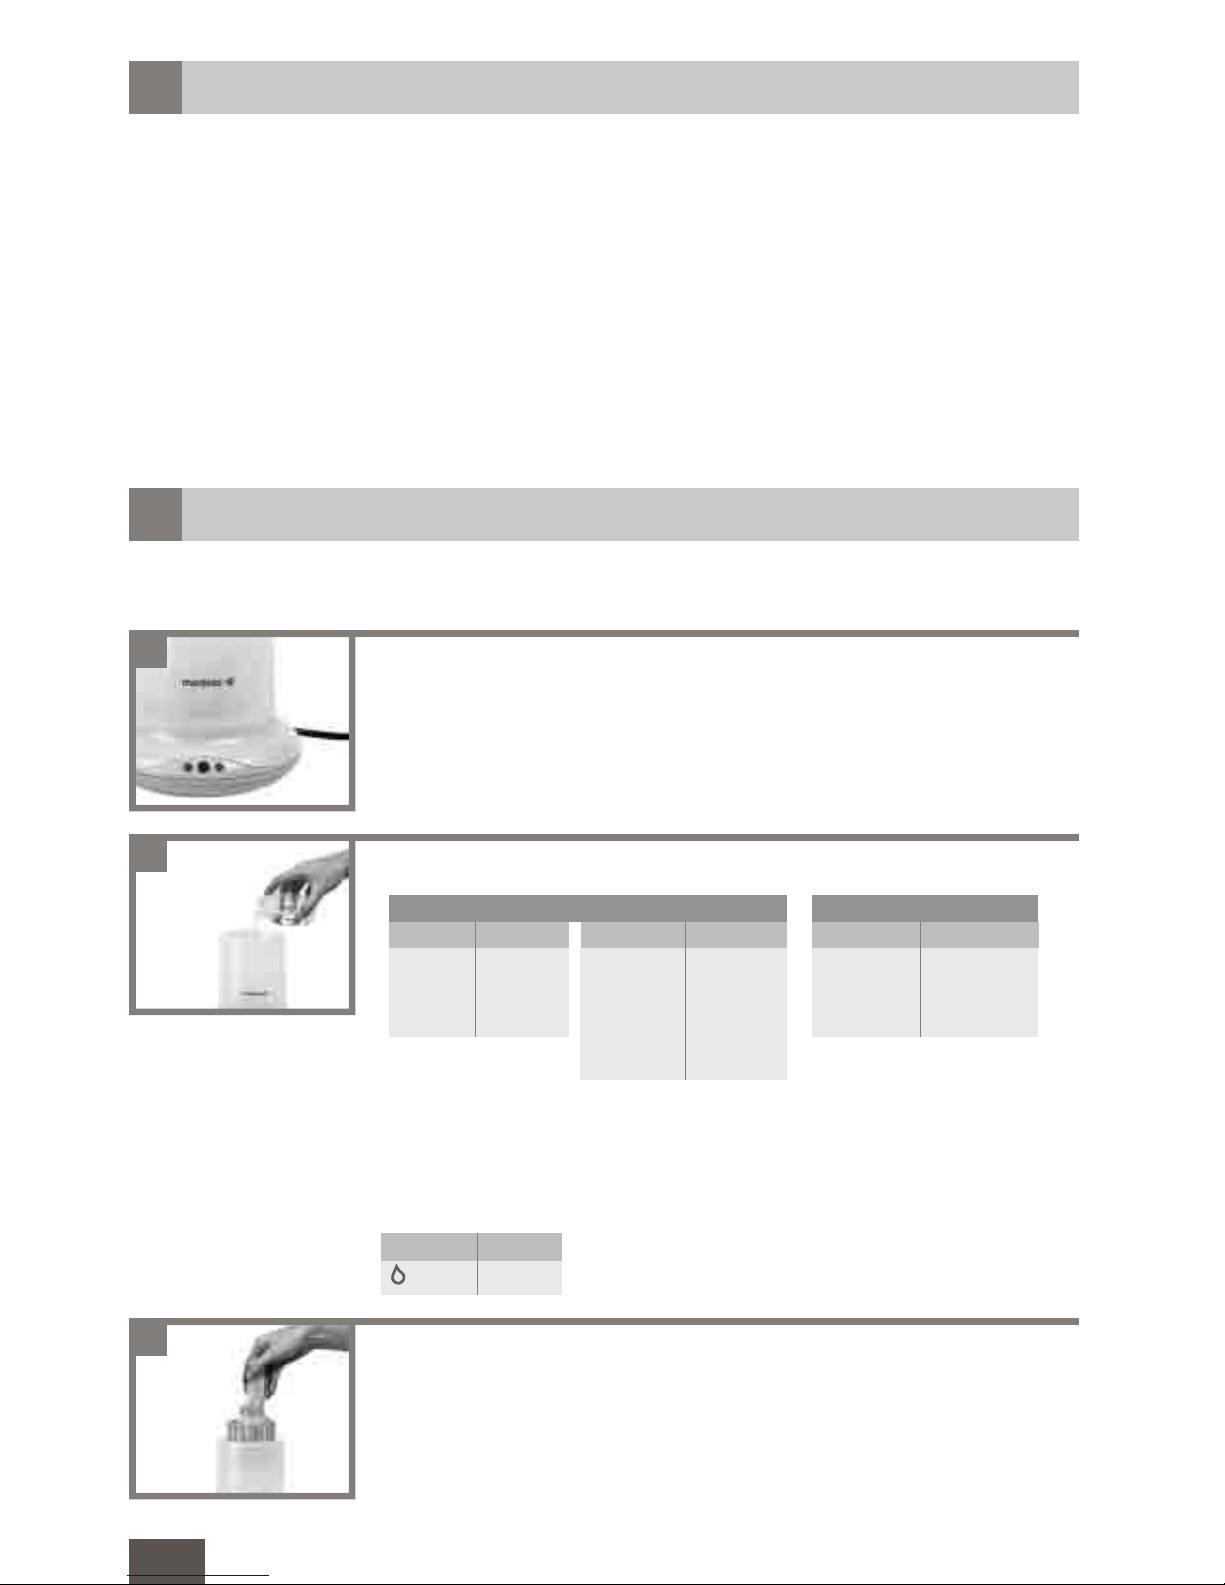
• Always use on a flat, stable and heat-resistant surface.
• Whilst pressing the buttons, please hold the Bottle Warmer base to prevent from slipping.
• Always ensure that the correct volume of water has been added before switching on the
Bottle Warmer.
• When in use, the Bottle Warmer contains hot water. Always use and handle the equipment
with care.
• Breastmilk/Babyfood should not be heated for too long.
Danger of scalding!
• Take care when opening the lid after a completed cycle as some residual steam may escape.
• Use a cloth when removing bottles or jars, as they may be hot.
• Use the bottle lift to warm small bottles or baby food jars.
• For hygiene and health reasons, once heated, milk and food should not be reheated and
should be discarded if not used immediately.
• The final temperature of the food and the heating time could vary according to the volume
of food being heated, the initial (room, fridge or freezer) temperature, the consistency of the
food, as well as of the type and material of the feeding bottle or jar.
• Always check milk or food temperature before feeding the baby!
Milk: Shake the bottle or storage container to equalise the milk temperature and check the
temperature by pouring some drops of liquid on the back of your hand.
Food: Stir the food thoroughly and test it yourself before feeding the baby.

8EN
Fill the Bottle Warmer with the appropriate amount of water.
Note: Measure with a Medela-Bottle the appropriate amount of water.
Using cool distilled or filtered water may reduce limescale build-up.
For other amounts of breastmilk, we recommend to choose the next
lower cycle for warming the milk, e.g. for 120 ml breastmilk choose:
Cleaning
• Failure to follow de-scaling instructions may cause irreparable damage to the product.
• Do not touch the hotplate in the Bottle Warmer. Danger of scalding!
• For further advice and recommendations on baby feeding, please consult your health care
professional.
• Always let the Bottle Warmer cool down completely before starting a new warming cycle.
• Waiting time for next use = 15 min.
• If the Bottle Warmer is switched on and not running a cycle, it will automatically turn off after
1 minute.
SAVE THIS INSTRUCTION MANUAL
OperationIV
2
Place the appliance on a flat stable surface. Plug the power cord
into Bottle Warmer and into wall socket as well. Don’t switch on
until water and bottles/food jar are in the appliance.
1
Warmingupfeedingbottles&babyfoodjars
Place filled bottle or food jar, in the bottle lift (3) and both into the
warmer filled with water.
3
Milk
30 ml
80 ml
Water
120 ml
120 ml
Breastmilk
Food
< 150 g
> 150 g
Water
120 ml
240 ml
Baby Food
Water
240 ml
240 ml
240 ml
Milk
150 ml
200 ml
250 ml
ImportantSafeguardslll
Water
120 ml
Milk
80 ml

9EN
Select Breast Milk or Baby Food (4)
To warm up breast milk press Enter-Button to confirm ( -Icon
turns on)
To warm up baby food press Select-Button ( -Icon blinks)
Press Enter-Button to confirm ( -Icon turns on)
After you have finished your selection, -Icon blinks.
6
Select starting temperature - Room / Fridge / Freezer (5)
To choose room temperature press Enter-Button to confirm
(-Icon turns on)
To choose fridge temperature press Select-Button
Press Enter-Button to confirm ( -Icon turns on)
To choose freezer temperature press Select-Button and after
Enter-Button to confirm ( -Icon turns on)
After you have finished your selection, -Icon (30 ml / 1.0 oz) blinks.
7
Select the required volume (9)
By using Select-Button , you can switch between different
volumes (see chart on next page)
To confirm the volume press Enter-Button
After you have finished your selection, all selected icons turn on,
-Icon turns orange and heating process has been started.
8
9
Press -Button
-Icon blinks. Start your selection process.
5
Close the lid (2) of the Bottle Warmer.
4

10 EN
-Button blinks green when the warming cycle is completed
(Temperature of 34 °C +/– 3 °C is achieved).
The Bottle Warmer will beep five times (slow). Press the Enter-
Button to stop.
Take the breast milk bottle or food jar with the bottle lift (3) out from
the warmer.
(!) If you do not take out the Milk Bottle or Food Jar the tem-
perature will automatically constantly remain at 34 °C (+/– 3 °C)
for 20 min.
Always check milk or food temperature before feeding the baby!
Breastmilk – Timetable
30 ml/1.0 oz 80 ml/2.7 oz 150 ml/5.0 oz 200 ml/6.7 oz 250 ml/8.5 oz
3 min 4 min 6 min 7 min 8 min
5 min 6 min 8 min 10 min 12 min
18 min 21 min 24 min not selectable not selectable
Baby Food – Timetable
< 150 g > 150 g
6 min 7 min not selectable not selectable not selectable
9 min 10 min not selectable not selectable not selectable
not selectable not selectable not selectable not selectable not selectable
-Button turns constant green.
After 20 min, Bottle Warmer will beep five times (fast) and the appli-
ance will turn off automatically.
12
11
10
Unplug from the mains and empty residual water. If warming an
additional bottle or food jar, continue from step 1.
Between two warming cycles, always allow the Bottle Warmer to cool
down completely (15 min).
The Medela Bottle Warmer can be stored inside the Steam Steriliser.
13
Note: Heating up to 34 °C (+/– 3 °C). In order to avoid scalding – do not open the lid while the
warmer is in operation.
OperationIV
20

11EN
CleaningandHygieneV
Cleaning
Everymonth
(De-scale)
After a while in use limescale will build-up around the hotplate of the Bottle
Warmer. This should be removed at regular intervals.
Version1
• Mix 100 ml/3.3 oz of water with citric acid* according to manufac-
turer’s instructions and pour solution into empty Bottle Warmer.
• DO NOT place a bottle or jar into the Bottle Warmer when cleaning.
• DO NOT put lid (2) on.
• Select breastmilk, room temperature and the volume of 250 ml. After
you have finished your selection, all selected icons turn on and -Icon
turns orange. The cleaning process has been started.
• After the cleaning process has ended, leave the solution to cool for 30
minutes before emptying the Bottle Warmer and rinsing with tap water.
• Wipe the inside and outside of the Bottle Warmer with a damp (not wet)
cloth only.
Version2
• Pour 50 ml/1.8 oz of vinegar mixed with 50 ml/1.8 oz of cold water into
the Bottle Warmer.
• DO NOT place a bottle or jar into the Bottle Warmer when cleaning.
• DO NOT start the warming process.
• Leave liquid in the unit until limescale has dissolved.
• Empty the unit and rinse thoroughly with clear water.
• Wipe the inside and outside of the Bottle Warmer with a damp (not wet)
cloth only.
*Citric acid is available from most drugstores and pharmacies
Note: Do not use anything other than citric acid or vinegar as this may
cause irreparable damage
Aftereach
use • Always unplug the appliance from the mains before cleaning it.
• Do not clean the appliance when hot.
• Wait 15 minutes after use to allow the Bottle Warmer to cool down.
• Ensure that the plug does not come in contact with water.
• Wipe the inside and outside of the Bottle Warmer with a damp (not wet)
cloth.
Note: Use water of drinking quality for any described cleaning procedures
Do not clean with abrasive cleaners
Never place the Bottle Warmer directly under tap water
Never clean the Bottle Warmer in a dishwasher

12 EN
WarrantyVII
Medela AG (“Medela”), warrants to the original end user (“Customer”) that this product will be
free from defects in workmanship and materials, under normal use, for two (2) years.
Instructions are strictly respected, in particular in case of extreme and/or continuous applica-
tions/use of the product.
The warranty period begins on the proved purchase date (conclusion of purchase contract).
Products purchased from non-authorised distributors, e.g. internet market places, auctions or
other types of public sale (including but not limited to eBay) are not covered by this warranty.
Medela’s sole obligation under this express warranty shall be, at Medela’s sole option and
expense, to replace or repair the Product or part thereof (in case the product is not available,
to deliver a similar type of the Product) or to refund the purchase price paid for the Product.
Medela warrants any repaired or replaced Product or part for a period of ninety (90) days from
delivery, or through the end of the original warranty, whichever is longer. All Products or parts
that are replaced become the property of Medela. This express warranty does neither cover
consumables, nor third party products.
Obtaining Warranty Service. Customer must contact the retailer where the product was
purchased from, the authorised distributor of Medela or Medela’s Service Centre indicated by
Medela within the applicable warranty period to obtain warranty service authorisation. Dated
proof of original purchase from Medela, its authorised distributor or its authorised retailer and
a description of the defect will be required. Medela is not responsible for Products or parts
received without a warranty service authorisation. Repaired or replacement Products will be
delivered to Customer free of charge. The repaired product or part will be delivered as soon as
reasonably possible. Medela shall not be responsible for any damages occurring during such
delivery. Medela shall, at its sole discretion, decide on the place of performance for work under
warranty. Medela shall have the right to charge for additional costs for services under warranty
if the site of the Product is other than where the Product was originally delivered.
Warranty Exclusive. Customer’s sole remedy for breach of the warranty shall be the express
warranty. The foregoing warranty is exclusive and is in lieu of all other warranties, terms or
conditions, expressed or implied, either in fact or by operation of law, statutory or otherwise,
including warranties, terms or conditions of merchantability, fitness for a particular purpose,
satisfactory quality and non-infringement, all of which are expressly disclaimed. Medela shall
not be liable if the alleged defect or malfunction was caused by Customer’s or any other per-
son’s misuse, neglect, improper handling, unauthorised attempts to open, repair or modify the
Product, inadequate maintenance, disregard of operating instructions, excessive load or stress,
normal wear and tear, incorrect voltage or any other cause beyond the range of its intended
use, by accident, fire, or other hazards, or other cause not due or attributable to Medela. This
warranty does not cover physical damage to the Product or malfunctions resulting from the
use of the Product in conjunction with any sort of ancillary or peripheral equipment and Medela
determines that there is no fault with the Product itself.
TroubleshootingVI
Bottle Warmer will not turn on
Check that the plug is in the Bottle Warmer and in the wall socket also. Then press the
-Button.
Bottle Warmer is beeping
If the Bottle Warmer beeps five times (slow), warming cycle is complete.
If the Bottle Warmer beeps five times (fast), 20min of constantly warming will be over and the
appliance turns off automatically.

13EN
DisposalVIII
The unit is made of various metal and plastics. Before disposal, the device is to be rendered
unusable and it must not be disposed of as unsorted municipal waste in accordance with
local regulations. Use your local return and collection system for waste electrical and electro-
nic equipment. Improper disposal may have harmful effects in the environment and on public
health.
PartsListIX
Lid Handle
Lid
Bottle Lift
Breast Milk or Baby Food Display
Room-, Fridge- or Freeze-Temperature Display
Select-Button
On/Off- and Select/Correct-Button
Note: Whenever you press “on/off“-Button, Bottle Warmer will switch off automatically
Enter-Button
Volume Display
1
2
3
4
5
6
7
8
9
Limitation of Liability. Medela also excludes any liability, whether based in contract or tort
(including negligence), for incidental, consequential, indirect, special, or punitive damages of any
kind, or costs of procurement of substitute products by Customer, or for the loss of revenue or
profits, loss of business, loss of information or data, or other information of financial loss arising
out of or in consequence with the sale, maintenance, use, performance, failure, or interruption
of this product, even if Medela or its distributors have been advised of the possibility of such
damages, and limits its liability to replacement, repair, or refund of the purchase price paid, at
Medela’s option. This Limitation of Liability for damages will not be affected if any remedy pro-
vided herein shall fail of its essential purpose.
Disclaimer. Should a court of jurisdiction not allow the entire exclusion or limitation of implied
warranties or the limitation of incidental or consequential damages for certain products supplied
to consumers or the limitation of liability for personal injury, such implied warranties and such
liabilities will be limited to the duration of the applicable express warranty.
Governing Law and Place of Jurisdiction. This Limited Warranty shall be governed by the
laws of Switzerland, excluding all conflict of laws principles and excluding the United Nations
Convention on the International Sale of Goods dated 11 April 1980. The ordinary courts at the
Medela registered office in Baar, Switzerland shall be competent. Medela shall, at its sole dis-
cretion, also be entitled to take legal action in the competent courts at the Customer’s place of
business or domicile. With this Limited Warranty, Medela grants Customer specific legal rights
which do not restrict any statutory consumer rights.

14 DE
Komplett-System
Liebe Eltern,
vielen Dank, dass Sie sich für ein Produkt von Medela entschieden haben. Seit mehr als
40 Jahren hilft Medela, die Gesundheit von Babys durch die lebensspendenden Vorteile der
Muttermilch zu verbessern, und unterstützt Mütter während ihrer Stillzeit. So wird das Stillen
so sicher und einfach wie möglich. Medela war und ist stets bestrebt, die Natur zu verstehen,
und wurde so zu einem weltweit führenden Stillexperten.
Das Stillen ist die schönste und natürlichste Erfahrung, die Sie mit Ihrem Baby teilen können.
Es ist eine einzigartige Zeit, in der Sie sich sehr eng miteinander verbunden fühlen. Medela
bietet Produkte für die verschiedenen Bedürfnisse während der Stillzeit. Der Medela Flaschen-
wärmer erwärmt die wertvolle Muttermilch auf besonders schonende Art. Er ist einfach zu
reinigen und zu transportieren.
Medela wünscht Ihnen und Ihrem Baby alles Gute!
Füttern
Transportieren, Wärmen
& Reinigen
Auffangen
& Aufbewahren
AbpumpenPflege & Schutz
der Brust
Evidenzbasierte
Forschung
Fort-
bildung Erfahrung
Service Innovation
Fachpersonal

15DE
Produktübersicht
Ein/Aus Auswahl Eingabe
ml/oz
Muttermilch
Babynahrung
Zimmertemperatur
~20 °C
Kühlschranktemperatur
~7 °C
Gefriertemperatur
~-18 °C
30 ml/1.0oz 80 ml/2.7oz 150 ml/5.0oz 200 ml/6.7oz 250 ml/8.5oz
< 150 g > 150 g nicht wählbar nicht wählbar nicht wählbar
FlaschenwärmerI
Der neue Medela Flaschenwärmer erwärmt Flüssigkeiten und Nahrung auf eine
konstante Temperatur von 34 °C, egal ob sie gefroren sind, aus dem Kühlschrank kommen
oder Zimmertemperatur haben. Nährstoffe und Vitamine werden schonend behandelt.
IndikationenfürdieAnwendungII
Der Medela Flaschenwärmer
• erwärmt Muttermilch und fertig zubereitete Babynahrung auf die ideale Fütterungstemperatur
(um 34 °C +/- 3°C) und hält sie konstant
• ist nur für die Verwendung zuhause geeignet

16 DE
WichtigeSicherheitshinweiselll
Bei Verwendung elektrischer Geräte ist stets auf die Einhaltung der grundlegenden
Sicherheitsvorkehrungen zu achten.
Lesen Sie vor dem Gebrauch alle Anweisungen sorgfältig durch.
Produkt
• Das Produkt ausschliesslich für den in dieser Gebrauchsanweisung beschriebenen
Verwendungszweck benutzen.
• Ausschliesslich das mit dem Flaschenwärmer gelieferte Netzkabel verwenden.
• Gerät trocken halten und keinem direkten Sonnenlicht aussetzen.
• Den Flaschenwärmer niemals unter Wasser tauchen.
• Nur die mit dem Gerät gelieferten Medela-Teile verwenden.
• Teile auf Abnützung oder Beschädigung kontrollieren.
Strom
• Sicherstellen, dass die Spannung des Geräts mit der Stromquelle kompatibel ist.
• Das Netzkabel zuerst in den Flaschenwärmer und dann in die Steckdose einstecken.
• Nach dem Gebrauch das Netzkabel sofort herausziehen.
• Die Trennung vom Stromnetz ist nur durch Trennen des Netzkabels von der Steckdose
gewährleistet.
• Das Netzkabel von heissen Oberflächen fern halten.
• Ein elektrisches Gerät nie in Betrieb nehmen, wenn das Netzkabel oder der Netzanschluss
beschädigt ist, es nicht korrekt funktioniert, heruntergefallen, beschädigt oder ins Wasser
gefallen ist.
• Niemals nach einem ins Wasser gefallenen elektrischen Gerät greifen, ohne zuvor den
Netzstecker herauszuziehen.
• Zur Vermeidung von Risiken muss ein beschädigtes Netzkabel unverzüglich durch ein neues
Kabelset ersetzt werden.
Verwendung/Fütterung
• Das Gerät ist nur zur Verwendung durch verantwortungsbewusste Personen bestimmt.
Von Kindern fern halten.
• Das Gerät ist nicht zur Verwendung durch Personen mit eingeschränkten körperlichen,
Sinnes- oder mentalen Fähigkeiten, mit mangelnder Erfahrung oder mangelndem Wissen
bestimmt, es sei denn, sie werden beaufsichtigt oder durch eine für deren Sicherheit
zuständige Person in die Verwendung des Geräts eingewiesen.
• Kinder sollten beaufsichtigt werden, um sicherzugehen, dass sie nicht mit dem Gerät spielen.
• Der Flaschenwärmer enthält keine durch den Benutzer zu wartenden Teile. Versuchen Sie
nicht, den Flaschenwärmer selbst zu reparieren.
• Verwenden Sie das Gerät stets auf einer ebenen, festen und hitzebeständigen Oberfläche.
• Halten Sie beim Drücken der Tasten den Flaschenwärmer fest, damit er nicht verrutscht.
• Vergewissern Sie sich vor dem Einschalten des Flaschenwärmers, dass die richtige Menge
Wasser eingefüllt wurde.
• Im Betrieb enthält der Flaschenwärmer heisses Wasser. Gehen Sie stets vorsichtig mit dem
Gerät um.
• Die Muttermilch bzw. Babynahrung sollte nicht zu lange erhitzt werden.
Verbrühungsgefahr!
• Gehen Sie beim Öffnen des Deckels nach Abschluss der Erwärmung vorsichtig vor, da
verbleibender Dampf entweichen kann.
• Verwenden Sie ein Tuch, wenn Sie Milchflaschen oder Gläser entnehmen, da diese heiss sein
können.
• Verwenden Sie zum Erwärmen von kleinen Milchflaschen oder Gläsern das Flaschengestell.
• Aus hygienischen und gesundheitlichen Gründen sollte einmal erhitzte Milch und Nahrung
nicht erneut erhitzt, sondern entsorgt werden, wenn sie nicht sofort verwendet wird.
• Die Endtemperatur der Nahrung sowie die Erwärmungszeit können abhängig von der
Menge der zu erwärmenden Nahrung, der Anfangstemperatur (Zimmer-, Kühlschrank- oder
Gefriertemperatur), der Zusammensetzung der Nahrung sowie von Art und Material der
Flasche oder des Glases variieren.

17DE
• Prüfen Sie vor dem Füttern immer die Temperatur der Milch oder Nahrung!
Milch: Schütteln Sie die Flasche oder den Behälter, um die Temperatur in der Milch
gleichmässig zu verteilen, und überprüfen Sie die Temperatur, indem Sie einige Tropfen der
Flüssigkeit auf Ihren Handrücken tropfen lassen.
Nahrung: Rühren Sie die Nahrung gründlich um, und probieren Sie sie selbst, bevor Sie Ihr
Baby füttern.
Reinigung
• Werden die Anweisungen zum Entkalken nicht befolgt, kann es zu irreparablen Schäden am
Gerät kommen.
• Berühren Sie nicht die heisse Platte im Inneren des Flaschenwärmers. Verbrühungsgefahr!
• Weiteren Rat und Empfehlungen zur Babyfütterung erhalten Sie bei Ihrem Gesundheitsberater.
• Lassen Sie den Flaschenwärmer vor dem erneuten Erwärmen von Speisen immer vollständig
abkühlen.
• Warten Sie 15 Minuten bis zur nächsten Verwendung.
• Wenn der Flaschenwärmer eingeschaltet ist und keine Erwärmung durchgeführt wird, schaltet
er sich automatisch nach 1 Minute ab.
BEWAHREN SIE DIESE GEBRAUCHSANWEISUNG SORGFÄLTIG AUF
BetriebIV
2
1
ErwärmenvonMilchflaschenundGläsern
3
Füllen Sie den Flaschenwärmer mit der entsprechenden Menge Wasser.
Hinweis: Messen Sie die entsprechende Menge Wasser mit einer
Medela-Flasche. Durch die Verwendung von kaltem, destilliertem oder
gefiltertem Wasser kann die Bildung von Kalk reduziert werden.
Für andere Mengen wählen Sie bitte den nächstniedrigeren
Erwärmungsvorgang der Muttermilch, für 120 ml Milch wählen Sie z.B.:
Stellen Sie das Gerät auf eine ebene, feste Fläche. Verbinden Sie
das Netzkabel zuerst mit dem Flaschenwärmer und dann mit der
Steckdose. Schalten Sie das Gerät erst an, wenn das Wasser ein-
gefüllt wurde und sich Flaschen/Gläser im Gerät befinden.
Stellen Sie die gefüllte Milchflasche oder das gefüllte Glas in das
Flaschengestell (3), und platzieren Sie beides in den mit Wasser
gefüllten Wärmer.
Milch
30 ml
80 ml
Wasser
120 ml
120 ml
Muttermilch
Nahrung
< 150 g
> 150 g
Wasser
120 ml
240 ml
Babynahrung
Wasser
240 ml
240 ml
240 ml
Milch
150 ml
200 ml
250 ml
Wasser
120 ml
Milch
80 ml

18 DE
Muttermilch oder Babynahrung wählen (4)
Zum Erwärmen von Muttermilch, Eingabe-Taste zum Bestätigen
drücken ( -Symbol leuchtet dauerhaft).
Zum Erwärmen von Babynahrung Auswahl-Taste drücken
(-Symbol blinkt).
Eingabe-Taste zum Bestätigen drücken ( -Symbol leuchtet
dauerhaft).
Nach Abschluss der Auswahl blinkt das -Symbol.
6
Starttemperatur wählen - Zimmer/Kühlschrank/Gefriertruhe (5)
Zum Wählen der Zimmertemperatur Eingabe-Taste zum
Bestätigen drücken ( -Symbol leuchtet dauerhaft)
Zum Wählen der Kühlschranktemperatur , Auswahl-Taste
drücken
Eingabe-Taste zum Bestätigen drücken ( -Symbol leuchtet
dauerhaft)
Zum Wählen der Gefriertemperatur , Auswahl-Taste und dann
Eingabe-Taste zum Bestätigen drücken ( -Symbol leuchtet
dauerhaft)
Nach Abschluss der Auswahl blinkt das -Symbol (30 ml).
7
Gewünschte Menge wählen (9)
Mit der Auswahl-Taste können Sie zwischen verschiedenen
Mengen wechseln (siehe Tabelle auf der nächsten Seite).
Zum Bestätigen der Menge, Eingabe-Taste drücken .
Nachdem Sie Ihre Auswahl getroffen haben, leuchten alle ausge-
wählten Symbole dauerhaft. Das -Symbol leuchtet orange und
der Erwärmungsvorgang beginnt.
8
9
-Taste drücken.
-Symbol blinkt. Treffen Sie eine Auswahl.
5
Schliessen Sie den Deckel (2) des Flaschenwärmers.
4
BetriebIV

19DE
-Taste leuchtet grün, wenn der Erwärmungsvorgang
abgeschlossen ist (Temperatur von 34°C +/- 3°C wurde erreicht).
Es ertönen fünf lange Signaltöne. Drücken Sie zum Stoppen die
Eingabe-Taste .
Nehmen Sie die Milchflasche oder das Glas mit Babynahrung mit
dem Flaschengestell (3) aus dem Wärmer.
(!) Wenn Sie die Milchflasche oder das Glas mit Babynahrung
nicht entnehmen, wird die Temperatur automatisch für 20 Min.
bei konstanten 34 °C (+/- 3 °C) gehalten.
Prüfen Sie vor dem Füttern immer die Temperatur der Milch oder
Nahrung!
Breastmilk – Timetable
30ml/1.0oz 80ml/2.7oz 150ml/5.0oz 200ml/6.7oz 250ml/8.5oz
3 min 4 min 6 min 7 min 8 min
5 min 6 min 8 min 10 min 12 min
18 min 21 min 24 min nicht wählbar nicht wählbar
Baby Food – Timetable
< 150g > 150g
6 min 7 min nicht wählbar nicht wählbar nicht wählbar
9 min 10 min nicht wählbar nicht wählbar nicht wählbar
nicht wählbar nicht wählbar nicht wählbar nicht wählbar nicht wählbar
-Taste leuchtet dauerhaft grün.
Nach 20 Min. ertönen 5 schnelle Signaltöne und das Gerät wird
automatisch ausgeschaltet.
12
11
10
Ziehen Sie den Netzstecker, und entleeren Sie das restliche Wasser.
Beginnen Sie zum Erwärmen einer weiteren Flaschen oder eines
weiteren Glases bei Schritt 1.
Lassen Sie den Flaschenwärmer zwischen zwei
Erwärmungsvorgängen immer vollständig abkühlen (15 min.).
Der Medela Flaschenwärmer kann im Dampfsterilisator verstaut
werden.
13
Hinweis: Erwärmung erfolgt bis 34 °C (+/- 3 °C). Um eine Verbrühung zu vermeiden, den Deckel
bei laufendem Betrieb geschlossen halten.
20

20 DE
ReinigungundHygieneV
Nachjedem
Gebrauch • Trennen Sie das Gerät vor der Reinigung immer vom Stromnetz.
• Reinigen Sie das Gerät nicht, wenn es heiss ist.
• Warten Sie 15 Min. nach der Verwendung ab, damit der Flaschenwärmer
abkühlen kann.
• Achten Sie darauf, dass der Stecker nicht mit Wasser in Berührung kommt.
• Wischen Sie das Innere und Äussere des Flaschenwärmers mit einem
feuchten (nicht nassen) Tuch ab.
Hinweis: Verwenden Sie bei allen beschriebenen Reinigungsverfahren Wasser
in Trinkwasserqualität
Verwenden Sie keine aggressiven Reinigungsmittel
Setzen Sie den Flaschenwärmer niemals unter Wasser
Reinigen Sie den Flaschenwärmer nicht in der Spülmaschine
Reinigung
JedenMonat
(Entkalkung)
Nach einer gewissen Zeit der Verwendung bildet sich um die Heizplatte des
Flaschenwärmers eine Kalkschicht. Diese sollte regelmässig entfernt werden.
Variante1
• Mischen Sie 100 ml Wasser entsprechend den Herstellerangaben mit
Zitronensäure*, und geben Sie die Lösung in den leeren Flaschenwärmer.
• Stellen Sie bei der Reinigung KEINE Flasche und KEIN Glas in den
Flaschenwärmer.
• Setzen Sie den Deckel (2) NICHT auf.
• Wählen Sie Muttermilch, Zimmertemperatur und als Menge 250
ml. Nachdem Sie Ihre Auswahl getroffen haben, leuchten alle aus-
gewählten Symbole dauerhaft. Das -Symbol leuchtet orange und der
Reinigungsvorgang wird gestartet.
• Lassen Sie nach Beendigung des Reinigungsvorgangs die Lösung 30 Min.
abkühlen, bevor Sie den Flaschenwärmer entleeren und mit Leitungswasser
ausspülen.
• Wischen Sie das Innere und Äussere des Flaschenwärmers nur mit einem
feuchten (nicht nassen) Tuch ab.
Variante2
• Geben Sie eine Mischung aus 50 ml Essig und 50 ml kaltem Wasser in den
Flaschenwärmer.
• Stellen Sie bei der Reinigung KEINE Flasche und KEIN Glas in den
Flaschenwärmer.
• Starten Sie NICHT den Erwärmungsvorgang.
• Belassen Sie die Flüssigkeit im Gerät, bis sich die Kalkablagerung aufgelöst
hat.
• Leeren Sie das Gerät, und spülen Sie es gründlich mit klarem Wasser aus.
• Wischen Sie das Innere und Äussere des Flaschenwärmers nur mit einem
feuchten (nicht nassen) Tuch ab.
*Zitronensäure ist in Drogerien und Apotheken erhältlich
Hinweis: Verwenden Sie nur Zitronensäure oder Essig, da es ansonsten zu
irreparablen Schäden kommen kann
Other manuals for B-Well
1
Table of contents
Languages: