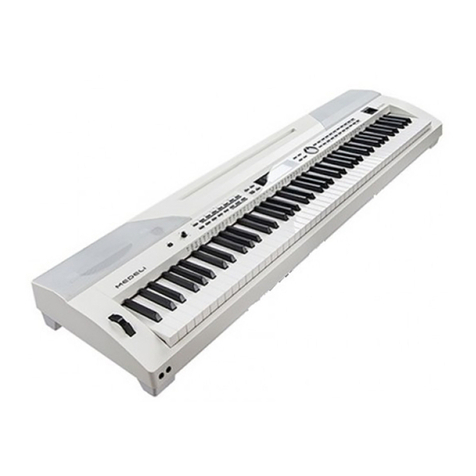
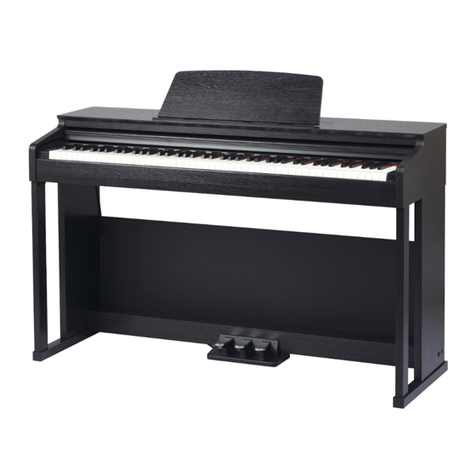
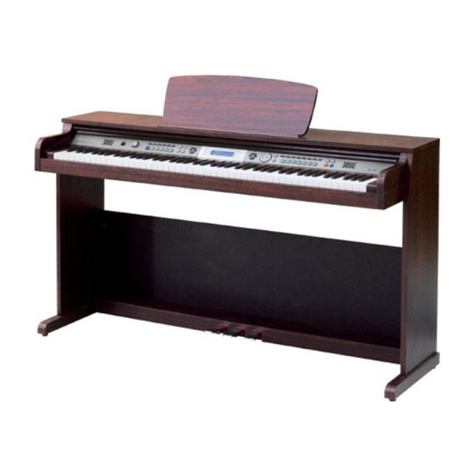
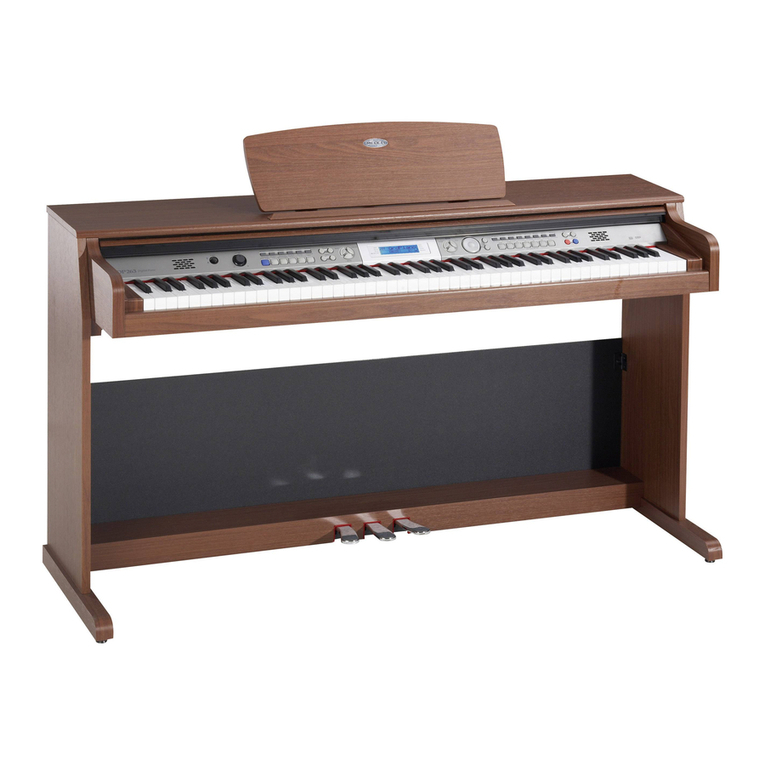
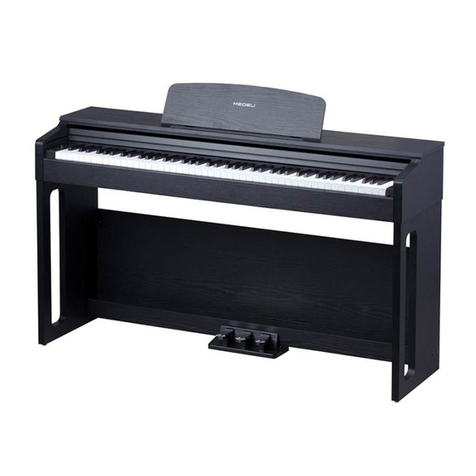
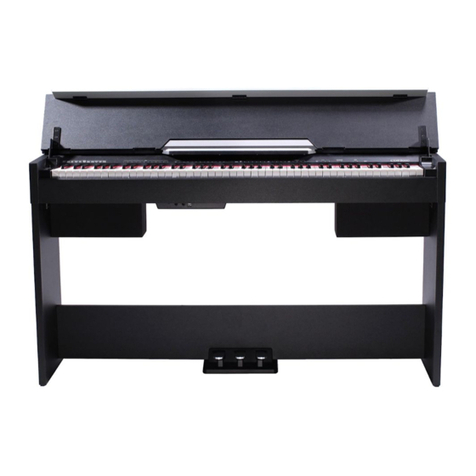
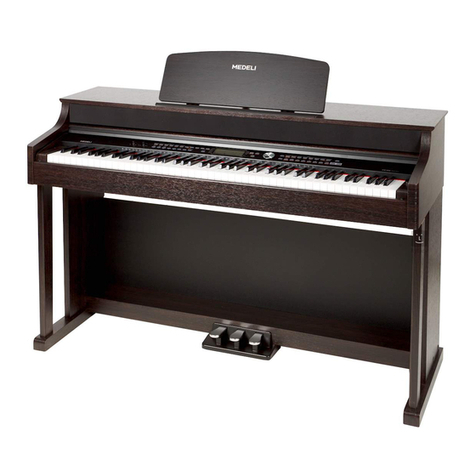
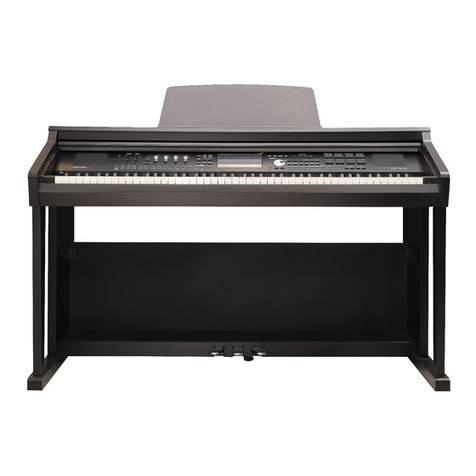
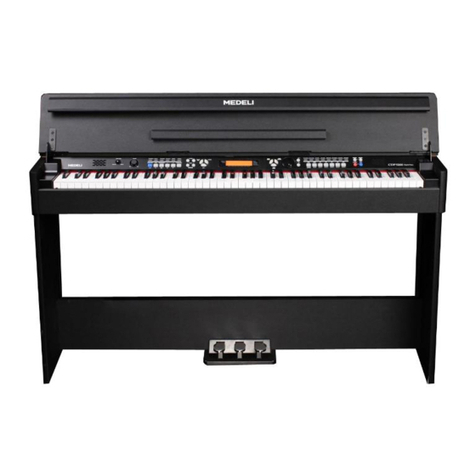
Medeli DP269 User manual


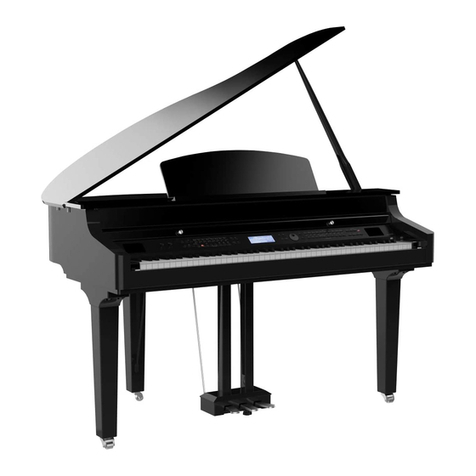
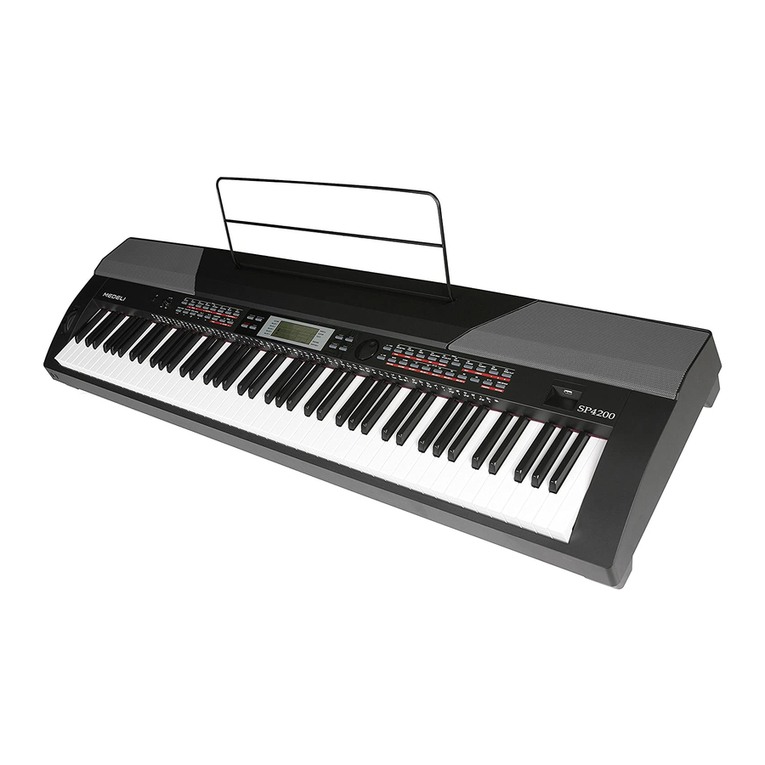
Congratulation on your purchase of the professional digital piano.
This piano is an easy-to-use digital piano. Inside the slim cabinet, it has so many professional and
modernized preset styles and songs, easy but powerful functions, and features that enhance your
performance. Enjoy your performance with the piano!
You are recommended to study this manual carefully before using the unit.
Congratulations
Inside This package
Please make sure the package completely contains the following:
Right Side Panel
Left Side Panel
Piano Cabinet(including adapter cable)
Pedal Box(including pedal cable)
Rear Panel Screw Bag
Instruction Manual
2
Version:G05

3
Important Notes
Please read the following carefully before use:
Do not expose the piano to high temperature, direct sunlight and excessively dusty places.
Do not place the piano too close to other electrical appliances such as television and radio.
It may cause interference.
Do not place the piano to excessive humid area. Avoid putting container with liquid on top of
the piano for preventing the damage of the internal parts of the piano by flowing liquid.
Always unplug cables by gripping the plug firmly, but not pulling on the cable.
Do not apply excessive force to the switches and buttons.
When the piano is not in use or in the time of thunderstorm, please remeber disconnect the power supply.
Avoid adjusting the volume level to the maximum or to the levels that you feel uncomfortable, we
recommend you to limit the volume level to two-third of the max to prevent the damage of
audiory sense.
Unplug the power cable before cleaning the piano,and do not connect or disconnect the power cable
with a wet hand.
Check and clean the power plug periodically.
To avoid damage to the piano and other devices to which it is connected, turn the power
switches of all related device off prior to connecting or disconnecting cables.
Clean the piano with a dry soft cloth, a slightly damp cloth could be used to remove dirt as well.
Never use cleaners such as thinner or alcohol. To prevent damage the surface of the LCD display,
please use lens cleaning tissue to clean the display.
If the piano cable is damaged, please do not use the piano. Otherwise it may cause fire or electrical
hazard.
In the case of malfunction due to improper handling the piano,please switch off and on again
after 30 seconds.
Do not attempt to disassemble or repair the piano by yourself, as well as the internal parts.
If the piano does not work properly, please contact the approved repairer.
The normal function of the product may be disturbed by Strong Electro Magnetic
Interference. If so, simply reset the product to resume normal operation by following
the instruction manual. In case the function could not resume, please use the product
in other location.
Note
In order to save energy, we have designed the "Automatic Power Off" function to the
instrument.With this function, the keyboard will be powered off automatically when
being idle for more than 30 minutes. If you don't need this function, enter the
function menu and set it as OFF.
Main Features
●
4
Keyboard:
88-keys touch response keyboard with 3 touch levels.
Display:
Multi-function LCD display.
Operation:
Friendly user-interface, using dial or add/sub button to select styles, songs and voices.
Voices:
220 voices. 16 voices can be selected by direct select button.
Styles:
120 styles. 12 styles can be selected by direct select button.
Songs:
60 songs (with Melody off functions).
Demo songs:
3 demo songs.
Chord:
Single-fingered detect and multi-fingered detect
Recording:
one user song.
Memory:
4 Banks, each has 4 Memories.
Styles controlling:
SYNC, START/STOP, FILL IN A/NORMAL, FILL IN B/VARIATION, INTRO/ENDING.
Other functions:
DUAL ,SPLIT ,O.T.S., METRONOME, TRANSPOSE,TUNING,BEAT,TOUCH,SPLIT ,DSP LEVEL,USB
Mixer:
Drum Volume, Bass Volume, Orchestra Volume, Voice R1 Volume, Voice R2 Volume, Voice L Volume.
Jacks:
1. USB jack.
2. Head Phone jack.
3. Audio output.
4. Pedal jacks (sustain, soft, sostenuto).
●
●
●
●
●
●
●
●
●
●
●
●
●
NOTE:
Hold down [+] and [-] buttons simultaneously
then turn on the power, the piano will reset factory
setting. You will lost all information that you set. Press together

Contents
5
Set-up Guide
General Guide
The Connectors
- Using the AC power jack
- Using headphones jack
- Using AUX OUT jack
- Using the foot pedals
- Using the USB jack
Basic Operation
- Power Switch and Master Volume
-Demo
Voice and Effects
- Select a voice
- Dual voice
- Lower Voice/Split Point
Auto Accompaniment
- Select a style
- The Accompaniment Section
- Start the style
- Fill A/B
- Stop the style
- Accomp volume
- Tempo
- Chord Recognize
- Metronome
Function
- Transpose
- Tune
- Beat
- Touch
- Split Point
- DSP Level
- MIDI IN Channel
- MIDI OUT Channel
Mixer
Memory
- Memory Bank
- Store/Load Parameter
- Memory Data
- Clear Memory Data
One Touch Setting
Record
- Record Waiting
- Start Record
- Stop Record
- Playback Record
Song
Specifications
Trouble shooting
Appendix 1-Voice List
Appendix 2-style list
Appendix 3-Demo list
Appendix 4-Song list
Appendix 5-Chord chart
Appendix 6-MIDI Implementation
6-8
9-10
11-12
11
11
11
12
12
13
10
10
14-15
14
14-15
15
16-22
16
16
17
18
18
19
19
20-21
22
22-24
23
23
23
23
24
24
24
24
25
26-27
26
26
26
27
27
28
28
28
28
28
29
30
30
31-32
33
34
34
35
36
Chart

1Before assembly, please make sure that all of the following items are present..
6
Set-up Guide
1.Piano Cabinet
2.Right Side Panel
3.Left Side Panel
4.Big Rear Panel
5.Pedal Box
6.Screws 6X60(10pcs)
7.Screws 4X15(5pcs)
8. Screws M6X12 (2pcs)
9. Hand screws (2pcs)
10.Power Supply Cable
11.Pedal Cable
12.Plastic Cap(4pcs)
13.Feet bar
3
9
12
6
6
13
10
11
4
5
1
2
7
8
612
13
6
66
3 pcs 6X60 screw
3pcs 6 X60 screw
6.Screws 6X60(6pcs)
2.Side Panel and Feet Bar assembly

Set-up Guide
7
3.Side Panel and Pedal Box assembly
4.Rear Panel assembly
Fix the rear panel to the side panels with 2 screws and to the bottom of the rear panel with 5 screws⑦.⑧
NOTE:
Please use the screws that be supplied, do not use the other screws.
6.Screws 6X60(4pcs)
12.Plastic C aps (4pcs)
12 6
4pcs 6X60 Screws
4pcs Plastic Cap
12
6
Place t he p edal b ox o n t he t wo s ide p anel s a nd t hen u se 4pieces s crews t o f as ten t he s ide p anels a nd c over
the P lastis c aps
⑥
7.Screws 4X15 (5pcs)
8.Screws M 6X12 (2pcs)
2pcs M6X12 screws
5pcs 4X15 screws
8
8
7

11
8
9.Screws hand screws (X4 pcs)
Set-up Guide
5.Attach the Piano Cabinet
6.Fix the cables
Attach 2 adhesive clamps on right and the left side panels to fix the cables.
Insert the DIN plug of pedal cable into the proper socket of cabinet.
Place the piano in its final location and adjust on floor the pedal clog under pedals group.
Place t he p iano cabinet on the stand,f ix it using f our hand screws .
4pcs Hand screws
8

Plane
Rear Panel
General Guide
Control Panel
Headphones Jack
1
2
Music Stand
Piano Keyboard
3
4
Soft Pedal
9Sostenuto Pedal
10
9
9
1110
Sustain Pedal
11
Front Panel
Pedal Jack
Power Supply Cable
5
6
USB Jack
AUX OUT Jack
7
8
56
7 8
3
1
2
4

Control Panel
DUAL
SPLIT
TOUCH
RECORD
A.B.C.
FILL A
FILL B
MELODY OFF
GENERAL
1
2
4
35
6
7 8
9
10
10 11
12
13 14
15 16
17
18
19 20
22
21
TEMPO +/-
MIXER
FUNCTON
METRONOME
STYLE
6
7
8
9
10
12
13
Press [STYLE]、[VOICE] buttons
simultaneously to play DEMO.
DIAL、+、-
VOICE
SONG
11
STYLE MODE
-START/STOP
-SYNC
-INTRO/ENDING
-FILL A
-FILL B
-A.B.C.
SONG MODE
-MELODY OFF
POWER SWITCH
MASTER VOLUME
STYLES DIRECT SELECT
3
4
ACCOMP VOLUME +/-
5
2
1
2
114 VOICE DIRECT SELECT
15 BANK
16
17
21
19
20
18
STORE
ONE TOUCH SETTING(M1-M4)
ONE TOUCH SETTING
DUAL
LOWER
RECORD
PLAY/STOP
22
LCD Display
1
2
3
4
A.B.C
FILL A
FILL B
MELODY OFF
DUAL
5
SPLIT
TOUCH
RECORD
6
7
8
VOICE/STYLE/SONG/FORMAT/FILE
9
CHORD
10
11 TEMPO/VEL
BEAT
15
MEMORY/TICK/O.T.S.
DSP
MEASURE
12
13
14
1
DUAL
SPLIT
TOUCH
RECORD
A.B.C.
FILL A
FILL B
MELODY OFF
VOICE LR12 DIR
STYLE SONG FILE
TEMPO MEASURE BEAT
MEMORY
TICK O.TS.
DSP
card
2
3
4
5
6
7
8
9
10
11 12 13 14
15
GrdPiano
10
General Guide
VOLUME
METRO
MIXER
START/ STOP SYNC INTRO/ENDING FILL A FILL B A.B.C.
MELODY OFF
FUNCTION
102 S.Waltz
001 8 Beat 034 Rock 087 Tango 096 March
062 Swing
008 Pop16Bt1 044 Disco 091 Samba 099 Polka 112 Dandut2083 Rhumba
ACC. VOL
TEMPO
SONG
STYLE VOICE
ONE TOUCH SETTING
BANK STORE M1 M2 M3 M4 O.T.S.
DUAL SPLIT
REC PLAY/STOP
001 GrdPiano 012 Vibes 022 Accordin 041 Violin 057 Trumpet 069 Oboe 198 PiPa 210 Std-Kit1
005 ElPiano1 020 ChrOrgan 026 SteelGt 049 Strings1 067 TenorSax 072 Clarinet 201 GuZhen 220 ChinPerc
DEMO

The Connectors
Ensure the piano is turned
off when connecting and
disconnectiong the power.
1、Turn the volume switch
anti-clockwise to reach
the minimum volume
level.
Connect the rear-panel AUX OUT jack to amplified
speakers, amplifiers or domestic hi-fi-units for
external amplification.
There are two headphones jacks on the left underneath
the piano body.
When an optional set of stereo headphones is connected
with the headphones jack 2, the sound from speakers
will switch off automatically resulting in only the sound
from headphone to be heard.
When jack 1 is connected with the stereo headphones,
the sound can be heard from both headphones and
speakers of the piano.
Headphones
Jack 1
Headphones
Jack 2
2、
3、4、If you have done the
above procedures you
are now safe to turn
on the piano.
11
Using the AC power jack
Using headphones jacks
Using the AUX OUT jack
Plug the power cable into
an AC power outlet.
1、
2、
Set to minimumTurn off
Turn on
NOTE:
When the piano is not in use or in the time of thunder-
storm, please disconnect the power for safety sake.
NOTE:
Connect both left(L) and right(R) channels for the stereo
result. If you only connect either one of the channels, the
connected channel will only take effect.
NOTE:
Never use the headphones with high volume, as it may
hurt your ears.
To prevent the damage of the speakers, ensure that the
volume is set to the minimum level before connecting
the power and other devices.
VOLUME

SOFT SUSTAIN
The connectors
Connect the plug of the foot pedal unit to the pedal jack
on the rear panel.
You will experience the sustain/soft/sostenuto effect.
12
Using the foot pedals
SOSTENUTO
NOTE:
When the sustain pedal is pressed, notes continue to
play after their keys have been released. Releasing the
pedal will silence the sustained notes.
If you play a note on the keyboard and press the
sostenuto pedal while the notes are held, those notes
will still sustain as long as you hold the pedal. But all
subsequently played notes will not be sustained.
The soft pedal reduces the volume while the pedal is
pressed. The soft pedal will not affect notes that are
already playing when it pressed.
Using the USB Jack
1、
2、
Connect PC or other USB host devices that support
USB audio.
For devices with USB cable, you can simply connect
the MIDI/USB convertor to your USB connector on
your devices and plug the MIDI in or MIDI out cables
into the piano, after the driver is installed and initialization
is finished, you can choose USB Audio Device in the
device menu of the software to transfer midi data.

Basic Operation
Demo
There are total 3 demos. (See appendix)
Power Switch and Master Volume
First, make sure the correct connections.
1、
1、
Use the [VOLUME] control switch to adjust the volume
to your desired level.
3、
3、
Turn the [POWER] switch on. The LCD display lights up.
2、
2、
13
DEMO
DEMO
STYLE
STYLE
VOICE
VOICE
歌曲
歌曲
DUAL
SPLIT
TOUCH
RECORD
A.B.C.
FILL A
FILL B
MELODY OFF
STYLE SONG FILE
TEMPO VEL MEASURE BEAT
MEMORY
TICK O.TS.
DSP
card
DEMO1
VOLUME
Rotate to adjust the volume
Press them simultaneously
to play demo.
Press them to select demo.
Press them simultaneously
to exit from the demo mode.
Or press it to exit
from the demo mode.
Turn on LCD lights up
NOTE:
If the LCD display does not light up after you turned on
the piano, please check the power supply.
If the piano is silent, that means the volume has adjusted
to its minimum level.
STYLE SONG FILE
TEMPO VEL MEASURE BEAT
MEMORY
TICK O.TS.
DSP
card
GrdPiano
Press [VOICE] & [STYLE] simultaneously to play demo
song.
Press [+] / [-] or rotate the dial to select demo song
number.
Press [VOICE] & [STYLE] simultaneously again or press
[START/STOP] to stop playing.
START/STOP SYNC INTRO/ENDING FILL A

001 GrdPiano 012 Vibes 022 Accordin 041 Violin 057 Trumpet 069 Oboe 198 PiPa 210 Std-Kit1
005 ElPiano1 020 ChrOrgan 026 SteelGt 049 Strings1 067 TenorSax 072 Clarinet 201 GuZhen 220 ChinPerc
Select a Voice
Voices and Effects
There are 220 voices in total (see appendix).
After selecting a voice, you can now play the piano.
When power on, the default VOICE R1 is No.001, the
VOICE R1 flag lit up and the voice name appears on LCD.
Press [VOICE] button to select three separate voice modes:
VOICE R1, VOICE R2, VOICE L.
You can select the voice you wanted with [+] / [-] button
or dial.
Use the 16 Voices Direct Select Button to select the voice
with 2 direct voices in each button (upper & nether)
Dual Voice
“ ” “ ”
Press [DUAL] button to turn on the DUAL VOICE,
VOICE1 light off, VOICE R2 and DUAL flag
would both be displayed on LCD. The dual voice name is
also displayed on LCD. Then, you will hear two different
sounds at the same time when you press a key in the right
area of the keyboard.
The piano has dual voice. You can create the new sound
through this function for richer and punchier sounds.
It seems that you can get two different sounds at the
same time when you press a key in the right area in the
keyboard.
14
DUAL SPLIT
DUAL
SPLIT
TOUCH
RECORD
A.B.C.
FILLA
FILL B
MELODY OFF
STYLE SONG FILE
TEMPO VEL MEASURE BEAT
MEMORY
TICK O.TS.
DSP
card
GrdPiano
DEMO
STYLE VOICE
SONG
DUAL
SPLIT
TOUCH
RECORD
A.B.C.
FILL A
FILL B
MELODY OFF
STYLE SONG FILE
TEMPO VEL MEASURE BEAT
MEMORY
TICK O.TS.
DSP
card
Strings2
Enter voice mode
Enter dual voice mode
Select a voice
1、
1、
3、
4、
5、
2、
NOTE:
While changing a voice, pay attention to the rules:
If you press the same button, the voice will be changed
between the upper and nether key.
When the upper/nether voice is on, and then you press
another direct button, the corresponding upper/nether
voice will be selected.
Two voices will sound
at the same time.
Eg. Piano
Eg. Cello

Lower Voice/Split Point
“ ”
Press [SPLIT] button to turn on the LOWER VOICE, the
whole keyboard would be spitted into right and left areas.
LCD lightens the LOWER voice flag and displays VOICE L
and its name.
Press [+] / [-] button to select the lower voice number.
The default lower voice number is No. 49 Strings1.
Press [SPLIT] button again to exit the LOWER VOICE
mode. LCD darkens the Lower voice flag.
The piano has lower voice. You can split the keyboard to
melody and chord area by this function.
Voices and Effect
15
DUAL
SPLIT
TOUCH
RECORD
A.B.C.
FILL A
FILL B
MELODY OFF
STYLE SONG FILE
TEMPO VEL MEASURE BEAT
MEMORY
TICK O.TS.
DSP
card
Strings1
DUAL
SPLIT
TOUCH
RECORD
A.B.C.
FILL A
FILL B
MELODY OFF
STYLE SONG FILE
TEMPO VEL MEASURE BEAT
MEMORY
TICK O.TS.
DSP
card
SynthSt1
Press [+] / [-] button , or turn the dial to select the
dual voice number. The default dual voice number is
No. 50 Strings2.
Press [DUAL] button again to exit the DUAL VOICE mode.
3、
3、
2、
2、
1、
DUAL
DUAL
SPLIT
SPLIT
DUAL SPLIT
Exit dual voice mode
Enter lower voice mode
Select the lower voice number
Exit the lower voice mode
Select the dual voice number
NOTE:
In DUAL VOICE status, only section above split point
on the keyboard has dual voice.
Melody
area
Chord
area
Default split
point F#

Auto Accompaniment
Select a Style
The Accompaniment Section
When power on, the default style number is 001.
Press [STYLE] button or style direct select button to enter
the style mode, the STYLE flag is lit up and the name of
style appears on LCD.
You can press [+]/[-] button or dial to select the styles
you want.
Use the 6 Styles Direct Select Button to select the style
with 2 direct styles in each button(upper & nether).
After selecting a style, you can now play the piano.
16
DUAL
SPLIT
TOUCH
RECORD
A.B.C.
FILL A
FILL B
MELODY OFF
STYLE SONG FILE
TEMPO VEL MEASURE BEAT
MEMORY
TICK O.TS.
DSP
card
DEMO
STYLE VOICE
SONG
There are 120 styles in total, from 001 to
120 (see appendix).
Enter style mode Select a style
102 S.Waltz
001 8 Beat 034 Rock 087 Tango 096 March
062 Swing
008 Pop16Bt1 044 Disco 091 Samba 099 Polka 112 Dandut2083 Rhumba
NOTE:
While changing a style, pay attention to the rules:
If you press the same button twice, the style will be
swapped from one to another.
When the upper/nether voice is on, and then you press
another direct button, the corresponding upper/nether
voice will be selected.
Accompaniment consists of INTRO, NORMAL, VARIATION, FILL, ENDING. Using different section based on the structure
of songs enables you to enhance musical performance.
INTRO
Press the [INTRO/ENDING] button to insert an intro section before you start to play. The main section will be followed
by the INTRO section.
NORMAL AND VARIATION
There are two main section: normal and variation. Each section consists of 2 to 4 measures.
FILL
While the accompaniment is playing, you can fill in the rhythm/accompaniment by pressing the [FILL A] button
or the [FILL B] button. This will automatically insert a fill section.
ENDING
When you press the [INTRO/ENDING] button, it brings rhythm accompaniment and your performance to the end.
1、
1、
3、
3、
4、
4、
2、
2、

Auto Accompaniment
17
DUAL
SPLIT
TOUCH
RECORD
A.B.C.
FILL A
FILL B
MELODY OFF
STYLE SONG FILE
TEMPO VEL MEASURE BEAT
MEMORY
TICK O.TS.
DSP
card
DUAL
SPLIT
TOUCH
RECORD
A.B.C.
FILL A
FILL B
MELODY OFF
STYLE SONG FILE
TEMPO VEL MEASURE BEAT
MEMORY
TICK O.TS.
DSP
card
DUAL
SPLIT
TOUCH
RECORD
A.B.C.
FILL A
FILL B
MELODY OFF
STYLE SONG FILE
TEMPO VEL MEASURE BEAT
MEMORY
TICK O.TS.
DSP
card
A.B.C. Mode:
The default setting of A.B.C. is off.
Press [A.B.C./MELODY OFF] button to turn on the auto
bass chord. The A.B.C. icon will appear on the LCD.
The area to the left of split point is known as the chord
area. When playing the chord, both the bass and the chord
voice sound.
Synchronous Start:
Press the [SYNC] button to enters Sync start waiting mode,
and the beat indicators on LCD will flash.
If the A.B.C. mode is off, play any key on keyboard only
start playing the style by drum voice.
If the A.B.C mode is on, play any key in left area of keyboard
will start playing the style.
INTRO Start:
Press [INTRO/ENDING] button to insert an intro section
before you start to play the style.
Press [START/STOP] button, then the normal or variation
style will play after the intro style.
Press [INTRO/ENDING] button when the style is playing,
style will be stopped after the ending.
START/STOP
START/STOP
START/STOP
SYNC
SYNC
SYNC
INTRO/ENDING
INTRO/ENDING
INTRO/ENDING
FILL A
FILL A
FILL A
FILL B
FILL B
FILL B
A.B.C.
A.B.C.
A.B.C.
MELODY OFF
MELODY OFF
MELODY OFF
Enter A.B.C. mode
Enter Sync start waiting mode
Insert an intro section
Flashing
Flash simultaneously
NOTE:
There are 2 ways to detect the chord:
single finger detect and fingers detect.
If the chord played according with fingers detect, it is
recognized as the fingers chord.
If not, single finger chord will be recognized.
3、
4、
2、
Chord area
Start the Style
Start immediately:
Press [START/STOP] button to start the style(only drum).
DUAL
SPLIT
TOUCH
RECORD
A.B.C.
FILL A
FILL B
MELODY OFF
STYLE SONG FILE
TEMPO VEL MEASURE BEAT
MEMORY
TICK O.TS.
DSP
card
START/STOP SYNC INTRO/ENDING FILL A FILL B A.B.C.
MELODY OFF
Start the style immediately
1、

Flashing
Flashing
Stop a Style
FILL A/B
DUAL
SPLIT
TOUCH
RECORD
A.B.C.
FILL A
FILL B
MELODY OFF
STYLE SONG FILE
TEMPO VEL MEASURE BEAT
MEMORY
TICK O.TS.
DSP
card
DUAL
SPLIT
TOUCH
RECORD
A.B.C.
FILL A
FILL B
MELODY OFF
STYLE SONG FILE
TEMPO VEL MEASURE BEAT
MEMORY
TICK O.TS.
DSP
card
18
In NORMAL mode, press [FILL A] button to insert 1
measure fill and LCD flashes 'FILL A'. After one measure
is over, it will smoothly lead to NORMAL style.
In NORMAL mode, press [FILL B] button to insert 1
measure fill and LCD flashes 'FILL B'. After one measure
is over, it will smoothly lead to VARIATION style.
In VARIATION mode, press [FILL A] button to insert 1
measure fill and LCD flashes 'FILL A ', After one measure
is over, it will smoothly lead to NORMAL style will be
returned.
In VARIATION mode, press [FILL B] button to insert 1
measure fill and LCD flashes 'FILL B', After one measure
is over, it will smoothly lead to VARIATION style will be
returned.
START/STOP
START/STOP
START/STOP
START/STOP
SYNC
SYNC
SYNC
SYNC
INTRO/ENDING
INTRO/ENDING
INTRO/ENDING
INTRO/ENDING
FILL A
FILL A
FILL A
FILL A
FILL B
FILL B
FILL B
FILL B
A.B.C.
A.B.C.
A.B.C.
A.B.C.
MELODY OFF
MELODY OFF
MELODY OFF
MELODY OFF
Press and hold down
Press and hold down
NOTE:
Press and hold down the [FILL A] or [FILL B] button
when the style is playing, the selected FILL pattern
repeats continuously until button is released.
Press [FILL A] when style stop, it will change to the main
section, the 'FILL A' flag on the LCD will be lightened.
Press [FILL B], it will change to the variation section, the
'FILL B flag on the LCD will be lightened.
Stop immediately:
The accompaniment can be stopped at any time by pressing
the [START/STOP] button.
Ending Stop:
Press the [INTRO/ENDING] button to complete the song
with ending section. The ending section will begin from
the top of the next measure.
Sync Stop:
Press the [SYNC] button to stop playing, and the synch-
ronized start mode will activated.
1、
1、
3、
3、
4、
2、
2、
Auto Accompaniment
START/STOP SYNC INTRO/ENDING FILL A FILL B A.B.C.
MELODY OFF
START/STOP SYNC INTRO/ENDING FILL A FILL B A.B.C.
MELODY OFF
START/STOP SYNC INTRO/ENDING FILL A FILL B A.B.C.
MELODY OFF

Accomp Volume
You can change the general volume of style through
Accompaniment volume adjustment.
Press the [ACCOMP+] / [ACCOMP-] button to adjust
the volume.
When you press [ACCOMP+] and [ACCOMP-] together,
the volume you are setting will turn off.
Tempo
Press the [TEMPO+] or [TEMPO-] button, the tempo
value would be flashing for about 2 seconds.
During that time, the tempo can be adjusted by dial with
the range of 30-280.
Press and hold on the [TEMPO+] or [TEMPO-] button
to adjust the tempo continuously.
Press both [TEMPO +] and [TEMPO-] simultaneously,
the tempo will be set back to the default value.
STYLE SONG FILE
TEMPO VEL MEASURE BEAT
MEMORY
TICK O.TS.
DSP
card
Accomp
STYLE SONG FILE
TEMPO VEL MEASURE BEAT
MEMORY
TICK O.TS.
DSP
card
Accomp
19
Auto Accompaniment
ACC.VOL
TEMPO
ACC.VOL
ACC.VOL
TEMPO
TEMPO
ACC.VOL
ACC.VOL
TEMPO
TEMPO
1、
1、
3、
3、
4、
2、
2、
STYLE SONG FILE
TEMPO VEL MEASURE BEAT
MEMORY
TICK O.TS.
DSP
card
GrdPiano
STYLE SONG FILE
TEMPO VEL MEASURE BEAT
MEMORY
TICK O.TS.
DSP
card
GrdPiano
NOTE:
The piano will not take out the default tempo of the style
if you change the style when it is playing.
Flashing two secnods
Press and hold on.
Press simultaneously

20
Chord Recognize
Auto Accompaniment
"A.B.C." is disabled during the default setting.
Press [A.B.C./MELODY OFF] button to turn on this
"auto bass chord" function; the A.B.C. flag on the LCD
is lightened. The left section of the keyboard is known
as the "chord area", while playing the chord, both the
bass and the chord voices phonate.
There are 2 ways to detect a chord: "single finger detect" and "multi fingers
detect".
Single Finger Chords
If the chord played is based on "multi fingers detect", it is recognized as the "multi fingers chord".
If not, "single finger chord" will be recognized.
This method allows you to play chords easily within
the accompaniment range of the keyboard using
only one, two, or three fingers.
Examples of Single Finger Chord are "C, Cm, C7
and Cm7", shown as below:
To play a major chord
Press the root note of the chord
To play a minor chord
Press the root note together with the
nearest black key to the left of it .
To play a seventh chord
Press the root note together with the
nearest white key to the left of it .
To play a minor seventh chord
Press the root notes together with
the nearest white and black keys to
the left of it (three keys altogether) .
Multi Finger Chords
This method allows you to produce an accompa-
niment by playing chords with normal fingerings
within the accompaniment range of the keyboard.
To play Multi Chords ( Example for C chords)
A total of 32 chords are provided as below:
Notes enclosed in parentheses are optional;
the chords could be recognized without them.
NOTE:
When A.B.C. is on, press the keys on the left
of the split point. The chord will be recognized
as single finger chords.
NOTE:
Since the chord detection of A.B.C. is based on the
Chord Root priority, some chords that could be
played under the Chord Dictionary may not be
recognised by A.B.C. though, eg. B6, bB6, B6(9),
bB6 ,9, Baug, bBaug, bBm6, Bm6, Adim7, bBdim7,
Bdim.
DUAL
SPLIT
TOUCH
RECORD
A.B.C.
FILL A
FILL B
MELODY OFF
STYLE SONG FILE
TEMPO VEL MEASURE BEAT
MEMORY
TICK O.TS.
DSP
card
START/STOP SYNC INTRO/ENDING FILL A FILL B A.B.C.
MELODY OFF
This manual suits for next models
1
Table of contents
Other Medeli Musical Instrument manuals

Medeli
Medeli CDP6200 User manual

Medeli
Medeli SP4200 User manual

Medeli
Medeli KURTZMAN K700 User manual

Medeli
Medeli DP263 Operating instructions

Medeli
Medeli DP250 User manual

Medeli
Medeli SP4200/WH User manual

Medeli
Medeli DP88 User manual

Medeli
Medeli DP70EU User manual

Medeli
Medeli DP760K User manual

Medeli
Medeli DP10 User manual

Medeli
Medeli Cdp5000w User manual

Medeli
Medeli CDP6000 User manual

Medeli
Medeli SP3000 User manual

Medeli
Medeli sp 5100 User manual

Medeli
Medeli CDP5200 User manual

Medeli
Medeli CDP5200B User manual

Medeli
Medeli DP370 User manual

Medeli
Medeli Grand 510 User manual

Medeli
Medeli SDP-4 User manual

Medeli
Medeli SP5500 User manual