www.mediaform.com
COMMONLY USED FUNCTIONS
SimulateCCopyMMode
1.Press once. Display will read "Test Only".
Press .
2.Main screen will then display "Test" as the
operation mode.
3.Follow the steps outlined in the Quick Start
section of this guide.
Helpful Hint - To copy directly after a successful test,
choose "Test & Write" mode instead of "Test Only"
mode.
CompareOOnlyMMode
1.Press once.Press or until
"Compare Only" is displayed. Press .
2.Place master in CD-ROM drive. Place CD-R
or CD-RW to compare against master in
CD-R/CD-RW drive.
3.Press to start. System will compare
master to CD-R/CD-RW for errors and display
results.
Helpful Hint - To copy then compare after
duplication, select the "Write & Verify" option.
Note: *Not all formats can be compared.
AudioTTrackEExtractionMMode
1.Place audio CD in CD-ROM drive. Place blank
CD-R/CD-RW in CD-R/CD-RW drive.
2.Press once. Press or until "Select-Song
Only" is displayed. Press .
3.Press to enter audio track extraction mode.
Display will show all tracks on audio CD, and total
time available on CD-R/CD-RW.
4.Track 1 will be blinking. Press to scroll through
tracks. To highlight desired track(s), press .
When all desired tracks are high-lighted, press
to write selected tracks to CD-R/CD-RW.
5.Once all selected tracks are written to CD-R/CD-RW,
system will ask to finalize or continue. Select
finalize if finished. Select continue if more tracks
are desired, then place next audio CD in CD-ROM
drive and follow step 4 above.
CCDD-55112211
CCDD-55112211
INSTRUCTION GUIDE
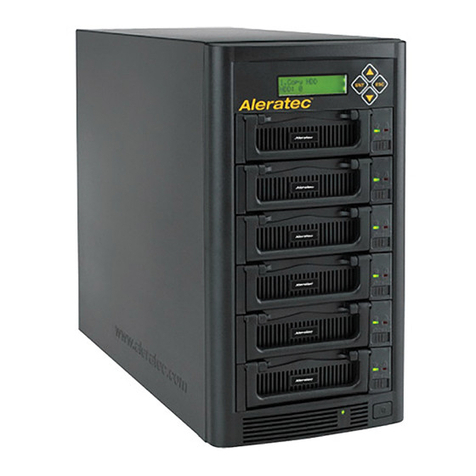
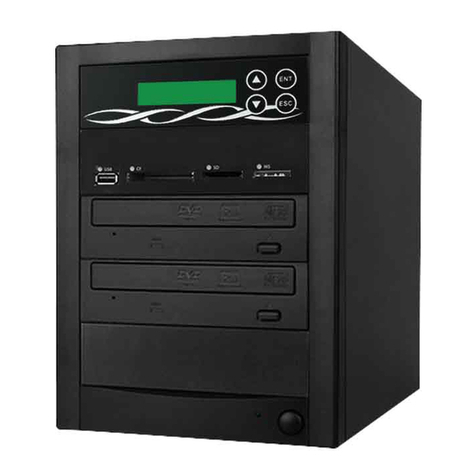
The CD-5121™ REFLECTION™ comes packaged in
a compact, easy to maneuver desktop chassis;
completely self contained ... just plug it in and
you are ready to go. It’s that simple!
Note: *Audio Discs must be finalized before they can be
played.
EraseaaCCD-RRWDDisc
1.Place CD-RW disc to be erased in CD-RW drive.
2.Press once.
3.Press or until "Quick Erase RW Disc" or "Full
Erase RW Disc" is displayed.
4.Press . System will erase CD-RW disc as selected in
step 3.
