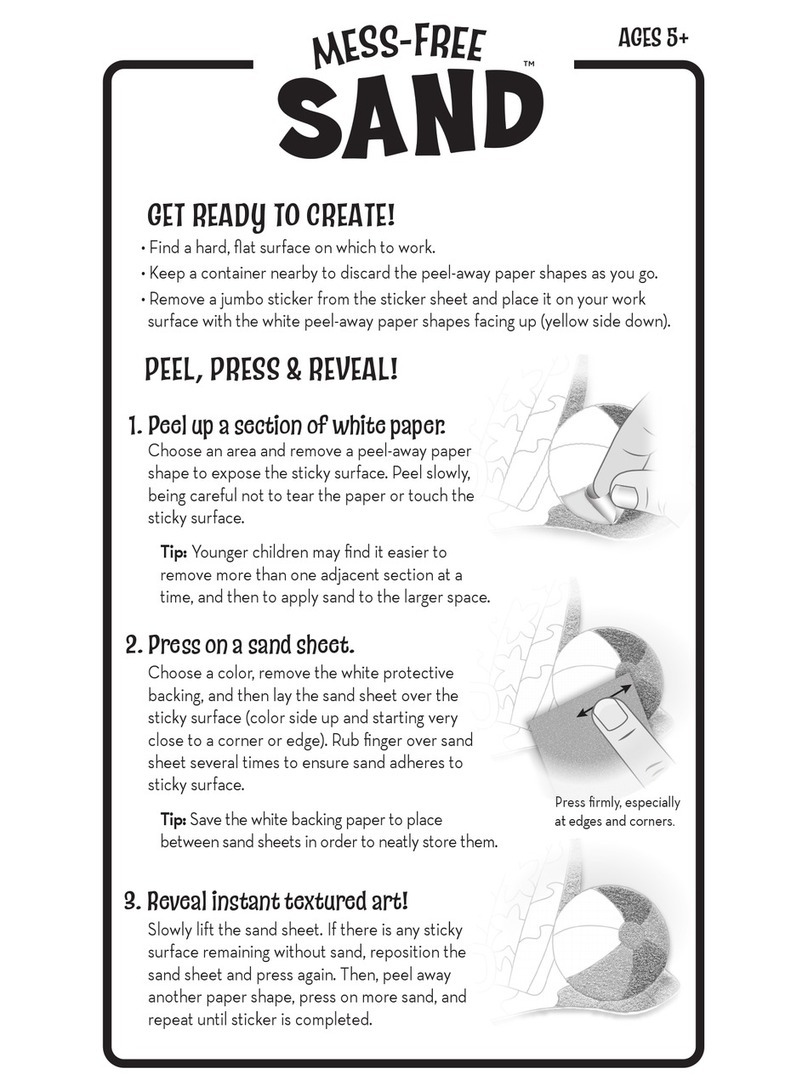
Melissa & Doug Beach Memories User manual
Other Melissa & Doug Toy manuals

Melissa & Doug
Melissa & Doug WOODEN PROJECT WORKBENCH User manual

Melissa & Doug
Melissa & Doug Mine To Love User manual
Melissa & Doug
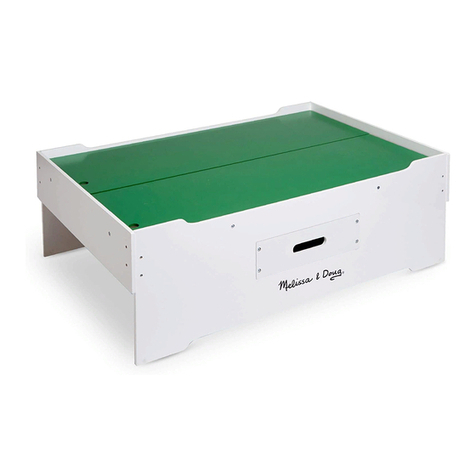
Melissa & Doug Multi-Activity Play Table User manual

Melissa & Doug
Melissa & Doug 9383 User manual

Melissa & Doug
Melissa & Doug 5509 User manual

Melissa & Doug
Melissa & Doug Victorian Dollhouse User manual

Melissa & Doug
Melissa & Doug 2462 User manual

Melissa & Doug
Melissa & Doug AnimalCare ActivityCenter User manual

Melissa & Doug
Melissa & Doug Deluxe Puppet Theater User manual

Melissa & Doug
Melissa & Doug 9385 User manual
Popular Toy manuals by other brands

FUTABA
FUTABA GY470 instruction manual

LEGO
LEGO 41116 manual

Fisher-Price
Fisher-Price ColorMe Flowerz Bouquet Maker P9692 instruction sheet

Little Tikes
Little Tikes LITTLE HANDIWORKER 0920 Assembly instructions

Eduard
Eduard EF-2000 Two-seater exterior Assembly instructions

USA Trains
USA Trains EXTENDED VISION CABOOSE instructions


