IMO 3/20
IMO-349 EN 3
1. INTRODUCTION
Thank you for choosing METSO product. Each product is fully
inspected after the production to oer you thehighest quality.
In order to fully utilize the product, we strongly recommend
users to read this manual carefully and understood.
This manual provides information on installation; operation
and maintenance procedures and related instructions for the
RMEBS make VAQ113 SPOOL VALVE.
The aim of this literature is to support the use of products in
correct manner, and all the technical information provided in
the catalogue.
The manual should be given to the end user.
The manual can be changed or revised without any prior
notice. Any changes in product’s specication, structure, and/
or any components may not result immediate revised version
of the manual.
The manual should not be duplicated or reproduced for any
purpose without any consent of RMEBS Manufacturers &
Engineers Private Limited, INDIA.
Manufacturer Warranty
For the safety, it is vital to follow instructions in the manual.
It is not RMEBS’s liability for any damages which caused by
users’negligence.
It is not RMEBS’s liability for any damages or accidents which
resulted by any alteration or modication of the product and
parts. If alteration or modication is necessary, please contact
the RMEBS directly.
RMEBS warrants the product from the date of original
retail purchase of the product for one (1) year, except as
otherwise stated.
RMEBS warranty will not cover the products that the
product have been subjected to abuse, accident, alteration,
modication, tampering, negligence, misuse, faulty
installation, lack of reasonable care, repair or service in any
way that is not contemplated in the documentation for the
product, or if the model or serial number has been altered,
tampered with, defaced or removed; damages that occurs in
shipment, failure due to power surge, and cosmetic damage.
Improper or incorrectly performed maintenance or report
voids this Limited Warranty.
For detailed warranty information, please contact :
RMEBS MANUFACTERURS & ENGINEERS PRIVATE LIMITED,
Manapada road, Dombivli (e), Maharashtra, India, Pin - 421204
1.1 Denitions
WARNING:
IF NOT OBSERVED, USER INCURS A HIGH RISK OF SEVERE DAMAGE
TO PRODUCT AND/OR FATAL INJURY TO PERSONNEL.
CAUTION: If not observed, user may incur damage to
product and/or injury to personnel.
NOTE: Advisory and information comments provided to
assist maintenance personnel to carry out maintenance
procedures.
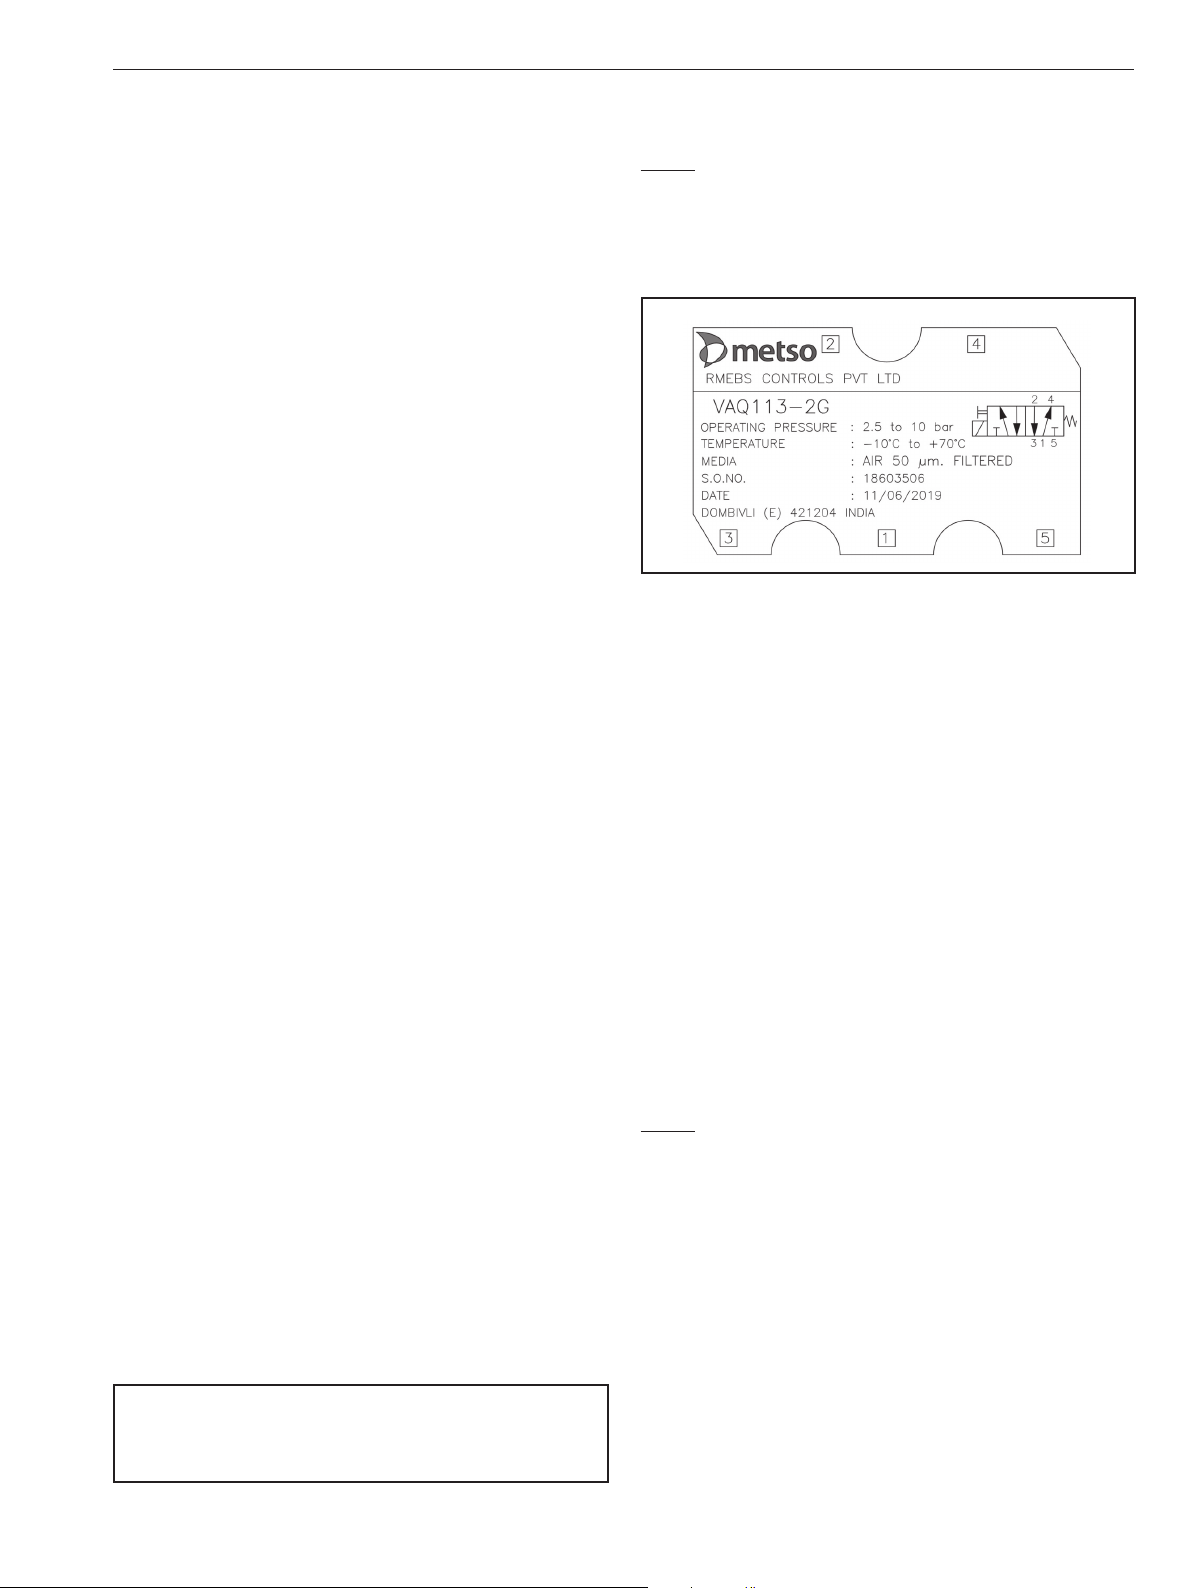
2. LABEL DESCRIPTION.
Label of the VAQ113-2G denes the precise feature. This
description is written below the RMEBS logo and is as follow.
Model no.: VAQ SPOOL VALVE 5/2 valve.
2 1/4", 3- 3/8", 4 – 1/2" .
13 2 Position, solenoid
operated spring return.
External air pressure 3 to 10 bar.
Temperature -10°C to +70°C
S.O. NO. Sales order number.
DATE Date of manufacturing.
Dombivli – 421204 INDIA Brief address.
3. INSTALLATION PROCEDURE
CAUTION: Blow out air lines and ttings before installation.
Use dry and oil free air. Do not dismantle the VAQ113 while
operation is in line. Do not allow dirty air or uids to get into
the VAQ113. Use lter unit (lter size 40µm, 3°C) for dust and
moisture removal.
NOTE: Ensure the installation meets the legal and regulatory
requirements of the country and state of use. The VAQ113
assembly should be left in the original packing until it is
required for the use.
1. Hemp laments, jute or even teon ribbons are
normally not required, As the part connections are
accurately threaded. By chance, if any of these or any
other tightening medium get into the operational area
inside the VAQ113, possible damage of the VAQ113
could not be ruled out.
2. Clean all pipes and tube ttings thoroughly with suitable
means. As even when brand new pipes are tted, unclean
interior are quite covered with dirt and dust.
3. Avoid impact on the VAQ113.These may happen during
transportation/ erection/ mishandling.