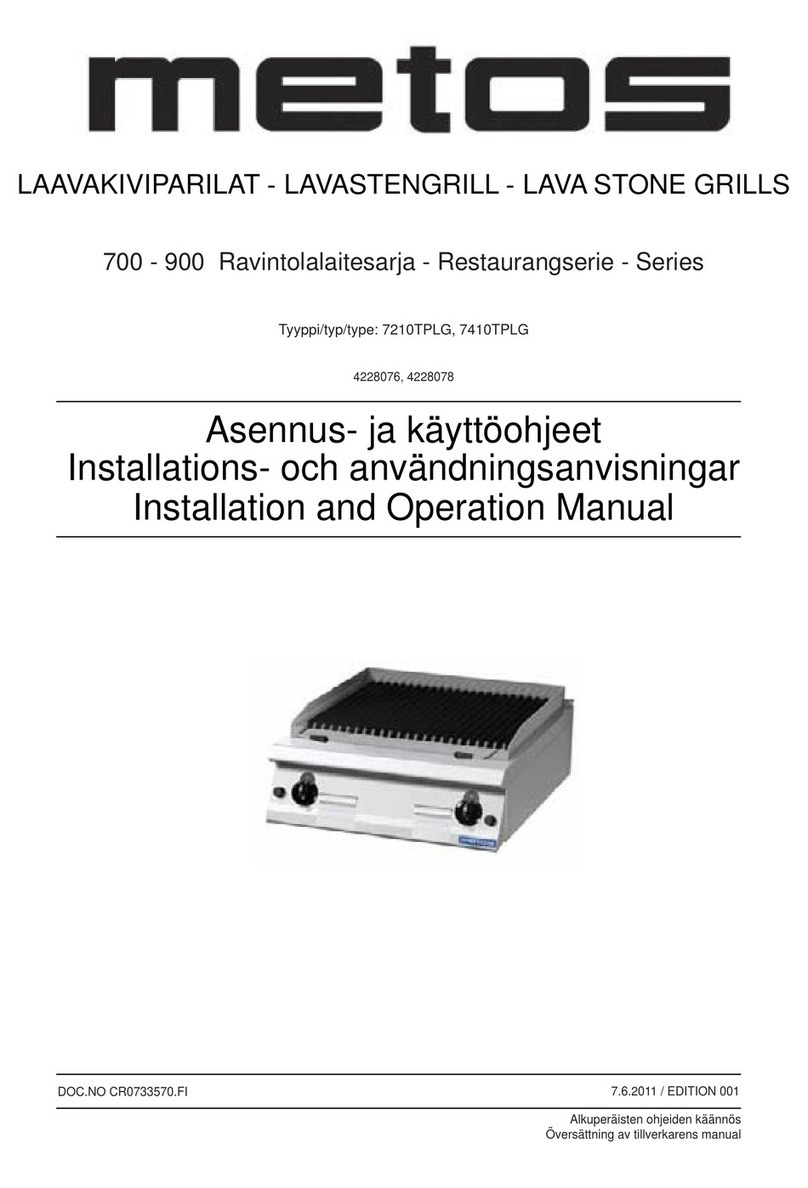
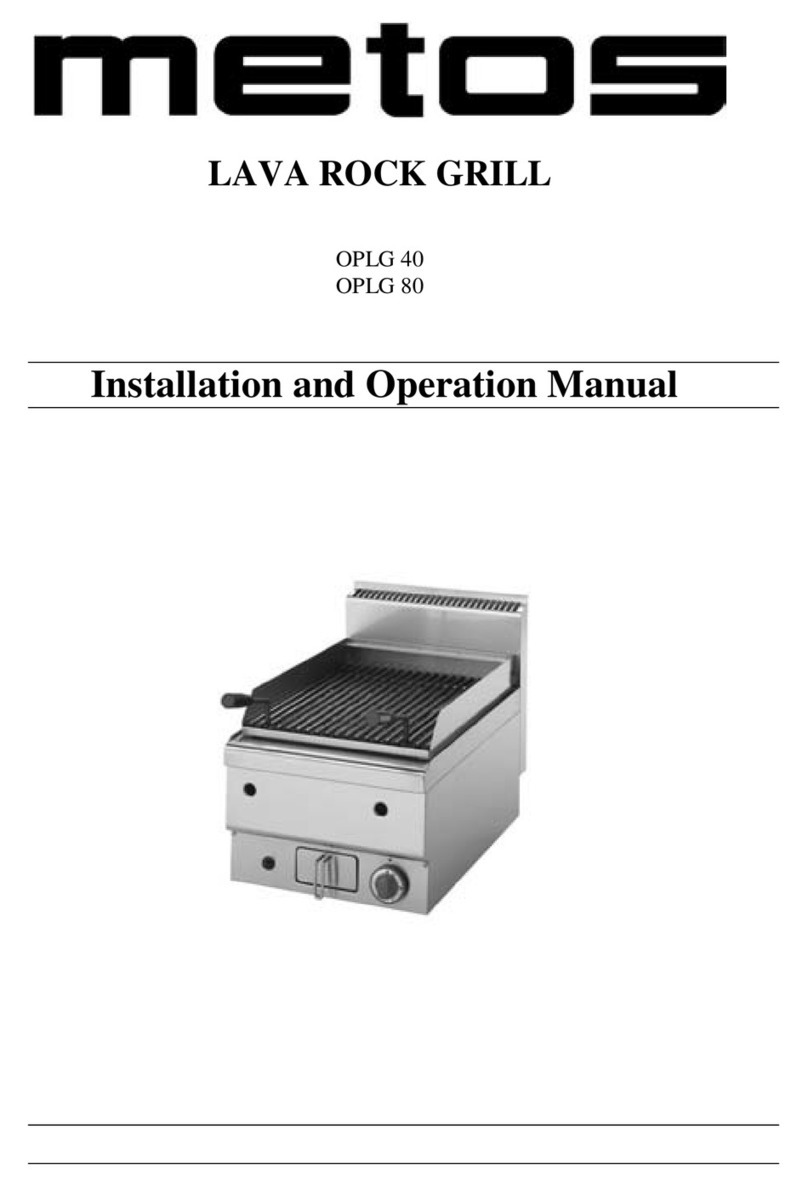
Metos VAPO GT1 User manual

VAPO GRILL
ELECTRICAL HEATED
TYPE: GT1, GT2, GT3, GT6
Installation and Operation Manual
S/N: Rev.: 2.0


20.9.2002 Rev. 2.0
Dear Customer,
Congratulations on deciding to choose a Metos appliance for your kitchen activities. You
made an excellent choice. We will do our best to make you a satisfied Metos customer
like thousands of customers we have around the world.
Please read this manual carefully. You will learn correct, safe and efficient working meth-
ods in order to get the best possible benefit from the appliance. The instructions and hints
in this manual will give you a quick and easy start, and you will soon note how nice it is
to use the Metos equipment.
All rights are reserved for technical changes.
You will find the main technical data on the rating plate fixed to the equipment. When you
need service or technical help, please let us know the serial number shown on the rating
plate. This will make it easier to provide you with correct service.
For your convenience, space is provided below for you to record your local Metos service
contact information.
METOS TEAM
Metos service phone number:...............................................................................................
Contact person:....................................................................................................................

20.9.2002 Rev. 2.0

20.9.2002 Rev.
1. General .......................................................................................................... 1
1.1 Symbols used in the manual .......................................................................................... 1
1.2 Symbols used on the appliance ...................................................................................... 1
1.3 Checking the relationship of the appliance and the manual .......................................... 2
2. Safety .............................................................................................................. 3
2.1 Safe use of the appliance ............................................................................................... 3
2.2 Safety instructions in case of malfunction ..................................................................... 3
3. Functional description .................................................................................. 5
3.1 Application of the appliance .......................................................................................... 5
3.1.1 Prohibited use ........................................................................................................ 5
3.2 Operating principle ........................................................................................................ 5
3.2.1 Tips ........................................................................................................................ 6
4. Operation instructions ................................................................................. 9
4.1 Before using the appliance ............................................................................................ 9
4.1.1 Preparing the operation .......................................................................................... 9
4.2 Operation procedures ..................................................................................................... 9
4.3 After use ........................................................................................................................ 9
4.3.1 Cleaning ................................................................................................................ 9
5. Installation ................................................................................................... 11
5.1 Positioning the appliance ............................................................................................. 11
5.2 Electrical connections .................................................................................................. 11
6. Troubleshooting .......................................................................................... 12
8. Technical specifications .............................................................................. 19

20.9.2002 Rev.

20.9.2002 Rev. 2.0
General
1
1. General
Carefully read the instructions in this manual as they contain important information re-
garding proper, efficient and safe installation, use and maintenance of the appliance.
Keep this manual in a safe place for eventual use by other operators of the appliance.
The installation of this appliance must be carried out in accordance with the manufactur-
er’s instructions and following local regulations. The connection of the appliance to the
electric supply must be carried out by qualified persons only.
Persons using this appliance should be specifically trained in its operation.
Switch off the appliance in the case of failure or malfunction. The periodical function
checks requested in the manual must be carried out according to the instructions. Have the
appliance serviced by a technically qualified person authorized by the manufacturer and
using original spare parts.
Not complying with the above may put the safety of the appliance as well as the user in
danger.
1.1 Symbols used in the manual
This symbol informs about a situation where a safety risk might be at hand. Given instruc-
tions are mandatory in order to prevent injury.
This symbol informs about the right way to perform in order to prevent bad results, appli-
ance damage or hazardous situations.
This symbol informs about recommendations and hints that help to get the best perform-
ance out of the appliance.
1.2 Symbols used on the appliance
This symbol on a part informs about electrical terminals behind the part. The removal of
the part must be carried out by qualified persons only.

20.9.2002 Rev. 2.0
General
2
1.3 Checking the relationship of the appliance and the manual
The rating plate of the appliance indicates the serial number of the appliance. If the man-
uals are missing, it is possible to order new ones from the manufacturer or the local rep-
resentative. When ordering new manuals it is essential to quote the serial number shown
on the rating plate.

20.9.2002 Rev. 2.0
Safety
3
2. Safety
2.1 Safe use of the appliance
The grill can be used only by staff trained to use the appliance.
Never leave the grill on without supervision.
Never immerse the grill in water.
Never touch the grill heating elements when the applience is working.
Never leave paper or textile on the grill heating elements.
Never put any other items on the grill than food products, never put any pots or coal onto
the heating elements.
Never use a high pressure cleaner to clean the appliance.
Never fill water through the red-hot heating elements.
When not in use or if there is no food product on the elements, switch to position 1 or
switch off. Never leave the element on position 3 without food product on it. Overheating
will damage the elements.

20.9.2002 Rev. 2.0
Safety
4
2.2 Safety instructions in case of malfunction
In the event of fault or malfunction, switch the power off. Call service.

20.9.2002 Rev. 2.0
Functional description
5
3. Functional description
3.1 Application of the appliance
The grill is intended for frying raw materials direct on the grill heating elements.
3.1.1 Prohibited use
The grill is not designed for heating kettles and pans like on an electric range.
3.2 Operating principle
It is important that the water tank is filled with water (appr. 4 cm) on beforehand. This
water starts evaporating by the radiated heat.
Compared to other grills that grill in air with 0% humidity, the Vapo Grill works in 100%
saturated humid air. So the natural juices of dishes cannot be absorbed by the environment
and loss of weight is avoided.
The grease dripping from the dishes falls into the water tank and stays floating on the wa-
ter. This way the grease does not continue to burn, does not smoke and does not emit bad
or strange tastes.
The most commonly used control knob position to grill is between 2 and 3, depending on
the grill marking one has to obtain. Dishes can be personalized with herbs, oiling and even
flambé. Grilling of meat without addition of oil or other grease is possible (diet food).
The Vapo Grill heating elements never stick unless one works at too low temperature
(pos. 1 to 2).

20.9.2002 Rev. 2.0
Functional description
6
The Vapo Grill is saving energy mainly because the appliance never has to be in a stand-
by position. The appliance is at operating temperature after 2 minutes. Longer preheating
is not necessary.
3.2.1 Tips
Not only meat, but also crustacea, fish and bread can be prepared to delicious, original
dishes on your Vapo Grill. Just like with a barbeque, all dishes can be given a personal
touch with your Vapo Grill.
The table in the end of this chapter gives recommendations for different kinds of dishes
and functions.
Times must be adapted according to thickness of the meat and your customer’s require-
ments.
In the table you also find dishes, weights, grilling times, grill-methods indicated with a
letter A, B, C, D and E which refers to the corresponding chapter.
A. Method for crustacea
Such as gambas, scampi, lobster etc.
Smaller crustacea up to 200 g can simply be put on the grill heating elements.
Bigger ones, like lobster and spiny lobster, are cut into half over the lenght and put on the
grill with the shell.
These can be smeared with a sauce and after grilling be finnished with garlic butter.
The sauce exists of melted butter, a dash of wine, the juice of 1 melon, a small additive of
garlic, mixed herbs, pepper and salt.
B. Method for all sorts of meat
To apply the herbs (if needed) on the meat, these can be preliminary diluted in white wine
(even with a dash of brandy). This creates the advantage that the dry herbs dissolve more
rapidly and give their full flavor to the wine.

20.9.2002 Rev. 2.0
Functional description
7
Pepper and salt can be added to the same solution.
Spice the meat with a small brush in one movement.
Do preferably not use any oil for the taste.
C. Method for fish up to 500 g
For fillet of salmon as well as tunny-fish, trout and all sorts of solid fish, one uses a sauce
of melted butter, a dash of white wine, the juice of 1 lemon, mixed with grill herbes, pep-
per and salt.
Regularly smear during grilling.
D. Method for fish and meat of more than 500 g
Fish or meat are to be worked as under item B and C.
First the outside must clearly be worked with the grill pattern. Then the cooking should
be continued in an aluminium foil.
A core temperature meter can help to determine that the dish is ready.
E. Method for grilling bread
Put the grill heating elements power to their highest position (3).
Grilling goes very fast.
After having put on the last slice, the first one can already be turned.
Repeat this movement 4 times. After the second time turn by 1/4 turn in order to obtain a
chequed grill pattern.
The capacity of grilling bread on your Vapo Grill is much bigger than the most perfect
toasters.
DISHES WEIGHT POSITION TIME METHOD REMARK.
Fish-fil. of salmon 200 g 2,75 8’ C
trout 300 g 2,75 12’ C
salmon 2500 g 2,5 12’+20’ D
pike 2500 g 2,5 12’+20’ D
gambas 80 g 3 8’ A finishing
Meat-T-bone steak 400 g 2.75 5’ B Bleu
T-bone steak 400 g 2,75 6,3’ B Medium
beef 200 g 2,75 +4’ B
veal 200 g 2,5 10’ B
pork 200 g 2,5 10’ B
lambsrib 75 g 2,5 5’ B

20.9.2002 Rev. 2.0
Functional description
8
lambsleg 1250 g 2,5 15’+45’ D Medium
sausage 100 g 2 10’ B
hamburger 150 g 2,5 7’ B
Poultry-spring chick 450 g 2,5 15’ B
quial 50g 2 5’ B
Grilling bread Toast 3 30’ E turn quickly
DISHES WEIGHT POSITION TIME METHOD REMARK.

20.9.2002 Rev. 2.0
Operation instructions
9
4. Operation instructions
4.1 Before using the appliance
4.1.1 Preparing the operation
Before starting to use the Vapo Grill definetively, it is recommended to switch it on to po-
sition 2 for 15 minutes without any dishes on it.
With the combinated switching and regulating knob the grill can be easily switched on
and each heating element can be regulated steplessly.
The control lamp illuminates as long as the voltage for the grill is on.
Regulations and grilling times are in the table in chapter ‘Operation Principle /’Tips’.
4.2 Operation procedures
Do not keep the grill heating elements on maximum power (position 3) after grilling, be-
cause this could cause overheating and permanent deforming of the heating elements.
4.3 After use
4.3.1 Cleaning
The Vapo Grill is self cleaning by prolysis, i.e. the grill surface burns itself clean by over-
heating of the heating element.
Turn the control knob into its highest position (pos. 3) after grilling during 20 minutes,
whilst the water tank remains filled with appr. 4 cm of water. The grill will become white-
grey and the fur on the elements is released from itself.
Continue cleaning the grill heating elements with a copper brush supplied with the Vapo
Grill. This brush can also be ordered separately
Be cautious, the heating elements may be very warm.
Never use a knife or a steel brush as they may damage the grill heating elements.

20.9.2002 Rev. 2.0
Operation instructions
10
The water tank is made of heavy enammeled steelplate, easy to clean and suitable for any
type of dishwashing machine.
To remove the water tank, turn off the grill heating element and leave it in its vertical po-
sition.
The stainless steel surface can be cleaned with a wet cloth.

20.9.2002 Rev. 2.0
Installation
11
5. Installation
5.1 Positioning the appliance
Put the appliance on a solid table and make sure it stays straight.
5.2 Electrical connections
Make sure that the supply voltage corresponds to the one on the rating plate at the bottom
of your appliance. Take care of a good earthing.

20.9.2002 Rev. 2.0
Troubleshooting
12
6. Troubleshooting
If your grill doesn’t work, check the following:
• is the plug well plugged in
• are the fuses in the supply line in order
• is the main switch on
If the above mentioned methods don’t help, call service.

20.9.2002 Rev. 2.0
Technical specifications
19
8. Technical specifications
Connection and main electrical wiring diagram

20.9.2002 Rev. 2.0
Technical specifications
20
Connection and main electrical wiring diagram
This manual suits for next models
3
Table of contents
Other Metos Grill manuals
Popular Grill manuals by other brands

Char-Broil
Char-Broil Commercial 466247310 Product guide

Maxwell
Maxwell MW-1960 ST Manual instruction

Salton
Salton George Foreman GRP4BBWTMR owner's manual

Char-Broil
Char-Broil Offset Smoker 430 13201595 Product guide

Grandhall
Grandhall Maxim 499P Assembly instructions

Kenmore
Kenmore 146.16142210 Use & care guide

George Foreman
George Foreman GRP90WGB The Next Grilleration use and care manual

Mellerware
Mellerware Bbq grill master manual

Toastmaster
Toastmaster A710 Specification sheet

Cuisinart
Cuisinart CPG-256 owner's manual

Char-Broil
Char-Broil EVOLVE 24659999 quick start guide

AmazonBasics
AmazonBasics B0B8QV3MS2 Assembly manual