Micca Speck G2 User manual

Copyright © 2019 Micca All rights reserved. v190826
Micca Speck G2 User’s Manual
Got a Question or Need Help?
Email our technical support team at: support@miccatron.com for personalized
assistance with the setup and use of this product. Please visit our product
information website www.miccatron.com for the following:
- Firmware Updates
- User’s Manuals
- roubleshooting Wizard
- echnical Support Request
Warranty: 1 Year
Copyright ©
2019
Micca
All rights reserved.
his manual may not be reproduced in whole or in part without
permission for any purpose other than personal use.

Copyright © 2019 Micca All rights reserved. v190826
II. Features and Specifications
The Micca Speck is a powerful digital media player, with the ability to decode high
quality 1080p Full-HD videos. While actual performance can vary depending on the
media file, this table of specifications is a summary of the Micca Speck’s capabilities.
Video
Codec Max resolution Max stream Max frames
MPEG1
1920x1080 10mbps 30fps
MPEG2
MPEG4-XVID
DIVX
H.264
H.263
WMV9/VC1
RMVB 1280x720
Files: MKV, AVI, TS/TP, MP4/M4V, MOV, VOB, PMP, RM/RMVB, MPG,
M2TS
, WMV
Music Bit rate: 32kbps – 320kbps
Formats: MP3, WMA,
OGG
, FLAC, APE, AAC
Photo
Formats: JPG, JPEG, BMP, GIF, PNG
Video
Output
Analog AV: 720x576 (PAL), 720x480 (NTSC)
HDMI
: 720p (50Hz/60Hz), 1080i (50Hz/60Hz), 1080p (50Hz/60Hz)
Audio
Output
Analog Stereo audio output level: 2.0V ± 0.2Vp
Frequency Range: 20Hz-20KHz ±2dB
SNR: >80dB (1kHz 0dB)
Dynamic range: >80dB (1kHz 0dB)
THD: ≤0.04%
HDMI PCM Digital Stereo
External
Storage
Supports USB2.0 drives up to 2TB with MBR partition table and NTFS or
FAT32 file system, including USB hard drives and USB flash drives.
Supports all SD and SDHC flash memory cards with NTFS or FAT32 file
system
Product
Size
2.5”(W) x 3”(L) x 0.6”(H)
Weight
3 ounce
Power
AC 90-230V, 50/60Hz, DC 5.0-5.2V 2A
Packing List
AC Power Adapter, Remote Control, AV Cable, User’s Manual

Copyright © 2019 Micca All rights reserved. v190826
III. Product Layout and Connections

Copyright © 2019 Micca All rights reserved. v190826
A. Power
Only use the supplied AC power adapter to provide 5.0-5.2VDC power to the Micca
Speck. Using a different power adapter may damage the player. Do not cut off power to
the device while the unit is turned on as this may cause serious damage to the hard
drive and result in data loss. Make sure that the player is in standby mode before
disconnecting power. The player consumes a small amount of power in standby and
should be disconnected from power to conserve energy if not planned to use for a while.
B. Analog AV Output
The Micca Speck can be connected to analog TVs and display devices through its AV
Out connector. Only use the supplied 3.5mm-to-RCA cable to ensure correct signal
polarity and avoid damage to the player and TV/display. The RCA cable connectors are
color coded to match the AV input on TVs and display devices as follows:
Red
Right Audio Channel
White
Left Audio Channel
Yellow
Composite Video
The Micca Speck’s video output mode must be set to NTSC or PAL for the analog AV
output to function. If there is no picture or the picture is distorted after connecting the AV
Output, press the <AV> button on the remote to set the player’s video output mode to
NTSC. If PAL output mode is needed, use the settings menu to change the player’s
video output mode to PAL.
NTSC is compatible with all TV’s in the US. PAL is used for TVs in
certain countries in Europe, Asia, and others.
C. HDMI Output
The Micca Speck can be connected to HDTVs and digital display devices through its
HDMI connector, sending both audio and video signals over one cable. Only use HDMI
cables that have been certified to be v1.3a or higher to ensure signal quality. The Micca
Speck’s HDMI output resolution can be set to 720p (50/60Hz) and 1080i/p (50/60Hz).

Copyright © 2019 Micca All rights reserved. v190826
Do not plug/unplug the HDMI output with the power connected to the
player. Doing so may damage the player.
The Micca Speck must be set to a valid HDMI output mode for the HDMI connection to
output a correct signal. If there is no picture or the picture is distorted after connecting
the HDMI output, press the <HDMI> button on the remote to set the player’s output
mode to 720p. Other HDMI display modes can then be set through the Setting menu.
D. Auto Detect AV Output
The HDMI and AV outputs cannot be used at the same time. By default, the Micca
Speck is configured to automatically detect the optimal AV output to use. If an HDMI
connection is detected when the player is turned on, the player set its video output
mode to HDMI. If HDMI connection is not detected, but an AV connection is detected,
the player will automatically set its video output mode to AV.
This auto output detection feature can be disabled by setting “Auto HDMI Detect” to
“OFF” in the settings menu. When the auto detection is turned off, the player will only
use the video output mode that is configured in the settings menu. The video output
mode can still be changed using the <AV> and <HDMI> buttons on the remote control.

Copyright © 2019 Micca All rights reserved. v190826
IV. Micca Speck Startup
After powering on, the Micca Speck displays the Home menu screen. The Home menu
presents five icons for access to different types of media files or settings:
Files
Browse and play all compatible file types.
Music
Browse and playback compatible audio files.
Movies
Browse and
playback compatible video files.
Photos
Browse and display compatible image files
.
Setting
System settings
.
Use the <
>and <
>buttons on the remote to highlight the desired media type and
press the <OK> button to select it. Refer to sections for individual media types for
additional information.
Use the <File>, <Photo>, <Music>, and <Movie> buttons on the
remote to quickly select a browsing method from the home menu.

Copyright © 2019 Micca All rights reserved. v190826
V. Playing Movies and Videos
To browse and view movies and videos:
1. From the home menu, select the Movies icon and press <OK> on the remote to
begin browsing for movies.
2. Select which storage device to browse for movies in: USB Drive, Memory Card,
and Optical Drive. Highlight the desired device and press <OK>.
3. Select which partition of the drive to browse for movies in. Most drives have only
one partition. Highlight the appropriate partition and press <OK>.
4. All folders and compatible movie files found will be displayed. If no folders or
compatible movie files are found, a message will pop up indicating “No
Compatible Files Found!”
5. To browse thin a folder, highlight the folder and press <OK>. To back out of a
folder, press the <RETURN> on the remote.
6. To play a movie, highlight the movie and press <OK>.
NOTE: Only files with compatible video file extensions MKV, AVI, TS/TP, MP4/M4V,
MOV, VOB, PMP, RM/RMVB, MPG, M2TS, and WMV are visible in the file/folder

Copyright © 2019 Micca All rights reserved. v190826
directory. Video files with incompatible file extensions will not be visible. Video files with
compatible file extensions but incompatible codec will generate an error when played.
During playback of a movie, the following remote control operations are available:
Button Description
MUTE Mute all sound output.
MENU Bring up the on-screen menu.
Rewind - Available speeds are 1x, 2x, 4x, 8x.
Fast Forward - Available speeds are 1x, 2x, 4x, 8x.
Previous File - Play the previous file.
Next File - Play the next file.
Play/Pause - Pause or resume the current file.
Stop playing the current file.
OK Display information about the current file.
HOME Go back to the home menu.
RETURN Stop playing the current file.
16:9/4:3 Aspect Ratio - Available modes are Default, 4:3, 16:9, Fit View, Video Full
Screen, Screen Full Screen.
GOTO Jump to a specific time in the video; use the arrow buttons to enter the
time and press <OK> to jump to the entered time.
REPEAT Changes video playback sequence between Repeat All, Repeat One,
Random.
AUDIO Change the audio track, if multiple audio tracks are available.
SUBTITLE Turns subtitles on or off. Use the on-screen menu to change subtitle track.
VOLUME Adjust the audio volume.

Copyright © 2019 Micca All rights reserved. v190826
A. On-Screen Menu
During playback of a movie, the on-screen menu offers a convenient way to access
many frequently used playback settings. To use the on-screen menu, press the <MENU>
button on the remote while a movie is playing.
To change a playback setting, use the <
>and <
>buttons on the remote to
highlight the setting; use the up and down buttons to change the settings value and
press <OK> to save the present setting. When finished, press the <RETURN> button to
exit out of the on-screen menu.
Setting Description
Mode Change the playback sequence between Repeat One, Repeat All,
Sequential, Random, Only Once.
Sub
Enable
Enable or disable subtitle display.
Subtitle Change the subtitle track being displayed.
Color Change the subtitle text color between White, Gray, Red, Green, Cyan,
Magenta, Yellow.

Copyright © 2019 Micca All rights reserved. v190826
Size Change the subtitle text size.
Text
Encoding
Change the subtitle text encoding. Supported subtitle languages include
English, Simplified Chinese, and Traditional Chinese.
Time Sync
Change the time sync between the subtitle and the video.
B. Aspect Ratio
For a video to be displayed correctly, it must be played back at with the appropriate
aspect ratio. An incorrect aspect ratio will result in a distorted image. The aspect ratio
can be changed while a video is playing by pressing the <16:9/4:3> button on the
remote. The following aspect ratio settings are available.
Setting Description
Default The video will be played as-is without any change. If a video’s resolution is
less than the display resolution, it will only occupy the small center portion
of the screen.
4:3 The video will be forced to play at a 4:3 aspect ratio.
16:9 The video will be forced to play at a 16:9 aspect ratio.
Fit View The video will be played slightly zoomed out. This is useful for use with
TVs that apply over-scan.
Video Full
Screen
The video will be played full screen at the video’s native aspect ratio.
Screen
Full
Screen
The video will be played full screen at the display screen aspect ratio.
C. Subtitles
The Micca Speck supports subtitle tracks embedded in video files or as external subtitle
files. When a video has both embedded and external subtitle files, the external subtitles
will take precedence. Multiple external subtitle files for the same video is not supported.
When multiple external subtitle files are present, only one external subtitle file will be

Copyright © 2019 Micca All rights reserved. v190826
available for display. Be sure to place the external subtitle file in the same folder and
with the same name as the video file:
My.Awesome.Movie.mkv
My.Awesome.Movie.srt
To toggle subtitles on or off, press the <Subtitle> button while a video is playing. The
first subtitle track available will be displayed. To change to a different subtitle track,
open the on-screen menu and change the Subtitle field to the desired track and press
<OK>.
If the subtitle language file uses special character encoding, such as GBK for Chinese
subtitles, the subtitle may appear as symbols using the default UTF8 encoding. To
change to a different encoding, open the on-screen menu and change the Subtitle
codec field to the desired value and press <OK>.

Copyright © 2019 Micca All rights reserved. v190826
VI. Playing Music
To browse and play music:
1. From the home menu, select the Music icon and press <OK> on the remote to
begin browsing for movies.
2. Select which storage device to browse for music in: USB Drive, Memory Card,
and Optical Drive. Highlight the desired device and press <OK>.
3. Select which partition of the drive to browse for music in. Most drives have only
one partition. Highlight the appropriate partition and press <OK>.
4. All folders and compatible music files found will be displayed. If no folders or
compatible music files are found, a message will pop up indicating “No
Compatible Files Found!”
5. To browse thin a folder, highlight the folder and press <OK>. To back out of a
folder, press the <RETURN> on the remote.
6. To play a music file, highlight the file and press <OK>.

Copyright © 2019 Micca All rights reserved. v190826
During playback of a music file, the following remote control operations are available:
Button Description
MUTE Mute all sound output.
MENU Bring up the on screen display menu.
Rewind - Available speeds are 1x, 2x, 4x, 8x, 16x, 32x.
Fast Forward - Available speeds are 1x, 2x, 4x, 8x, 16x, 32x.
Previous File - Play the previous file.
Next File - Play the next file.
Play/Pause - Pause or resume the current file.
Stop playing the current file.
OK Play/Pause - Pause or resume the current file.
HOME Go back to the home menu.
RETURN Stop playing the current file.
REPEAT Changes music playback sequence between Repeat All, Repeat One,
Sequential, Random, Only Once.
VOLUME Adjust the audio volume.
NOTE: Only files with compatible audio file extensions MP3, WMA, OGG, FLAC, and
APE are visible in the file/folder directory. Audio files with incompatible file extensions
will not be visible. Audio files with compatible file extensions but incompatible codec will
generate an error when full screen playback is attempted.

Copyright © 2019 Micca All rights reserved. v190826
A. On-Screen Menu
During playback of music, the on-screen menu offers a convenient way to access many
frequently used playback settings. To use the on-screen menu, press the <MENU>
button on the remote while a music file is playing.
To change a playback setting, use the <
>and <
>buttons on the remote to
highlight the setting; use the up and down buttons to change the settings value; press
the <OK> button to save the present setting. When finished, press the <RETURN>
button to exit out of the on-screen menu.
Setting Description
Mode Change the playback sequence between Repeat One, Repeat All,
Sequential, Random, Only Once.
EQ Mode Change the equalizer preset for music playback. Various presets are
available for different sound effects.
Lyric
Focus
Color
Change the color of the lyrics currently sung.

Copyright © 2019 Micca All rights reserved. v190826
Lyrics
Unfocus
Color
Change the color of the lyrics not currently sung.
Lyric Play
Mode
Change the lyric display stile between Karaoke, or Line Roll.

Copyright © 2019 Micca All rights reserved. v190826
VII. Viewing Photos
To browse and view photos:
1. From the home menu, select the Photo icon and press <OK> on the remote to
begin browsing for photos.
2. Select which storage device to browse for photos in: USB Drive, Memory Card,
and Optical Drive. Highlight the desired device and press <OK>.
3. Select which partition of the drive to browse for photos in. Most drives have only
one partition. Highlight the appropriate partition and press <OK>.
4. All folders and compatible photos found will be displayed. If no folders or
compatible photos are found, a message will pop up indicating “No Compatible
Files Found!”
5. To browse thin a folder, highlight the folder and press <OK>. To back out of a
folder, press the <RETURN> on the remote.
6. To view a photo full screen, highlight the file and press <OK>.

Copyright © 2019 Micca All rights reserved. v190826
While viewing a photo full screen, the following remote control operations are available:
Button Description
MENU Bring up the on screen display menu.
Play/Pause - Start slideshow.
Previous File - Previous photo.
Next File - Next photo.
Stop the slideshow.
OK Play/Pause - Start slideshow.
HOME Go back to the home menu.
RETURN Stop viewing the current photo and show the file list.
ZOOM Zoom in and out for the current photo.
NOTE: Only files with compatible photo extensions JPG, BMP, GIF, and PNG are visible
in the file/folder directory. Photos with incompatible file extensions will not be visible.

Copyright © 2019 Micca All rights reserved. v190826
A. On-Screen Menu
During playback of a photo slideshow, the on-screen menu offers a convenient way to
access many frequently used playback settings. To use the on-screen menu, press the
<MENU> button on the remote while a photo is displayed.
To change a setting, use the <
>and <
>buttons on the remote to highlight the
setting; use the up and down buttons to change the settings value; press the <OK>
button to save the present setting. When finished, press the <RETURN> button on the
remote.
Setting Description
Switch
Mode
Change the transition effect when going from one photo to the next
Play
Interval
Change the time delay between photos.
Background
Music
Turn background music playback on or off.

Copyright © 2019 Micca All rights reserved. v190826
VIII. File Copying/Deleting (FAT32 Drives Only)
The Micca Speck can be used to copy or delete files from USB drives or memory cards
that uses the FAT32 file system (NTFS drives can only be read by the Speck). This
feature is useful for such situations as moving digital camera photos from a memory
card to a portable hard drive without needing a computer. To copy folders or files:
1. From the home menu, select the File icon and press <OK> on the remote.
2. Select which storage device to copy files from: USB Drive, Memory Card, and
Optical Drive. Highlight the desired device and press <OK>.
3. Select which partition of the drive to copy files from. Most drives have only one
partition. Highlight the appropriate partition and press <OK>.
4. All folders and files found will be displayed.
5. Highlight the folder or file that is to be copied and press <MENU> on the remote
to bring up the copy/delete menu.
6. To copy the highlighted folder or file, select Copy from the menu and press <OK>
on the remote.

Copyright © 2019 Micca All rights reserved. v190826
7. Now navigate to the folder that is the copy destination. Press <MENU> on the
remote to bring up the copy/delete menu.
8. Select Paste from the menu and <OK> on the remote to begin copying.
After copying, you may wish to delete the original folder or files. To do so, navigate to
the folder or file to be deleted. Highlight the folder or file and press <MENU> on the
remote, then select Delete from the menu and press <OK> on the remote to delete the
folder or file.
Table of contents
Other Micca Media Player manuals
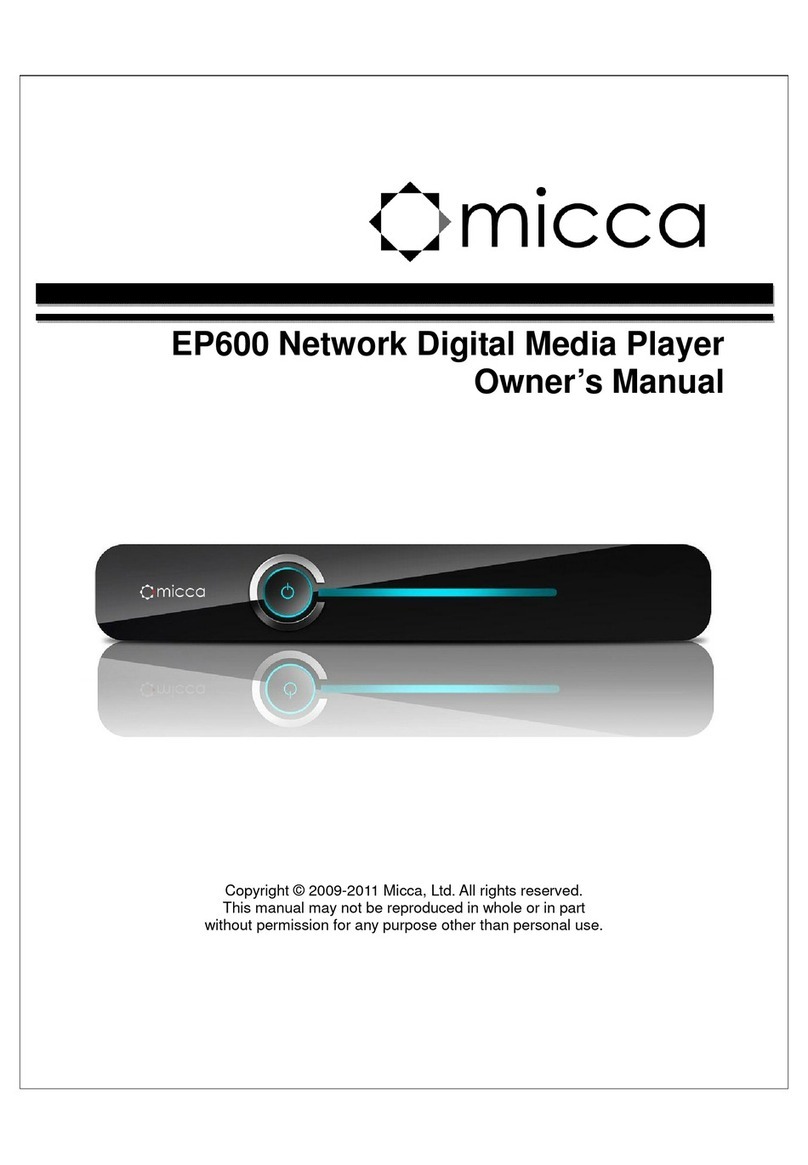
Micca
Micca EP600 User manual
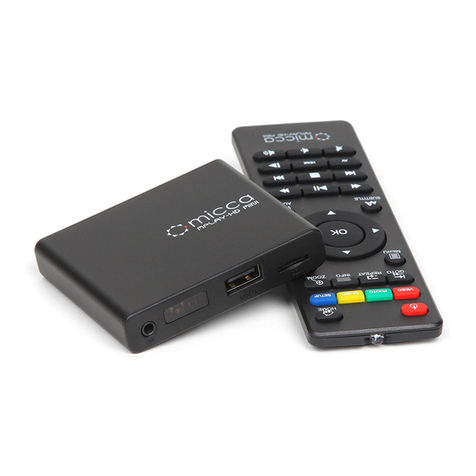
Micca
Micca MPLAY-HD User manual

Micca
Micca EP250 User manual

Micca
Micca MPLAY-HD User manual
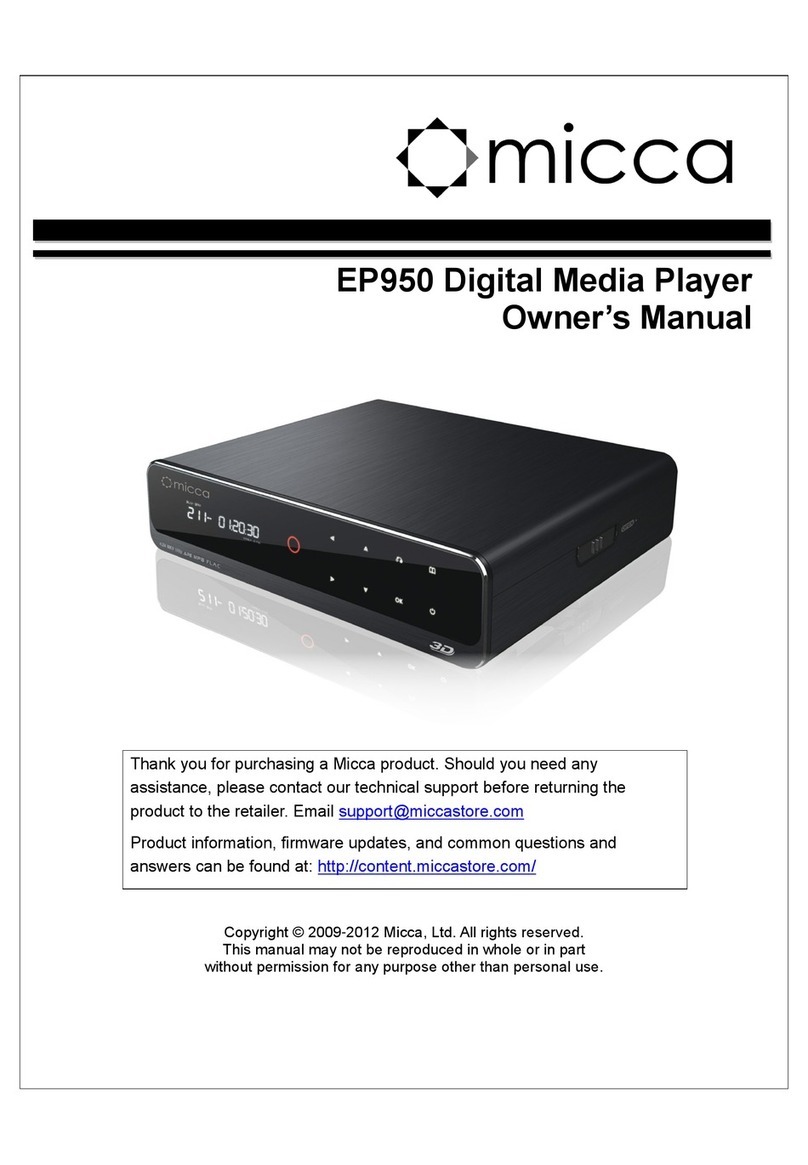
Micca
Micca EP950 User manual

Micca
Micca MPLAY-HD 1080P User manual

Micca
Micca Speck G3 User manual

Micca
Micca Slim User manual

Micca
Micca MPLAY-HD User manual
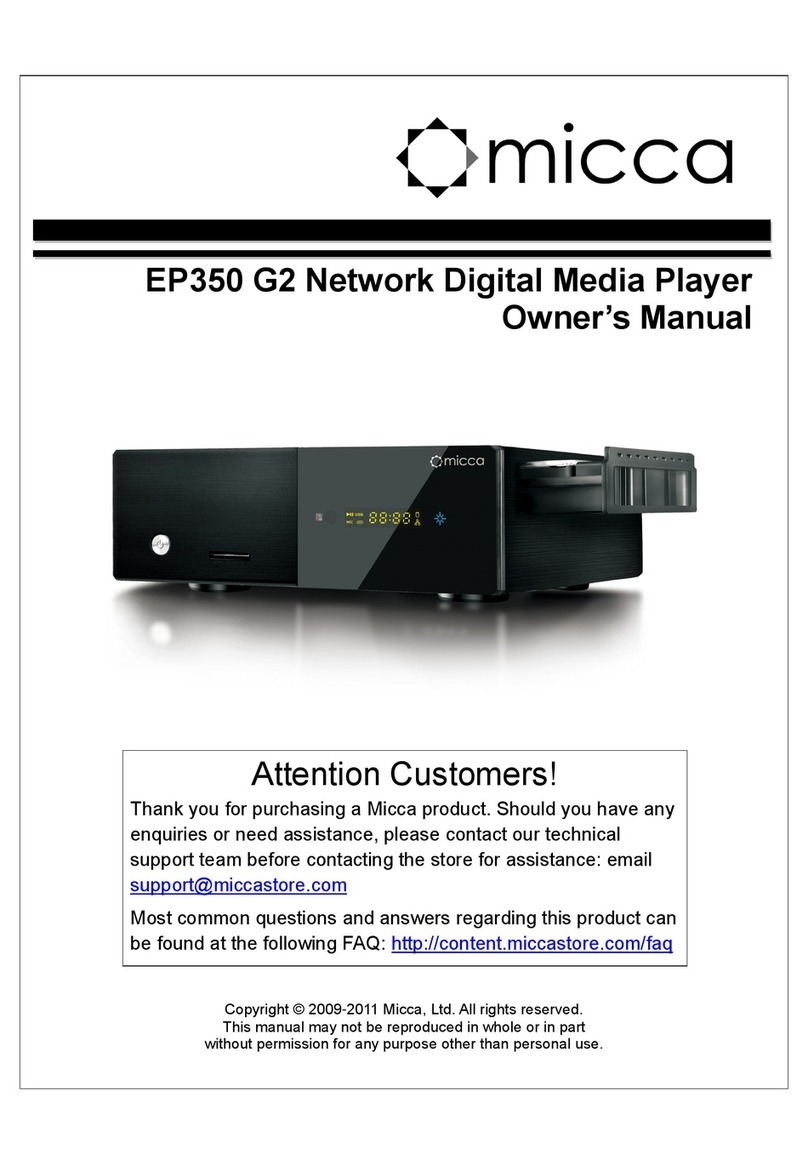
Micca
Micca EP350 G2 User manual


