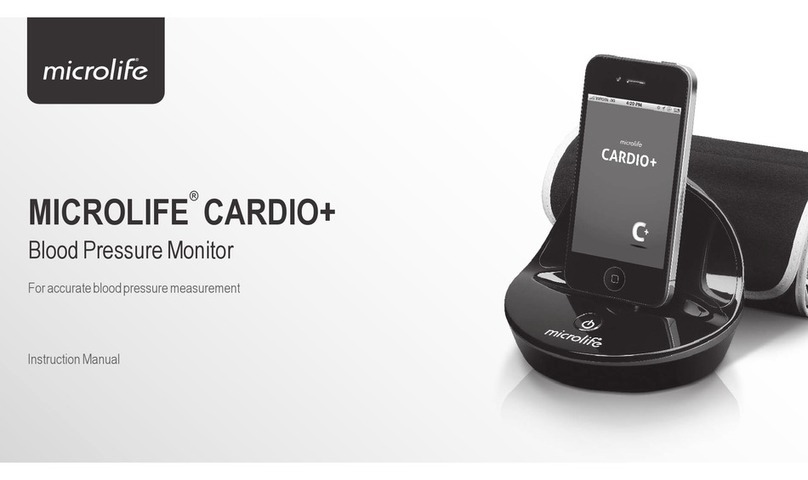
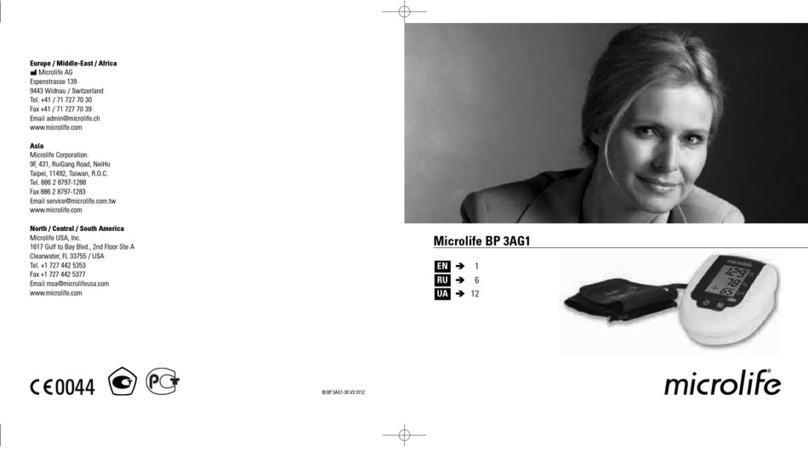
Microlife BP W100 MAM Wrist User manual
Other Microlife Blood Pressure Monitor manuals

Microlife
Microlife BP 3BTO-1 User manual
Microlife
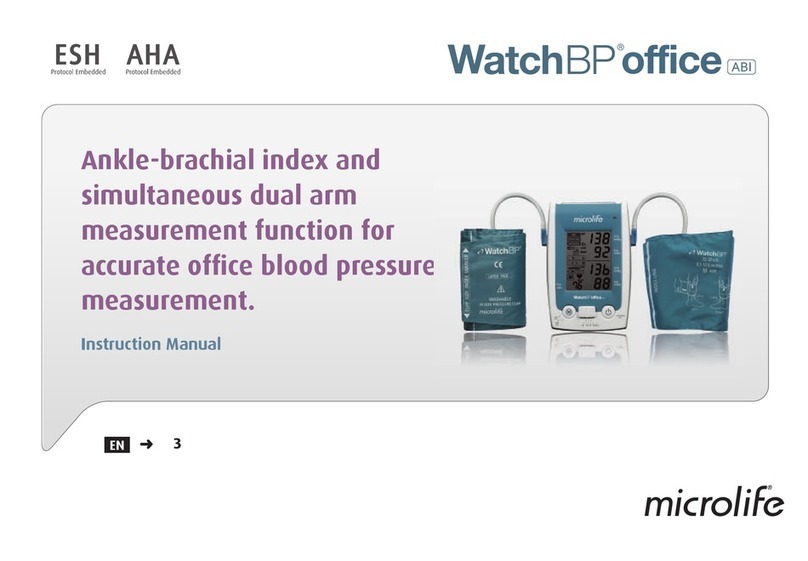
Microlife WatchBP Office ABI User manual

Microlife
Microlife BP W1 Basic User manual
Microlife
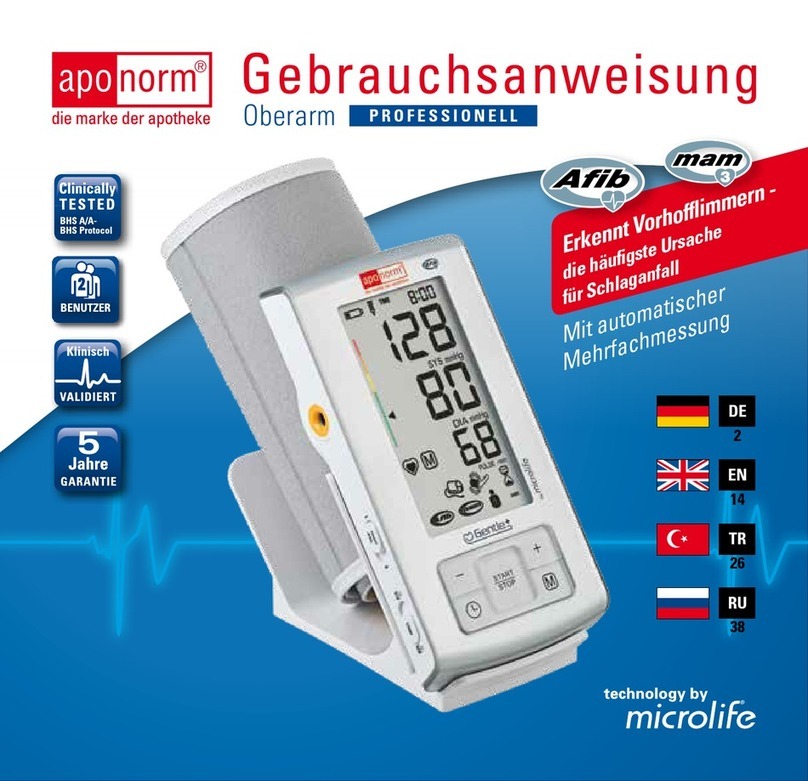
Microlife aponorm Professional User manual

Microlife
Microlife BP 3AX1 User manual

Microlife
Microlife BP3NQ1-4X User manual
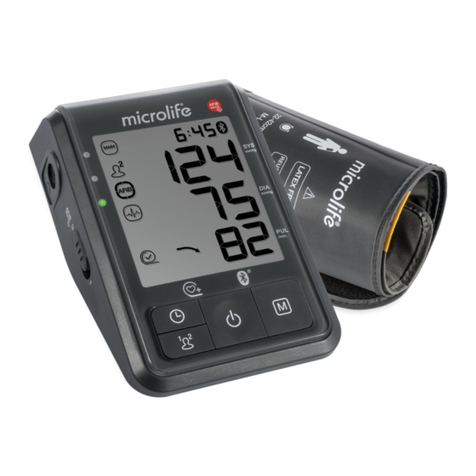
Microlife
Microlife BPB6 Connect User manual
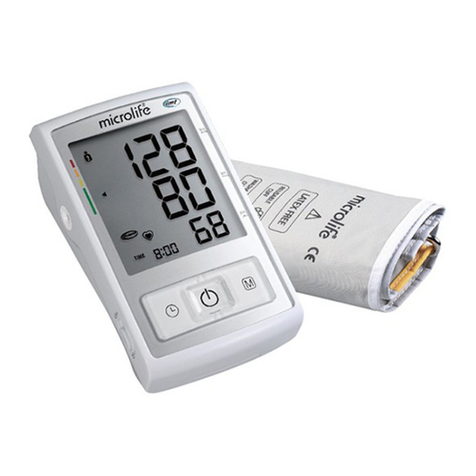
Microlife
Microlife BP A3L Comfort User manual

Microlife
Microlife BP B3 Comfort PC User manual

Microlife
Microlife BP B6 Connect User manual
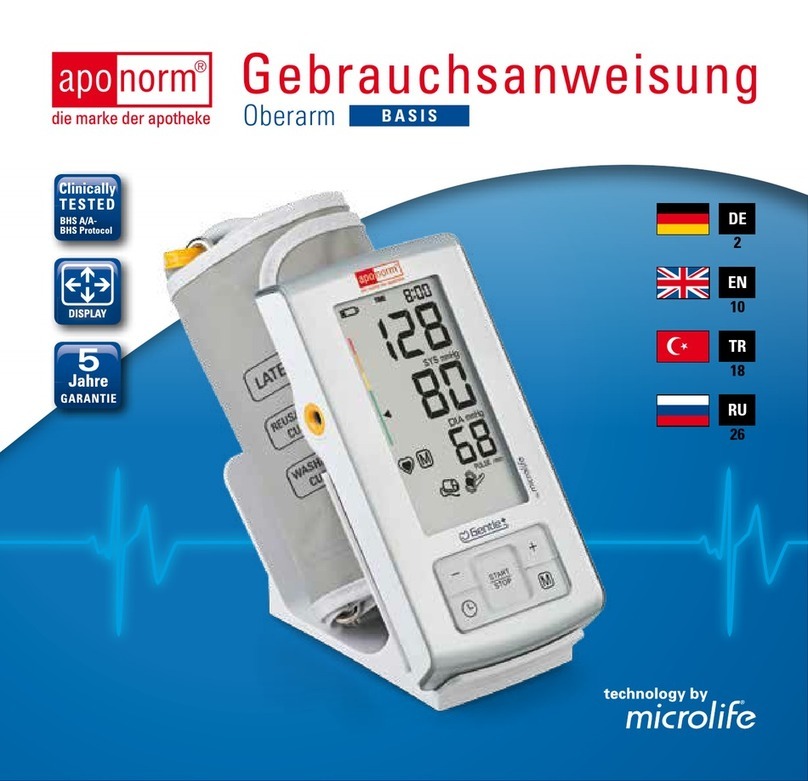
Microlife
Microlife Aponorm Basis Control User manual

Microlife
Microlife BP B6 Connect User manual

Microlife
Microlife BPB6 Connect User manual
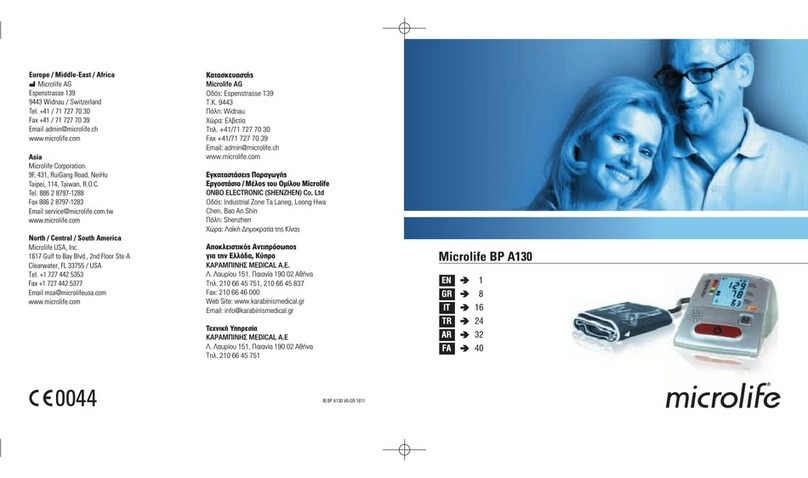
Microlife
Microlife BP A130 User manual

Microlife
Microlife BP 3AG1 User manual
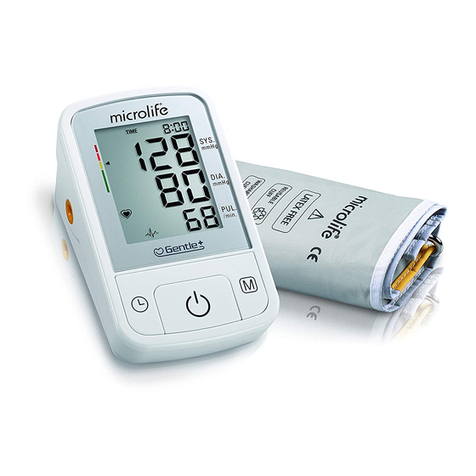
Microlife
Microlife BP A2 Classic User manual

Microlife
Microlife BP A3L Comfort User manual
Microlife
Microlife BP AG1-20 User manual
Microlife
Microlife BP A 100 User manual
Microlife
Microlife MSC User manual
Popular Blood Pressure Monitor manuals by other brands

Nasco Healthcare
Nasco Healthcare Simulaids Life/form LF01095U USER HELP GUIDE

HoMedics
HoMedics MiBody 360 instruction manual

ForaCare
ForaCare FORA P30 Plus owner's manual
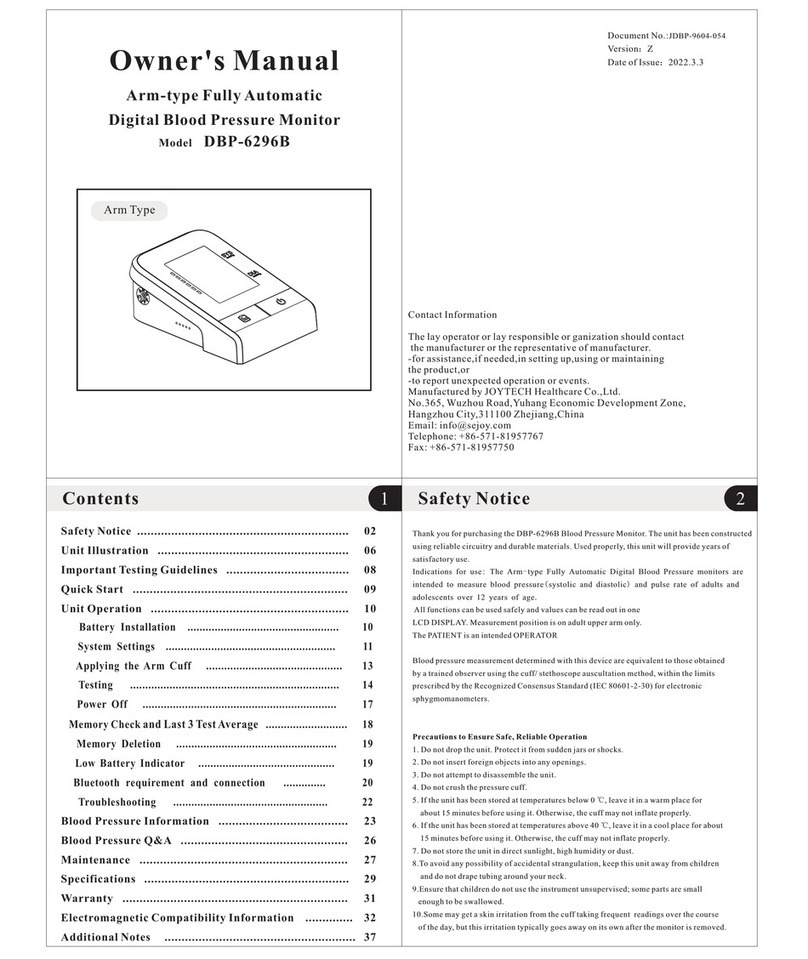
JOYTECH
JOYTECH DBP-6296B owner's manual
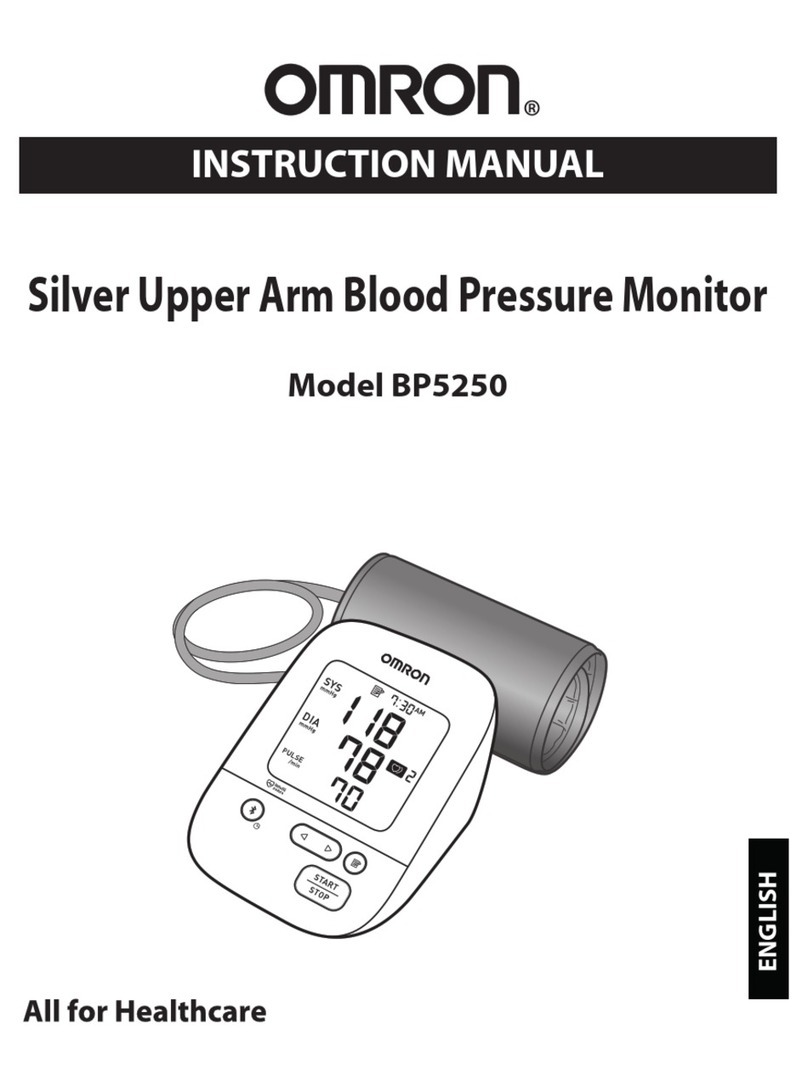
Omron
Omron Silver BP5250 instruction manual
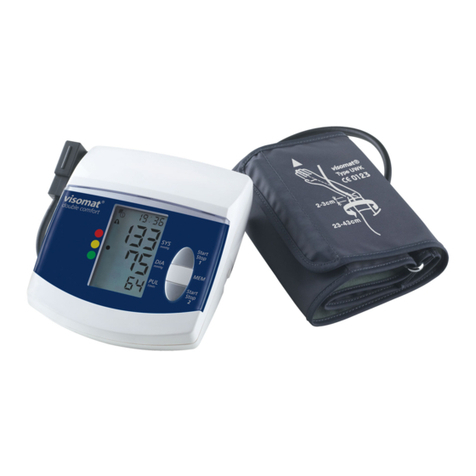
visomat
visomat double comfort Instructions for use
