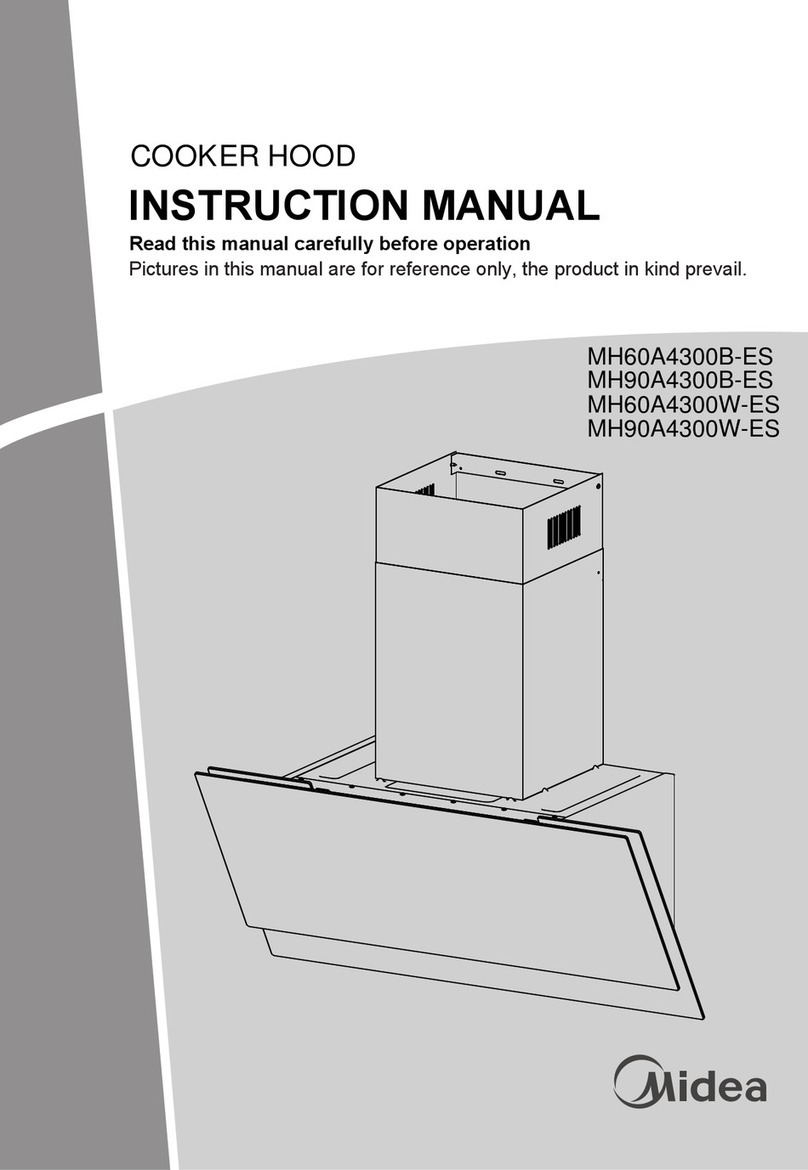
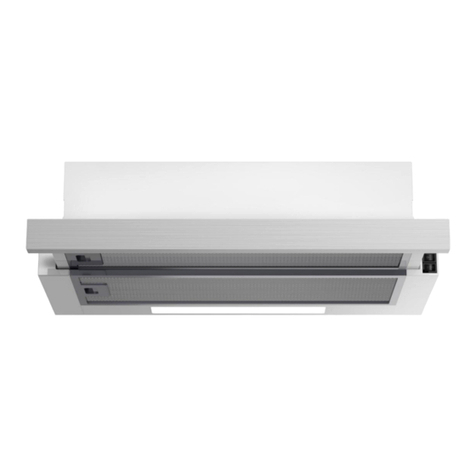
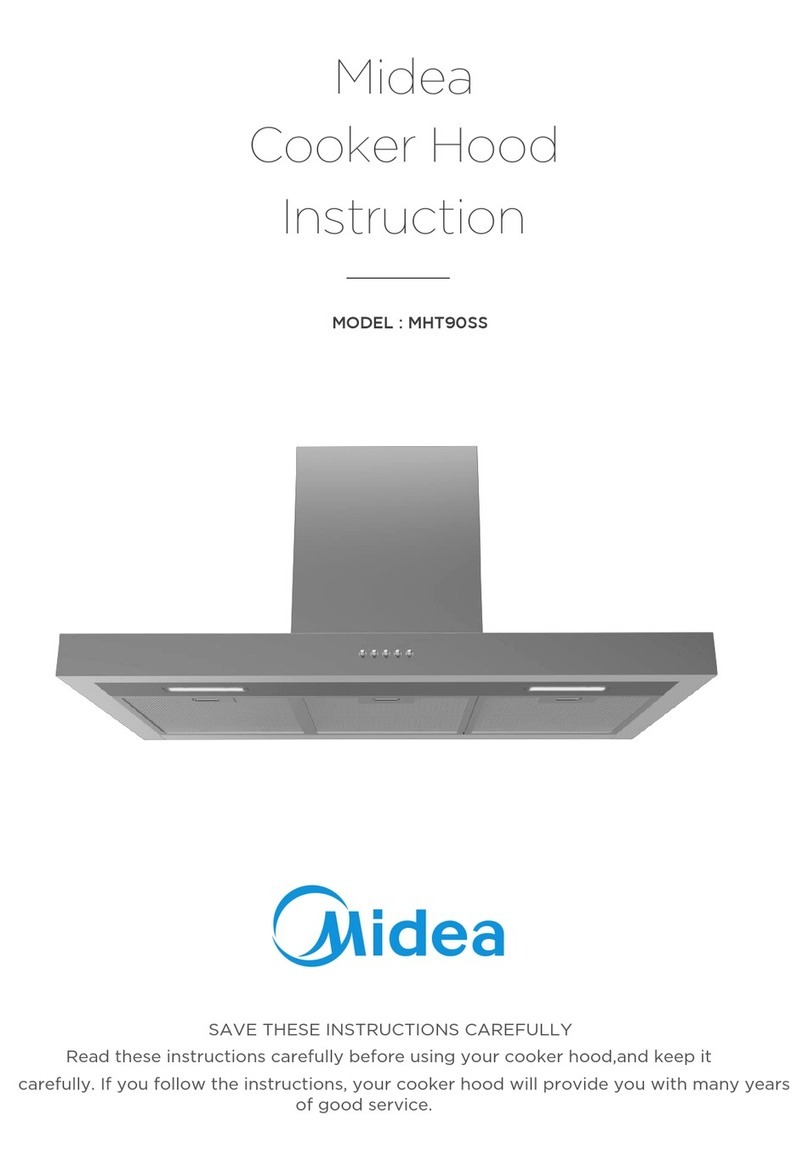
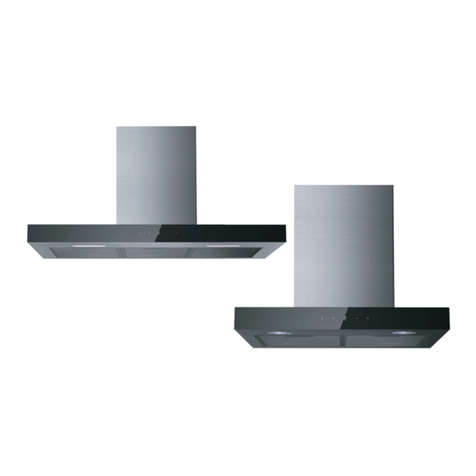
Midea MCHT60L07 User manual

COOKER HOOD
INSTRUCTION MANUAL
Read this manual carefully before use
Pictures in this manual are for reference only, the actual product shall
prevail.
MCHT60L07

Contents
01 CONTENTS .....................................................................
2
02 SAFETY WARNING ....................................................... 3
03 COMPONENTS .............................................................. 4
04 DIMENSIONS ................................................................. 5
05 INSTALLATION .............................................................. 6
06 CHOOSING A VENTILATION MODE .............................
07 CONNECTIONS ..............................................................
08 USAGE ...........................................................................
09 MAINTENANCE ..............................................................
10 LIGHTING ....................................................................... 11
11 DISPOSAL OF OLD ELECTRICAL APPLIANCES ........
12 TROUBLE SHOOTING ................................................... 12
8
8
9
10
11
2

SAFETY WARNING
INSTALLATION
The manufacturer will not be liable for any damages resulting from incorrect or
improper installation.
The minimum safety distance between the cooker top and the range hood is 650
mm (some models can be installed at a lower height, please refer to the paragraphs
about dimensions and installation).
Make sure that the main voltage is the same as the rating label that fixed inside
the range hood.
For Class I appliances, please make sure that the domestic power
supply guarantees adequate earthing.
Connect the extractor to the exhaust flue through a pipe of minimum diameter 120mm.
The route of the flue must be as short as possible.
Do not connect the extractor hood to exhaust ducts that discharged
combustion flumes (e.g. boilers, fireplaces).
If the extractor is used in conjunction with non-electrical appliances (e.g. gas burning
appliances),a sufficient degree of aeration must be guaranteed in the room in order to
prevent the backflow of exhaust gas. The kitchen must have an opening
communicating directly with the open air in order to guarantee the entry of clean air.
When the cooker hood is used in conjunction with appliances supplied with energy
other than electric, the negative pressure in the room must not exceed 0.04 mbar to
prevent fumes being drawn back into the room by the cooker hood.
If the power cable have been damaged, it must be replaced by the manufacturer or by
a certified technician, in order to prevent any risks.
If the instructions for gas hob installation specify a greater distance than the
requirement mentioned above, this has to be taken into account. Regulations
regarding the discharge of air have to be fulfilled.
USAGE
The extractor hood has been designed exclusively for domestic use to eliminate
kitchen smell.
Never use the hood for purposes other than its designed purpose.
Never leave high naked flames under the hood when it is in operation.
Adjust the flame intensity to direct it only at the bottom of the pan to make sure that it
does not engulf the sides.
Continuous monitoring is required for deep frying. Overheated oil can burst into
flames.
This appliance can be used by children aged 8 years or above or persons with
reduced physical, sensory or mental capabilities or lack of experience and
knowledge if they have been given supervision or instruction concerning use of the
appliance in a safe way and understand the hazards involved.
Children should be supervised to ensure that they do not play with the appliance.
Cleaning and user maintenance shall not be made by children without supervision.
CAUTION: Accessible parts of the range hood may become hot when used with cooking appliances.
MAINTENANCE
Switch off or unplug the appliance from the power supply before carrying out any
maintenance work.
Clean and replace the filters regularly to avoid fire hazard.
Clean the hood with a damp cloth and some neutral liquid detergent.
The appliance is applicable for 4 hob elements at most.
The symbol on packaging indicates that this product can not be treated as
household waste. Instead, it should be handed over to related collection point for recycling
of electrical and electronic equipment. To ensure that this product is disposed correctly,
you should help to prevent potential negative consequences to the environment and
human health, which could otherwise be caused by inappropriate waste handling of this
product. For more detailed information about recycling of this product, please contact your
local retailer, your household waste disposal service or the shop where you purchased the
product.
3

Ref. Qty. ProductComponents
COMPONENTS
1
1 Hood Body,including: Controls, Light, Blower,
Filter.
2
4 Screws5 x50
3
4 WallPlugs
1
3
2
3
2
4
1Flange
4
4

DIMENSIONS
unit:mm
595
527
Min. Min.
650
OPTIONAL 43/80 136 280
255
595
480
400
240 75
255
40
280
136
OPTIONAL 28/18
5

INSTALLATION
METHOD 1
According to the figure, determine the position of the hood at the cabinet. The wood strips
should be line up with the 4 keyholes slots on the top of the range hood. At the cabinet,
install 4 screws (as provided) according to the relative position of 4 key holes at the top of
the hood. The level of screwing should be convenience to your next installation.
Hang the hood and let 4 key holes aim at screws, the 4 screws should be in the narrow
parts of key holes. Screws should be fasten firmly, make sure that the installation
between the hood and cabinet is fasten enough.
Install the screws in the security holes to avoid back and forth movement of the hood.
Thus, ensuring safe usage.
Tips
When cutting or drilling on wall or ceiling, do not damage the electrical wiring or
other hidden facilities.
METHOD 2
595
480
400
240 75
255
40
280
136
OPTIONAL 28/18
235
75
400
6

If the installation surface at the cabinet cannot adapt to the installation of the cooker hood,
please fix the cooker hood on wall as per the diagram.
On the wall, install 2 screws (as provided) according to the relative position of 2 key holes
on the back of hood.
The level of screwing should be convenience to your next installation.
Install screws in the security holes to avoid back & forth movement of the hood. Thus,
ensuring safe usage.
Built-in installation of cooker hoods at combi cabinets is the same as the previous method.
Tips
Thanks for purchasing our cooker hood which is designed with many superior features that
enrich your living. Please read all the instructions carefully before installing and/or using the
cooker hood.
Right Wrong
Tips
The cooker hood must not be installed and connected to flues where other appliances are
installed. It runs off other energy supply which is different from electricity(e.g. water heater
boiled cookers(range/agas)etc.).
7

CHOOSING A VENTILATION MODE
Here are two ventitlation modes, extraction-air mode and recirculation mode, you should select
one of them before installation.
For extraction-air mode, the air is discharged out of the house by a pipe.
For recirculation mode, the air is purified and discharged into the house.
Recirculation mode Extraction-air mode
Tips for Recirculation mode
The cabinet needs an air vent for this ventilation mode.
Activated carbon filter must be used with this ventilation mode.
When activated carbon filter is used, the suction power will be lowered.
CONNECTIONS
DUCTED VERSION AIR EXHAUST SYSTEM
When installing the ducted version, connect the hood to the chimney
using either a flexible or rigid pipe of ɸ150 or ɸ120 mm. The filter
option remains to the installer.
Toinstall a ɸ120 mm air exhaust connector, insert the reducer
flange on the hood body outlet.
Fix the pipe in position using sufficient pipe clamps(not
provided).
Remove the activated charcoal filters if applicable.
8

USAGE
Operation
Check beforehand
Check the safety condition of the appliance:
Check whether there are visible defects.
Check whether all parts of the appliance have been properly and firmly fixed.
Switching on/off
Slide the front part of the cooker hood.
There are 3 speeds for the motor and on / off switch for the lamp.
Slide the switch for operation.
Motor Operation
[0]=Off
[1]=Low Power Setting
[2]=Mid Power Setting
[3]=High Power Setting
Light Operation
[OFF] = Off
[ON] = On
9

MAINTENANCE
GREASE FILTERS
CLEANING SELF-SUPPORTING METAL GREASE FILTERS
The filters must be cleaned every 2 months or more
frequently for heavy usage. It can be washed in a
dishwasher.
Pull the panels to open them.
Remove the filters one by one by pushing them towards the
back side of the hood and pullingdownwards at the same
time.
Any kind of bending has to be avoided when washing the
grease filter. Before fitting them again into the hood, make sure
that they are completely dry. (The color of the filter surface may
change throughout the time but this will not affect the filter
efficiency).
When fitting the filters into the hood, please ensure that they
are mounted in the correct position with the handle facing out.
Close the panel.
ACTIVATED CHARCOAL FILTER (RECIRCULATION VERSION)
REPLACING THE ACTIVATED CHARCOAL FILTER
These filters are not washable and reusable. It must be replaced approximately every 4 months or
more frequently with heavy usage.
REPLACING THE ACTIVATED CHARCOAL FILTER
Remove the metal grease filters.
Remove the saturated activated charcoal filter.
Fit the new filters.
Refit the metal grease filters.
10

LIGHTING
LIGHT REPLACEMENT
Replacing the light
Lightning inside the appliance is provided by a 1.5W LED light.
Follow the below steps to replace the LED light:
1. Disconnect the appliance from the power or switch off the circuit breaker.
2. Remove the metal filters (see Cleaning and Replacing Filters) .
3. Firmly remove the light from the hood body and disconnect the connector of the light.
4. Replace the light with a new one of the same type, making sure that the light is properly
connected with the light cable.
5. Install the metal filter back in place.
Max power
Voltage
Picture
Lamp Cap
ILCOS D code
Self-ballasted
LED modules
1.5W
220-240V
Square/Diameter:33.2mmx120mm
/
DBS-1.5-
H-33.2/120
DISPOSAL OF OLD ELECTRICAL APPLIANCES
The crossed out “wheeled bin” symbol on the product reminds you of your obligation that when you dispose the
appliance, it must be separately collected.
Consumers should contact their local authority or retailer for information concerning the correct disposal of their old
appliance.
11

TROUBLE SHOOTING
Malfunction
Cause
Solution
Light on, but
motor does not
work
The blades are blocked.
The capacitor is damaged.
Replace capacitor.
The motor is damaged.
Replace motor.
The internal wiring of motor is cut off/
disconnected. An unpleasant smell
may be produced.
Replace motor.
Both light and
motor do not
work
Apart from the above mentioned, please check the following:
Light damaged.
Replace lights.
Power cord loosen.
Connect the wires properly as per
the electric diagram.
Oil leakage
Outlet and the air ventilation entrance
are not tightly sealed.
Unplug and seal with glue.
Leakage from the connection of
U-shaped section and cover.
Remove U-shaped section and
seal with soap or paint.
Vibration
The blades, if damaged, can
cause vibrating.
Replace the blade.
The motor is not tightly fastened.
Fasten the motor tightly.
The cooker hood is not tightly fixed.
Fixed the cooker hood tightly.
Insufficient
suction
The distance between the cooker
hood and the cooker top is too large.
Readjust the distance.
Too much ventilation from open doors
or windows.
Choose a new place to install the
appliance or close some doors /windows.
The
rangehood
inclines
The fixing screws are not tight
enough.
Tighten the fixing screw and adjust it
horizontally.
The hanging screws are not tight
enough
Tighten the hanging screw and adjust it
horizontally.
12
Clean the blades


The manufacturer shall decline all responsibility if the foregoing
recommendations and instruction regarding installation, maintenance
and usage are not abide and follow when using the cooker hood.

。。。。。。。。。。。。。。。。。。。。。。。。。。。。。。。。。。。。。。。。。。。。。。。。。。。。。。。。。。。。。。。。。。。。。。。。。。。。。。。。。。。。。。。。。。。。。。。。。。。。。。。。。。。。。。。。。。。。。。。。。。。。。。。。。。。。。。。。。。。。。。。。。。。。。。。。。。。。。。。。
。。。。。。。。。。。。。。。。。。。。。。。。。。。。。。。。。。。。。。。。。。。。。。。。。。。。。。。。。。。。。。。。。。。。。。。。。。。。。。。。。。。。。。。。。。。。。。。。。。。。。。。。。。。。。。。。。。。。。。。。。。。。。。。。。。。。。。。。。。。。。。。。。。。。。。。。。。。。。。。。
抽油煙機
使用說明書
操作前請仔細閱讀本手冊
本手冊圖片僅供參考,產品以實物為准。
MCHT60L07

目錄
01
目錄 ............................................................................... 2
02
3
03
............................................................................... 4
04
尺寸 ............................................................................... 5
05
安裝 ............................................................................... 6
06
選擇通風模式 .............................................................. 8
07
連接 ............................................................................... 8
08
使用 ............................................................................... 9
09
10
11
12
.......................................................................
照明設備 .......................................................................
.......................................................................
10
11
11
12
廢棄處置 .......................................................................
2
安全警告
組件
維修保養
故障處理
.......................................................................

。。。。。。。。。。。。。。。。。。。。。。。。。。。。。。。。。。。。。。。。。。。。。。。。。。。。。。。。。。。。。。。。。。。。。。。。。。。。。。。。。。。。。。。。。。。。。。。。。。。。。。。。。。。。。。。。。。。。。。。。。。。。。。。。。。。。。。。。。。。。。。。。。。。。。。。。。。。。。
安裝
和抽油煙機之間的最小安全距離為 650 毫米(有些型號可安裝在較低的高度,
對於 I類電器,請檢查家用電源是否保證充分接地。
通過最小直徑為 120 毫米的管道將抽油煙機與排氣煙道連接。煙道路線必須盡可能短。
切勿將抽油煙機與攜帶燃燒煙道(鍋爐、壁爐等)的排氣煙道連接。
如抽油煙機與非電器(如燃氣電器)同時使用,必須保證室內有足夠的通風,以
防止廢氣回流。廚房必須有一個直接與室外空氣相通的開口,以保證清潔空氣進入。
當抽油煙機與非電力供應的電器同時使用時,室內的負壓不得超過 0.04 毫巴,以防止
。。。。。。。。。。。。。。。。。。。。。。。。。。。。。。。 。
使用
抽油煙機專為家庭使用設計,用於消除廚房氣味。
切勿將抽油煙機用於其設計以外的用途。
抽油煙機運行時,切勿將抽油煙機直接
調整火焰強度,使其僅對準鍋底,確保火焰不會
深油炸鍋在使用過程中必須保持持續監控:油溫過熱會導致起火。
“
維
請定時清潔
請使用濕布和中性液體清潔劑清潔抽油煙機。
包裝上的
3
安全警告
如因安裝不正確或不當安裝而造成的任何損壞,製造商概不負責。
煮食爐
詳情請參閱關於安裝及尺寸 的章節)。
抽油煙機將油煙倒吸回室內。
如電源線損壞,必須由製造商或專業技術人員進行更換,以防止任何風險。
如燃氣煮食爐的安裝說明規定要有更大的距離,則必須考慮到該點。請必須遵守排
氣相關的規定。
置放於明火之上。
沿鍋邊溢出。
年齡達 8歲 或以上、感官或心 智缺乏經驗和知識的人,均可
前提是這些人必須在瞭解安全使用此裝置的方式及其有關危害的人
的監督或指導下使用。
使用該裝置。
應看管好兒童以防止他們玩耍本產品。
清潔和維修保養不得由兒童在缺少監督的情況下進行。
小心:使用烹飪設備時,抽油煙機上的可接觸部件溫度將升高”。
修及保養
在進行任何維修及保養工作前,請先關閉或拔掉電器電源。
及更換濾芯,否則會有機會造成火災。
本產品可用於最多 4爐頭煮食爐。
符號表示不得將此產品當作生活垃圾處理 。相反,應將這些垃圾交由相
應的電氣和電子設備回收商處置。為確保本產品得到正確處置,您須協助預防因本產品的
處理不當而對環境和人類健康造成潛在負面影響。有關本產品回收的更多詳細資訊,請聯繫
您當地的經銷商、垃圾處理服務商或購買此產品的商鋪。
請檢查電源電壓是否與貼在在抽油煙機內部的銘牌上的電壓一致。

件
編號
數量
1
1
抽油煙機主體,包括:控制器、燈、鼓風
機、濾芯。
2
3
4
螺5 x 50
4
牆上插頭
1
4
2
3
2
3
組
產品組件
絲
4
1
4
接頭
排氣管

尺寸
。。。。。。。。。。。。。。。。。。。。。。。。。。。。。。。。。。。。。。。。。。。。。。。。。。。。。。。。。。。。。。。。。。。。。。。。。。。。。。。。。。。。。。。。。。。。。。。。。。。。。。。。。。。。。。。。。。。。。。。。。。。。。。。。。。。。。。。。。。。。。。。。。。。。。。。。。。。
。。。。。。。。。。。。。。。。。。。。。。。。。。。。。。。。。。。。。。。。。。。。。。。。。。。。。。。。。。。。。。。。。。。。。。。。。。。。。。。。。。。。。。。。。。。。。。。。。。。。。。。。。。。。。。。。。。。。。。。。。。。。。。。。。。。。。。。。。。。。。。。。。。。。。。。。。。。
單位:毫米
unit: mm
單位:毫米
OPTIONAL 43/80
可選 43/80
Min.650 mm
最小 650 毫米
Min.650 mm
最小 650 毫米
OPTIONAL 28/18
可選 28/18
595
527
Min. Min.
650
OPTIONAL 43/80 136 280
255
595
480
400
240 75
255
40
280
136
OPTIONAL 28/18
5
unit:mm

安裝
。。。。。。。。。。。。。。。。。。。。。。。。。。。。。。。。。。。。。。。。。。。。。。。。。。。。。。。。。。。。。。。。。。。。。。。。。。。。。。。。。。。。。。。。。。。。。。。。。。。。。。。。。。。。。。。。。。。。。。。。。。。。。。。。。。。。。。。。。。。。。。。。。。。。。。。。。。。
方法 1
。。。。。。。。。。。。。。。。。。。。。。。。。。。。。。。。。。。。。。。。。。。。。。。。。。。。。。。。。。。。。。。。。。。。。。。。。。。。。。。。。。。。。。。。。。。。。。。。。。。。。。。。。。。。。。。。。。。。。。。。。。。。。。。。。。。。。。。。。。。。。。。。。。。。。。。。。。。
OPTIONAL 28/18
可選 28/18
根據圖示,確定抽油煙機在櫥櫃中的位置。木條應與抽油煙機頂部的 4個鎖孔槽對齊。在櫥
4個鎖孔槽的相對位置安裝 4個螺 (隨附)。 便於
下次安裝。
。。。
在牆壁或天花板上切割或鑽孔時,切勿損壞電線或其他隱藏設施。
方法 2
235
75
400
595
480
400
240 75
255
40
280
136
OPTIONAL 28/18
6
小提示
櫃上,根據抽油煙機頂部扭緊程度應方
掛好抽油煙機,使其 4個鎖孔槽對準螺絲,4個螺絲應在鎖孔槽的狹窄部位。螺絲
應緊扣,確保抽油煙機和櫥櫃之間的安裝足夠穩固。
在安全孔中安裝螺絲,防止抽油煙機前後移動,使用更安全。
絲
Table of contents
Other Midea Ventilation Hood manuals

Midea
Midea 52T01 User manual

Midea
Midea E60MEW2A09 User manual

Midea
Midea MHC60SS User manual

Midea
Midea MHT60BL User manual

Midea
Midea MH60A4300B-ES User manual

Midea
Midea MCH-90B82 User manual

Midea
Midea MHC90GSS User manual

Midea
Midea MH90A3200W-ES User manual

Midea
Midea FP-65NRH060MMTL-B1 User manual

Midea
Midea MCH-90J82 User manual
Popular Ventilation Hood manuals by other brands

Broan
Broan BC2130SS installation instructions

KOBE
KOBE ISX2136SQB-1 Installation instructions and operation manual

Gram
Gram EFU 503-90 X instruction manual

Kuppersberg
Kuppersberg INTRO 60 Technical Passport

Miele
Miele DA 1255 Operating and installation instructions

Häfele
Häfele HH-WI70B Instruction on mounting and use