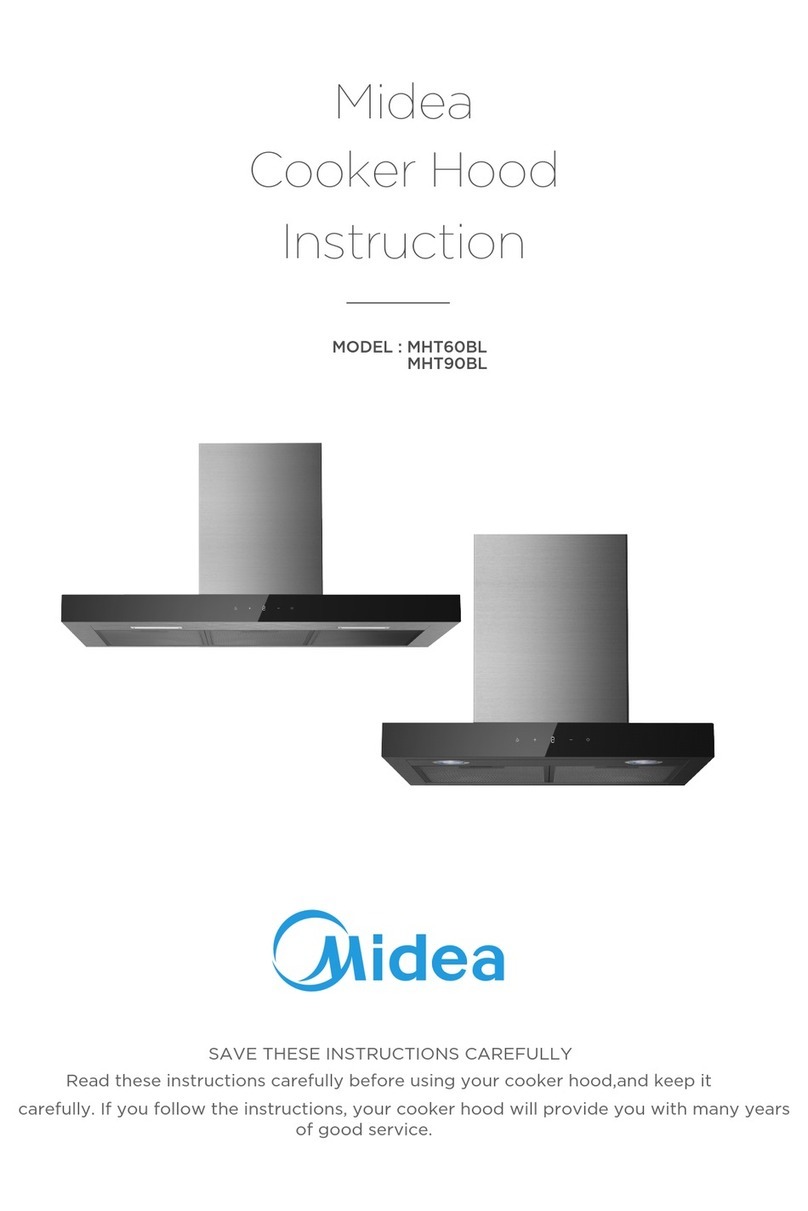
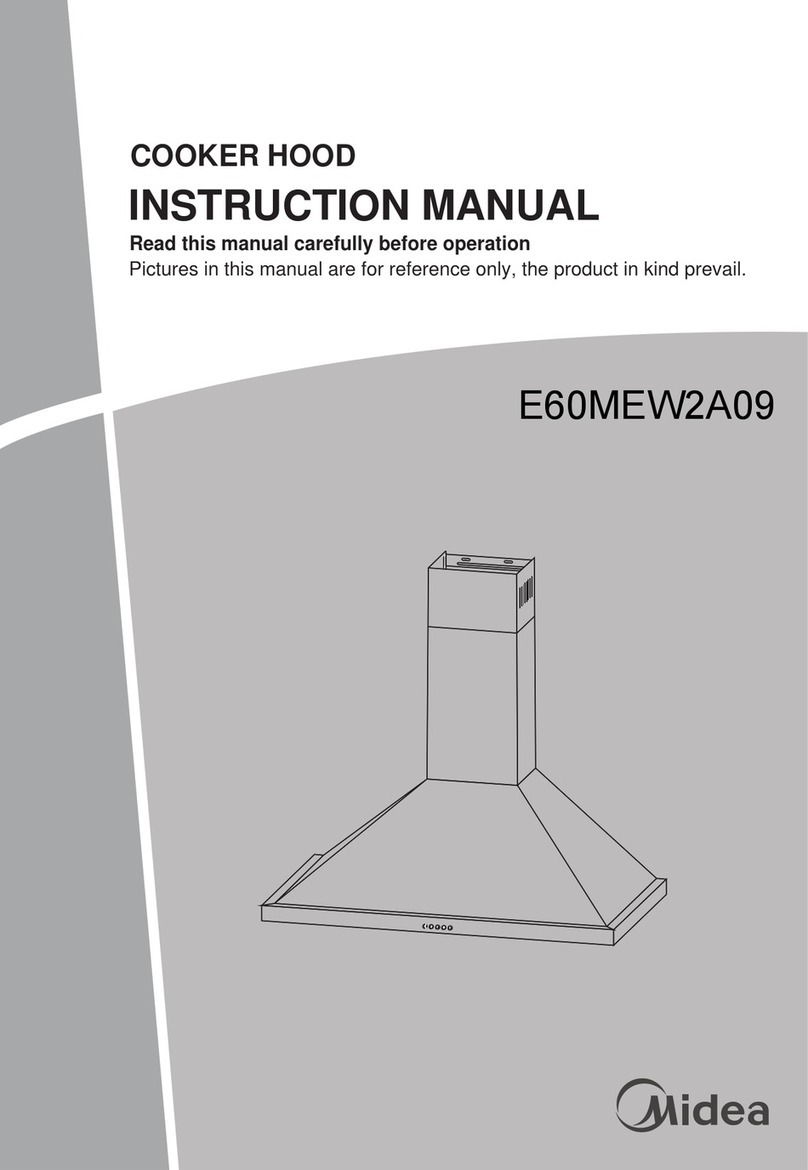
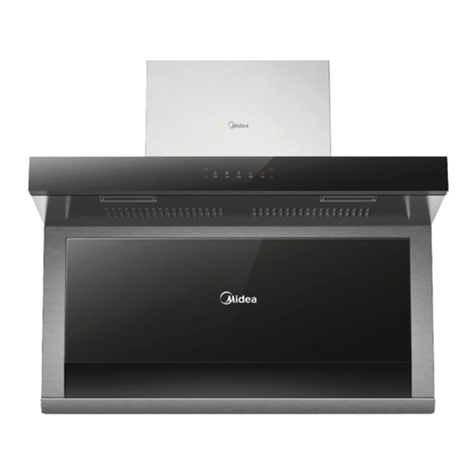
Midea E60MEW0A09 Manual

--
塔型、T型、弧玻烟机
安装与维修手册
Tower-type, T-type and Arc Glass Range Hood
Installation and Service Manual
警告
安装维修手册并非提供给普通用户,产品的维修应该由具备相关资格的专业技术人
员进行,不正确的维修可能导致其他危险!
The installation service manual is not intended for ordinary user. Product
maintenance should be done by qualified professional technician. Incorrect
maintenance may cause other danger.
维修前,务必要切断电源!
Please cut off the power supply before the maintenance.
如果电源线有故障隐患,一定要更换具备相关技术参数的电源线(参数见本手册)!
If the power cord has hidden fault, please replace it with relevant technical
parameter. (Please refer to the manual for parameter)
维修产品前,请仔细阅读本手册中的安全警告!
Please read the safety warning in the manual carefully before servicing the product.
维修完成后,需按照相关规程检测方可使用!
After the maintenance, detect it according to relevant regulations before using
本维修手册内容包含多个型号,操作中请以实物为准!
This service manual includes multiple models. Please refer to the real product
during operation.
V1.0
Apr, 2014

--
目录Catalogue
1. 预防措施 Precaution……………………………………………1
1.1 安全预防措施 Safety Precaution…………………………………………………………… 1
1.2 警告 Warning………………………………………………………………………………....1
2. 尺寸 Dimension ………………………………………………………………1
2.1 塔型烟机尺寸Dimension of Tower-type Range Hood………………………………… 1
2.2 T型烟机尺寸 Dimension of T-type Range Hood…………………………2
2.3 弧玻型烟机尺寸Dimension of Arc Glass Range Hood………………………………………2
3. 功能 Function…………………… ………………………………………………3
3.1 照明功能 Lighting Function……………………………………………………………..3
3.2 吸油烟功能 Smoke Absorption Function……………………………………………………3
4. 电路图 Circuit Diagram……………………………………………………………….4
5. 安装 Installation…………………………………………………………………………5
5.1 安装前准备Preparation before Installation……………………………………………………5
5.2 烟机的安装Range Hood Installation………………………………………………………….5
6. 部件拆卸 Components Dismantling………………………………………………12
6.1 过滤网装拆 Filter Mounting and Dismounting ……………………………………12
6.2 活性碳更换装拆 Charcoal Replacement Mounting and Dismounting………………… 12
6.3 拆卸箱体前板 Dismantle Body Front Plate………………………………………...13
6.4 射灯拆卸 Spotlight Dismantling…………………………………………………..13
6.5 开关拆卸 Switch Dismantling………………………………………………………………15
6.6 拆卸风机组件 Dismantle Fan Assembly……………………………………………………16
6.7 拆卸电源线 Dismantle Power Cord………………………………………………………...19
6.8 接线板拆卸 Terminal Block Dismantling…………………………………………………..20
7. 故障排除 Troubleshooting…………………………………………………...22
7.1 电器不良现象 Electrical Appliance Faults ……………………………………….……...22
7.2 主要部件维修与检测Main Components Maintenance and Detection……………………..22

-- 1
1. 预防措施 Precaution
1.1 安全预防措施 Safety Precaution
1、为防止伤害到用户或其他人、财产损害的,必须遵循以下说明。
Please follow the below note to avoid hurting user or others or property damage.
2、由于忽略说明而错误的操作,将导致伤害或损害。
Faulty operation due to neglecting the note will caused injury or damage.
3、维护之前,请先仔细阅读以下说明!
Please read the following note carefully before the maintenance.
1.2 警告 Warning
1. 电源线更换时,必用以下电源导线:型号为不小于 3*0.75mm^2 的绝缘电源线,耐热70℃以上.
When replacing the power cord, please use the insulation power cord with model number no less than
3*0.75mm^2 and heat resistance over 70℃.
2. 本产品的周围50mm内所有器具应可耐热75°C以上,否则,在使用本产品过程中可能会使周围的器
具发生变形.
All appliances within 50mm around the product should be heat resistant over 75°C,otherwise, the
surrounding appliances will be deformed in the process of using the product.
3. 拆除包装材料时,避免金属片,包装袋,泡沫,螺钉等材料放在儿童容易获得的地方以避免潜在的威
胁.例如,儿童可能会吞食小的部件或者在玩耍包装袋过程中导致窒息.
When remove packaging material, metal piece, bubble bag, foam and screw, etc should be kept beyond
the reach of children to avoid potential threat, for example, children might swallow smaller component
or suffer suffocation in the process of playing packaging bag.
2. 尺寸 Dimension
2.1 塔型烟机尺寸 Dimension of Tower-type Range Hood
MODEL
X
Y
Z
H
E60MEW0A09
600mm
500mm
390~680mm
690~980mm
E90MEW0A09
900mm
500mm
390~680mm
690~980mm

-- 2
2.2 T型烟机尺寸 Dimension of T-type Range Hood
2.3 弧玻型烟机寸 Dimension of Arc Glass Range Hood
注:尺寸数据仅供参考。
Note: Dimension data is only for reference.
MODEL
X
Y
Z
H
E60AEW1M19
600mm
500mm
400~780mm
440~820mm
E90AEW1M19
900mm
500mm
400~780mm
440~820mm
MODEL
X
Y
Z
H
E60AEW1V33
600mm
500mm
390~770mm
500~880mm
E90AEW1V33
900mm
500mm
390~770mm
500~880mm

-- 3
3. 功能 Function
3.1 照明功能 Lighting Function
如图左边为机械开关控制面板图,右边为电子开关控制面板图,只要按下红色箭头所指按键,可
打开照明灯,再按一次该按键可关闭照明灯。
As shown in the picture, mechanical switch control panel in the left, electronic switch control panel in the
right; as long as press the button indicated by the red arrow, the lamp is on; press again, lamp is off;
3.2 吸油烟功能 Smoke Absorption Function
3.2.1 机械式开关 Mechanical Switch
如图按下红色箭头所指按键,可开启大风量排油烟功能;按下黄色箭头所指按键,可切换为中等
风量排油烟功能;按下绿色箭头所指按键可切换为小风量排油烟功能。
As shown in the picture, press the button indicated by the red arrow, smoke exhaust function of large
airflow is on; press the button indicated by the yellow arrow, switched to smoke exhaust function of middle
airflow; press the button indicated by the red arrow, switched to smoke exhaust function of small airflow.
如图按下左边红色箭头所指按键,可取消除照明灯以外的所有排油烟功能,所有抽油烟功能按键
将自动复位。
As shown in the picture, press the left button indicated by the red arrow, all smoke exhaust functions
except lamp are cancelled. All smoke exhaust function buttons will be auto reset.

-- 4
3.2.2 电子式开关 Electronic Switch
如图红色箭头所指按键是抽油烟启动键,按下启动键后启动键亮红灯,且风机默认档位启动并亮
红灯,这时可以根据需要按下风挡按钮选择三档不同的风量。在正常工作状态下再按一下启动键,油
烟机进入延时3min关闭状态,且自动切换为小档运行。在正常工作状态下按两下启动键,油烟机吸油
烟功能立即关闭。
As shown in the picture, the button indicated by red arrow is smoke exhaust start, press the “start”
button, it shines red light and fan default setting starts and shines red light, at this moment, according to the
demand, press the speed setting button to choose three different airflow. Under normal work condition, press
the “start”button again, range hood enters 3min delay off status and is automatically switched to low speed.
Press the “start”button twice under normal work condition, the smoke absorption function of range hood is
shut down immediately.
注意:各产品具体功能及操作请参照相应产品说明书!
Note: please refer to the instruction book of relevant product in terms of the
specific function and operation of each product.
4. 电路图 Circuit Diagram

-- 5
注意:电路图为基础机型电路图,如有不同请以产品说明书上的电路图为准!
Note: the above is the circuit diagram of basic models, please be subject to the circuit
diagram in product instruction book if there is difference.
5. 安装 Installation
5.1 安装前准备 Preparation before Installation
1. 请先拆除包装,然后参照下面说明中的尺寸进行安装。(请妥善处理包装材料)
Please remove the package first, then install according to the dimension in below note; (Please dispose
the packaging material properly)
2. 弧形玻璃烟机,请将机体取出包装后,将弧形玻璃从包装箱中取出,按附图将玻璃安装到整机上。
For arc glass range hood, please take out the arc glass from the packing box after removing the body’s
packing, then install the glass on the hood based on the attached figure.
3. 烟机四周不应接触或临近易燃、易爆、不耐高温的物品。
No inflammable, explosive or non-heat-resistant article should contact or approach around the range hood.
4. 挂置烟机的墙面应具有足够强度且足够平坦,以保证本产品有足够的稳定性。
The wall where the hood hung should have sufficient strength to ensure product’s adequate stability.
弧形玻璃烟机安装玻璃示意图Glass Installation Diagram of Arc Glass Range Hood

-- 6
5.2 烟机的安装 Range Hood Installation
60cm 塔型烟机安装图
Installation Diagram of 60cm Tower-type Range Hood

-- 7
90cm 塔型烟机安装图
Installation Diagram of 90cm Tower-type Range Hood

-- 8
60cm T型烟机安装图
Installation Diagram of 60cm T-type Range Hood

-- 9
90cm T型烟机安装图
Installation Diagram of 90cm T-type Range Hood

-- 10
60cm 弧玻型烟机安装图
Installation Diagram of 60cm Arc Glass Range Hood

-- 11
90cm 弧玻烟机安装
Installation Diagram of 90cm Arc Glass Range Hood

-- 12
6. 部件拆卸 Components Mounting and Dismounting
6.1 过滤网装拆 Filter Mounting and Dismounting
用手抠住过滤网扣手向下压住再向外拉。
Clasp the filter buckle by hand, press down and pull out
6.2 活性碳更换装拆 Charcoal Replacement, Mounting and Dismounting
FilterFilter
Filter
Charcoal
Charcoal
Fan Assembly

-- 13
拆除活性碳:先拆除过滤网,然后两手抓住其中一个活性碳两侧按红箭头松脱的方向旋转,使活
性碳中间锁扣旋转至松脱位置,可取出活性碳,另一活性碳可重复刚才的动作,取出活性碳。
安装活性碳:请同样抓住活性碳两侧,将活性碳贴紧风机组件进风口端面按红箭头相反的方向旋
转到紧固位置,可锁紧活性碳。
Remove charcoal: remove strainer first, then grasp the two sides of one charcoal , rotate in the loose arrow
direction until the lock catch in the middle of charcoal gets loose, then take out
charcoal . The other charcoal can repeat the above movement and take out.
Install charcoal: grasp the two sides of charcoal, then rotate charcoal end surface close to the air inlet of fan
assembly in the arrow direction to fastening position until charcoal is fastened.
6.3 拆卸箱体前板 Dismantle Body Front Plate
工具:十字螺丝刀 Tool: Cross Screwdriver
步骤:塔型烟机和T型烟机均可借助工具拆卸箱体前板,如下图:
Step: The body front plate of tower-type and T-type hood can be dismantled by tool, as below picture
从红色箭头所指处用十字螺丝刀卸掉两颗螺钉,然后拽着箱体前板沿蓝色箭头方向可取出箱体前板。
At the position indicated by the red arrow, use the cross screwdriver to remove two screws, then pull out the
箱 体 前 板
Body Front
Plate
箱体前板
Body Front Plate

-- 14
body front plate along the blue arrow direction.
6.4 射灯拆卸 Spotlight Dismantling
步骤1:如上6.3将前板拆卸出来。
Step 1: as above 6.3 dismantle the front plate
步骤 2:将射灯的接线端子拔出来,并用手压住射灯弹片将射灯压出前板,如图
Step 2: Pull out the spotlight terminal, press the spotlight shrapnel by hand to force the spotlight out of
the front plate, as shown in the pictures
Spotlight Terminal
Pull out the
spotlight terminal
Press the shrapnel and
press forward the spotlight

-- 15
射灯从前板中压出来完成射灯拆卸
Press the spotlight out of front plate, complete spotlight dismantling
若是白炽灯,则直接旋转白炽灯泡,将灯取下,如下图:
If incandescent lamp involved, rotate the incandescent bulb directly, take down the lamp, as the below
picture.
6.5 开关拆卸 Switch Dismantling
工具: 十字螺丝刀 Tool: Cross screwdriver
步骤 1:如上 6.3 将前板拆卸出来,把电子开关接线端子拔出来,如图。
Step 1: as above 6.3 dismantle the front plate, pull out the electronic switch terminal, as shown in the
picture.

-- 16
步骤 2:用十字螺丝刀将开关盒两颗安装螺钉拆卸下来,完成开关拆卸,如图。
Step 2: remove the two screws of switch box with screwdriver to complete switch dismantling,
as shown in the pictures.
将开关组件取出,完成开关拆卸
Take out the switch assembly to complete switch dismantling
6.6 拆卸风机组件 Dismantle Fan Assembly
工具:十字螺丝刀
Tool: Cross screwdriver
步骤1:把烟机取下平放在空旷平台上。
Step 1: take down the range hood and keep it flat on the open platform.
Dismantle the screw
Two installation screws on
switch box

-- 17
步骤2:用十字螺丝刀拧开装饰罩固定螺钉2颗,取下装饰罩、烟管和过滤网组件,如图。
Step 2: twist off the two fixed screws of decoration cover with cross screwdriver, take down the
decoration cover, smoke vent and strainer assembly, as shown in the pictures.
步骤3:用十字螺丝刀拧开接线盒盖,把风机组件的接线端子拔出来,如电机为电容电机则要把
地线螺丝拧开,并把电容端子拔出;如电机为罩极电机则直接把接线端子拔出来,如图为电容电机换
风机组件示意图。
Step 3: unscrew the junction box cover with cross screwdriver. Pull out the terminal of fan assembly. If
capacitor motor involved, twist off grounding screw and take out the capacitor terminal. If shaded-pole motor
involved, pull out the terminal directly. Below is the schematic diagram of replacing e fan assembly of
capacitor motor

-- 18
步骤4: 用十字螺丝刀拧开风机组件顶部固定的四颗螺钉和蜗壳支脚安装的一颗螺钉,最后将风机
组件从机箱内拿出来,如图。
Step4: twist off the four screws fixing the fan assembly top with cross screwdriver and one screw of
volute foot, then take out fan assembly from the body, as shown in the picture.
Installation screw of volute
foot
Four screws on the top of
fan assembly
This manual suits for next models
5
Table of contents
Other Midea Ventilation Hood manuals

Midea
Midea MHS60S User manual

Midea
Midea J82 Series Manual

Midea
Midea MH90A3200W-ES User manual

Midea
Midea MHC90CGSS User manual

Midea
Midea E60MEW2A09 User manual

Midea
Midea MHAA90BL User manual

Midea
Midea MHC60SS User manual

Midea
Midea CMPTRAL-SG60 User manual

Midea
Midea MCHT60L07 User manual
Midea
Midea A24MABOF50 Manual

Midea
Midea MCHC70J72 User manual

Midea
Midea MHT90BL User manual

Midea
Midea FP-65NRH060MMTL-B1 User manual

Midea
Midea MCH-90B65 User manual

Midea
Midea B7+ User manual

Midea
Midea 330173 User manual
Midea
Midea MCH-90J15 User manual

Midea
Midea MHC90GSS User manual
Midea
Midea MCH-90J52 User manual

Midea
Midea 52T01 User manual