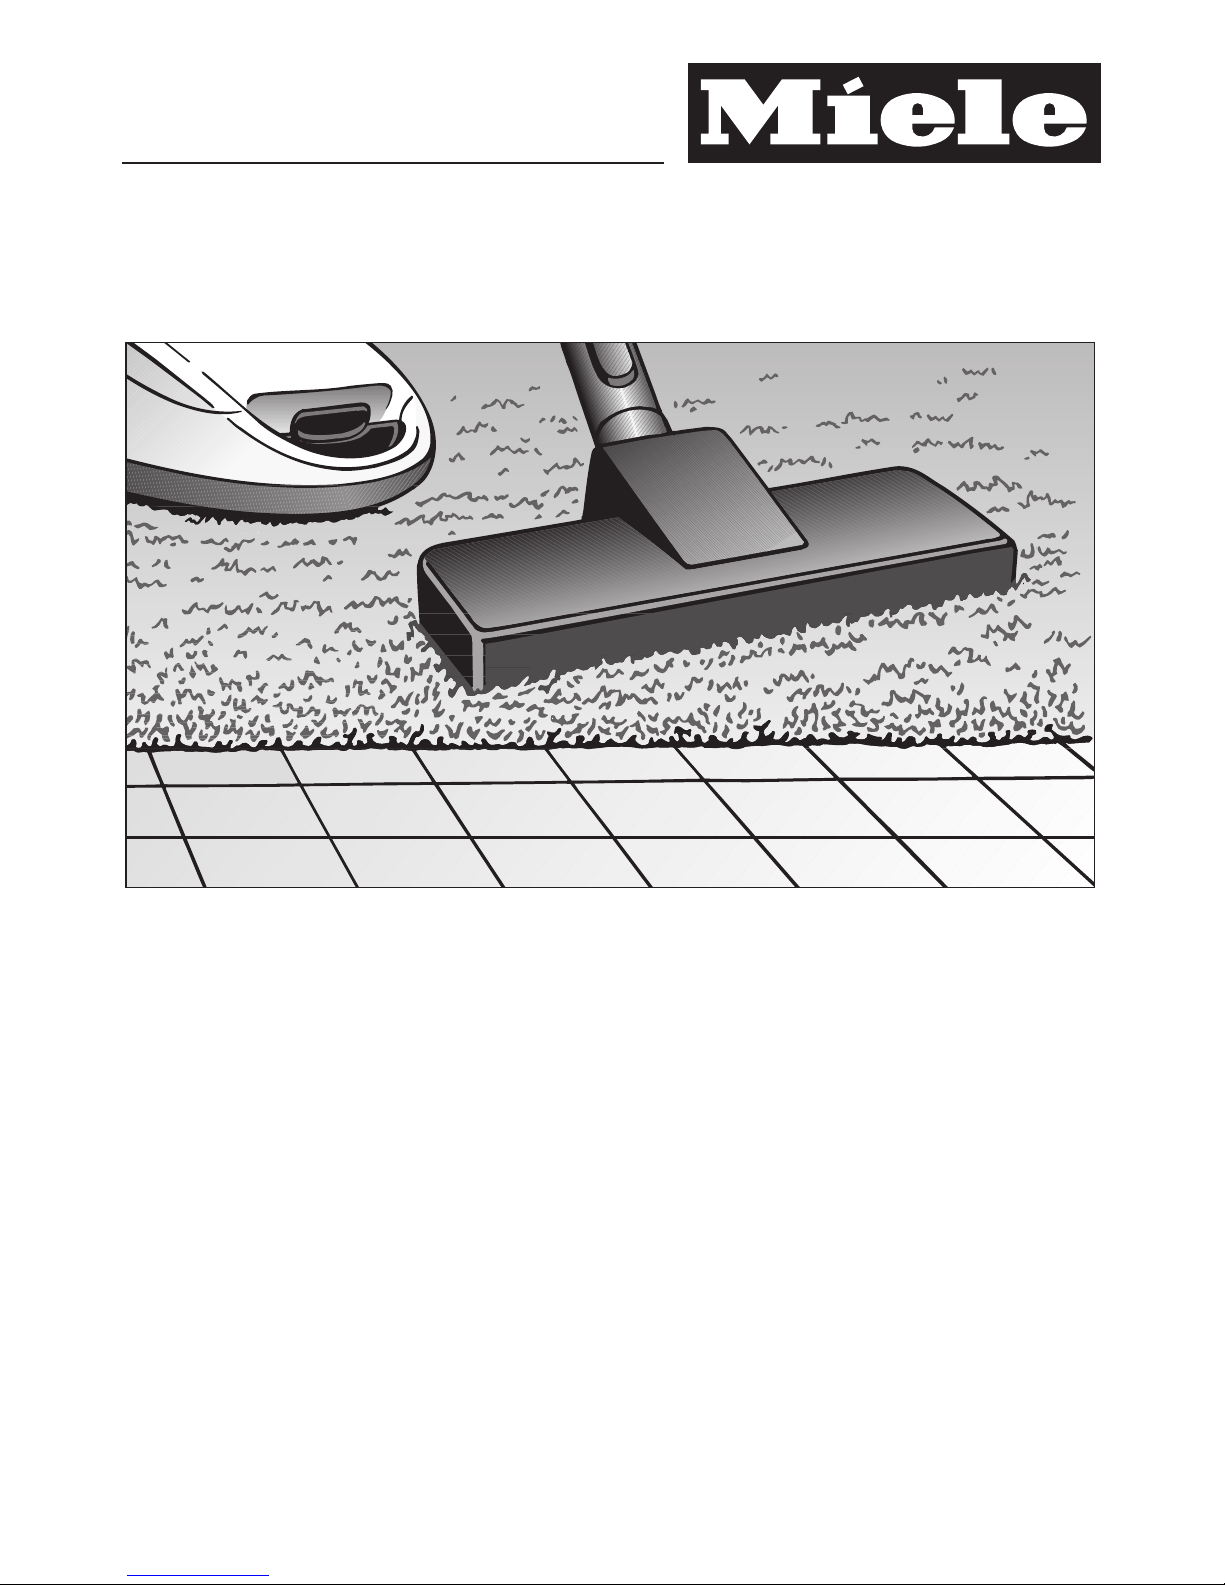
Miele S 6000 User manual

Operating instructions
Vacuum cleaners
To avoid the risk of accidents or damage
to the appliance, it is essential to read these
instructions before using it for the first time.
These operating instructions apply to
standard models S 6710 - S 6790 as well as to
other S 6000 vacuum cleaners which are
distinguished by names rather than numbers. M.-Nr. 09 234 130
en-GB

Caring for the environment
Description of the appliance
Warning and Safety instructions
Preparing for use
Using the accessories supplied
Correct use
Mains cable . . . . . . . . . . . . . . . . . . . . . . . . . . . . . . . . . . . . . . . . . . . . . . . . . . . . . . 17
To switch on and off. . . . . . . . . . . . . . . . . . . . . . . . . . . . . . . . . . . . . . . . . . . . . . . . 18
Adjusting the suction power . . . . . . . . . . . . . . . . . . . . . . . . . . . . . . . . . . . . . . . . . 19
Interrupting operation . . . . . . . . . . . . . . . . . . . . . . . . . . . . . . . . . . . . . . . . . . . . . . 21
Setting down, transportation and storage
Parking system for pauses in vacuuming . . . . . . . . . . . . . . . . . . . . . . . . . . . . . . . 22
Parking system for storage. . . . . . . . . . . . . . . . . . . . . . . . . . . . . . . . . . . . . . . . . . . 22
Maintenance and care
Purchasing new dustbags and filters . . . . . . . . . . . . . . . . . . . . . . . . . . . . . . . . . . 23
When to change the dustbag . . . . . . . . . . . . . . . . . . . . . . . . . . . . . . . . . . . . . . . . 24
Replacing the dustbag . . . . . . . . . . . . . . . . . . . . . . . . . . . . . . . . . . . . . . . . . . . . . 25
When to change the exhaust filter . . . . . . . . . . . . . . . . . . . . . . . . . . . . . . . . . . . . . 26
Replacing the Air Clean filter . . . . . . . . . . . . . . . . . . . . . . . . . . . . . . . . . . . . . . . . . 27
Replacing an Active Air Clean filter or an Active HEPA filter. . . . . . . . . . . . . . . . . 28
Replacing one type of exhaust filter with another . . . . . . . . . . . . . . . . . . . . . . . . . 29
When to change the dust compartment filter (for motor protection) . . . . . . . . . . . 30
How to change the dust compartment filter . . . . . . . . . . . . . . . . . . . . . . . . . . . . . 30
When to change the battery in the radio control handle . . . . . . . . . . . . . . . . . . . . 31
How to change the battery in the radio control handle . . . . . . . . . . . . . . . . . . . . . 31
When to change the thread lifters . . . . . . . . . . . . . . . . . . . . . . . . . . . . . . . . . . . . . 32
Replacing the thread lifters . . . . . . . . . . . . . . . . . . . . . . . . . . . . . . . . . . . . . . . . . . 32
Cleaning and care
Problem solving guide
After sales service
Optional accessories
Electrical connection for the UK
Contents
2

Disposal of packing material
The transport and protective packing
has been selected from materials which
are environmentally friendly for disposal
and should be recycled.
Ensure that any plastic wrappings,
bags etc. are disposed of safely and
kept out of reach of babies and young
children. Danger of suffocation.
Disposing of the dustbag and
filters
These are made from environmentally
friendly materials, and can be disposed
of with the normal household waste, as
long as they have been used
exclusively for general household dust.
The dustbag should only be disposed
of in this way if it has been used
exclusively for general household dust.
Disposal of your old appliance
Before disposing of your old appliance
remove the dustbag and all the filters
and dispose of them with your normal
household waste.
Electrical and electronic appliances
often contain materials which, if
handled or disposed of incorrectly,
could be potentially hazardous to
human health and to the environment.
They are, however, essential for the
correct functioning of your appliance.
Please do not therefore dispose of it
with your household waste.
Please dispose of it at your local
community waste collection/recycling
centre, or contact your dealer for
advice.
Ensure that it presents no danger to
children while being stored for
disposal.
Caring for the environment
3

The illustration shows the maximum number of features available on these Miele
vacuum cleaners.
Certain models are supplied as standard with the following accessories which are
not illustrated on this page.
–Classic Allergotec floorhead
–Turbobrush
These floorheads and brushes are supplied with their own operating instructions.
Description of the appliance
4

aHandle
bSuction power selector +/-
cStand-by button -for pauses in vacuuming
dLED
eRelease button
fTelescopic or triscopic tube *
gRelease buttons for the telescopic or triscopic tube *
hDust compartment release button
iFloorhead *
jCarrying handle
kDustbag
lDust compartment filter (for motor protection)
mParking attachment (on both sides of the vacuum cleaner)
nExhaust filter *
oMains cable
pFoot switch for automatic cable rewind !
qOverheating warning light §
rExhaust filter change indicator (Reset button [)
sParking system for pauses in vacuuming
tStand-by indicator -
uOn/Off foot control s
vDustbag change indicator
wConnection socket
xSuction hose
yAccessories holder
Those features marked *depend on the model, and may vary or not be available
on your model.
Description of the appliance
5

This vacuum cleaner meets statutory safety
requirements. Improper use can, however, lead to
personal injury and damage to property.
To avoid the risk of accidents and damage to the
vacuum cleaner, please read these instructions
carefully before using it for the first time. They contain
important information on its safety, operation and
maintenance.
Keep these instructions in a safe place and ensure
new users are familiar with the content. Pass them on
to any future owner.
Always disconnect the vacuum cleaner from the
mains electricity supply when you have finished using
it, as well as for maintenance work and cleaning.
Switch it off at the wall socket and unplug it.
Correct application
~This vacuum cleaner is not designed for commercial
use. It is intended for use in domestic households and
for use in similar working and residential environments
such as:
–Shops
–Offices and showrooms
–and by residents in establishments such as holiday
homes and other similar types of accommodation.
Warning and Safety instructions
6

~The vacuum cleaner is not intended for outdoor use.
~The vacuum cleaner must only be used for domestic
household purposes to vacuum dry floor surfaces. It
must not be used on people or animals. Any other use,
modification or alteration is not supported by the
manufacturer and could be dangerous.
~This appliance can only be used by people with
reduced physical, sensory or mental capabilities, or
lack of experience or knowledge, if they are supervised
whilst using it, or have been shown how to use it
correctly by a person responsible for their safety.
Safety with children
~This vacuum cleaner is not a toy! To prevent the risk
of injury, do not let children play with the appliance or
its controls.
~Children aged eight years and older may use the
vacuum cleaner only if they have been shown how to
use it in a safe way and understand the hazards
involved.
~Children under 8 years of age must be kept away
from the machine unless they are constantly
supervised.
~Children may only carry out cleaning and
maintenance of the vacuum cleaner under adult
supervision.
Warning and Safety instructions
7

~Keep the batteries in the radio control handle out of
the reach of children.
Technical safety
~Ensure that the connection data on the data plate
(voltage and frequency) match the mains electricity
supply exactly.
~The plug must be fitted with a 13 A fuse (UK).
~Before using the vacuum cleaner, check for any
visible signs of damage. Do not use a damaged
appliance.
~While the vacuum cleaner is under guarantee,
repairs should only be undertaken by a service
technician authorised by Miele. Otherwise the
guarantee will be invalidated.
~Do not pull or carry the appliance by the cable, and
be careful not to damage the cable when withdrawing
the plug from the socket. Keep the cable away from
sharp edges and do not let it be squashed, for
example, under a door.
Avoid running the vacuum cleaner over the cable. This
could damage the cable, plug or socket and pose a
safety hazard. The appliance must not be used if any
of these have suffered damage.
Warning and Safety instructions
8

~If the cable is damaged it must be replaced together
with a complete cable rewind. For safety reasons this
work must be done by the Miele Service Department or
a Miele authorised service technician.
~There is a metal inlay underneath the handle which is
designed to protect the user from electrostatic
discharges. Please make sure that you keep your hand in
constant contact with this metal strip during vacuuming.
~It is important to switch the vacuum cleaner off
before changing over accessories and floorheads.
Switch off at the wall socket and unplug it.
~Do not let the vacuum cleaner get wet. Clean only
with a dry cloth or slightly damp cloth when
disconnected from the mains supply.
~Repairs should only be carried out by a Miele
authorised service technician. Repairs and other work by
unqualified persons could be dangerous. The
manufacturer cannot be held liable for unauthorised work.
Correct use
~To avoid the risk of damage, do not use the vacuum
cleaner without the dustbag, dust compartment filter
and exhaust filter in place.
~If the dustbag is not fitted correctly, the dust
compartment cover does not normally close. Do not
force it.
Warning and Safety instructions
9

~Do not vacuum up any water, liquid or damp dirt.
Wait until any freshly cleaned or shampooed carpets or
floor coverings are completely dry before attempting to
vacuum.
~Do not vacuum toner dust. Toner, such as that used
in printers and photocopiers, can conduct electricity.
~Do not vacuum up anything which has been burning
or is still glowing e.g. cigarettes, ashes or coal, whether
glowing or apparently extinguished.
~Do not vacuum up any inflammable or combustible
liquids or gases and do not vacuum in areas where
such substances are stored.
~Floor attachments, accessories and tubes must not
be used at head level to avoid the risk of injury, e.g. to
eyes and ears.
~Important information on the handling of the batteries
in the radio control handle:
–Do not short circuit or recharge batteries, or throw
them into a fire.
–Disposing of batteries: Remove the batteries from the
radio control handle and dispose of them in your
recycling bin. Do not dispose of them with the normal
household waste.
Warning and Safety instructions
10

Accessories
Miele accessories including floorheads, filters and
dustbags are available to order from your Miele
retailer, the Miele Spare Parts Department or online at
www.miele-shop.com.
~To avoid the risk of injury when vacuuming with a
Miele Turbobrush, do not touch the rotating roller
brush.
~It is not advisable to vacuum directly with the handle,
i.e. without an accessory attached, as the rim could get
damaged and you could hurt yourself on sharp edges.
~Only use genuine dustbags, filters, accessories and
optional accessories with the "Original Miele" logo on
them. This will ensure optimum performance of the
appliance throughout its life.
The manufacturer cannot be held liable for damage
caused by incorrect use or operation or by
non-compliance with these Warning and Safety
instructions.
Warning and Safety instructions
11

Attaching the suction hose
^Insert the hose connector into the
socket until it clicks into position. To
do this, line up the guides on the two
pieces.
Removing the suction hose
from the cleaner
^Press the release buttons at the side
of the hose connector, and lift the
hose from the socket.
Connecting the suction hose
to the radio control handle
^Insert the suction hose into the
handle until it clicks into position.
Preparing for use
12

Connecting the radio control
handle to the suction tube
^Insert the handle into the suction tube
until it clicks into position. To do this,
line up the guides on the two pieces.
^To release the handle from the
suction tube, press the release
button and pull the handle away from
the suction tube.
Adjusting the telescopic
suction tube (depending on
model)
One part of the telescopic tube is
packed inside the other and can be
adjusted to suit your height for
comfortable vacuum cleaning.
^Press the telescopic tube release
button to release the tubes and
adjust to the required height.
Adjusting the triscopic suction
tube (depending on model)
The triscopic tube has three sections.
Two sections are packed together
inside a third outer tube.
^Press the release button (see arrow
a) to release the lower tube and pull
it right out until it clicks. Press the
button again when you want to retract
the tube. The tube will click into
place.
^Press release button bto release the
tubes and adjust to the required
height.
Preparing for use
13

Fitting the standard floorhead
^Push the suction tube into the
floorhead and turn it clockwise or
anti-clockwise until it clicks into
position.
^To release the floorhead from the
suction tube, press the release
button (see arrow) and pull the
suction tube away from the floorhead.
The floorhead can be used for all
normal cleaning of carpets and rugs. It
can also be used with the brush
protruding to vacuum hard flooring. For
hard flooring, such as stone and
parquet, we recommend using one of
the special Miele floor brushes (see
"Optional accessories").
Preparing for use
14

Adjusting the standard
floorhead
It is important to observe the flooring
manufacturer's cleaning and care
instructions.
Depending on model, the floorhead will
have the following symbols:
–öand ä
–%and )
Vacuum carpets and rugs with the
brush retracted:
^Press the öor %foot control.
Clean hard flooring which is not
susceptible to scratching with the brush
protruding:
^Press the äor )foot control.
Clean flooring which has deep
crevices or grooves with the brush
protruding.
AirTeQ floorhead
This floorhead has been specially
developed to achieve excellent
cleaning results using low energy. It
has particularly low power consumption
and high suction capability.
Warning: If the suction power of the
AirTeQ floorhead seems too high,
reduce the suction until the floorhead
is easier to manoeuvre (see "Correct
use - adjusting the suction power").
Preparing for use
15

The following accessories are supplied:
aDusting brush with natural bristles
For cleaning skirting boards, ornate
or carved objects.
The head can be swivelled to adjust
the angle.
bUpholstery nozzle
For cleaning upholstery, mattresses,
cushions, curtains, covers etc.
cCrevice nozzle
For cleaning in folds, crevices or
corners.
dAccessories holder for the above
accessories
Symbols on the holder show where
to attach the different accessories.
^Attach the accessories holder to the
suction hose where it joins the handle
or to hose connector socket. Make
sure it clicks into position.
Floorhead
For general use and also for vacuuming
stairs.
Warning: For safety reasons when
vacuuming stairs it is best to start at
the bottom of the stairs and move
upwards.
Using the accessories supplied
16

Mains cable
Unwinding the cable
^Pull the mains cable out to the
required length (max. approx. 6.5 m).
Warning: If vacuuming for longer
than 30 minutes, the mains cable
must be pulled out to its fullest
extent. Otherwise there is a danger
of overheating and damage.
Rewinding the cable
^Switch off at the wall socket and
unplug it.
^Press the rewind foot control briefly.
The cable will rewind automatically.
Correct use
17

To switch on and off
^Step on the On/Off foot control s.
The standy-by indicator -on the
vacuum cleaner will light up.
The vacuum cleaner can be switched
on in three ways.
The stand-by indicator on the vacuum
cleaner will then go out. The LED will
light up each time a button is pressed
on the handle.
– Switching the vacuum cleaner on by
pressing the stand-by button -on
the handle.
The first time the vacuum cleaner is
switched on, the "Auto" power setting
will be selected automatically.
After that, the vacuum cleaner will
switch on at the setting which was used
previously.
–Switching the vacuum cleaner on by
pressing the +button on the handle.
The vacuum cleaner will switch on at
the "max." power setting.
–Switching the vacuum cleaner on by
pressing the -button on the handle.
The vacuum cleaner will switch on at
the "min." power setting.
Correct use
18

Adjusting the suction power
The suction power can be regulated to
suit the type of flooring. The higher the
setting the more powerful the suction.
Reducing the suction power reduces
the amount of effort required to
manoeuvre the floorhead.
min. = reduced suction power
Auto = suction power is automatically
adjusted for the type of floor
being vacuumed
Do not use the "Auto" setting to
vacuum lightweight materials or
curtains. These could be sucked in
and possibly damaged.
max.= maximum suction power
^Press the +or -button on the handle
to select the power setting you want.
The power setting which is currently
selected will light up yellow on the
vacuum cleaner.
When using the AirTeQ floorhead, if
the suction seems too high, reduce
the suction until the floorhead is
easier to manoeuvre.
Correct use
19

Vacuuming
^When vacuuming, pull the cleaner
behind you on its wheels. You can
stand it upright for vacuuming stairs
and curtains etc.
Warning: When vacuuming
especially fine dust, e.g. sawdust,
sand, plaster, flour, talcum powder
etc., electrostatic charges build up
naturally. Under certain conditions
these charges will be released. To
avoid the unpleasant effects of these
discharges, a metal inlay has been
incorporated into the underside of
the handle. Please make sure that
you keep your hand in constant
contact with this metal strip during
vacuuming.
Correct use
20
Other manuals for S 6000
2
Table of contents
Other Miele Vacuum Cleaner manuals

Miele
Miele COMPACT C2 FLEX User manual

Miele
Miele Electro Premium SEB 236 User manual

Miele
Miele Vacuum Cleaner User manual

Miele
Miele SEB 215 User manual

Miele
Miele HS14 User manual

Miele
Miele SEB 216 User manual

Miele
Miele HS08 User manual

Miele
Miele S 4002 User manual

Miele
Miele SEB 217-3 User manual

Miele
Miele STB 205 User manual

Miele
Miele S 4000 Series User manual

Miele
Miele S 2181 User manual

Miele
Miele S 8390 User manual

Miele
Miele HS07 User manual

Miele
Miele S179i User manual

Miele
Miele S 560 series User manual

Miele
Miele HS14 User manual

Miele
Miele ART User manual

Miele
Miele TX2070 User manual

Miele
Miele Complete C3 Active User manual