When using the cooker hood at the
same time as another heating
appliance which depends on the air in
the room (e.g. gas, oil or coal fired
heaters, continuous flow or other water
heaters, gas cooker, gas hob or gas
oven), special care must be taken as
the action of the cooker hood extracts
air from the room in which it is installed
and from neighbouring rooms, which
these type of heaters need for
combustion.
They could also draw exhaust air back
in from chimneys or ducting in
contravention of fire safety regulations.
In order to ensure safe operation, and
to prevent gases given off by the
heating appliances from being drawn
back into the room when the extractor
and the heater are in operation
simultaneously, an underpressure in the
room of 0.04 mbar (4 pa) is the
maximum permissible.
Ventilation can be maintained by air
inlets which cannot be blocked, in
windows, doors and outside wall vents,
or by other technical measures such as
ensuring that the extractor can only be
switched on when the heating
appliance is switched off or vice-versa.
Note: The overall ventilation condition of
the dwelling must be taken into
account. If in any doubt, the advice of a
competent builder or, for gas, a "Corgi"
installer must be sought.
If the cooker hood is operated in
recirculation mode (with a charcoal
filter), the above restrictions do not
apply.
Appliances with external motors
For appliances with an external
motor fitted (EXT models) the
connection of the two units must be
made using the connection cable and
the plug connectors.
Make sure the correct combination of
the two appliances has been selected.
Separate instructions are supplied with
the external motor.
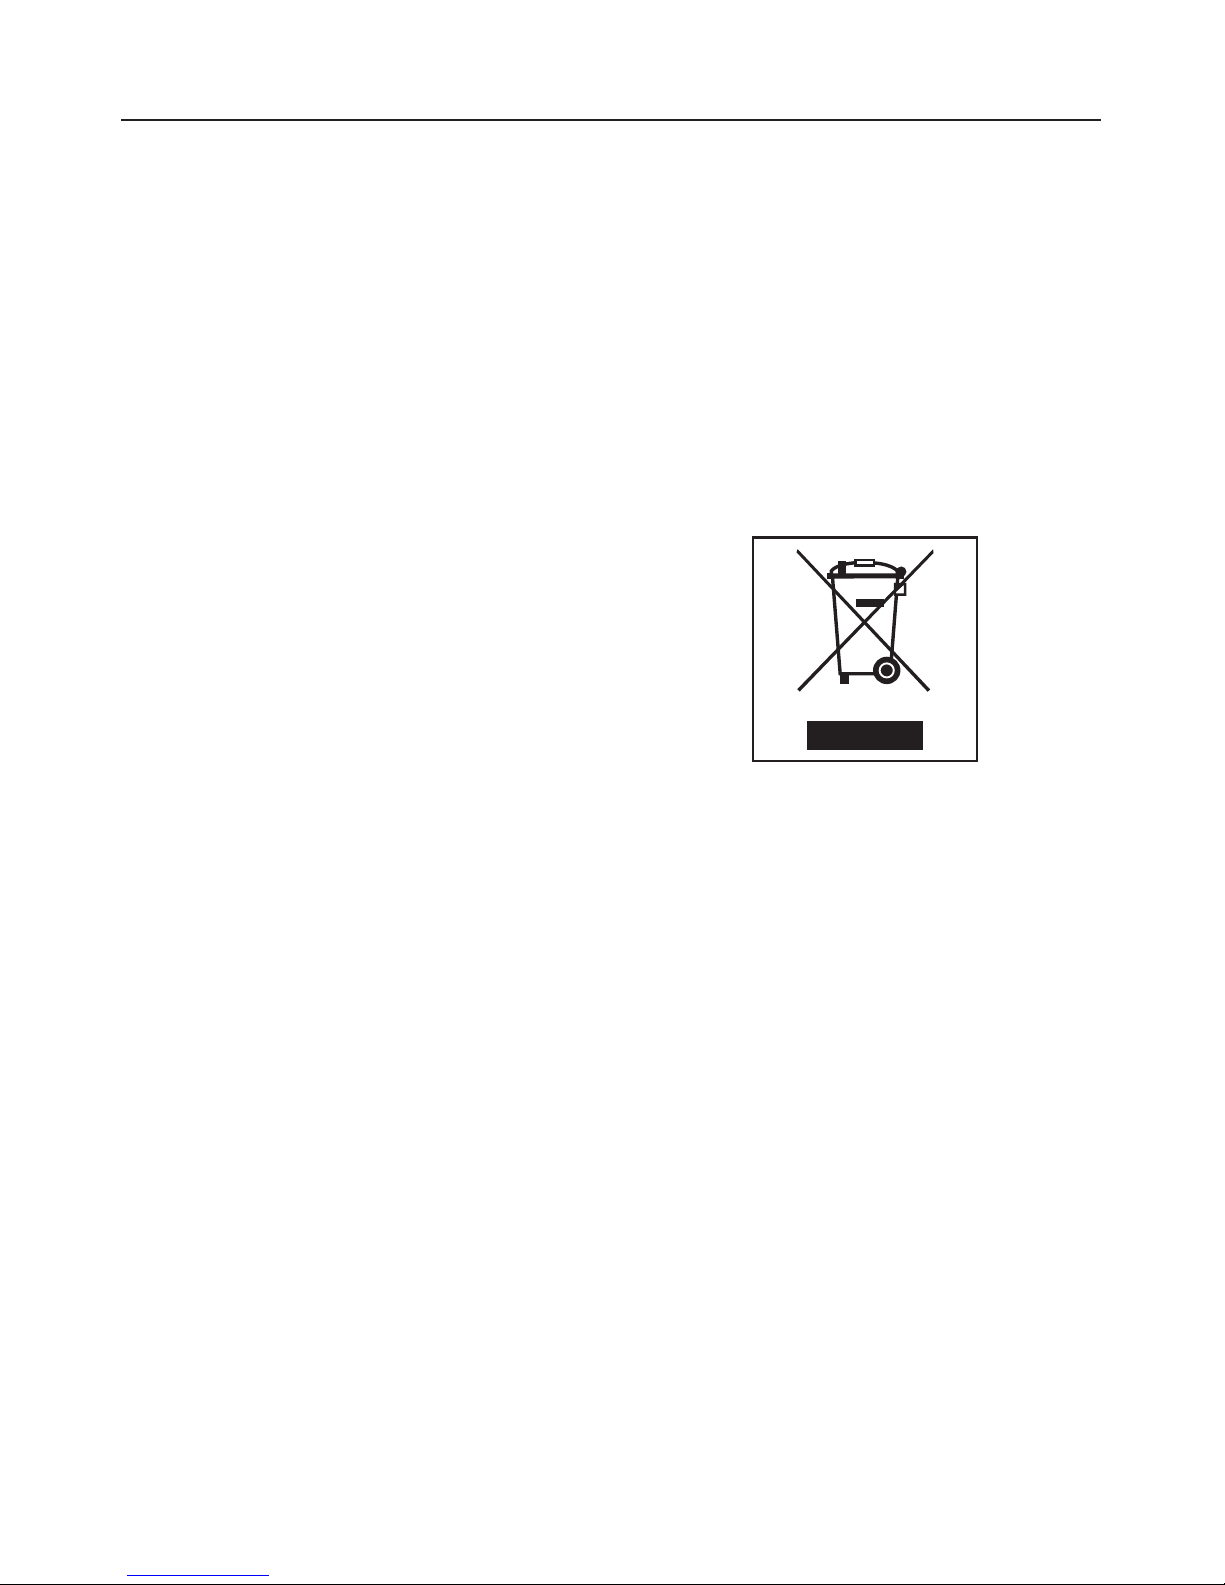
Disposal of your old appliance
Before discarding an old
appliance, switch off and
disconnect it from the power supply.
Cut off and render any plug useless.
Cut off the cable directly behind the
appliance to prevent misuse.
This should be done by a competent
person.
The manufacturer cannot be held
liable for damage caused by
non-compliance with these Warning
and Safety instructions.
Warning and Safety instructions
7