Miele PW 5082 User manual

Operating and installation instructions
for washer-extractor
PW 5082
To avoid the risk of accidents or
damage to the machine it is
essential to read these instructions
before it is installed and used for the
first time. M.-Nr. 09 146 142
en-CA

Disposal of the packing
material
The transport and protective packing
has been selected from materials which
are environmentally friendly for disposal
and should be recycled.
Ensure that any plastic wrappings,
bags, etc. are disposed of safely and
kept out of the reach of babies and
young children. Danger of suffocation.
Disposing of your old machine
Electrical and electronic machines
often contain materials which, if
handled or disposed of incorrectly
could be potentially hazardous to
human health and to the environment.
They are, however, essential for the
correct functioning of your machine.
Please do not therefore dispose of it
with your general waste.
Please contact your local community
waste collection/recycling centre for
advice. Ensure that it presents no
danger to children while being stored
for disposal.
Energy saving tips
Energy and water consumption
–Water consumption and energy
usage are determined by the size of
the load.
To make the most out of your
machine load the maximum dry load
for the programme you are using.
Detergent
–Do not exceed the amounts of
detergent recommended by the
manufacturer on the packaging.
– Reduce the amount of detergent for
smaller loads.
When drying with a tumble dryer
Selecting the highest possible spin
speed for the wash programme will
save energy when drying in a tumble
dryer afterwards.
Caring for the environment
2

Caring for the environment..........................................2
Warning and Safety instructions .....................................6
Operating the washer-extractor .....................................14
Control panel .....................................................14
Before using for the first time.........................................14
Display ..........................................................15
Before using for the first time.......................................16
Notes and tips on laundry care .....................................17
1. Sort the laundry .................................................17
2. Load the drum ..................................................18
3. Select a programme .............................................18
Garment care label symbols .........................................19
Short instructions ................................................20
Spinning ........................................................24
Maximum final spin speed...........................................24
Rinse and interim spin ...........................................24
Delay start.......................................................25
Programme chart .................................................26
Note for test institutes: Standard programme in accordance with EN 60456 . 26
Programme sequence .............................................28
Changing the programme sequence .................................29
Cancelling a programme ............................................29
Interrupting a programme ...........................................29
Changing a programme ............................................29
Detergent .......................................................30
Water softeners ...................................................30
Washing with several components ....................................30
Colour run and dye removers/dyes ....................................30
Fabric conditioners and liquid starch ..................................31
Automatic dispensing of fabric conditioner or liquid starch to laundry
at the end of a programme ........................................31
Adding fabric conditioner or liquid starch separately ...................31
Relay control for external dispensing system .........................32
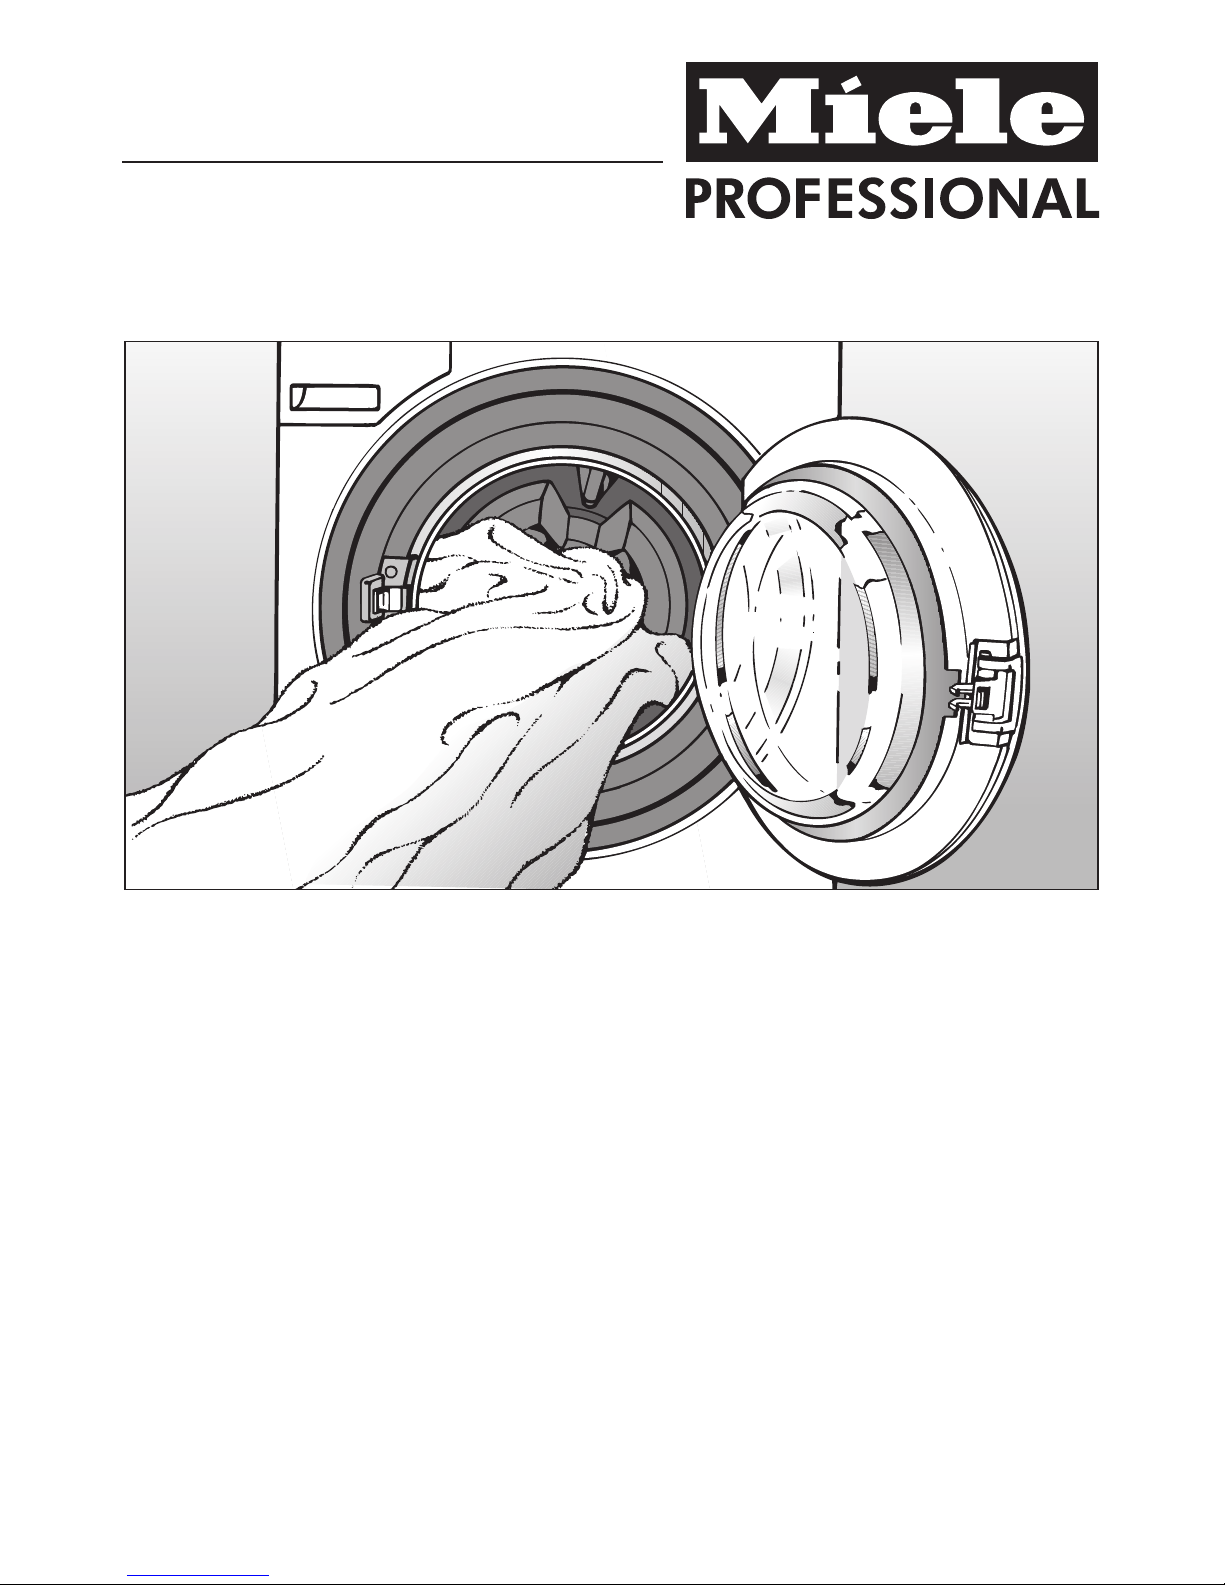
Cleaning and care ................................................33
Cleaning the machine ..............................................33
Cleaning the water inlet filters ........................................35
Contents
3

Problem solving guide ............................................36
The programme does not start .......................................36
A fault message appears in the display ................................37
General problems .................................................38
An unsatisfactory wash result ........................................39
The door will not open ..............................................40
To continue a programme after a power cut .............................40
Service interval ...................................................41
Peak load cut-out..................................................41
Opening the drum door in the event of a blocked
drain outlet and/or power failure ......................................42
Drain the machine. ..............................................42
... Machines with a drain filter ......................................42
Cleaning the drainage system .....................................43
... Machines with a dump valve ....................................43
Opening the drum door ..........................................44
After sales service ................................................45
Repairs..........................................................45
PC / Optical interface...............................................45
Optional accessories ...............................................45
Installation ......................................................46
Front view........................................................46
Rear view ........................................................47
Side view ........................................................48
Bird's eye view....................................................48
Installing the machine ..............................................48
Installation on a raised plinth .........................................49
Payment system...................................................49
Installation surface.................................................50
Removing the transit bars ...........................................50
Re-fitting the transit bars ............................................51
Levelling the machine ..............................................52
Plumbing ........................................................53
Connection to the cold water supply ................................53
Connection to the hot water supply .................................54
Connection to a very hot water supply ...............................54
Contents
4

Water drainage ...................................................55
Dump valve version .............................................55
Machines with a drain pump ......................................55
Electrical connection ...............................................56
Technical data ...................................................57
Changing default settings..........................................59
Settings menu J..................................................60
Language J......................................................60
Settings/Supervisor level menu ....................................61
Suds cooling .....................................................62
Time of day ......................................................62
Supervisor level ...................................................63
Display contrast ...................................................63
Display brightness .................................................63
Standby (Display) .................................................63
Memory .........................................................64
Auto load control ..................................................64
Pre-wash water ...................................................64
Main wash water ..................................................64
Rinse water ......................................................64
Low water pressure ................................................65
Empty sensor .....................................................65
Cottons level .....................................................65
Minimum iron level .................................................65
Pre-wash temp. cottons .............................................65
Pre-wash duration .................................................65
Cottons duration ..................................................66
Minimum iron duration ..............................................66
Pre-wash Cotton/Minimum-Iron .......................................66
No. rinses Cottons .................................................66
No. rinses Minimum iron ............................................67
Pre-rinse Cottons ..................................................67
Pre-rinse Minimum iron .............................................67
Spin free of charge ................................................67
To close the Settings menu ..........................................67
Contents
5

~It is essential to read these instructions.
This machine conforms to current safety requirements.
Inappropriate use can, however, lead to personal injury and
damage to property.
To avoid the risk of accidents and damage to the machine,
please read these instructions carefully before using it for the first
time. They contain important information on its safety, use and
maintenance.
Keep these instructions in a safe place and ensure that they are
made available to new users.
They must be made aware of these warning and safety
instructions.
Intended use
~Only use the machine to wash items which are specified by the
manufacturer to be machine-washable on the wash-care label. Any
other applications may be dangerous. The manufacturer cannot be
held liable for damage resulting from incorrect or improper use or
operation of the machine.
~This machine must be used as described in these operating
instructions and must be checked on a regular basis to make sure it is
functioning correctly. Maintenance must be carried out when
necessary.
Warning and Safety instructions
6

~The machine is suitable for indoor use only.
~This machine is not intended for use by people with reduced
physical, sensory or mental capabilities, or lack of experience or
knowledge, unless they have been shown how to use it correctly by
a person responsible for their safety.
~Keep children away from the machine at all times. It is not a toy!
To avoid the risk of injury do not allow children to play on or near it
or to play with its controls. Supervise its use by the elderly or infirm,
and supervise children whilst you are using it.
~If the machine is used in a publically accessible room, it is the
supervisor's responsibility to ensure that suitable measures are in
place which enable operators to use it safely.
~It is the operator's responsiblity to ensure that the standard of
disinfection in thermal as well as chemo thermal procedures is
maintained (in accordance with local authority regulations) by
carrying out suitable validation tests. Disinfection programmes must
not be interrupted, as this can have a limiting effect on the
disinfection result.
Warning and Safety instructions
7

Technical safety
~Before setting up the machine, check it for any externally visible
damage.
Do not install or use a damaged machine.
~The electrical safety of this machine can only be guaranteed
when it is correctly earthed. It is most important that this basic safety
requirement is observed and regularly tested, and where there is
any doubt the on-site wiring system should be inspected by a
qualified electrician. The manufacturer cannot be held liable for the
consequences of an inadequate earthing system (e.g. electric
shock).
~Unauthorised repairs could result in unforeseen dangers for the
user, for which Miele cannot accept liability. Repairs should only be
undertaken by a Miele service technician. If this is not done any
resultant damage will not be covered by the guarantee. Ensure
current is not supplied to the machine until after maintenance or
repair work has been carried out.
~Do not make any alterations to the machine, unless authorised to
do so by Miele.
~In the event of a fault or for cleaning purposes, the machine must
be disconnected from the electricity supply.
–it is switched off at the wall socket and the plug is withdrawn, or
–it is switched off at the mains, or
–the screw-out fuse is removed (in countries where this is
applicable).
Warning and Safety instructions
8

~This machine must only be connected to the on-site water supply
using a hose that is in good condition. Old hoses must not be
re-used. Check the hose regularly for signs of wear. Change in good
time to avoid the risk of leaks and subsequent damage.
~Faulty components must only be replaced by genuine Miele
original spare parts. Only when these parts are fitted can the safety
standards of the machine be guaranteed.
~Do not use force to open the drum door. The door handle is fitted
with a safety device to ensure that the door lock functions correctly.
~This machine is inteded for stationary use only.
Warning and Safety instructions
9

Correct use
~Do not install your machine in rooms where temperatures below
freezing may occur. Frozen hoses may burst or split. The reliability
of the electronic control unit may be impaired at temperatures below
freezing point.
~Turn off the stopcock if the machine is to be left for any length of
time (e.g. holiday), especially if there is no floor drain (gully) in the
immediate vicinity.
~Before using the machine for the first time, check that the transit
bars at the rear of the machine have been removed (see section on
"Installation"). During spinning, a transit bar which is still in place
may result in damage to both the machine and adjacent furniture or
appliances.
~Flooding danger.
If hooking the drain hose into a wash basin, check that the water can
drain off quickly enough to prevent the sink from overflowing. Make
sure the drain hose is secure, so that the force of the water flowing
out of the hose does not dislodge it.
~Take care to ensure that foreign objects (e.g. nails, pins, coins,
paper clips) do not find their way into the machine with the laundry.
Shake out wash cloths before placing them in the machine to ensure
that any coarse or harmful residues are removed. These may
damage components of the machine (e.g. suds container, drum),
which in turn can result in damage to the laundry.
~If the correct amount of detergent is dispensed, the machine
should not need to be descaled. If, however, you do wish to descale
the machine only use proprietary non-corrosive descaling agents
and strictly observe the instructions on the packaging. A special
descaling agent is available to order from the Miele Spare Parts
Department. Follow the usage instructions on the packaging
carefully.
Warning and Safety instructions
10

~Textiles which have been pre-treated in solvent based cleaning
agents must be thoroughly rinsed in clean water before being
washed in this machine.
~Never use solvent based cleaning agents in this machine, as this
may result in damage to component parts and create toxic fumes.
Such agents also pose a fire and explosion hazard.
~Benzine, petrol, paraffin or any easily flammable liquid must not
be stored or used near this machine. Fire and explosion risk!
~Only use dyes specified by the manufacturer as being suitable for
use in a washing machine. Always observe the manufacturer's
instructions carefully.
~Colour run and dye removers contain sulphur compounds which
can cause damage such as corrosion. Do not use these products in
this machine.
~Avoid contact of stainless steel surfaces (front, lid, casing) with
liquid cleaning and disinfecting agents which contain chlorine or
sodium hypochlorite. These agents can have a corrosive effect on
stainless steel.Aggressive vapours containing chlorine bleach can
also be corrosive. Do not store open containers of these agents near
the machine.
~Do not use a pressure washer or hose to clean the machine.
~It is particularly important to observe manufacturer's instructions
when using a combination of cleaning agents and special
application products. Only use the product for the application
described by the manufacturer, to avoid any material damage or the
occurrence of strong chemical reactions.
Warning and Safety instructions
11

Chlorine and component damage
Notes on using chlorine bleach and perchlorethylene
~Frequent use of chlorine increases the risk of component
damage.
The use of agents containing chlorine, such as sodium hypochlorite
and chlorine bleach in powder form, can damage the protective
upper surface of stainless steel and cause corrosion to components.
Factors affecting this are chlorine concentration levels, contact time
and temperature. It is therefore advisable to avoid the use of such
agents. Oxygen based bleaching agents should be used instead.
If, however, chlorine based bleaching agents have to be used for
particular types of soiling, then anti-chlorine measures must also be
carried out. If this is not done irreparable damage can occur to
components in the machine and to laundry.
Anti-chlorine treatment
Anti-chlorine treatment has to be carried out immediately after
chlorine bleach has been used. The use of hydrogen peroxide or an
oxygen based cleaning or bleaching agent is recommended and
the laundry should not be drained in between.
With thiosulfate, especially when used with hard water, gypsum can
form, which can lead to incrustations on laundry or deposits in the
machine. The use of hydrogen peroxide is preferable as it aids the
chorline neutralising process.
The exact quantity of additives and the treatment temperatures
required must be set and tested on site in accordance with the
dosage recommendations of the detergent and additive
manufacturers. The laundry must also be tested to check whether it
contains any active chlorine residues.
Warning and Safety instructions
12

Accessories
~Accessory parts may only be fitted when expressly approved by
Miele.
If other parts are used, guarantee, performance and product liability
claims will be invalidated.
Disposing of your old machine
~Before disposing of an old machine it is important to disable the
door lock. This way you will prevent the risk of children accidentally
locking themselves in and endangering their lives.
Miele cannot be held liable for damage caused by
non-compliance with these Warning and Safety instructions.
Warning and Safety instructions
13

Control panel
aStart button
Starts the selected programme.
bDisplay with –, OK and + buttons
See the following page for more
information.
c+button
For selecting delay start.
dPC / Optical interface
This is used by service technicians
to run diagnostic checks on your
machine and can also be used to
update programming data in the
future.
ePre-wash button =with indicator
light
fProgramme selector
For selecting a programme. The
programme selector can be turned
clockwise or anti-clockwise.
gOn-Off button s
Before using for the first time
Before using the machine for the first
time ensure that it is correctly
installed and connected. See
"Installation and connection". Also
check that the drain filter is securely
tightened to prevent the risk of leaks
during use.
Commission the machine as described
in the chapter "Before using for the first
time", page 16 in this booklet.
Operating the washer-extractor
14

Display
- / + buttons
For altering the values highlighted in
the display:
-decreases the value or moves the
highlighting upwards
+increases the value or moves the
highlighting downwards.
OK button b
For confirming the value selected and
choosing the next level.
The following are selected via the
display:
–final spin speed
–delay start
The display also shows the duration of
the programmes and the current time of
day.
The Settings Jmenu is also operated
via the display.
Operating the washer-extractor
15

Before using the machine for the first
time ensure that it is correctly
installed and connected. See
"Installation and connection". Also
check that the drain filter is securely
tightened to prevent the risk of leaks
during use.
For safety reasons, spinning is not
possible until the machine has been
commissioned for the first time. To
activate the spinning function you must
run a wash programme without laundry.
^Switch the machine on with the K
button.
If the machine is being switched on for
the first time, the welcome screen will
appear.
The welcome screen will not appear
again after the first programme has
been completed.
The display for setting the language will
then appear.
^Use the -and +buttons to select the
language you want and confirm your
selection by pressing the OK button.
Reminder to remove transport bars
To avoid the risk of damage, the
transport bars must be removed
before the machine is used for the
first time. See "Installation and
connection" for instructions on how
to do this.
^After removing the transport bars (if
this has not already been done by
your fitter) press the OK button.
The display for setting the time will then
appear.
Setting the time of day
12:00
Set the time of day
^Set the hour with the -and +buttons,
and confirm your setting by pressing
the OK button. Then do the same to
set the minutes. After you have
confirmed the minute setting, the
main menu will appear in the display.
Running your first programme
Your machine is now ready for the first
programme to be run.
^Open the stopcocks.
^Turn the programme selector to the
Cottons 60°C position.
^Press the Start button.
When the programme has finished,
your machine is ready to use for the
first time.
Before using for the first time
16

1. Sort the laundry
^Empty all pockets.
,Foreign objects (e.g. nails,
coins, paper clips, etc.) can cause
damage to textiles and to
components in the machine.
Removing marks
^Badly soiled areas areas with e.g.
blood, egg, coffee, tea can be
pre-treated, stains etc. should be
cleaned as soon as possible,
preferably whilst still fresh. Spillages
should be carefully dabbed off using
a soft, colourfast cloth. Do not rub.
Badly soiled areas can be pre-treated
with liquid detergent, stain removers
etc. first, following the manufacturer's
instructions. With particularly stubborn
stains ask Miele Professional or your
detergent manufacturer for advice.
,Do not use solvent-based
cleaning agents in this machine.
Sorting laundry
^Sort the laundry by colour and by
care label. Most garments have a
textile care label in the collar or side
seam.
Dark textiles often contain excess dye
and should be washed separately
several times before being included in
a mixed load. Always wash whites and
coloureds separately.
General tips
–Curtains: Remove lead weights first
or place in a laundry bag.
– Underwiring and collar stiffeners:
Any loose wiring in bras, shirt collar
stiffeners, etc. should be removed or
sewn in.
– Knitted garments, trousers and
jeans, T-shirts and sweat shirts: Turn
inside out, if recommended by the
manufacturer.
–Close any zips, fasten hooks and
eyes etc before washing.
–Fasten duvet covers, pillow cases
etc. to prevent small items from
being rolled up inside them.
–Further tips can be found under
"Programme chart".
Do not wash any items in this machine
which are specified by the
manufacturer as not washable on the
care label (hsymbol).
Notes and tips on laundry care
17

2. Load the drum
^Switch the machine on with the
On/Off button K.
^To open the drum door pull on the
handle.
Do not use force as it is fitted with a
safety device to prevent it being
opened by mistake. Forcing the door
handle can cause damage to the
locking mechanism (see "Problem
solving guide, The door will not
open").
^Unfold the laundry and load loosely
into the drum. Mixing both large and
small items gives better wash results
and also helps distribute the load
evenly during spinning.
The most efficient use of energy and
water is achieved when a full load is
washed. However, do not overload as
this causes creases and reduces
cleaning efficiency.
^Close the drum door. Press the door
firmly to shut it and then lock the
handle in position. Do not slam the
drum door.
,Make sure that no items are
caught between the door and the
drum.
3. Select a programme
^Select the most appropriate
programme for the load being
washed.
Notes and tips on laundry care
18

Garment care label symbols
Washing
The figure quoted in the bucket is the
maximum temperature the garment
can be washed at. The number of
bars under the symbol indicate the
level of agitation permitted.
9No bar under the symbol:
= normal agitation
4One bar under the symbol:
= reduced agitation
cTwo bars under the symbol:
= much reduced agitation
/Hand wash (if no temperature
is specified use the lowest
temperature or cold)
hDo not wash
Examples for programme selection
Programm Care label symbol
Cottons
hygiene/
Cottons
universal
9ö8E76
Minimum iron 54321
Delicates ac
Woollens /
Mini 76
Drying
The number of dots indicates the
drying temperature
qNormal temperature
rLow temperature
sDo not tumble dry
Ironing
The number of dots indicates the
ironing temperature
IHot iron (max sole plate temp.
approx. 200°C)
HMedium hot iron (max sole
plate temp. approx. 150°C)
GCool iron (max sole plate
temp. approx. 110°C). Do not
steam iron garments carrying
this symbol.
JDo not iron
Professional cleaning
fDry clean only. The letters
indicate the type of cleaning
agent required.
p
wProfessional Wet Clean only
DDo not dry clean
Bleaching
xAny oxidising bleaching
agent can be used
{Only use an oxygen based
bleach or a non-chlorine
bleach
zDo not bleach
Notes and tips on laundry care
19

,It is very important to read the
"Notes and tips on laundry care" and
"Garment care label symbols"
sections before proceeding.
ASort the laundry
BLoad the drum
^Switch on the machine.
^Open the drum door with the handle.
^Unfold the laundry and load loosely
into the drum.
,Make sure that no items are
caught between the door and the
drum.
^Close the drum door.
1. Push the door shut.
2Then lock the handle in position.
Short instructions
20
Table of contents
Other Miele Washer manuals

Miele
Miele PW 811 User manual

Miele
Miele PW 6241 MF User manual

Miele
Miele WWR 860 WPS User manual

Miele
Miele NOVOTRONIC W 1986 User manual

Miele
Miele PWM 912 EL/RH User manual

Miele
Miele PW 6065 Vario User manual

Miele
Miele PWM 908 EL DP User manual

Miele
Miele WWI 860 WPS User manual

Miele
Miele W 2888 WPS User manual

Miele
Miele WCE320 User manual

Miele
Miele WCR 890 WPS User manual

Miele
Miele G 7782 User manual

Miele
Miele Touchtronic W 3033 User manual

Miele
Miele PW 6163 User manual

Miele
Miele Premier Plus User manual

Miele
Miele W 2652 WPS User manual

Miele
Miele TWL 780 WP User manual

Miele
Miele G 7825 User manual

Miele
Miele W 3514 WPS User manual

Miele
Miele PFD 104 SCVi User manual