Milescraft 1007 User manual

Español Modelo 1007
Para usar con los modelos de herramientas rotativas Dremel®400
XPR, 275, 285, 395, 398 y 780, Black and Decker®RTX, u cualquier
otra herramienta rotativa con la misma rosca.
Contenidos: 1 cabezal de guía de 22°, 1 cabezal de guía de 30°,
1 cabezal de guía de 45°, 1 una broca para afilar
Advertencia: Siempre use anteojos y mascarilla contra polvo
cuando opere las herramientas eléctricas. Verifique que la broca
no esté dañada antes de usarla, reemplácela si es necesario.
Siempre jale la herramienta rotativa hacia su cuerpo, de lo
contrario, puede quebrar la broca.
Para adjuntar:
1Quite la tapa de la carcasa de su herramienta rotativa.
2Inserte la broca provista en su herramienta, dejando
aproximadamente 1/4 pulg. de la espiga expuesta entre el
cabezal de guía y el borde de la broca cortante. La broca
debe estar insertada lo suficientemente lejos en el collarín
para asegurar que la broca no toque el accesorio.
3Determine qué cabezal de guía encaja mejor en su
herramienta. Gire el accesorio, en dirección a las agujas del
reloj, en el extremo roscado de la herramienta rotativa hasta
que quede totalmente firme en el cuerpo de la herramienta.
Français Modéle 1007
À utiliser avec les outils rotatifs Dremel®, modèles 400 XPR, 275, 285,
395, 398 et 780, Black and Decker®RTX ou azutres outils rotatifs
dotés du même filetage.
Contenu : 1 tête-guide de 22º, 1 tête-guide en métal de 30º,
1 tête-guide de 45º, 1 tige d’affûtage
Avertissement : Toujours porter un dispositif de protection des
yeux et un masque antipoussières pendant l’utilisation d’outils
électriques. Vérifier l’état de la tige avant l’utilisation. Remplacer
au besoin. Tirer toujours l’outil rotatif vers soi. Le fait de pousser
l’outil rotatif loin de soi peut briser la tige.
Pour fixer :
1Retirer la capuchon du boítier de l'outil rotatif.
2Insérer la tige d’affûtage fournie dans l’outil en laissant
approximativement 65 mm (1/4 po) de la queue exposée
entre la tête-guide et le bord du taillant. La tige doit être
insérée assez profondément dans la bague pour s’assurer
qu’elle ne touche pas l’accessoire.
3Déterminer quelle tête-guide convient le mieux à l’outil.
Serrer l’accessoire, dans le sens des aiguilles d’une
montre, sur la partie filetée de l’outil rotatif jusqu’il
repose fermement contre le corps de l’outil.
321
Tool&Blade
Tool/BladeSharpener
ROTARY TOOL
English Model 1007
For use with Dremel®rotary tools 400 XPR, 275, 285, 395, 398 and 780,
Black and Decker®RTX, or other rotary tools with the same thread.
Contents: 1 22º-guide head, 1 30º-guide head, 1 45º-guide head,
1 sharpening bit
Warning: Always wear eye protection and a dust mask when
operating power tools. Inspect bit for damage before use. Replace
if necessary. Always pull the rotary tool toward you. Pushing the
rotary tool away from you may result in breakage of the bit.
To Attach:
1Remove the housing cap from your rotary tool.
2Insert the provided bit into your tool, leaving approximately
1/4 in. of the shank exposed between the guide head and
the edge of the cutting bit. The bit must be inserted far
enough into the collet to ensure the bit does not touch the
attachment.
3Determine which guide head will best fit your tool. Twist the
attachment, in a clockwise direction, onto the threaded end
of the rotary tool until it seats firmly against the tool body.
Contents • Contenu • Contenidos To Attach • Pour fixer • Para adjuntar
Always the Better Idea.

Como elegir el cabezal de guía correcto para su herramienta:
El cabezal de guía de 22° se utiliza para cortes delgados y
herramientas de corte, como cuchillas, cuchillos y azadas.
El cabezal de guía de 30° se utiliza con cuchillas de espesor mediano
para herramientas cortantes y de excavación, como palas y tijeras.
El cabezal de guía de 45° se utiliza con herramientas de corte para
trabajos pesados como máquina de cortar el césped y cuchillas.
Estos son sólo ejemplos. Su herramienta en particular puede
usarse con un cabezal de guía diferente.
Instrucciones para afilar:
4Coloque la cuchilla o herramienta en una prensa de banco
o abrazadera para que no resbale mientras afile.
5Coloque el accesorio para afilar sobre el borde biselado de
la cuchilla; mantenga la guía en el mismo ángulo del borde
existente de su herramienta.
6Encienda la herramienta rotativa y pásela sobre cada extremo
de la cuchilla o herramienta el mismo número de veces.
7Mantenga la misma velocidad y presión mientras pasa la
herramienta sobre el borde, hasta que el mismo esté afilado.
Advertencia: La piedra afiladora sobre la esquina de la cuchilla
puede patearlo y hacer que pierda el control.
Consulte el manual del propietario para las instrucciones de
mantenimiento, remoción, y reinstalación (si es necesario). La
remoción o reinstalación incorrecta puede provocar lesiones
graves. Reemplace su cuchilla o herramienta si están dañadas.
Para reemplazar sus brocas para afilar, contáctese con
Milescraft, visitando la página de Internet www.milescraft.com.
© 2005 Milescraft (0805) • www.milescraft.com 2
65
Choix de la tête-guide adéquate pour l’outil :
La tête-guide de 22º convient à des outils de découpage et
de tranchage, comme des lames, des couteaux et des lames
en équerre.
La tête-guide de 30º convient à des lames de moyenne épaisseur
qui servent à couper et à creuser (pelles, cisailles, etc.)
La tête-guide de 45º convient à des outils de découpage renforcés
comme des lames de tondeuse à gazon.
Ces exemples sont fournis à titre indicatif. L’outil à affûter
peut nécessiter une tête-guide différente.
Directives d’affûtage :
4Placer la lame ou l’outil dans l’étau ou le serre-joint de
manière à ce qu’il ne glisse pas pendant l’affûtage.
5Placer l’accessoire d’affûtage sur le tranchant biseauté de
la lame, en gardant le guide au même angle que la partie
tranchante de l’outil.
6Tourner l’outil rotatif et le passer de chaque côté de la lame
ou de l’outil un nombre égal de fois.
7Garder la même vitesse et la même pression pendant
l’affûtage jusqu’à ce que le tranchant soit pointu.
Avertissement : La pierre d’affûtage peut produire un effet
de rebond et causer une perte de contrôle lorsqu’elle entre en
contact avec le coin de la lame.
Consulter le manuel d’utilisation pour obtenir des instructions sur
l’entretien, la dépose et la repose (le cas échéant). Une dépose ou
une repose inadéquate peut causer des blessures graves.
Remplacer la lame ou l’outil s’ils sont endommagés.
Pour le remplacement des tiges d’affûtage, communiquer
avec Milescraft à l’adresse www.milescraft.com.
Choosing the right guide head for your tool:
The 22º guide head is intended for use with thin cutting and
slicing tools, such as tool blades, knives, and hoes.
The 30º guide head is intended for use with medium thickness
blades for chopping and digging, such as shovels and shears.
The 45º guide head is intended for use with heavy-duty cutting
tools such as lawn mower blades.
These are examples only. Your specific tool may require
usage with a different guide head.
Sharpening Instructions:
4Place the blade or tool into a vise or clamp so it will not slip
while sharpening.
5Position the sharpener attachment over the beveled edge
of the blade, keeping the guide at the same angle of the
existing edge on your tool.
6Turn on the rotary tool and pass over each end of the blade
or tool an equal number of times.
7Keep the same speed and pressure as you pass over the
entire edge, until the edge is sharp.
Warning: Stone grinding on the blade corner can kick back and
cause loss of control.
Consult your owner’s manual for maintenance, removal, and
reinstallation instructions (if applicable). Improper removal or
reinstallation may lead to serious injury. Replace your blade or
tool if it is damaged.
For replacement of your sharpening bits, contact Milescraft
at www.milescraft.com.
Sharpening Instructions • Directives d’affûtage • Instrucciones para afilar
4
Always the Better Idea.
Other Milescraft Power Tools manuals
Milescraft
Milescraft ToolStand 1097 User manual
Milescraft
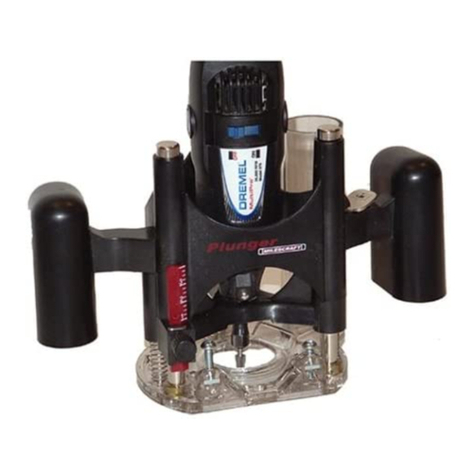
Milescraft Plunger 1000 User manual
Milescraft
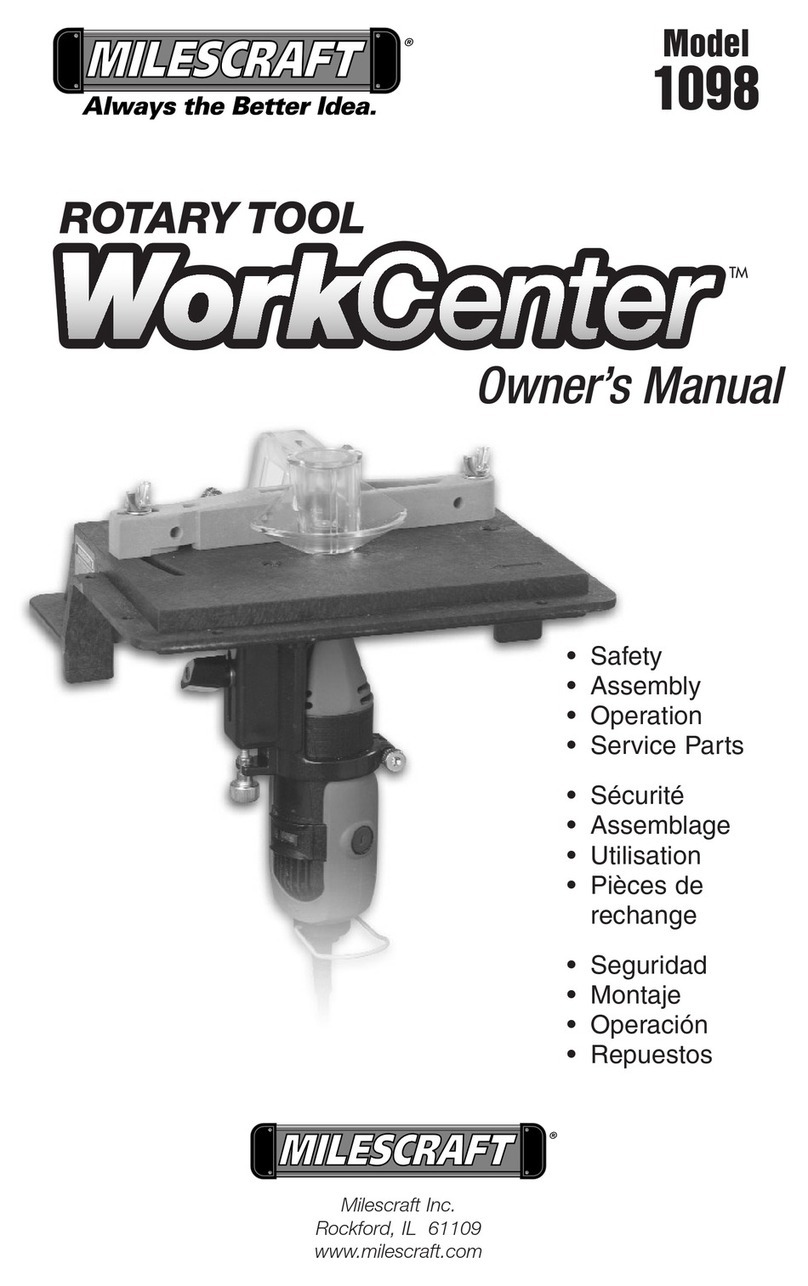
Milescraft Work Center 1098 User manual
Milescraft
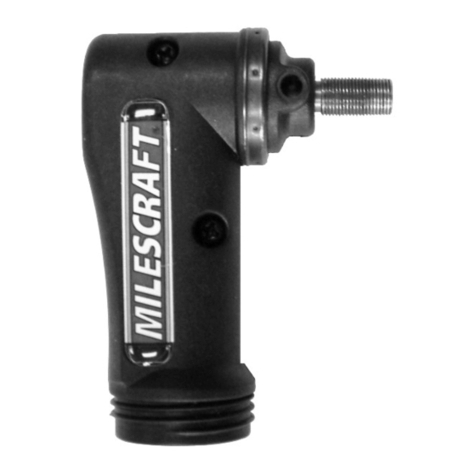
Milescraft Roto 90 User manual
Milescraft
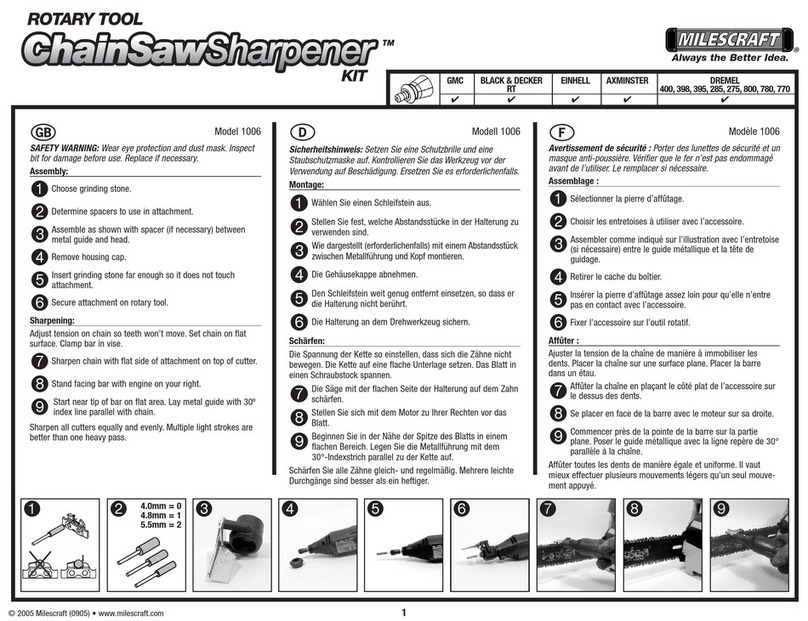
Milescraft ChainSawSharpener 1006 User manual
Milescraft
Milescraft TurnLock 1201 User manual
Milescraft
Milescraft WorkCenter 1098 User manual
