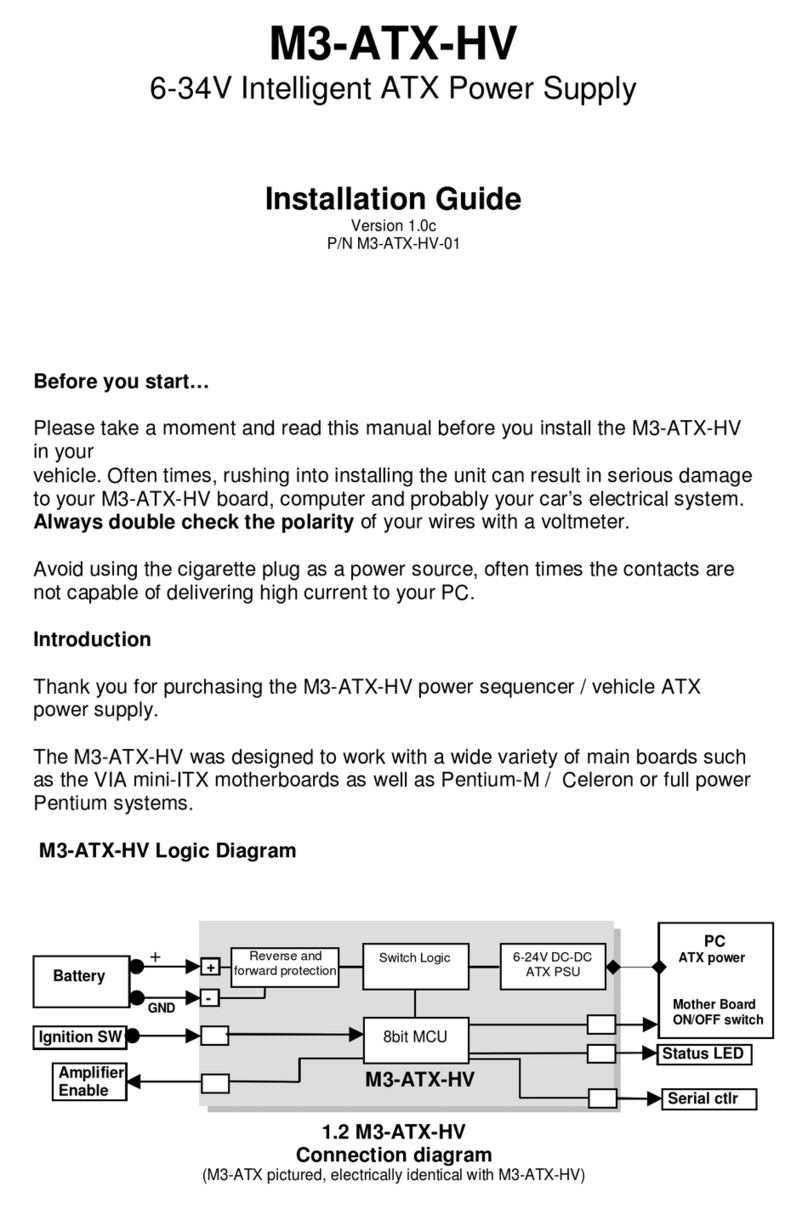
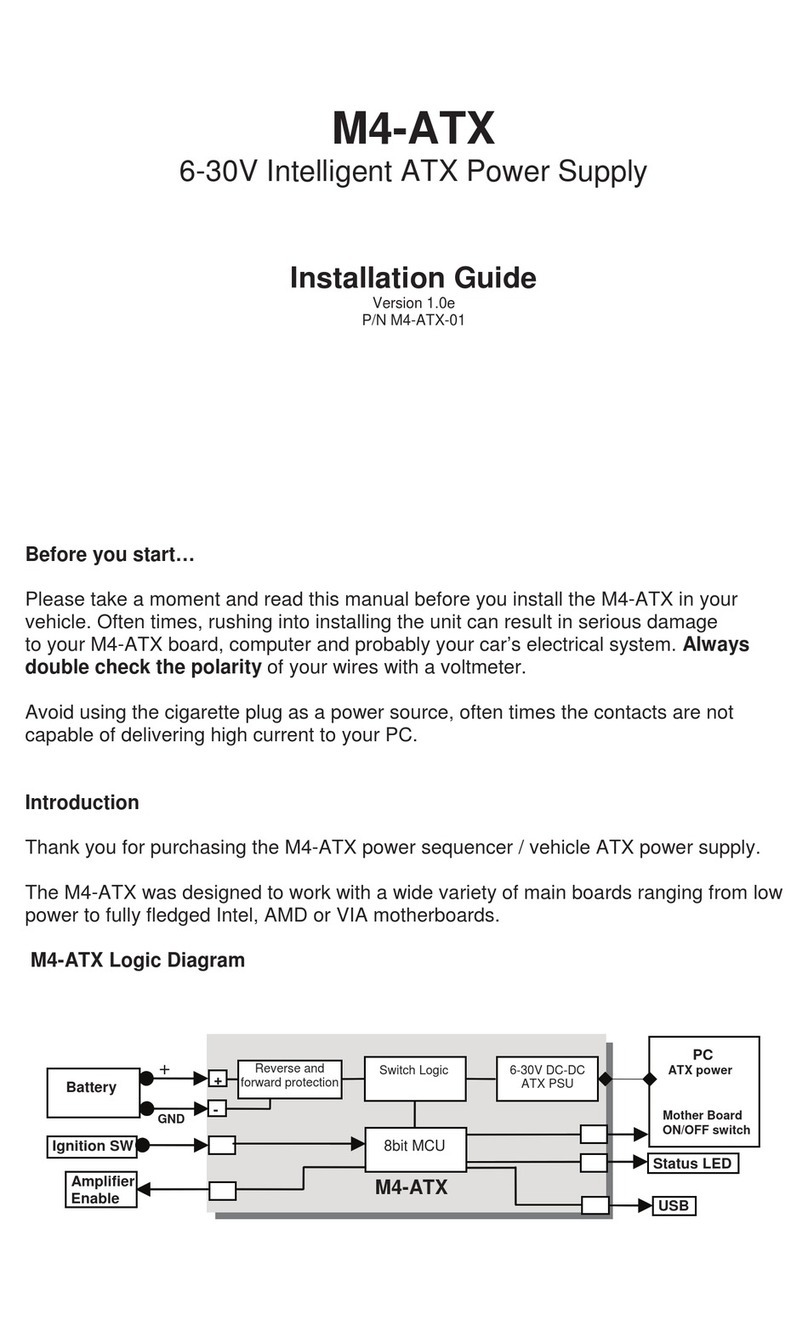
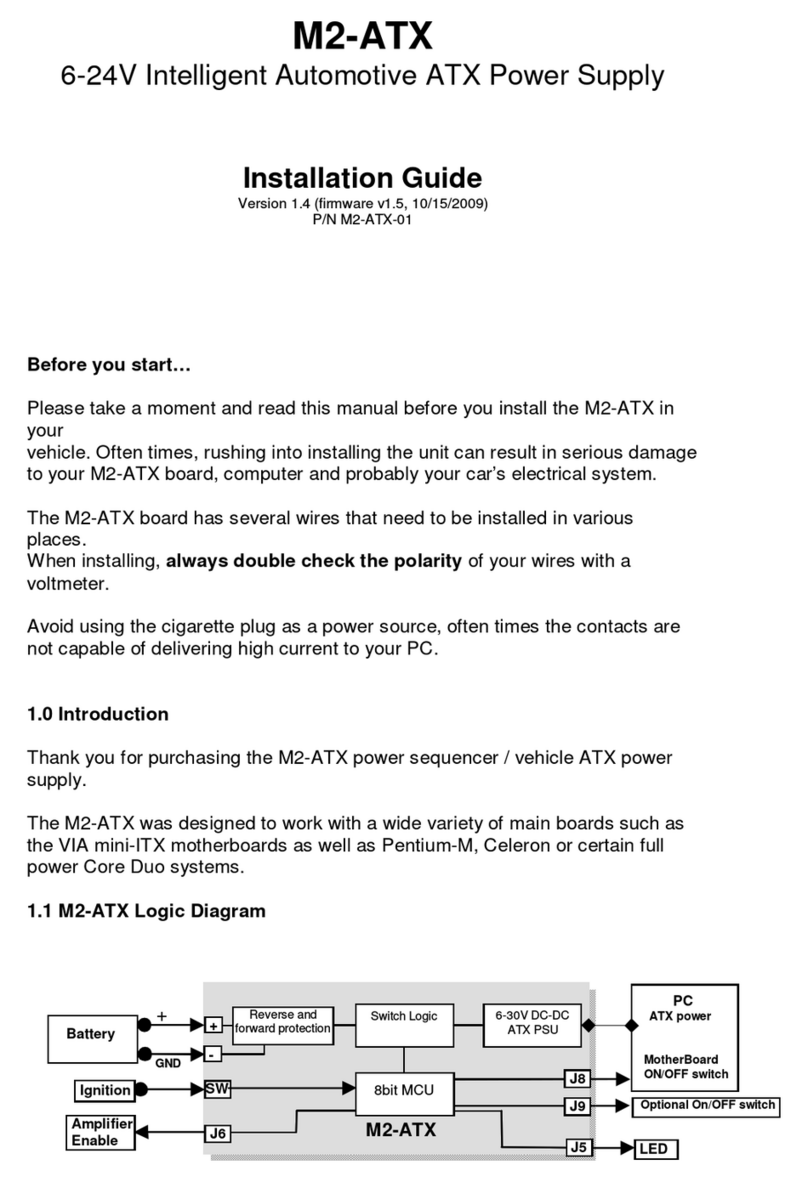
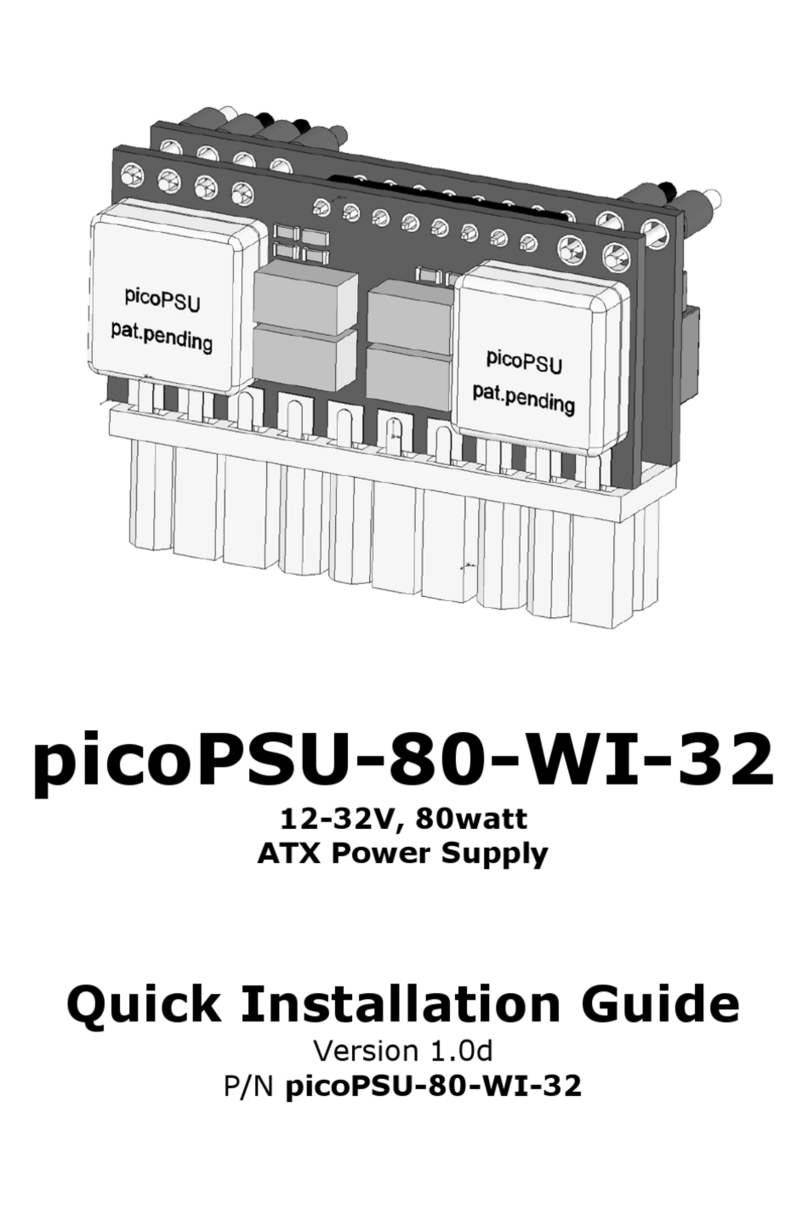
mini-box M1-ATX User manual

GND
+ Switch Logic 6-2430V ATX
PSU
PC ATX
power
MotherBoard
ON/OFF switch
M1-ATX
Battery
Ig itio
-
SW
+
J6
LED
J4
J2
8bit MCU
Amplifier
E able
J8
Rever e and
forward protection
Optio al O /OFF switch
M1-ATX
6-24V Intelligent Automotive ATX Power Supply
I stallatio Guide
Ver ion 1.0c
P/N M1-ATX-01
Before you start…
Plea e take a moment and read thi manual before you in tall the M1-ATX in your
vehicle. Often time , ru hing into in talling the unit can re ult in eriou damage
to your M1-ATX board, computer and probably your car’ electrical y tem.
The M1-ATX board ha everal wire that need to be in talled in variou place .
When in talling, always double check the polarity of your wire with a voltmeter.
NEVER u e the cigarette plug a a power ource, often time the contact are not
capable of delivering high current to your PC.
1.0 I troductio
Thank you for purcha ing the M1-ATX power equencer / vehicle ATX power upply.
The M1-ATX wa de igned to work with a wide variety of main board uch a the VIA
mini-ITX motherboard a well a low power Pentium-M or Celeron I, II and III y tem .
Plea e note that powering full power P4 or AMD y tem i not recommended due to
12V rail power limitation .
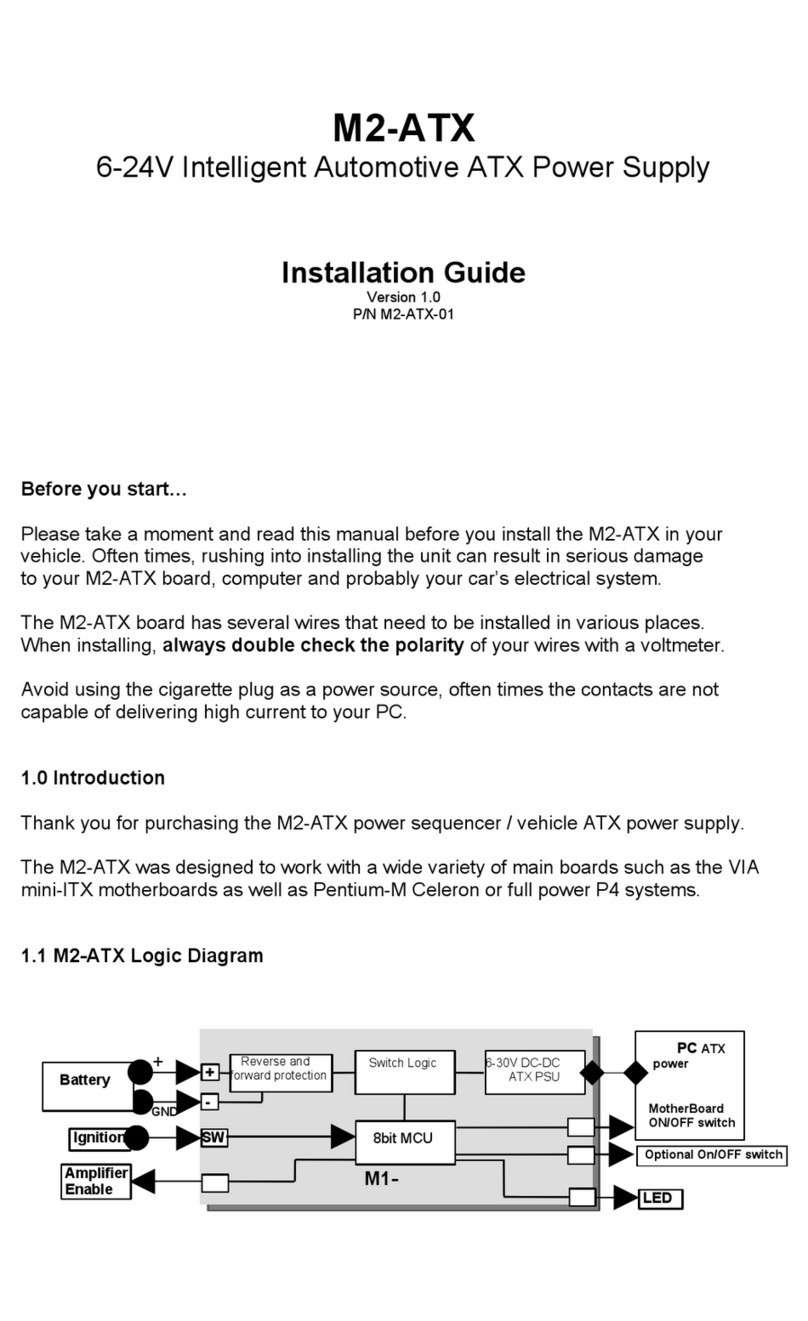
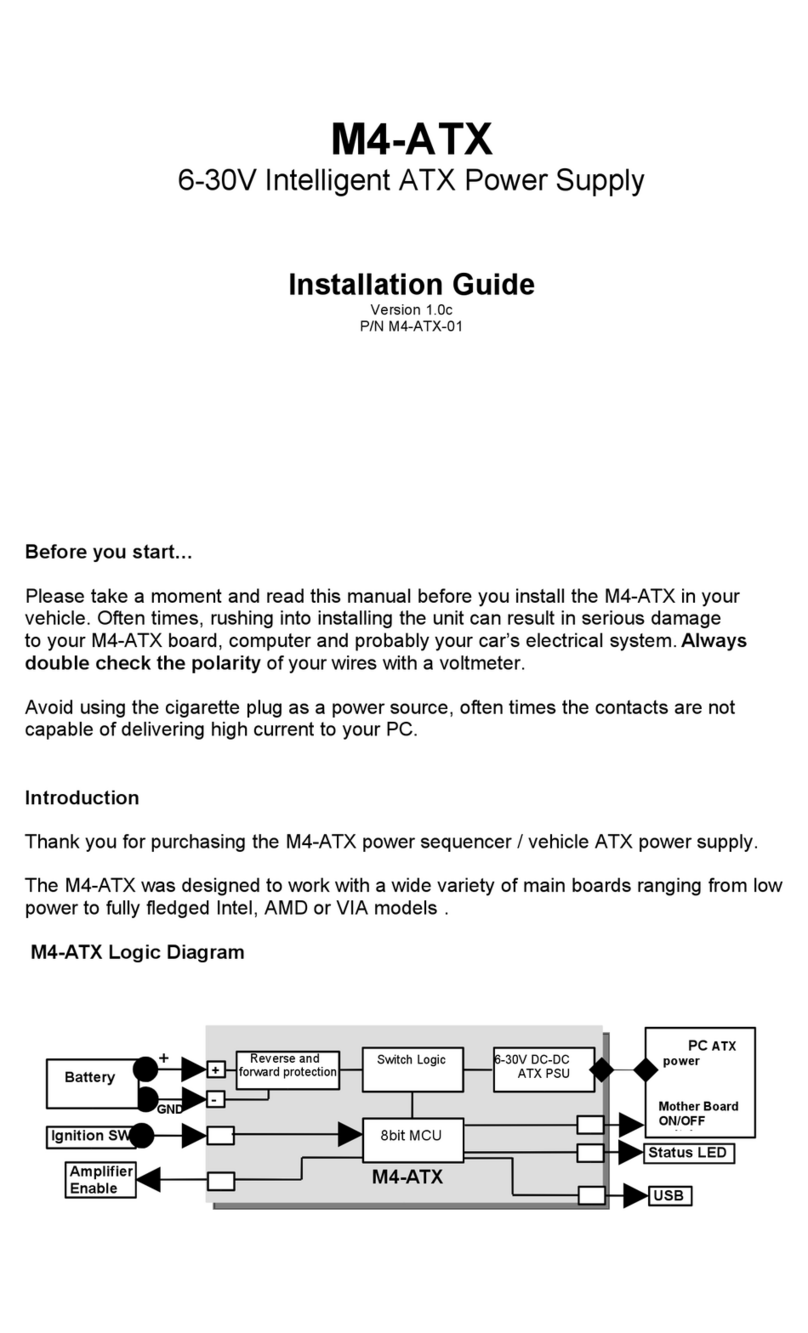
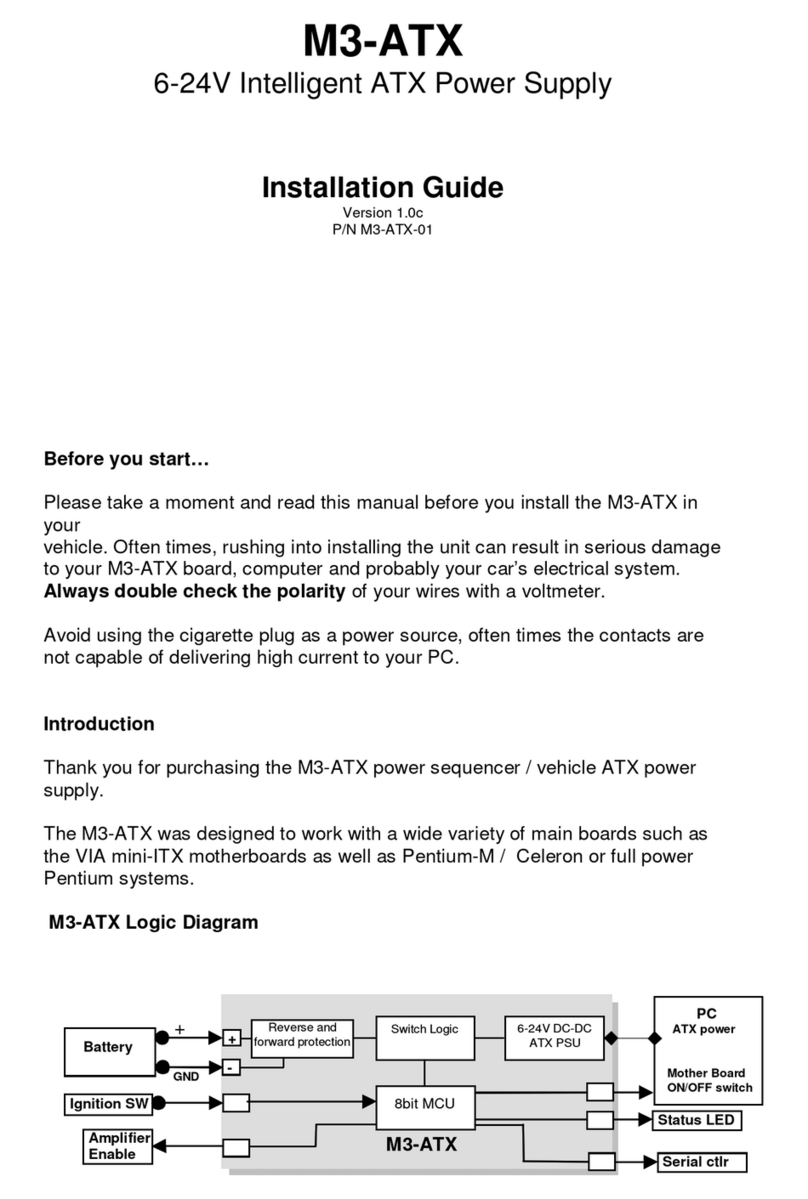
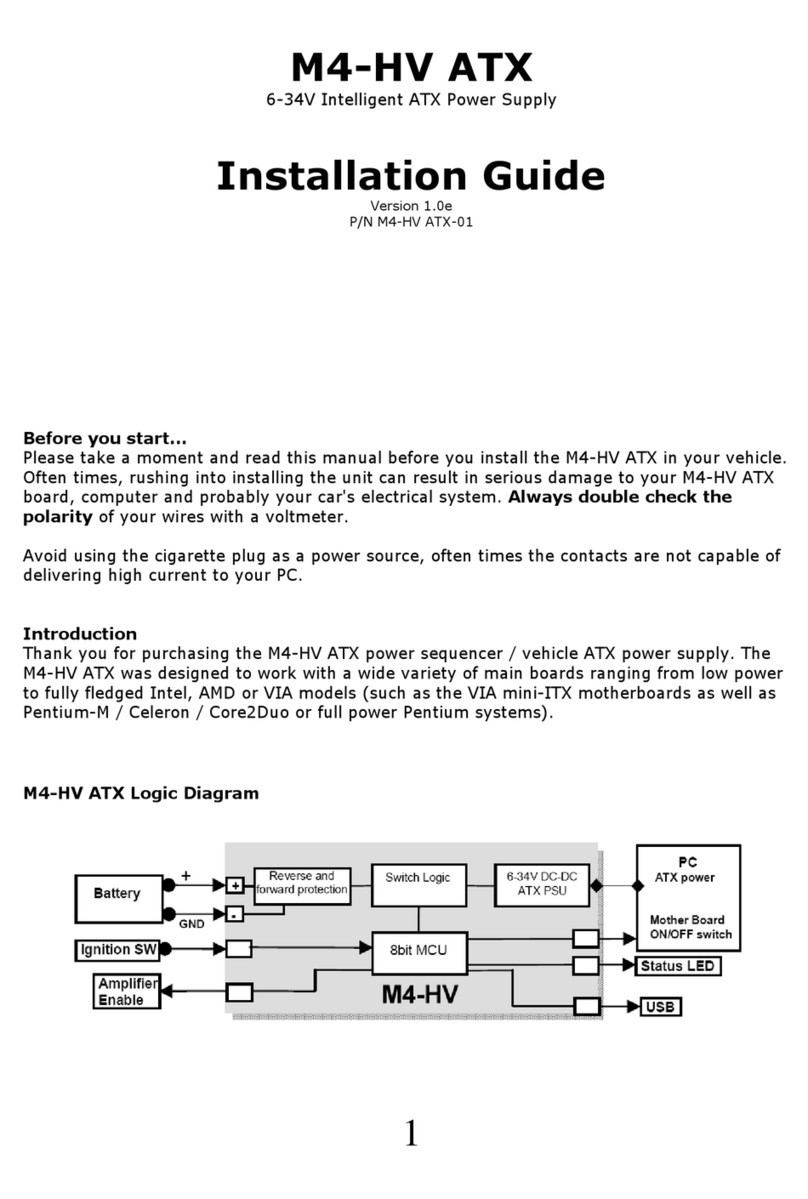
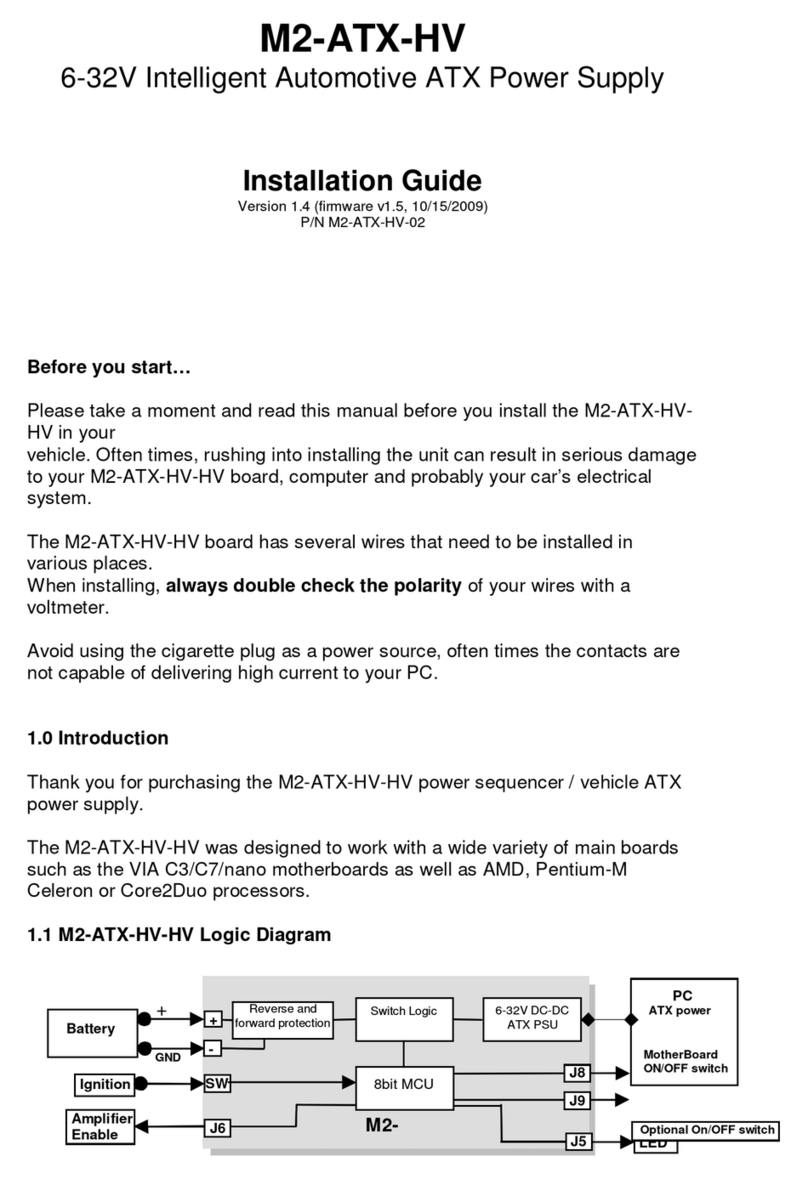
1.1 M1-ATX Logic Diagram

http://mini-box.com, Cool Embedded PC
1.2 M1-ATX Co ectio diagram
M1-ATX, top view
Power I put Co ectors
J11 Battery + (un- witched battery, po itive)
J12 Ignition ( witched battery, po itive. Can te t by connecting it to Battery +)
J13 Battery - (negative)
Co trols a d Setti gs
J2 Control amplifier via remote ON/OFF. Left pin i RMT, Right pin i GND
J6 To motherboard ON/OFF witch
J7 U er jumper etting (A,B,C,D)
J8 To external ON/OFF witch (optional, J8 i in parallel with J6)
Power Output Co ectors
J3 Optional HDD power (not hown in thi picture)
J5 ATX power connector (to motherboard)
J4 To LED (optional)
NOTE: “when HARDOFF is set to “never”, the M1-ATX will auto atically shut down
when battery voltage is below 11V for ore than 1 inute in order to prevent ‘deep
discharge’ situations.
1.2 Power challe ges i a Vehicle PC
The 5V Sta dby Problem: One of mo t difficult ta k of operating a PC in a vehicle i
power con umption while the computer i OFF. Even if your computer i totally OFF, it
M1-ATX U er Guide Page 2

http://mini-box.com, Cool Embedded PC
will till con ume about 100mA on the 5V rail. All power upplie have 5VSB (5V
tandby) mode o that they can i ue at lea t a PSON ignal. When the computer i in
the u pend mode, it will con ume even more power, becau e the RAM need to be
powered at all time . The power con umption in the u pend mode i few watt .
No atter how big your battery is, it will eventually drain your battery in a atter of days.
The M1-ATX i addre ing the e i ue by cutting off the 5VSb rail after a pre-defined
amount of time ( ee jumper chart). When 5V b i alway active (HARDOFF=Never), M1-
ATX watche the battery level. When battery level drop below 11V for more than one
minute, M1-ATX will hut down and re-activate only when the input voltage i > 11V.
E gi e Cra ks, u der-voltage a d over-voltage situatio s. Another very difficult ta k
i maintaining table 3.3, 5, 12 and -12V power to your PC. While car batterie are rated
at 12V, they actually can provide voltage in between 7V (during engine crank ) or a
high a hundred of volt (load dump condition ). Mo t of the time , your battery will tay
at 13.5V (while car i running) or 12V (when car i off), but extra precaution need to take
place in order to prevent under and over-voltage ituation . M1-ATX can operate a low
a 5.7V and a high a 26V while providing trict regulation on all rail with input voltage
clamping and rever e protection.
Loud amplifier pops whe PC starts. If your PC i connected to your car amplifier, you
will hear a loud pop when the computer i fir t tarted. The M1-ATX ha an ‘anti-thump’
control that will keep your amp OFF while the PC tart . Simply connect J2 to your
amplifier remote control pin to activate the ‘anti-thump’ feature.
2.0 Mode of operatio
The M1-ATX perform everal timing routine and take action a follow :
(NOTE: When all config jumper are removed, M1-ATX will be in the “dumb PSU mode”,
no ignition timing, no HARDOFF. M1-ATX will end a gratuitou “ON” ignal to the M/B
when power i applied for the fir t time. Do not connect J8/J6 to the M/B on/off witch if
you don’t want your PC to be tarted automatically)
1) Ignition=OFF. Nothing happen . M1-ATX i waiting for ignition ignal .
2) Ignition=ON. M1-ATX wait for 3 econd then turn on the 5V b rail. After another 1 econd the MCU
end an “ON” ignal to the motherboard via the 2 wire connected to the motherboard’ ON/OFF pin .
The motherboard will turn ON and your y tem hould tart booting.
3) Ignition=ON during driving: Nothing happen . Your computer will remain ON.
4) Ignition=OFF. M1-ATX wait for “OFFDELAY” in econd ( ee jumper chart on Page 2) and then it turn
the motherboard OFF by ending a ignal to the motherboard’ ON/OFF witch. Your computer hould
turn off gracefully ( hutdown procedure). During thi time, power will till be available for your PC to
perform hutdown.
5) Ignition=OFF. 5VSB will till be provided for another “HARDOFF” econd ( ee jumper chart on Page2).
In the event where the hutdown proce i longer than “HARDOFF”, power will be hut down hard,
turning off your computer’ power. If ignition i turned on during thi tep, you computer will tart again. If
M1-ATX U er Guide Page 3
http://mini-box.com, Cool Embedded PC
“HARDOFF” i et to ‘NEVER”, the PSU will alway provide 5VSB, therefore the PC can al o be u ed in
the SLEEP mode. During the HARDOFF procedure, the battery level will be con tantly monitored to
prevent deep di charge ituation . When battery level reach > 11V, the PSU will tart working again.
6) M1-ATX will go to tep 1, if ignition i tuned ON again.
3.0 Troubleshooti g
a) Motherboard i not turning ON.
Check input cable . Mea ure voltage on the un- witched 12V. You hould get 12V when
your car i turned OFF. Mea ure the un- witched pin (red) while turning the car ON/OFF.
You hould ee 12V (car on) or 0V (car off). If no voltage on both witch or un- witched
circuit , check your car fu e y tem. NEVER u e the cigarette lighter plug, it i unreliable.
b) Motherboard i not turning ON (cont).
Check your output cable . Make ure your total y tem power con umption doe not
exceed the M1-ATX pecification .
c) Motherboard i not turning ON (cont).
Make ure that either J6 or J8 i properly connected to the ON/OFF witch of your M/B.
4.0 M1-ATX Characteristics
Minimum Input Operating. voltage 5.7V
Maximum input Operating voltage 26V
Min tartup voltage 8V
Deep-Di charge hutdown thre hold 11V
Input current limit (fu e protected) 10A
Max Output Power 90 Watt
Operating temperature -40 to +85* degree Cel iu
Storage temperature -55 to +125 degree Cel iu
MTBF 192,000 hr @ 55C, 96,000 hr @65C
Efficiency (Input 7-24V) >90% on 3.3,5,5VSB ~80% on 12V
PCB ize 160x45mm
Input connector Fa ton 0.25” terminal
Input fu e Mini-Blade fu e, 10A
Output Connector ATX Power 20 pin (Molex P/N 39-01-2200)
J2, J4, J8, J6 Polarized Header 2x1, 0.1”
*Unit tart failing at ~115 Cel iu . Operating at temperature above 85C / 185F will dra tically reduce the MTBF. When operating at high
temperature , mu t reduce PSU load by 25%.
Maximum Power Characteristics
Output Rail Current (Max) Current Peak
(<60 econd )
Ripple (V p-p) Regulation
5V 10A 15A 50mV 1.5%
3.3V 10A 15A 50mV 1.5%
5VSB 1.5A 2A 50mV 1.5%
-12V 0.15A 0.2A 150mV 10-%
12V 2A 2.5A 200mV 1.5%
M1-ATX U er Guide Page 4

http://mini-box.com, Cool Embedded PC
NOTE (5V and 12V rail combined hould not exceed 50Watt )
Total Max power=92Watt
When operating at 24V or extreme temperature , de-rate to 80Watt , ventilation will be required.
4.0 Support a d warra ty
Standard Hardware Warranty 1Year / US, 2 Year EU
M1-ATX U er Guide Page 5
Table of contents
Other mini-box Power Supply manuals

mini-box
mini-box M4-ATX-HV User manual

mini-box
mini-box M2-ATX User manual

mini-box
mini-box M3-ATX-HV User manual

mini-box
mini-box M4-ATX User manual

mini-box
mini-box M2-ATX-HV User manual

mini-box
mini-box M2-ATX User manual

mini-box
mini-box M4-ATX User manual

mini-box
mini-box M2-ATX-01 User manual

mini-box
mini-box picoPSU-80-WI-32 User manual

mini-box
mini-box M4-HV ATX User manual