Mini Gadgets NightWatchSilver4GB User manual

SILVER WATCH WITH
NIGHT VISION
SKU: NightWatchSilver4GB (8GB) (16GB)
THANK YOU FOR PURCHASING THE SILVER WATCH WITH
NIGHT VISION
Please read this manual before operating the silver watch with night
vision and keep it handy.
This stylish, classic design suits and occasion and is a covert device
that can be relied upon for any event. You can record color video,
take still images, or audio only.
This product features a hidden camera capable of 1920 x 1080
resolution color video —AVI format —, 4032 x 3024 resolution
photos, time/date stamp, and infrared sensors. It supports 4GB, 8GB,
or 16GB of internal storage depending on the model you purchased.
Your purchase should include:
1 x Silver Night Watch
1 x A/C Adapter
1 x USB Cable
1 x Microphone Nut B (See Figure 3)
1x Web Camera Installation Disk
1 x Instruction Booklet

GET FAMILIAR WITH YOUR SILVER WATCH WITH NIGHT
VISION
Figure 1
A: Mode Indicator Light
A solid blue light indicates video mode
A solid red light indicates camera mode.
A solid red and blue light indicates audio only mode.
B Button: Video Camera Button
Turn on / off
Pause
C Button: Traditional Time Handle
Use this to adjust/set the time on your watch.
D Button: Microphone
Microphone Nut A is already in place on the watch. (See
Figure 2)
Microphone Nut B is in a plastic bag. (See Figure 3)
E: HD Camera
F Button: USB Socket
Connection power for charging
Connection to PC for file transfers
G Button: Mode Button
Video Camera
Photo Camera
Audio Only
Infrared Sensor
A
B
C
D
E
F
G

MICROPHONE NUTS
Figure 2
Microphone Nut A (Figure 2) is designed to allow audio recording.
The hole in the center of the nut allows the microphone to easily
records sounds.
Figure 3
Microphone Nut B (Figure 3) is not designed to allow audio recording.
The hole in the center is closed off, which prevents the microphone
from recording sounds.
If you are going to be in an excessively humid or dusty environment,
please use Nut B.
Rubber Spacer
Microphone
Hole
Rubber Spacer
Closed
Nut

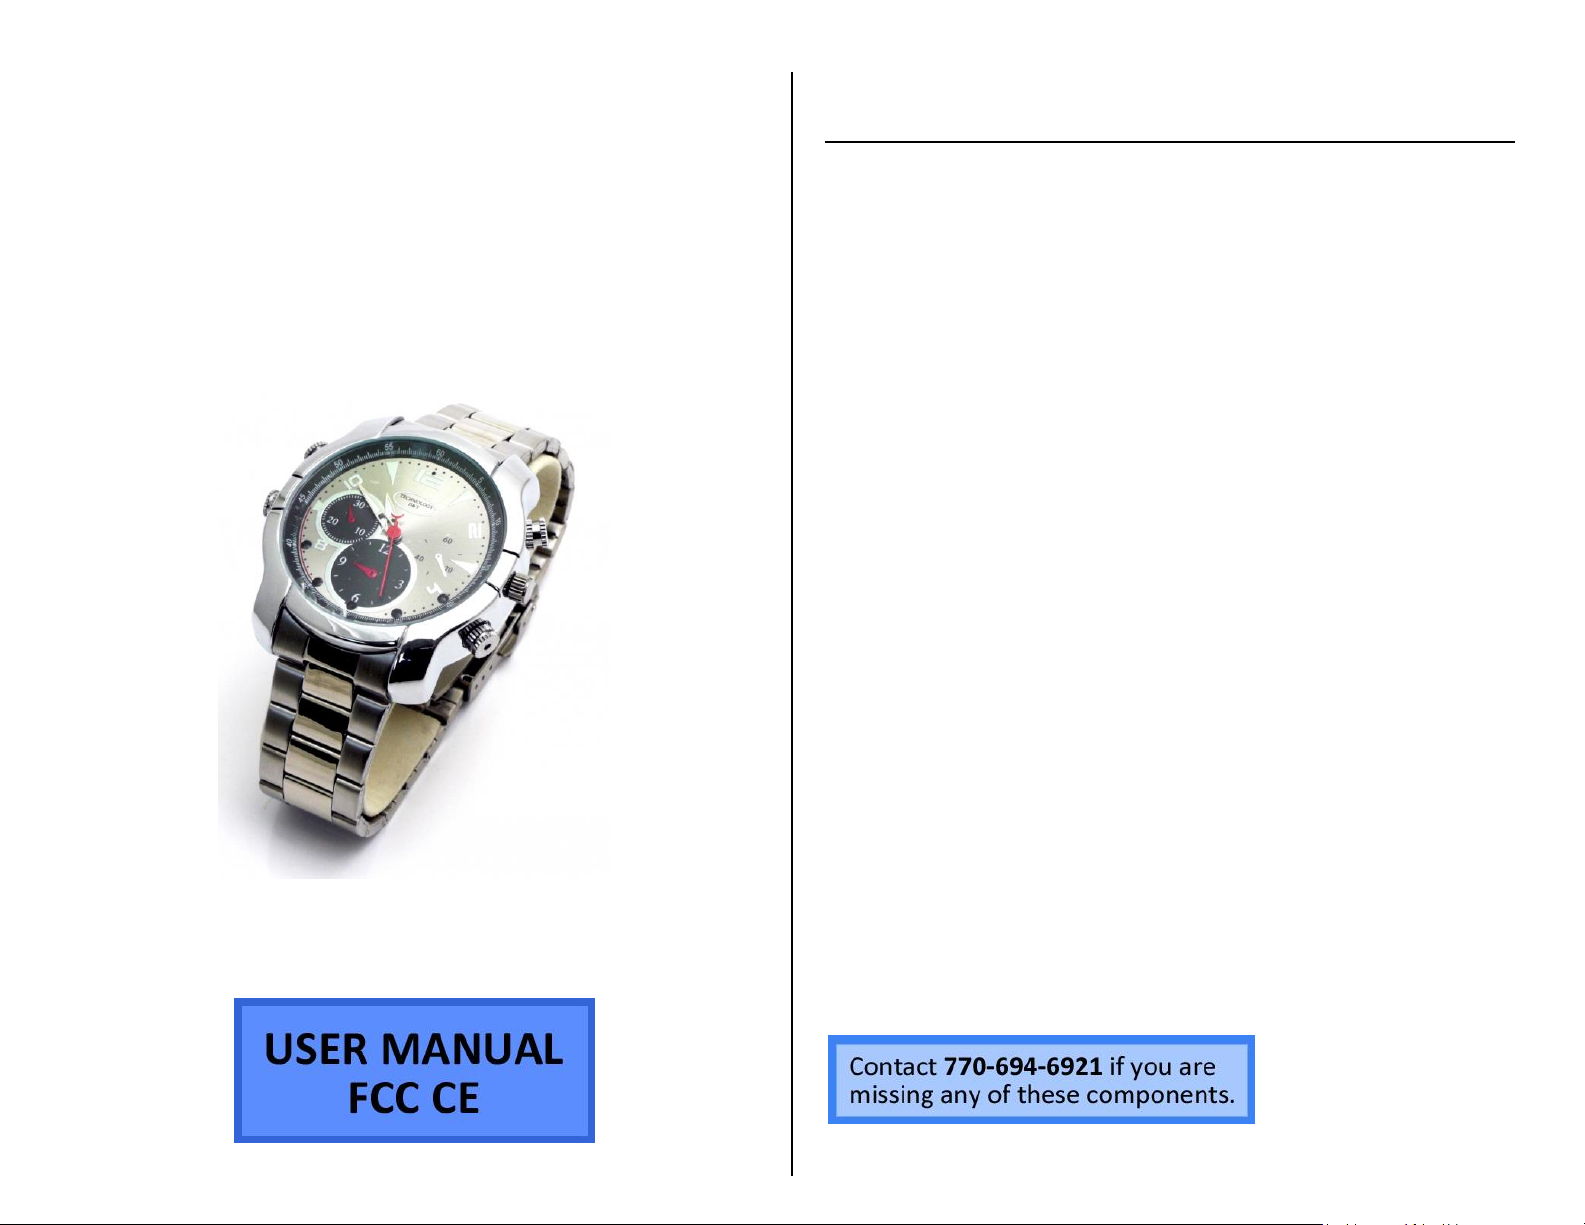
OPERATING THE SILVER WATCH WITH NIGHT VISION
IMPORTANT NOTE: Do not use excessive force when operating your
watch. The buttons are sensitive and can be damaged easily if
pushed on too hard.
IMPORTANT NOTICE: Allow the device to charge 4 –6 hours before
using.
HOW TO SET THE NEW RECORDING TIME STAMP
1. Plug the watch into your PC using the USB cable.
2. Be sure the indicator light is red and blue. If not, unplug the
device and try again.
3. Locate “Removable Disk” inside the (My) Computer folder.
4. Open the Removable Disk drive.
5. Right click with your mouse.
6. Scroll down to “New”
7. Click “Text Document”
8. Title the text document as “time”
9. Open the text document.
10. Enter the current date using the following Year-Month-Day
format:
2013.01.01
11. On the same line, enter the current time —in military format
—using the following Hour-Minute-Second format:
15:00:00 Y
12. The text document should read similar to the following:
2013.01.01 15:00:00 Y
13. Save the text document.
14. Unplug the watch from your PC.
HOW TO USE THE VIDEO CAMERA
1. Push the B button and hold for 2 seconds.
First, the red and blue light will come on.
Next, the blue video indicator light will come on.
Finally, the blue video indicator light will flash three
times.
The camera is now recording live video.
2. Push the B button again and hold for 2 seconds.
The red indicator light will blink rapidly.
The camera has stopped recording live video.
3. To resume live video recording, repeat step 1.
HOW TO USE THE PHOTO CAMERA
1. Push the B button and hold for 2 seconds.
First, the red and blue light will come on.
Next, the blue video indicator light will come on.
Finally, the blue video indicator light will flash three
times.
The camera is now recording live video.
2. Push the B button 2 times
The solid blue indicator light will be on, if not, try
again.
3. Push the G button once.
The solid red indicator light will be on.
The camera is now in photography mode.
4. Push the B button once to take a photograph.
The red light will blink once.
The camera has taken a photo.
NOTICE: If you want to resume video recording, follow these steps.
1. Push the G button 2 times.
First, the indicator light will be solid red and blue.
Second, the indicator light will be solid blue.
The camera is now in live recording mode.
2. Push the B button and hold for 2 seconds.
First, the red and blue light will come on.
Next, the blue video indicator light will come on.
Finally, the blue video indicator light will flash three
times.
The camera is now recording live video.

HOW TO USE INFRARED
1. Push the B button and hold for 2 seconds.
First, the red and blue light will come on.
Next, the blue video indicator light will come on.
Finally, the blue video indicator light will flash three
times.
The camera is now recording live video.
2. Push the G button and hold for 2 seconds.
The red indicator light will flash three times.
The camera is now recording live video in infrared
mode.
3. Push the G button again and hold for 2 seconds.
There will be no indicator light.
The camera is no longer in infrared mode, but is still
recording live video.
4. Push the B button again and hold for 2 seconds.
The red indicator light will blink rapidly.
The camera has stopped recording live video.
RETRIEVE THE FILES TO YOUR PC
1. Plug the device into your PC using the USB cable.
2. Locate “Removable Disk” inside the (My) Computer folder.
AutoPlay Removable Disk > Open folder to view files
Or…
Go to Start > Computer > Removable Disk
3. Open the Removable Disk drive.
4. Open the _REC folder.
5. Open the 100MEDIA folder.
6. Double click the file you want to view.
VLC Player is recommended for watching videos.

TROUBLESHOOTING
THE DEVICE WON’T TURN ON
Charge the device for at least 4 hours before the first use.
Make sure the charging cable is securely inserted into the
device and into the power source.
THE DEVICE ISN’T CHARGING
Replace the battery or charging cable.
If you are charging via a wall power source, you may need to
charge via your PC. The A/C adapter might be bad.
THE DEVICE HAS CRASHED
You need to reset the device.
MY COMPUTER DOESN’T RECOGNIZE THE DEVICE
Unplug the device from your PC and reboot the device.
Unplug the device from your PC and reboot your PC.
Try using a different USB slot on your PC.
Replace the USB cable.
THE SOUND OR VIDEO IS UNCLEAR
The device needs charging.
THE RED AND BLUE INDICATOR LIGHT IS FLASHING RAPIDLY
If the red and blue indicator light blinks for 5 consecutive seconds,
this could mean two things:
1. The camera has insufficient storage space left.
The camera will automatically save the current image
and then shut down.
If you want to continue using the camera, you will
need to remove the current images to a different file
on your PC to free up storage.
2. The camera battery is low.
The camera will automatically save the current image
and then shut down.
If you want to continue using the camera, charge the
battery.
THE HANDS OF THE WATCH HAVE STOPPED WORKING
The camera and the actual watch function on two separate
batteries.
If the watch itself stops working, you need to replace the
watch battery.
OTHER PROBLEMS
Call our technical support at 770–694–6923
SPECIFICATIONS
Video Resolution
1920*1080
Video Format
AVI
Frames per Second
30fps
Vision Angle
90°
Photo Resolution
4030*3024
Water Resistant
10 feet
Type of Memory
Internal Storage
Memory Capacity
4GB, 8GB, or 16GB
Recording Capacity
~1GB every 40 minutes
Battery Life
1.5 hours
USB Interface
2.0 USB
Player Software
VLC recommended
Operating Systems
Windows 2000
Windows Me
Windows XP
Windows Vista
Windows 7
Mac OSX
Linux
Table of contents
Other Mini Gadgets Watch manuals

Mini Gadgets
Mini Gadgets W2MDB User manual

Mini Gadgets
Mini Gadgets TTDSDNV User manual

Mini Gadgets
Mini Gadgets LMDigitalWatch User manual

Mini Gadgets
Mini Gadgets TTDEcon User manual

Mini Gadgets
Mini Gadgets TTDClassic User manual

Mini Gadgets
Mini Gadgets TTDSPORT User manual

Mini Gadgets
Mini Gadgets TTDYellow User manual