Minolta EP1083 User manual

EP1083
Thank you for choosing Minolta.
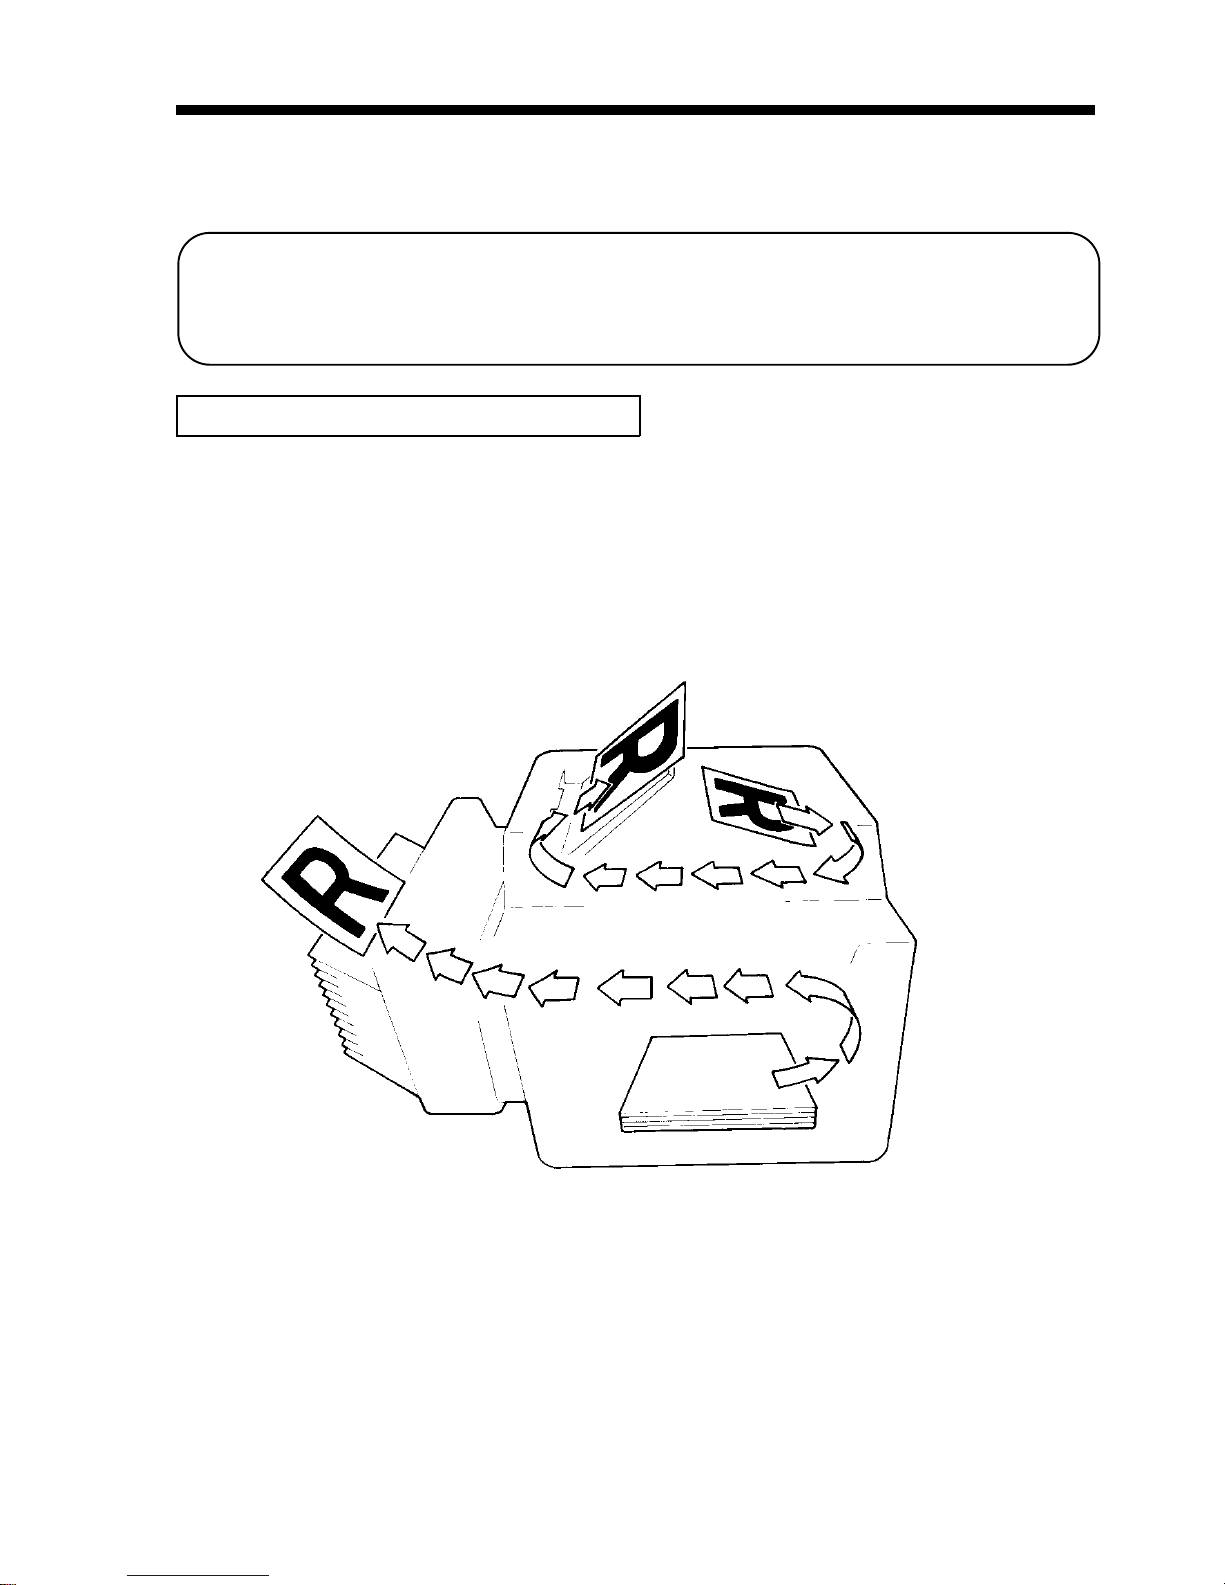
This operator’s manual explains how to operate the copier and replenish its
supplies. It also gives some troubleshooting tips as well as general precautions to
be observed when operating the copier.
To ensure the best performance and effective use of your copier, read this manual
carefully until you familiarize yourself thoroughly with its operation and features.
After you have read through the manual, keep it for ready reference.
Please use this manual as a quick and handy reference tool for immediately
CE Marking (Declaration of Conformity)
We declare under our sole responsibility that the copier and options to
which this declaration relates is in conformity with the specifications
below.
This declaration is valid for the area of the European Union (EU) only.
Product Type Copying Machine
Product Name EP1083
OptionsAF-5, S-106, MB-4, Plug-In Counter
Standards Safety :EN 60 950 / 1992
(Safety of information technology equipment, including
electrical business equipment)
EMC :EN 55 022 (Class B) / 1995
(Limits and method for measurement of radio disturbance
characteristics of information technology equipment
(ITE))
EN 55 082-1 / 1992
(Electromagnetic compatibility - Generic immunity
standard Part1: Residential, commercial and light
industry)
EC 801-2 / 1991 (Electrostatic discharge requirement)
IEC 801-3 / 1984 and IEC 801-3 / 1992 (draft) (Radiated
electromagnetic field requirement)
IEC 801-4 / 1988 (Electrical fast transient / burst
requirement)
EC Directives Safety
EMC :
:73 / 23 / EEC and 93 / 68 / EEC art. 13
89 / 336 / EEC and 93 / 68 / EEC art. 5
i

Contents
Chapters 1 through 3 give the basic information for making copies.
Be sure to read these chapters before using your copier.
Using this Manual
Organization viii
Page Organization ix
Terms and Symbols for the Type of Originals and
Copy Paper x
Chapter 1 Safety Notes p. 1
1. Installing the Copier p. 2
Installation Site
Power Source
Grounding
Space Requirements
2. Precautions for Use p. 4
Operating Environment
Using the Copier Properly
Care of Copier Supplies
Moving
ii

Chapter 2 Getting to Know
your Copier p. 7
1. System Overview p. 8
2. Copier Parts and Accessories
Outside Copier p. 9
Inside Copier p. 10
Automatic Document Feeder AF-5 p. 12
10-Bin Sorter S-106 p. 13
Multi Bypass Tray MB-4 p. 13
3. Control Panel Keys and Indicators
Control Panel p. 14
Display p. 16
4. Turning ON and OFF, and Resetting the
Copier
Turning ON and OFF p. 19
When Copier is Turned ON p. 19
Auto Copy Start Function p. 20
Minimizing the Warm-up Time p. 21
Initial Mode and Panel Resetting p. 22
Auto Reset Function p. 23
Contents
iii

Chapter 3 Making Copies p. 25
1. Copying Overview p. 26
2. Copying Procedure
Placing Originals p. 28
Using the Automatic Document Feeder AF-5 p. 30
Checking the Copy Paper Size and Selecting the Paper
Source p. 33
Zoom Ratio
•Types of Zoom Ratios p. 34
•Auto Size Mode p. 37
•Zoom Ratio Table
(Original Size to Copy Paper Size) p. 39
Image Density p. 40
Book Copying p. 42
Finishing Modes
•Finishing Modes p. 44
•Selecting the Finishing Mode p. 45
•Auto Dual Function p. 46
Number of Copies p. 47
Starting the Copy Cycle p. 48
Manual Bypass Copying p. 49
Contents
iv

Chapter 4 Auxiliary Functions p. 51
1. Checking the Total Number of Copies Mode
p. 52
2. Toner Replenisher Function
(Increasing the Image Density) p. 54
3. Drum Dehumidifier Function p. 55
4. User’s Choice p. 56
Chapter 5 When an Indicator
Lights Up p. 67
(Replenishing Supplies, Clearing Misfeeds,
and Correcting a Closure Failure)
1. Quick Reference for Indicator Lights p. 68
2. Detailed Instructions for Indicator Lights
Add Toner Indicator p. 70
Add Paper Indicator p. 72
Closure Failure Indicator p. 75
Misfeed Indicator
•Misfeed Indicator and Monitor Display p. 76
•Misfeed Clearing Procedures
: Copier p. 77
: Automatic Document Feeder p. 80
: Sorter p. 82
Call-Tech.-Rep. Indicator p. 83
I. U. Service Life Indicator p. 84
Contents
v

Chapter 6 Troubleshooting p. 93
1. When this Type of Copy is Produced p. 94
The image is too light
The image is too dark
The copy is blurry
The copy has lines
The copy has dark specks or spots
The edge of the copy is dirty
The image on the copy is not aligned properly
2. The Copier is not functioning as designed p. 98
None of the Control Panel Indicators light up
Pressing the Start Key does not start the copy cycle
The Copier is not activated when the Power Switch is
turned ON
Chapter 7 Specifications p. 101
1. Copier p. 102
2. Automatic Document Feeder p. 104
3. 10 Bin Sorter p. 105
4. Multi Bypass Tray p. 106
Contents
vi

Contents
Chapter 8 Miscellaneous p. 107
1. Care of the Copier
Daily Checks P. 108
Cleaning p. 110
2. Description of Copy Paper
Size p. 114
3. Zoom Ratio Table
(Original Size to Copy Paper
Size) p. 115
4. Index p. 116
Chapter 1
Safety Notes
Chapter 2
Getting to Know
your Copier
Chapter 3
Making Copies
Chapter 4
Auxiliary Functions
Chapter 5
When an Indicator
Lights Up
Chapter 6
Troubleshooting
Chapter 7
Specifications
Chapter 8
Miscellaneous
vii

Organization
Chapters 1 through 3 give the basic information for making copies. Be sure to
read these Chapters before using your copier.
Chapter 1 Safety Notes
About the operating environment, conditions and precautions for use.
Chapter 2 First Things to Know your Copier
A brief description of the system and preliminary information about
the different parts of the system.
Chapter 3 Making Copies
About how to make copies.
"COPYING OVERVIEW" on p. 26
These pages offer quick, at-a-glance instructions for making copies.
Each step is keyed to a page number with more detailed information.
Chapter 4 Auxiliary Functions
About the auxiliary functions that can be used for specific purposes.
Chapter 5 When an Indicator Lights Up
About the various warning indications given on the control panel
and steps to correct these conditions.
Chapter 6 Troubleshooting
Instructions on how to troubleshoot copier malfunctions.
Chapter 7 Specifications
Complete specifications of the copier system and options.
Chapter 8 Miscellaneous
About care for the copier and the various possible combinations of
functions.
Using This Manual
viii

Page Organization
Each page of this manual is basically organized as follows.
Control Panel Indicators
A steady light and blinking light Indicator on the control panel are indicated as
follows.
1142O003AA
1142O003AA
Steady Light
➭p. XX (Cross-reference):
Shows the page to refer to for more detailed information.
Index: To locate your Chapter quickly.
Section title
Table of contents of the Chapter:
To quickly locate your page in the chapter.
1142O166CA
1142O004AA
1142O004AA
Blinking Light
Using This Manual
ix

Feeding Direction (Copy Paper Path)
In this copier system, copy paper is taken up from the right-hand side of the
copier and fed through the copier toward the left-hand side, out face up onto the
Exit Tray. In the figure below, the direction in which the copy paper is fed, as
indicated by the arrow, is called the "feeding direction."
Terms and Symbols for the Type of Originals and Copy
Paper
A few special terms and symbols are used in this manual to designate types of
originals and copy paper. These two pages explain about these terms and
symbols.
1142O005AA
Using This Manual
x

"Width" and "Length"
1139O1610A
When we talk about the size of the
original or copy, we call side A
"width" and side B "length."
A: Width
B: Length
Terms and Symbols Used
1139O1610A
<Lengthwise >
When the original or copy has a
"length" longer than its "width," we
call it "lengthwise" and use symbol
"L" or " ."
1139O1620A
<Crosswise >
When the original or copy has a
"length" shorter than its "width," we
call it "crosswise" and use symbol
"C" or " ."
Using This Manual
xi

xii

Chapter 1
Safety Notes
This Chapter explains about the operating environment, conditions,
and precautions for use.
1. Installing the Copier p. 2
Installation Site
Power Source
Grounding
Space Requirements
2. Precautions for Use p. 4
Operating Environment
Using the Copier Properly
Care of Copier Supplies
Moving
Chapter 1
Safety Notes
1

Installation Site
To ensure utmost safety and prevent possible malfunctions of the copier, install it
in a location which meets the following requirements.
uA place away from a curtain or the like that may catch fire and burn easily.
uAn area where there is no possibility of being splashed with water or other
types of liquid.
uAn area free from direct sunlight.
uA place out of the direct air stream of an air conditioner, heater, or ventilator.
uA well-ventilated place.
uA dry place.
uA dust-free location.
uAn area not subject to undue vibration.
uA stable and level location.
Power Source
The power source voltage requirements are as follows.
uUse a power source with little voltage fluctuation.
uIf any other electrical equipment is sourced from the same power outlet, make
sure that the capacity of the outlet is not exceeded.
uThe outlet should be located near the copier and easily accessible.
uNever connect by means of a multiple socket any other appliances or machines
to the outlet being used for the copier.
uIf an extension cord is needed, use one with a capacity more than the power
consumption of the copier.
uMake sure that no unusual, excessive force is being applied to the power cord
or extension cord.
Grounding
To prevent receiving electrical shocks in the case of electrical leakage, always
ground the copier.
Connect the grounding wire to:
uThe ground terminal of the outlet.
uA grounding contact which complies with the local electrical standards.
NOTE: Never connect the grounding wire to a gas pipe, a grounding wire for a
telephone or a water pipe.
Voltage Fluctuation : Within ±10%
Frequency Fluctuation : 50/60 Hz Within ±0.3%
1. Installing the Copier
Safety Notes Chapter 1
2

Scale: mm
Space Requirements
To ensure easy copier operation, supply replacement and service maintenance,
adhere to the recommended space requirements detailed below.
NOTE: Be sure to allow a clearance of 150mm. or more at the back of the copier
as there is a ventilation duct.
1152O037AA
1,063
430 633
841
469
372
1152O038AA
•EP1083
1,250
655
253
387
1,138
497
979
467 671
1152O036AA
•EP1083 + OPTION
1,632
1,359
1152O039AA
1. Installing the Copier
Chapter 1
Safety Notes
3

= Locate the Copier in a Well Ventilated Room =
A negligible amount of ozone is generated during normal operation of this
copier. An unpleasant odor may, however, be created in poorly ventilated
rooms during extensive copier operations. For a comfortable, healthy, and
safe operating environment, it is recommended that the room be well
ventilated.
NOTE
Operating Environment
The operating environmental requirements of the copier are as follows.
Temperature : 10°C to 30°C (50°F to 86°F) with a fluctuation of 10°C (50°F) per hour
Humidity : 15% to 85% with a fluctuation of 20% per hour
Using the Copier Properly
To ensure the optimum performance of the copier, follow the precautions listed
below.
uNEVER place a heavy object on the copier or subject the copier to shocks.
uNEVER open any Doors, or turn OFF the copier while the copier is making
copies.
uNEVER bring any magnetized object or use flammable sprays near the copier.
uNEVER place a vase or vessel containing water on the copier.
uNEVER drop paper clips, staples, or other small pieces of metal into the copier.
uNEVER attempt to remove any Cover that is secured.
uALWAYS insert the Power Plug all the way into the outlet.
uALWAYS make sure that the outlet is visible, clear of the copier or copier
cabinet.
uALWAYS ensure that the copier does not ride on the power cord or
communications cable of other electrical equipment, and it does not get such a
cord or cable wedged into its own mechanism.
uNEVER leave damage or cracks evident on the copier power cord unattended.
If you find any of these conditions, immediately shut down the copier, unplug
the power cord, and call your Technical Representative for appropriate action.
uALWAYS provide good ventilation when making a large number of continuous
copies.
uNEVER keep the copier running when it becomes inordinately hot or produces
abnormal noise. If that happens, immediately turn OFF the copier, unplug it,
and then call your Technical Representative.
2. Precautions for Use
Safety Notes Chapter 1
4

Care of Copier Supplies
Use the following precautions when handling the copier supplies (toner, paper,
etc.).
uStore the paper, toner, and other supplies in a place free from direct sunlight
and away from any heating apparatus. Keep them in a dry, clean environment.
uStore paper, which has been removed from its wrapper but not loaded into the
Drawer, in a sealed plastic bag in a cool, dark place.
uUse the correct toner for the exclusive use by the copier. The applicable copier
model name is indicated on the Toner Bottle.
uKeep supplies out of the reach of children.
uIf your hands become soiled with toner, wash them with soap and water
immediately.
Moving
If you need to transport the copier over a long distance, consult your Technical
Representative.
2. Precautions for Use
= Placer le copieur dans une pièce largement ventilée =
Une quantité d’ozone négligable est dégagée pendant le fonctionnement du
copieur quand celui-ci est utilisé normalement. Cependant, une odeur
désagréable peut être ressentie dans les pièces dont l’aération est insuffisante
et lorsque une utilisation prolongée du copieur est effectuée. Pour avoir la
certitude de travailler dans un environnement réunissant des conditions de
confort, santé et de sécurité, il est préférable de bien aérer la pièce ou se
trouve le copieur.
REMARQUE
Chapter 1
Safety Notes
5

2. Precautions for Use
Safety Notes Chapter 1
6

Chapter 2
Getting to Know
your Copier
This Chapter gives you a brief description of the system and
preliminary information about the different parts of the system.
1. System Overview p. 8
2. Copier Parts and Accessories
Outside Copier p. 9
Inside Copier p. 10
Automatic Document Feeder AF-5 p. 12
10-Bin Sorter S-106 p.13
Multi Bypass Tray MB-4 p. 13
3. Control Panel Keys and Indicators
Control Panel p. 14
Display p. 16
4. Turning ON and OFF, and Resetting the Copier
Turning ON and OFF p. 19
When Copier is Turned ON p.19
Auto Copy Start Function p. 20
Minimizing the Warm-up Time p. 21
Initial Mode and Panel Resetting p. 22
Auto Reset Function p. 23
Chapter 2
Getting to Know your Copier
7

The EP1083 system can be configured with the following
components.
◆Automatic Document Feeder AF-5 <Option>
Permits automatic feeding of multiple
originals. ➭p. 30.
AF-5
1151O006AA
S-106
1139O0020A
◆10-Bin Sorter S-106 <Option>
Permits sorting copies into up
to 10 copy sets or stacks. ➭p.
44
1. System Overview
1142O010AA
EP1083
◆EP1083
The Paper Drawer can hold up to 250 sheets of copy
paper (80g/m2). The Manual Bypass Tray allows you
to make a copy on paper which is not loaded in the
Drawer and which is fed into the copier manually via
this Tray.
1139O0170A
◆Multi Bypass Tray
MB-4 <Option>
Holds up to 50 sheets of
standard paper which is
not loaded in any of the
Drawers, allowing to
make copies on them.
➭p. 50
MB-4
Chapter 2
Getting to Know your Copier
8
Table of contents
Other Minolta Copier manuals

Minolta
Minolta EP2050 User manual

Minolta
Minolta Di 1610 User manual

Minolta
Minolta Di470 Setup guide

Minolta
Minolta Di181 User manual

Minolta
Minolta EP3050 User manual

Minolta
Minolta CF 9001 User manual

Minolta
Minolta EP4000 User manual

Minolta
Minolta CF5001 User manual

Minolta
Minolta EP6000 User manual

Minolta
Minolta EP1085 User manual

Minolta
Minolta CF5001 User manual

Minolta
Minolta EP2010 User manual

Minolta
Minolta Di551 User manual

Minolta
Minolta Di1611 User manual

Minolta
Minolta CF2002 User manual

Minolta
Minolta Di152 User manual

Minolta
Minolta EP1054 User manual

Minolta
Minolta CF1501 User manual

Minolta
Minolta Di151 User manual

Minolta
Minolta EP1050 User manual