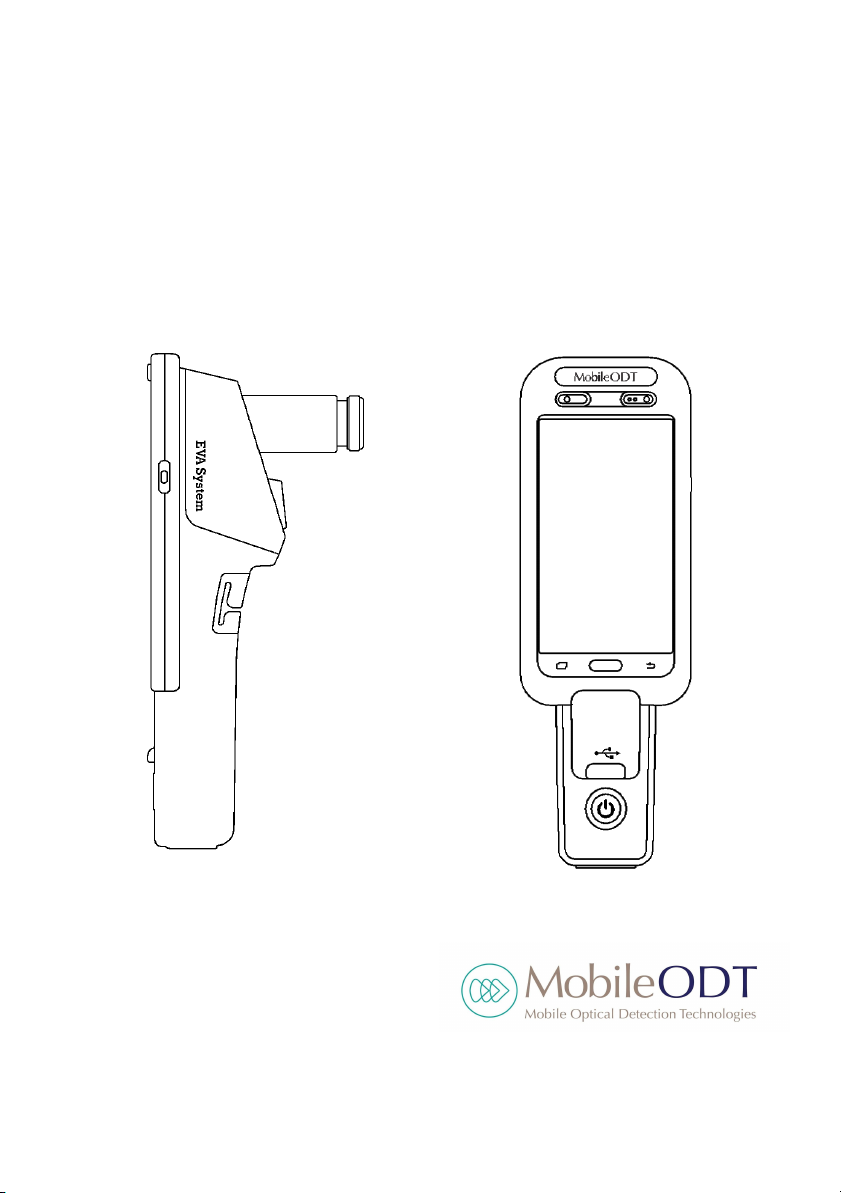
EVA 3 Plus: Device User Manual
1.6. Important Notes on Safety
Before you begin using the EVA System, please become familiar with the
following safety regulations and keep these in mind while using the device.
Users of the EVA System should be thoroughly trained in the appropriate
medical procedures. All users need to read and understand these instructions
before performing any procedure.
1.7. List of Warnings
The warning statements in this manual describe serious adverse reactions and
potential safety hazards, limitations in use imposed by them, and steps that
should be taken if they do occur.
1. Local and/or other applicable laws may restrict the sale of this device
to, or to the order of, a physician or other appropriately licensed
medical professional. The EVA System may not be used unless you or
your organization meet the requirements and/or obligations under
such laws and you assume full responsibility for any illegal purchase
and/or use of the device. The EVA System should only be used by a
trained and licensed operator, whose accreditation is valid in the
country and/or region in which the procedures are being conducted.
2. All service to the EVA System must be performed by MobileODT or
an authorized repair center. There are no user serviceable parts in
this unit or in its accessories (other than the mobile device). Any
attempt to disassemble and/or repair this unit will result in voiding
of the warranty.
3. Capture images only within the EVA application.
4. The attached lens should not be removed from the unit it was sent
with, without written approval from the manufacturer.
5. The LED light is extremely bright and should be the only illumination
used as a light source during an examination. Do not stare directly
into the light when it is in operation.
9