5
c.
Attach the rubber membrane with fabric glue film firmly to the receiving paper tube.
2.
Sealing operation steps (panel operating instructions)
a.
Switch on the power supply, power plug, set the temperature. When heating, the indicator light will be
green. When the heating plate reaches the desired temperature, the red indicator lghts up (when the
appliance is operating, the electric hearing device in the heating and standby state. Instead, the green and
red lights will show alternate display, which is normal).
b.
Put the plastic cup into the slip board, the handle will slides into the desired positon, downward pressure.
Hold the handle to maximum position for 1 to 2 secods, and slowly release upwards and push the first
position.
c.
Pull the slip board, takes out plastic cup, add the unsealed plastic cup for another cycle.
d.
The appliance that have a counter will count each sealing cup.
1.
The appliance should be placed in a flat area to ensure safety.
2.
In case of errors, turn off the power, recover after the troubleshooting.
3.
Keep a gap between the upper and lower molds to avoid damage on the appliance.
4.
The upper and lower mold must be aligned only after the handle fully pressed.
5.
Do not press the handle too hard.
6.
Working voltage must be maintained at 220V.
1.
Clean the appliance regularly on the surface, bottom plate and slip board, groove, mold heating pallate and
bumber.
Note: turn off the power first and restore to normal temperature.
2.
The slip board, pressing rod bearings, eccentric wheel and a guide pillar, rails and other rotating parts with
yellow oil, to ensure the performanuce of the appliance.
3.
Cleaning the cutting unit: pour the boiling water to the mold within the trench, wait for a minute and push into
the next.
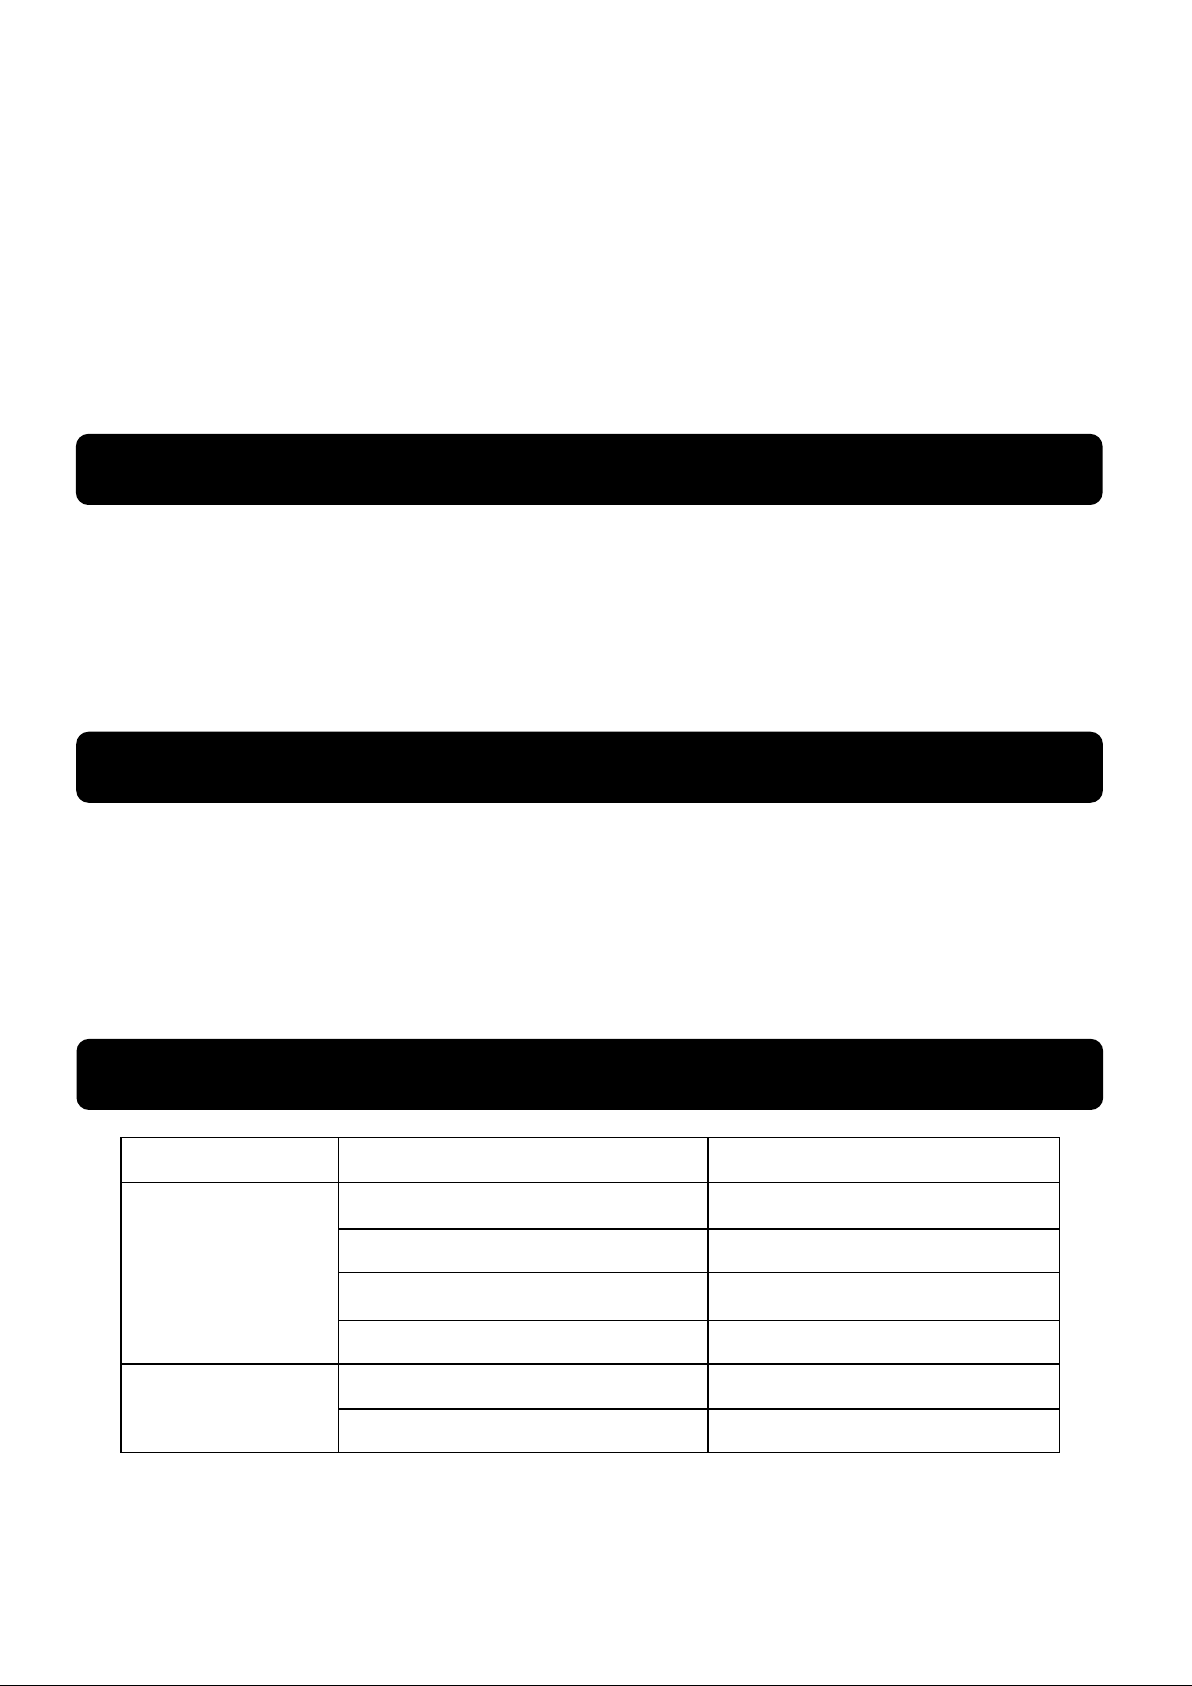
The mouth of the cup
film incision is not
smooth or cut
continously
Something clogged or dirty.
Turn off the appliance to mold platen
recovery after the troubleshooting.
Adjust the film to stay flat.
Something clogged on the cup.
Clean the cup mouth and the
sealing.
Under or excess temperature.
The cup cover is not
firm leakege
Dirt on the cutting unit.
Repair or replace the cutter
Part 5: Important Safety Information
Part 6: Cleaning & Maintenance