Modena WT 1081 WTM Owner's manual

User
Manual Book
Twin Tub Washing Machine
WT 1081 WTM
WT 1200 WTM
WT 2012 WTM

2
TABLE OF CONTENTS
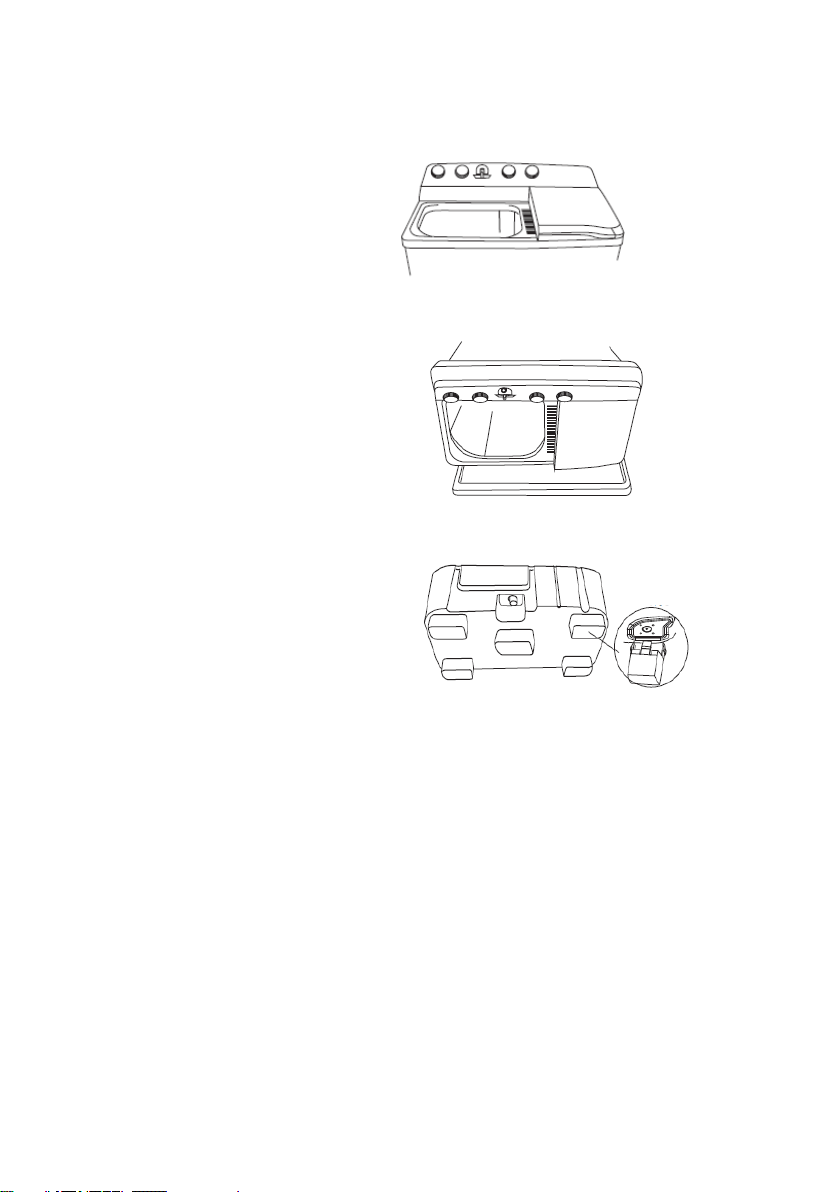
PART 1: NAME OF PARTS..............................................................................3
WT 1081 WTM..........................................................................................3
WT 1200 WTM..........................................................................................4
WT 2012 WTM..........................................................................................5
PART 2: INSTALLATION .................................................................................6
Wiring Diagram of WT 1081 WAM & WT 1200 WAM..............................7
Fixed Legs Installation of WT 2012 WTM .................................................8
PART 3: HOW TO USE ...................................................................................9
Operating Instruction for WT 1081 WTM & WT 1200 WTM..................10
Operating Instruction for WT 2012 WTM...............................................12
PART 4: MAINTENANCE..............................................................................15
WT 1081 WAM & WT 1200 WAM ..........................................................15
WT 2012 WTM........................................................................................16
PART 5: TROUBLESHOOTING......................................................................17
PART 6: SPECIFICATIONS.............................................................................17
APPENDIX 1: INTERNATIONAL TEXTILE CARE LABEL...................................17
APPENDIX 2: USEFUL INSTRUCTIONS IN REMOVING THE STAIN................17

3
WT 1081 WTM
1. Wash timer knob
7. Program timer knob
13. Machine cabinet
1. Wash selector knob
8. Outer spin-dry lid
14. Base
2. Water inlet
9. Middle spin-dry lid
15. Lint filter
4. Spin timer knob
10. Power cord
16. Wash tub
5. Wash
11. Spin-dry hatch
17. Pulsator
6. Spin
12. Spin-dry basket
PART 1: NAME OF PARTS

4
WT 1200 WTM
1,2. Water inlet
8. Power cord
13. Wash tub
3. Wash selector knob
9. Middle spin-dry lid
14. Pulsator
3. Spin timer knob
10. Spin-dry basket
5. Wash/Spin
11. Machine cabinet
6. Program timer knob
12. Base
7. Outer spin-dry lid
13. Lint filter

5
WT 2012 WTM
1. Control Panel
7. Base
13. Spin Cover
2. Waterfall Outlet
8. Fix Legs
3. Wash Cover
9. Case
4. Lint Filter
10. Power Plug
5. Wash Tub
11. Frame
6. Pulsator
12. Safety Cover
1
2
3
4
5
6
7
8
9
10
11
12
13

6
Direction Of Washing Machine Placement
•Locate washing machine at a stable level surface (allow maximum
oblique angle to 2O.
•Keep the washing machine more than 5 cm from the wall to prevent
a noisy sound while spinning.
•A carpet must not obstruct the ventilation openings.
Connecting The Drain Hose
Connecting Power and Grounding
•Washer earth wire is connected to the power and plug. Don’t alter
it.
•The power socket must install earth wire secured.
•The appliance must be positioned where the plug is accessible.
PART 2: INSTALLATION
Extension Drain Hose
Less than 2m.
Less than 15cm.
Never let the end of the drain
hose be immersed in water

7
Wiring Diagram of WT 1081 WAM & WT 1200 WAM
With Pump Without Pump
CAUTION
•
Never connect the earth wire to a gas pipe, a
water tap pipe, a phone wire or lighting rod.
•
Do not use it in case, the power cord or plug have
been damaged. To avoid electric shock and fire
risk.
•
If the supply cord is damaged, it must be
replaced by the manufacturer or its service agent
or a qualified person in order to avoid hazard.

8
Fixed Legs Installation of WT 2012 WTM
1. Take away this wash cover
2. Lay down the machine on a soft sheet
with front side on the ground
3. Install 5 feet onto the bottom of the
machine

9
Preparation Before Washing
•Make sure to remove things such as keys, pins and
coins from the laundry.
•Wash oily or dyed laundry separately.
•Wash fuzzy laundry by its inner side.
•Wash delicate clothes, wrapping them in a nylon
net.
•Insert the plug completely.
•Take down the drain hose.
•Connect the inlet hose.
PART 3: HOW TO USE

10
Operating Instruction for WT 1081 WTM & WT 1200 WTM
Washing
1. Set the “PROGRAM SELECTOR” to
“Wash” position.
2. Turn on the water tap, let water flows
into the tub in accordance with the
amount of clothing to be washed.
(The marks H. M. L in tub are high,
medium, low water level.)
3. Add the proper amount of detergent.
4. Put clothes in the wash tub, one
cloth at a time.
5. Turn the “WATERFLOW SELECTOR”
to select the water flow in
accordance with the fabric type of
the clothes.
6. Turn the “WASH TIMER” knob to the
desired wash time clockwise, then
washing process will start.
7. After washing is completed, drain
the water by setting the “PROGRAM
SELECTOR” to the “Drain” position.
Wash
Drain
PROGRAM SELECTOR
Normal
Gentle
WATER FLOW SELECTOR
WASH TIMER
Wash
Drain
PROGRAM SELECTOR

11
Spin Drying
1. Transfer the clothing to the spin-dry tub and place the spinner cap
on top of the clothing.
2. Close the inner and outer spin-dryer lids.
3. Turn the “SPIN TIMER” knob to the desired dry time clockwise, the
spin dry will commence.
Type of the clothes
Spin-drying time
Shirts (synthetic)
1-2 min
Undershirt
3-5 min
Work clothes
5 min
Elongate The Functionality of Washing Machine
1. Remove the power plug after washing.
2. Wipe the washer with a piece of clean and dry with a soft cloth.
3. Must clean tubs after bleaching or starching, otherwise, some
residue will be generated.
4. Take down the lint filter for cleaning.
Washing Time Duration Based on Fabric Types
WASH ACTION
Gentle
Normal
Powerful
FABRIC TYPE
Synthetics
Fabrics
Wools
Linen
Cotton
Work clothes
Very dirty
clothing
WASHING TIME
3-5min
5-12min
10-15min

12
Operating Instruction for WT 2012 WTM
Washing
1. Insert the inlet hose into the wash inlet on the control panel and turn
on the tap.
2. Set the wash selector knob (Normal or Gentle) according to the
texture of clothes.
3. When filling water to half of the specified water level, add the
detergent and stir. Put in washing materials (turn off the tap and
soak for a while), and then fill water to the water level and turn off
the tap.
4. Turn the wash timer knob to the selected time position for washing.
5. After washing, set the cycle selector knob to the Drain position for
draining.
Rinsing
1. To save time, water, and energy, please do the spinning work before
rinsing. After spinning, put the clothes into the washtub.
2. Insert the inlet hose into the wash inlet on the control panel and turn
on the tap.
3. Set the wash selector knob to the "Normal" or “Gentle" position
according to the texture of clothes.
4. Select the water level based on the washing volume.
5. After filling water to the level, turn off the tap to save water.

13
6. Turn the wash timer knob to the selected
time for rinsing.
7. After rinsing, put washing materials into the
spin tub to spin for
1 to 3 minutes.
8. Drain out the rinsing water in the washtub.
9. According to the turbidity degree of rinsing water, materials
can be rinsed several times. Spin and dry after washing.
Spin Drying
1. Shake out washing material and put
them into the spin tub
2. To save time, water, and energy, please
do the spinning work before rinsing.
After spinning, put the clothes into the
washtub.
3. Cover the safety cover and spin cover.

14
4. Refer to the following table to select the spinning time of spin timer.
Washing Materials
Spinning Time
Thin clothes (fiber/blend)
About 1 minute
Knitwear (fiber)
About 1 – 2 minutes
Underwear (cotton)
About 2 – 3 minutes
Slipover (cotton/linen)
About 3 – 4 minutes
Toweling Coverlet (cotton)
About 4 – 5 minutes
CAUTION
•
If strong vibration occurs in the spin tub, open
the spin cover immediately. Make sure that the
washing machine is placed on a flat, stable floor,
and then readjust and distribute the washing
material evenly.
•
To do spinning and draining together, please spin
for 1 minute before draining.

15
WT 1081 WAM & WT 1200 WAM
Do not expose the
washing machine to a
direct sun light or rain.
Do not install the washing
machine around a damp
place.
Do not sprinkle water over
switches.
Let water drain away from
the drain hose thoroughly.
When plugging out the
power cord, do not hold
the wire.
Keep children away from
the washing machine.
Keep the washing machine
away from fire or heat
source.
Do not wipe the washer
with the volatile material,
gasoline, etc.
Do not pour over 50OC
water into the tub.
PART 4: MAINTENANCE

16
WT 2012 WTM
After you use the washing
machine, wipe the moisture
and stains on its surface
with a soft cloth. To avoid
damage on plastic surface,
do not use cleaning agents.
To clean up the Lint Filter,
Press the buckle and pull
out the lint filter
component and close it
again after emptying it.
To install, insert the
projecting part of the lint
filter component into the
waterfall outlet and push
up the buckle.

17
No washing
No spinning
No drain
Washing is
forceless
•Are the clothes too much?
•Is the V belt too loose?
•Is the voltage too low?
PART 5: TROUBLESHOOTING
Is the wash timer
knob at the “O”
position?
Power failure?
Fuse blown?
Do the pulsator
clogged?
Is the spin timer
knob at the “O”
position?
Is the lid closed?
Is the laundry
unevenly balanced?
Is the drain hose
kept down?
Whether the drain hose is twisted?
Or whether the threshold is too high?
Whether the drain hose is frozen?

18
There is abnormal
noise during
operation
•Check if there are coins or any other foreign
objects that dropped into the wash tub
There is abnormal
noise and violent
vibration during
spinning
•Check if the washing machine is placed on a
flat, stable surface/floor
•Check if the clothes in the spin tub is
distributed evenly
•Check if there is washing material dropped
on to the outside of spin tub

19
MODEL
WT 1081 WTM
WT 1200 WTM
WT 2012 WTM
Type
Twin tub
Twin tub
Twin Tub
Wash capacity
10 kg
12 kg
20 kg
Spin capacity
6 kg
12 kg
Rated washing power
(W)
490 W
500 W
550 W
Rated spin-dry power
(W)
200 W
250 W
Glass cover
Yes
Yes
No
One water inlet hole
Yes
Yes
Yes
Wash/spin water inlet
selection
Yes
Yes
Yes
Bubble maker function
Yes
No
No
PART 6: SPECIFICATIONS

20
Notice the wash code symbols on attached clothing labels. In taking
care of your clothes, preferably before washing by the machine, you
need to pay attention to the wash code symbols on the label attached
to your clothing, the description is outlined below:
Normal wash action
Washing
temperature
max. 95 °C
Gentle wash action
Washing
temperature
max. 60 °C
Washing by hand
Washing
temperature
max. 40 °C
Do not wash
Washing
temperature
max. 30 °C
Bleach
Chlorine bleach can
be used
Do not give the
bleach
Ironed
Can be ironed until
200 °C
Can be ironed
until 100 °C
Can be ironed until
150 °C
Do not ironed
Dry cleaning
APPENDIX 1: INTERNATIONAL TEXTILE
CARE LABEL
This manual suits for next models
2
Table of contents
Other Modena Washer manuals

Modena
Modena WT 0820 UGWH Owner's manual

Modena
Modena WF 0532 WSR Owner's manual

Modena
Modena WF Series User manual

Modena
Modena WF 0652 WSR Owner's manual

Modena
Modena WF 652 User manual

Modena
Modena WF 1030 VDWH Owner's manual

Modena
Modena Calma Series Owner's manual

Modena
Modena WF 1156 Owner's manual

Modena
Modena WF 741 WAM Owner's manual

Modena
Modena WF Series User manual