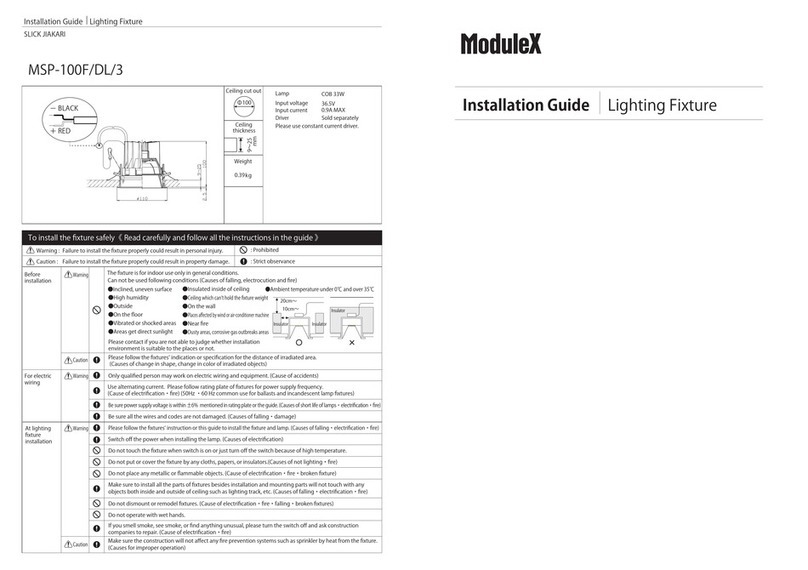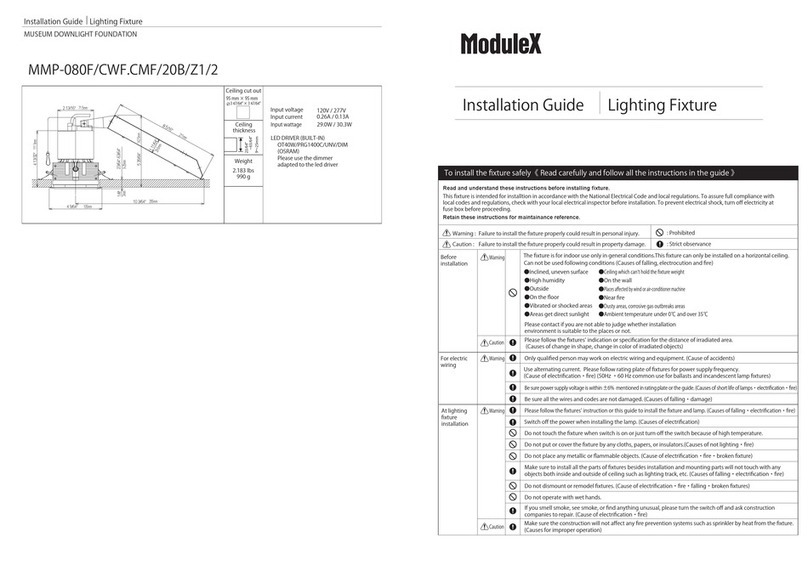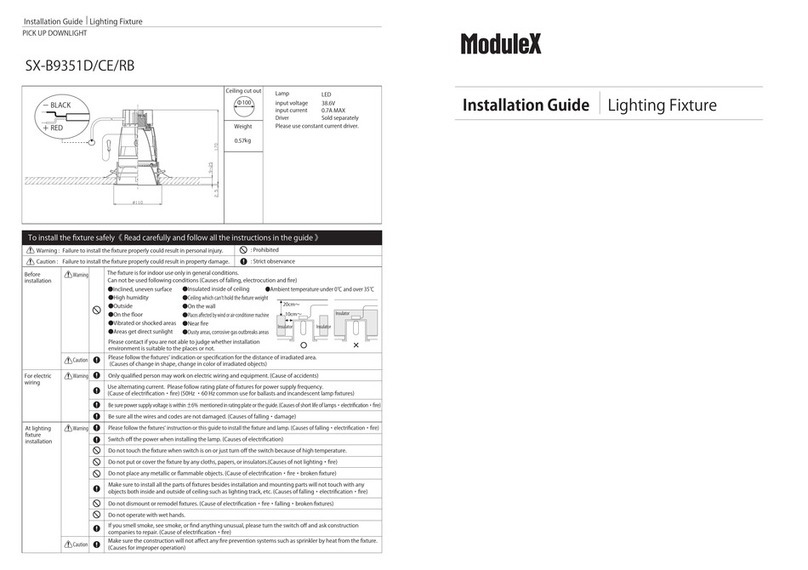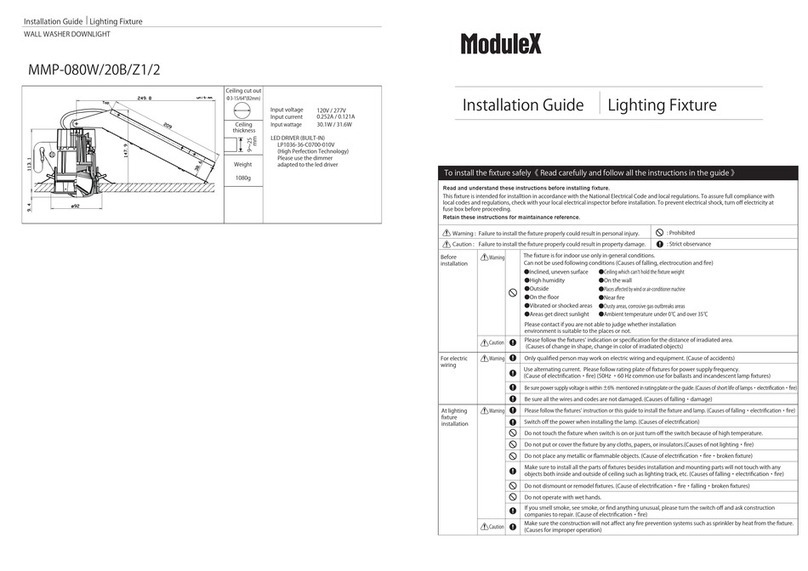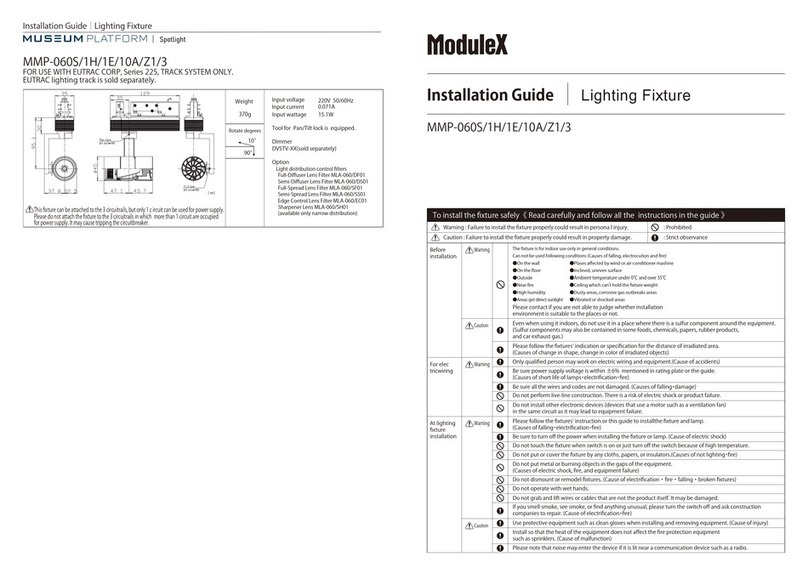
Installation Guide LightingFixture
ToinstallModuleXsafety
1-20-6BF1Ebisuminami,Shibuya-ku,
Tokyo,150-0022,Japan
Tel:81-3-5768-3681
4-1-21Kitahama,Chuo-ku,Osaka、
541-0041,Japan
Tel:81-6-7167-2474
1-8-30-1Daimyou,Chuou-ku
Fukuoka,810-0041,Japan
Tel:81-92-732-4211
TOKYO OSAKA FUKUOKA
R
Caution
Installation Diagram
Bendinwardsothatthesafetywire
mountingbracketdoesnotinterferewith
theinstrument.
Theconnectorisplacedbetween
themountingframeandtheinstrument,
andtheinstrumentisinstalledon
themountingframe.
c
1
1
1
1
44
4
4
3
3
2
2
2
2
Besuretoturnoffthepowerbefore
startingwork.
d
Equipmentinstallation
(implantation,Ceilingmount)
Openthesafetywiremountingbracket
downwardandattachthesafetywire.
Connecttheconnectoronthedriverside
andtheconnectorontheinstrumentside.
Checkthattheconnectorislockedand
cannotberemovedafterconnection. Safetywiremounting
bracket
Bendthesafetywiremountingbracketdownward
Safetywire
【Recessed】
【Ceilingmount】
Mountingspring
Mountingframe(soldseparately)
ExclusiveDriver(soldseparately)
Driver(soldseparately)
Connectioncable
Mountingplate(soldseparately)
Connectoristilted
Arrangethewiressothattheconnector
doesnottilt.
1
1
Connecttheconnectingcablewithconnectorto
theoutputofthedriver.
(Becarefulnottomakeamistakeinthepolarity
ofthewireswhenconnecting.Seethefigure)
Whencrimping,besuretocutoffthesolderand
crimpit.(Causeofpoorcrimpcontact)
Connecttheconnectingcableanddriver
accordingtotheattachedlabel.
a
Driver
Connectioncable
Powersupplyinstallation
Cutoffsolder
Pleasecrimpinaplacewithoutsolder
a
Electricalwire
2
2
Installthedriverintheceiling.
(Makesuredrivermaintenanceispossible
inaccordancewiththetechnical
standardsforwarequipment)
Powerline
PWMsignalline ToPWMdimmer
Driver
c
Safetywire
Bendthesafetywiremountingbracketupward
d
Installation Details
Installtheinstrumentsothatitissecurely
fixedtotheframemountingsprings
(2places).
Makesurethattheinstrumentdoesnot
protrudefromtheframe.
Ceiling
surface
Polaritylabelforfoundation
Equipmentthatcanbeattachedtothemountingframe
anddirectmountingplate
300types
Note:300instrumentscannotbeinstalledon1200mountingframes
0300Singletype
0300Concatenationtype
Mounting
frame
Installableinstruments
Mountingplate
Numberofconnecteddevices
bydrivercapacity
ContentsPrecautions
Maximumoutputpowerofthedriver
(soldseparately)
Modelnumber
60
180
Outputpower(W)
NTC-E060CV0241
NTC-E180CV0241
Full length
mm
300 600 900 1200 1500
1500
1800
1800
2100
2100
2400
2400
Driver model number:
7.4 14.8 22.2 29.6 37.0 44.4 51.8 59.2
mm
Wall washer
Foundation 14.8 29.6 44.4 59.2
NTS-E060CV0241
Power consumption
2700 3000 3300 3600 ~7200
~177.666.6 74.0 81.4 88.8
74.0 88.8 103.6 118.4 133.2 148.0 162.8 177.6
NTS-E180CV0241
(W)
(W)
Totallengthofequipmentthatcanbeusedbydriver(excludingpowerconsumptionofthedriver)
MPP-10/0300/COS/S
MPP-10/0600/COS/S
MPP-10/1200/COS/S
Connectaccordingtothepolaritylabel
attachedtotheconnectioncable.
Connectioncable
Safetywiremounting
bracket
Safetywire
【Recessed】 【Ceilingmount】
Ceilingsurface
Driver model number:
Wall washer
Foundation
Power consumption
Mounting
frame
Mountingplate
600types
Installableinstruments
0300Concatenationtype
0600Singletype
1200types
Installableinstruments
0600Concatenationtype0600Concatenationtype
Mountingframe
Mountingplate
1200Singletype
ExclusiveDriver(soldseparately)
−Black
+Red+Black &White
ーBlack
Installsothattheirradiationsurfaceis
onthewall.
b
b
Wall
Ceiling
Irradiationdirection
Instrument
crosssection
Lightingfixture
Lightingfixture
Lightingfixture
Full length
ExclusiveDriver(soldseparately)
PowerconnectionDCcable(soldseparately)
1000/3000
PowerconnectionDCcable(soldseparately)
Inputconnector
Outputconnector
Lightingfixture
MPP-OP/DC01/1000・3000
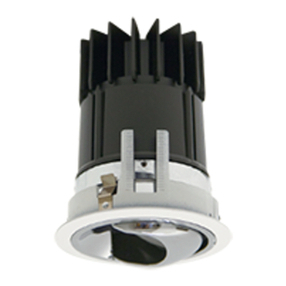
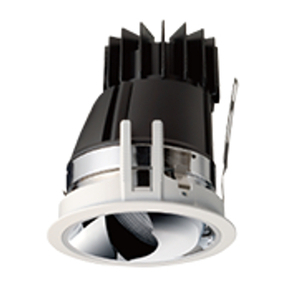
PRISM Wallwasherdownlight
