manuals.online logo
Brands
  1. Home
  2. •
  3. Brands
  4. •
  5. modway
  6. •
  7. Indoor Furnishing
  8. •
  9. modway MOD-6189 User manual

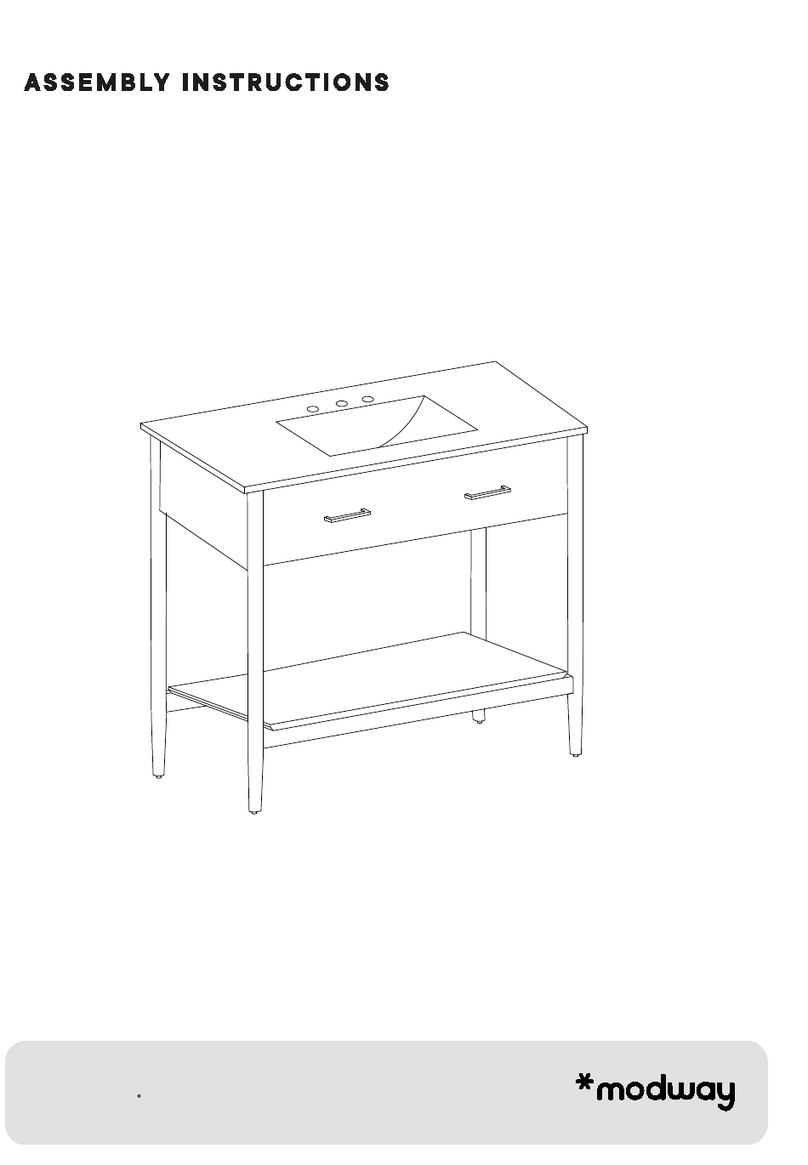
modway MOD-6189 User manual

A
B
JCBC SCREW M6 X 70MM
SPRING WASHER 1/4"
Hardware for DRESSER
Component :
1- DRESSER
Customer Service 908-368-1025 www.modway.com Page 1/3
x8
x8
Thank you for purchasing the MODWAY DRESSER !
Before you start,here is some helpful advice:
1.We suggest you spend a short time reading through this leaflet and then follow the simple step by step
instructions.
2.Owing to the size and weight of the bed, we recommed that it is assembled by two adults,on a carpeted or
padded area, in the room that it is intended for.Approx assembly time:30 minutes.
3.Please do not use any tools other than those provided or recommended in these instructions.
4.Please do not throw away any of the packaging or the instruction until you have checked all the components
and hardware and the furniture is fully assembled.Please ensure that the packaging is disposed of in a safe
environmentally friendly way.
5.Assemble all components loosely until advised to tighten.Depending on use, it may be necessary to tighten
the components from time to time,so please save the tools that has been provided.
6.Please keep all fitting out of reach of children.
MOD-6189
CFLAT WASHER 1/4" x8
DM4 ALLEN KEY (BALL SHAPE) LONG x1
E
2- LEGS
1
2
PROTECTION PAD x4
FWALL SCREW M4 x 18MM x1
GWALL SCREW M4 x 50MM x1
HL- BRACKET x2
IBELT x1
Place
Place
Hardware & Tool required
STEP 1 :
Page 2/3
Customer Service 908-368-1025 www.modway.com
A x 8 B x 8 C x 8 D x 1
D
B
C
A
E x 4
E
Place DRESSER (1) and Legs (2) on a carpeted or padded area as shown. Attach Legs (2) into DRESSER (1) by inserting
JCBC SCREW M6 x 70mm(A),Spring Washer 1
4''(B) and Flat washer 1
4'' (C).Tighten with M4 Allen Key (Ball Shape)Long(D). Then,
place the PROTECTION PAD(E) on bottom of Legs(2).
STEP 2:
H
F
H
G
Hardware & Tool required
H x 2 F x 1 G x 1
Attach one of the L-Bracket(H) to wall by inserting WALL SCREW M4 x 50MM(G). Then attach another L-Bracket(H) to back side center of
Dresser by inserting WALL SCREW M4 x 50MM(G).
STEP 2.1
STEP 2.2
MOD-6189
Place
Place
Hardware & Tool required
STEP 3 :
Page 3/3
Customer Service 908-368-1025 www.modway.com
I x 1
Assembly is complete,the DRESSER is ready to be enjoyed now!
Attach the two L-BRACKET(H) with the BELT(I).
STEP 4:
I
MOD-6189

Other modway Indoor Furnishing manuals
modway EEI-2248 User manual

modway

modway EEI-2248 User manual

modway EEI-2542 User manual

modway

modway EEI-2542 User manual

modway EEI-4634 User manual

modway

modway EEI-4634 User manual

modway Envision EEI-4324 User manual

modway

modway Envision EEI-4324 User manual
modway EEI-2126 User manual

modway

modway EEI-2126 User manual

modway 1384 User manual

modway

modway 1384 User manual

modway 1204 User manual

modway

modway 1204 User manual

modway EEI-6602 User manual

modway

modway EEI-6602 User manual

modway EEI-5088 User manual

modway

modway EEI-5088 User manual

modway EEI-2695 User manual

modway

modway EEI-2695 User manual

modway EEI-2921 User manual

modway

modway EEI-2921 User manual

modway EEI-1631 User manual

modway

modway EEI-1631 User manual

modway MOD-6343 User manual

modway

modway MOD-6343 User manual

modway MOD-6203 User manual

modway

modway MOD-6203 User manual

modway EEI-2650 User manual

modway

modway EEI-2650 User manual

modway MOD-5428 User manual

modway

modway MOD-5428 User manual

modway Parsons EEI-3333 User manual

modway

modway Parsons EEI-3333 User manual

modway EEI-1211 User manual

modway

modway EEI-1211 User manual

modway EEI-1180 User manual

modway

modway EEI-1180 User manual

modway EEI-2801 User manual

modway

modway EEI-2801 User manual

modway EEI-2786 User manual

modway

modway EEI-2786 User manual

modway EEI-5856 User manual

modway

modway EEI-5856 User manual

modway EEI-3746-CAP User manual

modway

modway EEI-3746-CAP User manual

modway EEI-4656 User manual

modway

modway EEI-4656 User manual

Popular Indoor Furnishing manuals by other brands

Sealy posturematic owner's manual

Sealy

Sealy posturematic owner's manual

STEGBAR Galleria BIR06 Assembly & Installation Guidelines

STEGBAR

STEGBAR Galleria BIR06 Assembly & Installation Guidelines

Amerihome HCDTSET36 Assembly

Amerihome

Amerihome HCDTSET36 Assembly

Habitat 847/2544 manual

Habitat

Habitat 847/2544 manual

VITRA HACK operating instructions

VITRA

VITRA HACK operating instructions

Home Decorators Collection Manhattan WSHC36S Assembly instructions

Home Decorators Collection

Home Decorators Collection Manhattan WSHC36S Assembly instructions

Sareer Sherry 4'6 Bed Assembly instructions

Sareer

Sareer Sherry 4'6 Bed Assembly instructions

Taiga Concept LOHKO PICEA 3 Assembly guide

Taiga Concept

Taiga Concept LOHKO PICEA 3 Assembly guide

Whittier Wood Furniture 1190RGB Assembly instructions

Whittier Wood Furniture

Whittier Wood Furniture 1190RGB Assembly instructions

Forte JRNK241R Assembling Instruction

Forte

Forte JRNK241R Assembling Instruction

Hartman ROMA PERGOLA Assembly instructions

Hartman

Hartman ROMA PERGOLA Assembly instructions

Raynor eurotech ADAPT-TASK Assembly instructions

Raynor

Raynor eurotech ADAPT-TASK Assembly instructions

Spectrum Industries Inspiration Plus Lectern owner's manual

Spectrum Industries

Spectrum Industries Inspiration Plus Lectern owner's manual

Cosco 5870321PCOM instructions

Cosco

Cosco 5870321PCOM instructions

Lifetime 0150 owner's manual

Lifetime

Lifetime 0150 owner's manual

Costway HV10347 user manual

Costway

Costway HV10347 user manual

Baxton Studio 0038 6 Drawer Dresser Assembly instructions

Baxton Studio

Baxton Studio 0038 6 Drawer Dresser Assembly instructions

deVRIES Willington 40471 Assembly instructions

deVRIES

deVRIES Willington 40471 Assembly instructions

manuals.online logo
manuals.online logoBrands
  • About & Mission
  • Contact us
  • Privacy Policy
  • Terms and Conditions

Copyright 2025 Manuals.Online. All Rights Reserved.