manuals.online logo
Brands
  1. Home
  2. •
  3. Brands
  4. •
  5. Moen
  6. •
  7. Plumbing Product
  8. •
  9. Moen POT FILLER Series User manual

Moen POT FILLER Series User manual

This manual suits for next models

2

Other Moen Plumbing Product manuals

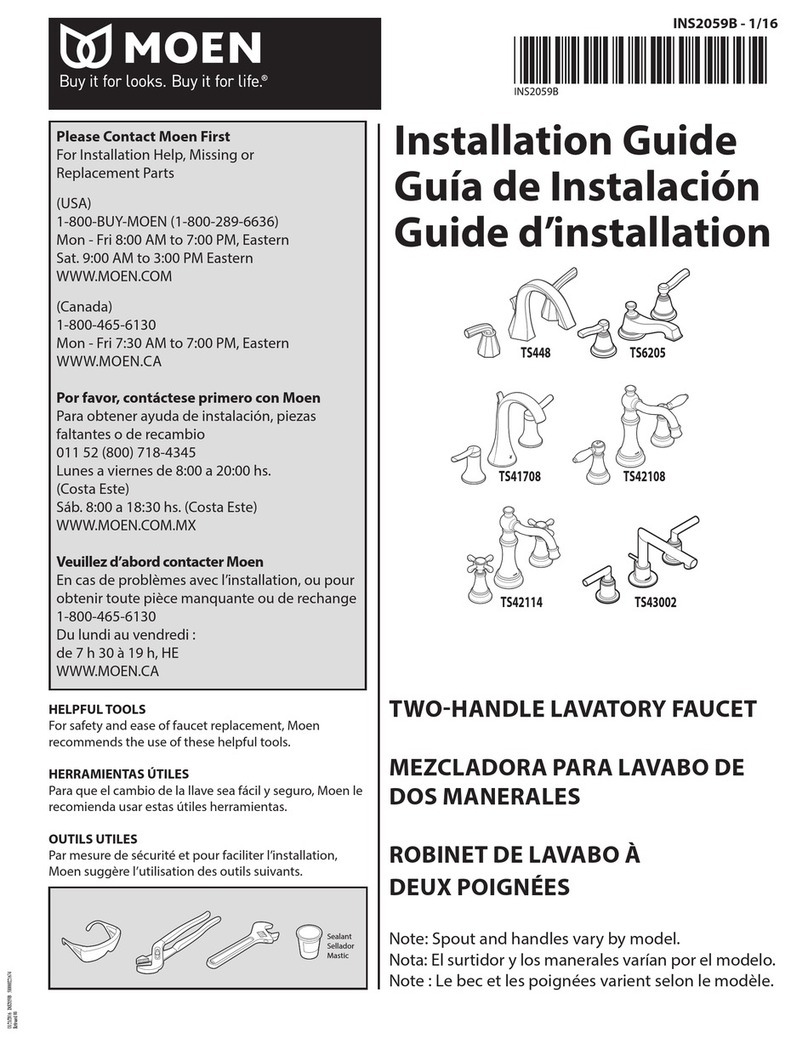
Moen TS448 User manual

Moen

Moen TS448 User manual

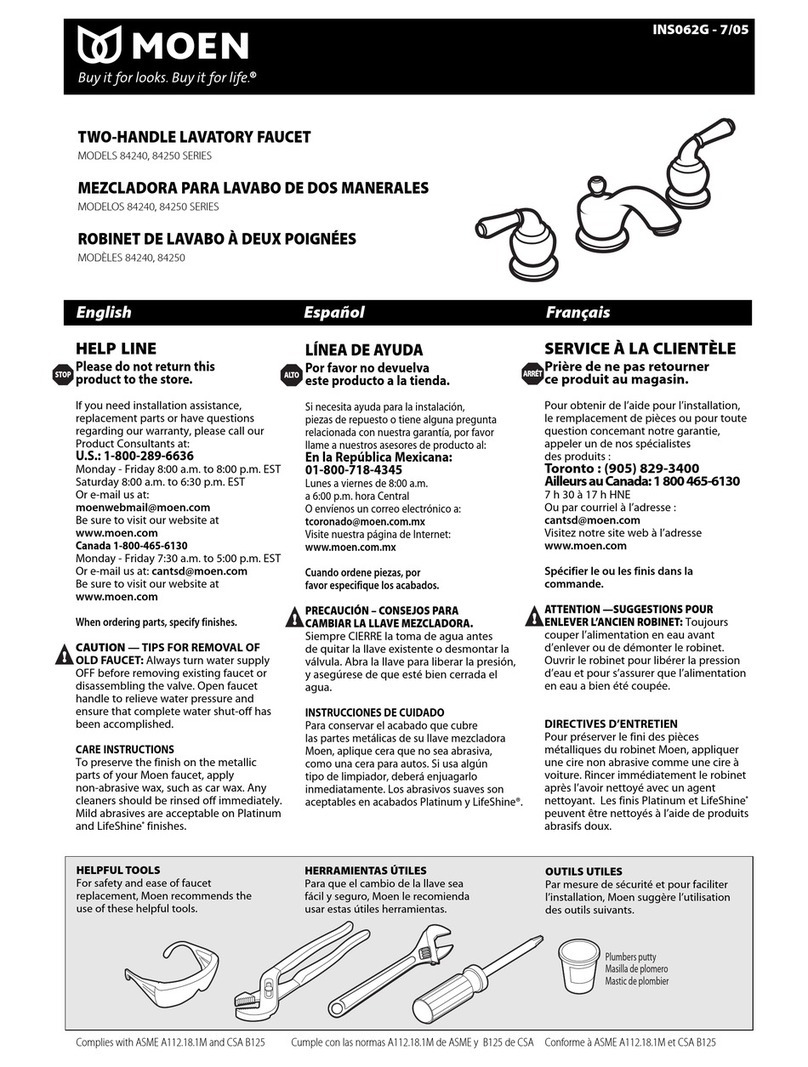
Moen 84240 SERIES User manual

Moen

Moen 84240 SERIES User manual
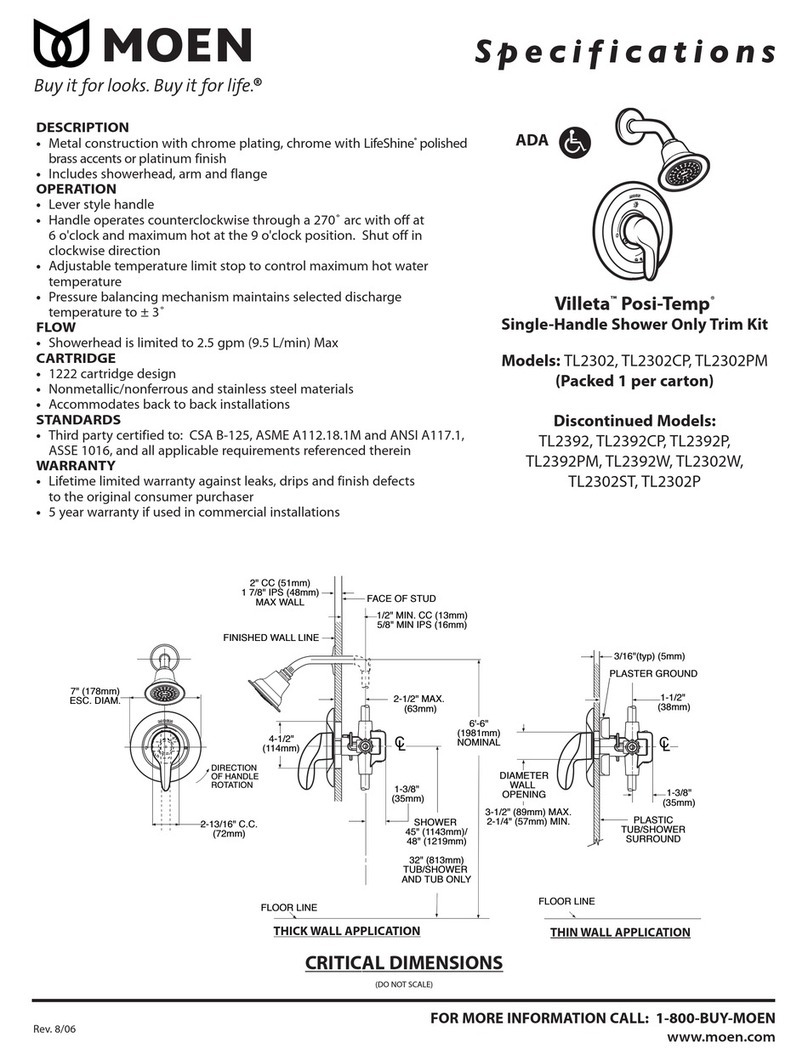
Moen Villeta TL2302CP User manual

Moen

Moen Villeta TL2302CP User manual
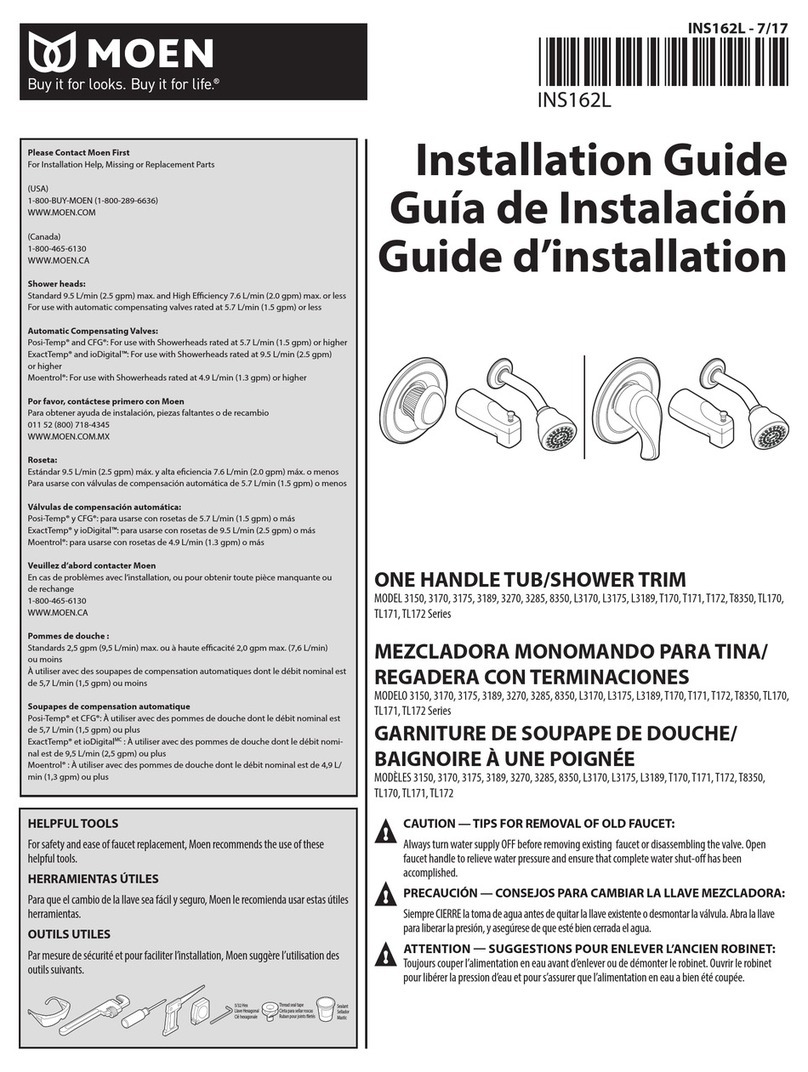
Moen 3170 Series User manual

Moen

Moen 3170 Series User manual
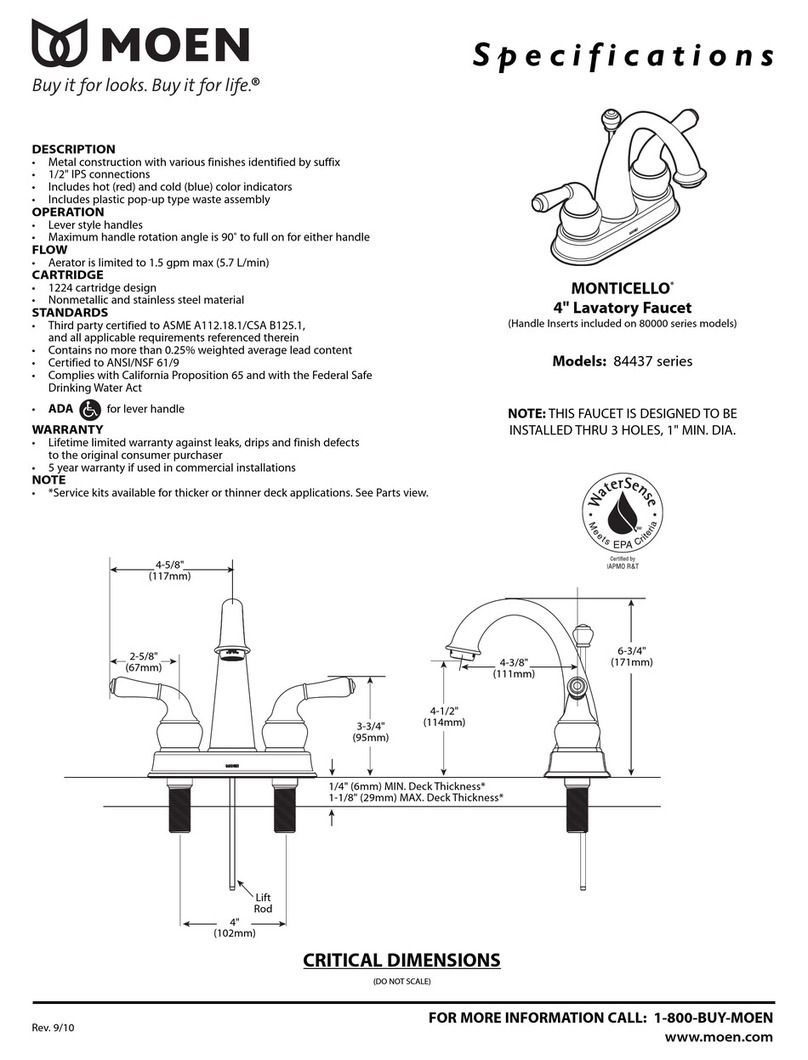
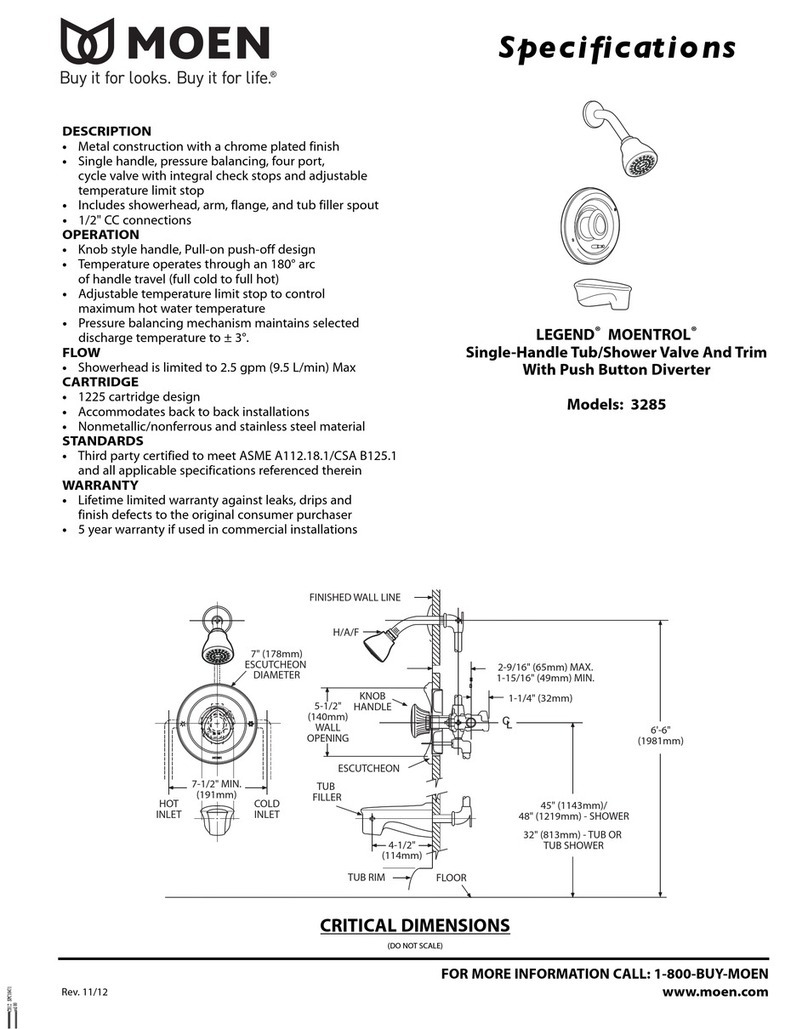
Moen MONTICELLO 84437 series User manual
Moen

Moen MONTICELLO 84437 series User manual

Moen LEGEND MOENTROL 3285 User manual

Moen

Moen LEGEND MOENTROL 3285 User manual
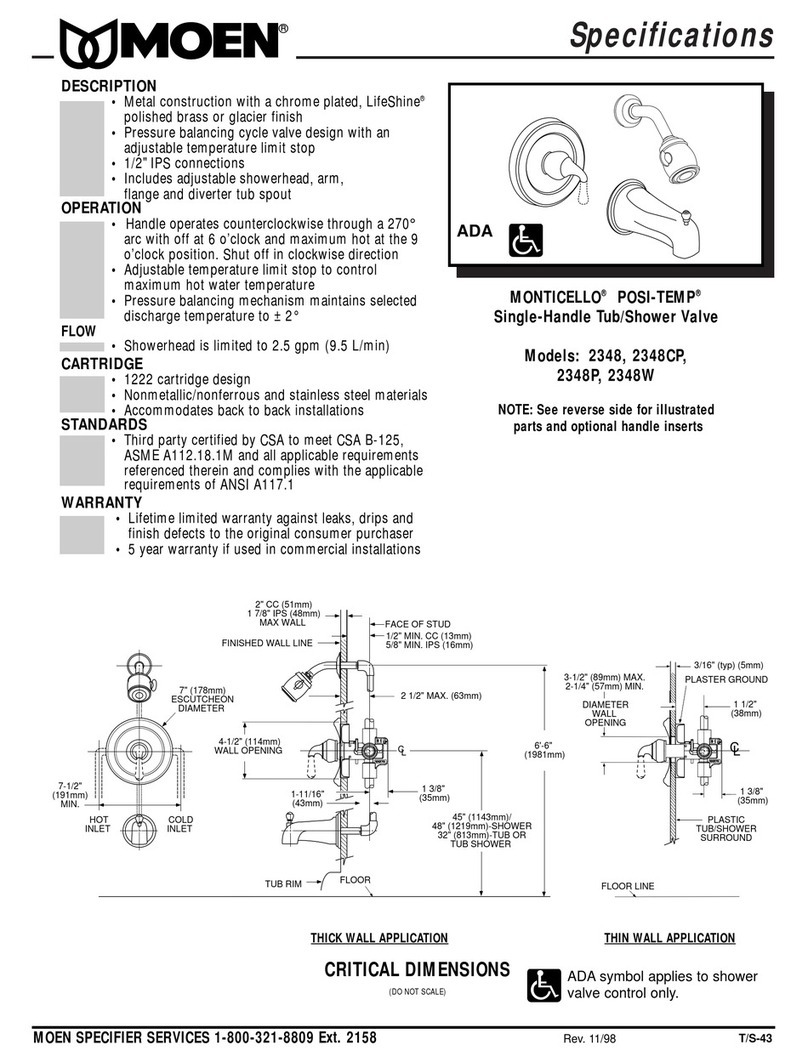
Moen MONTICELLO POSI-TEMP 2348 User manual
Moen

Moen MONTICELLO POSI-TEMP 2348 User manual

Moen HKEB500-D User manual

Moen

Moen HKEB500-D User manual
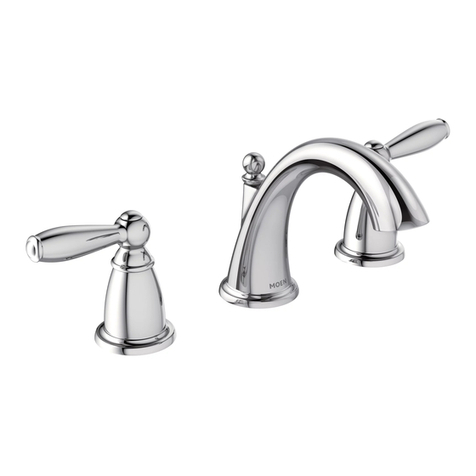
Moen T6620BN User manual

Moen

Moen T6620BN User manual

Moen MOENTROL User manual

Moen

Moen MOENTROL User manual
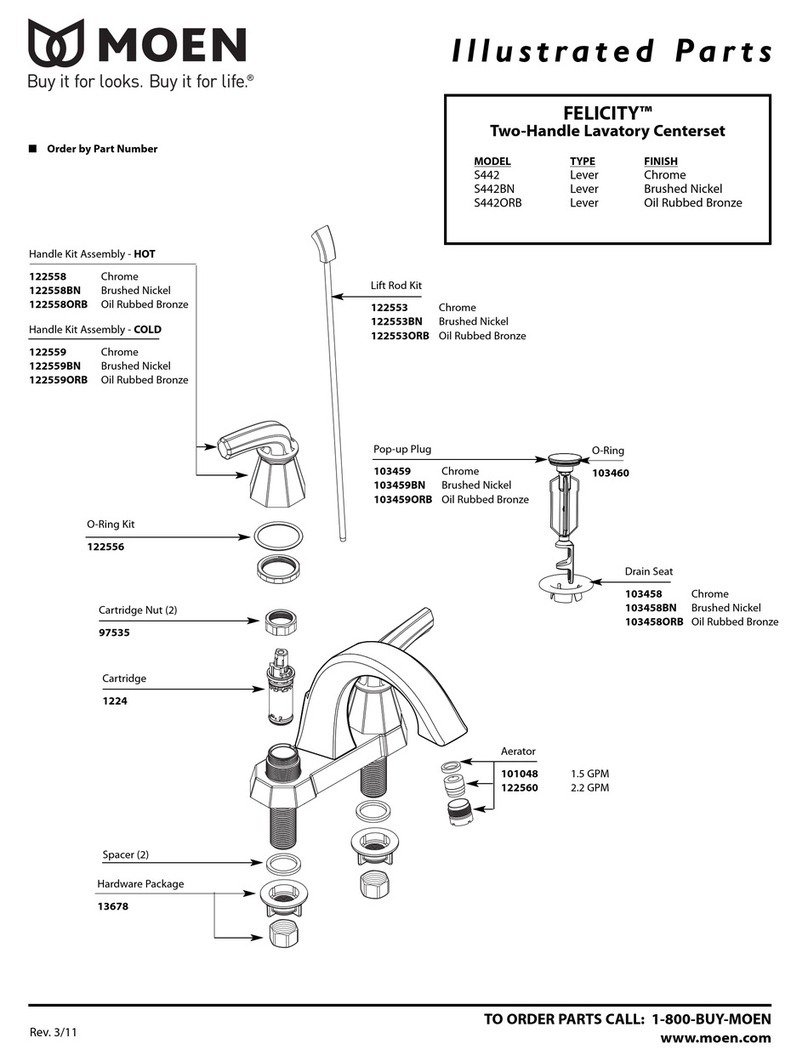
Moen Felicity S442 Chrome Manual

Moen

Moen Felicity S442 Chrome Manual

Moen ShowHouse S244 Series User manual
Moen

Moen ShowHouse S244 Series User manual

Moen 7622SRS User manual

Moen

Moen 7622SRS User manual

Moen RT4570 User manual

Moen

Moen RT4570 User manual
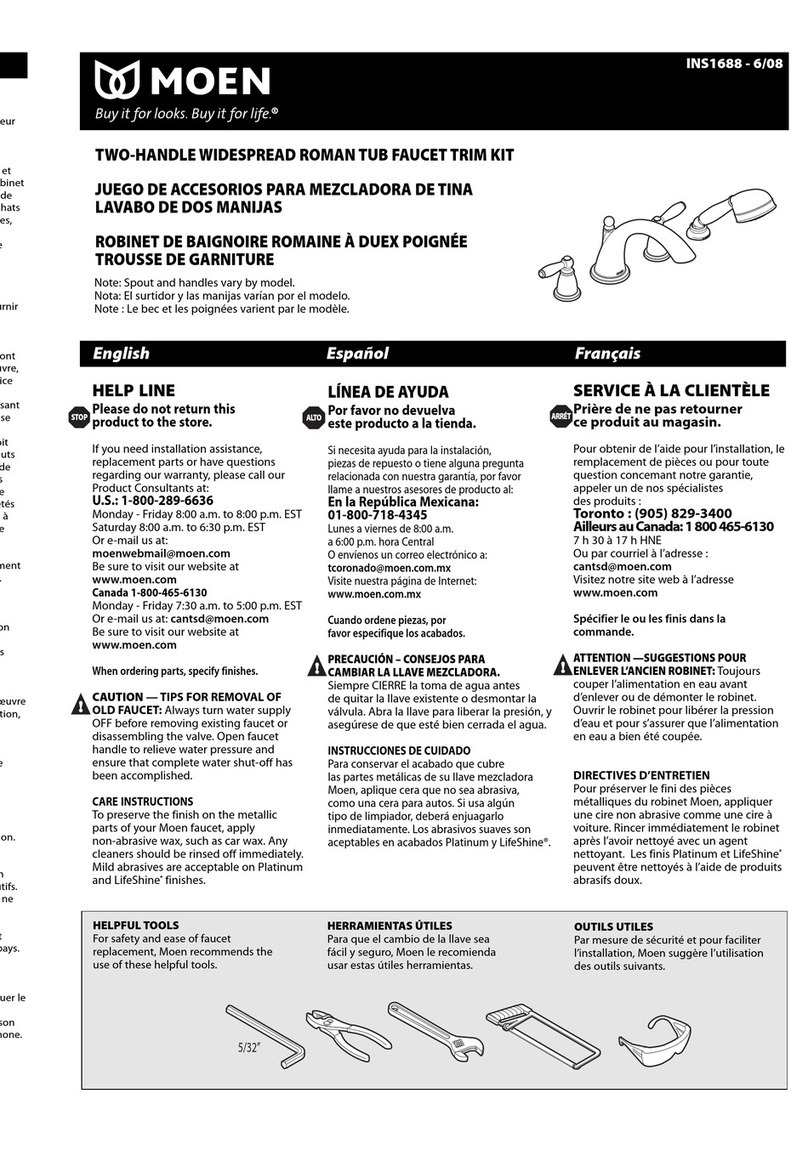
Moen INS1688 User manual

Moen

Moen INS1688 User manual
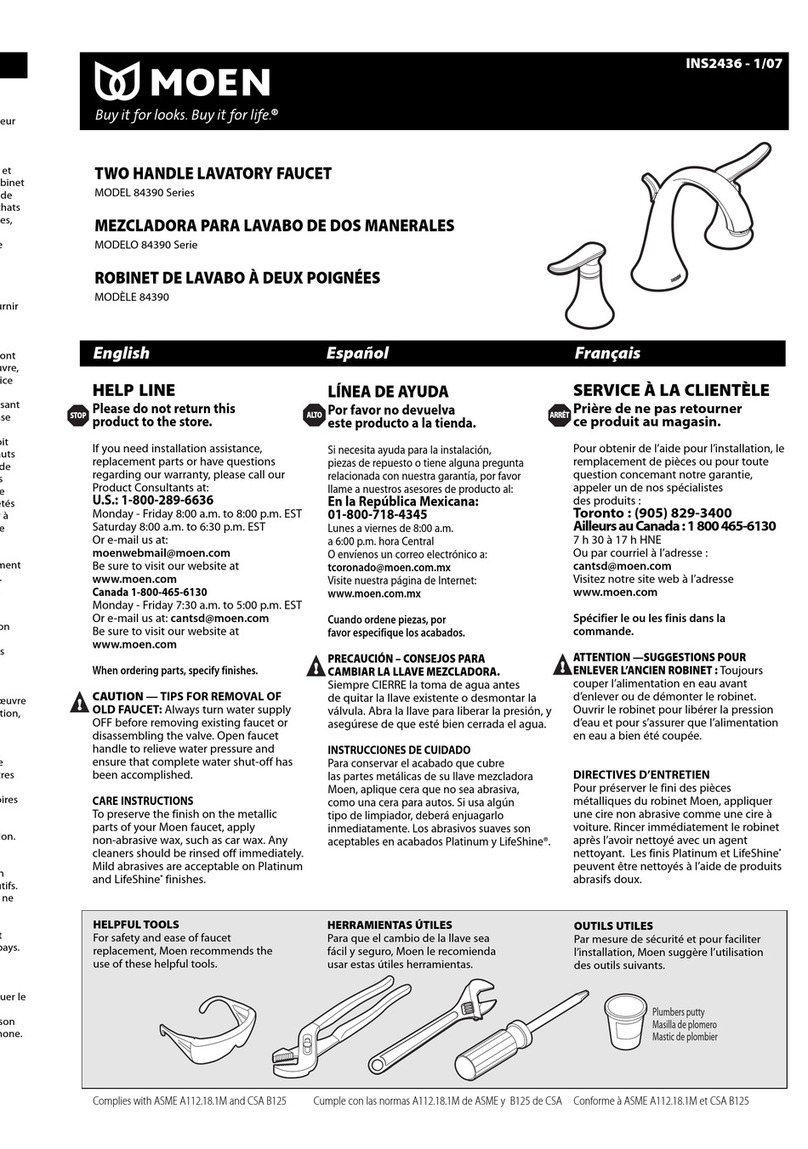
Moen 84390 Series User manual

Moen

Moen 84390 Series User manual
Moen TS4211 User manual

Moen

Moen TS4211 User manual
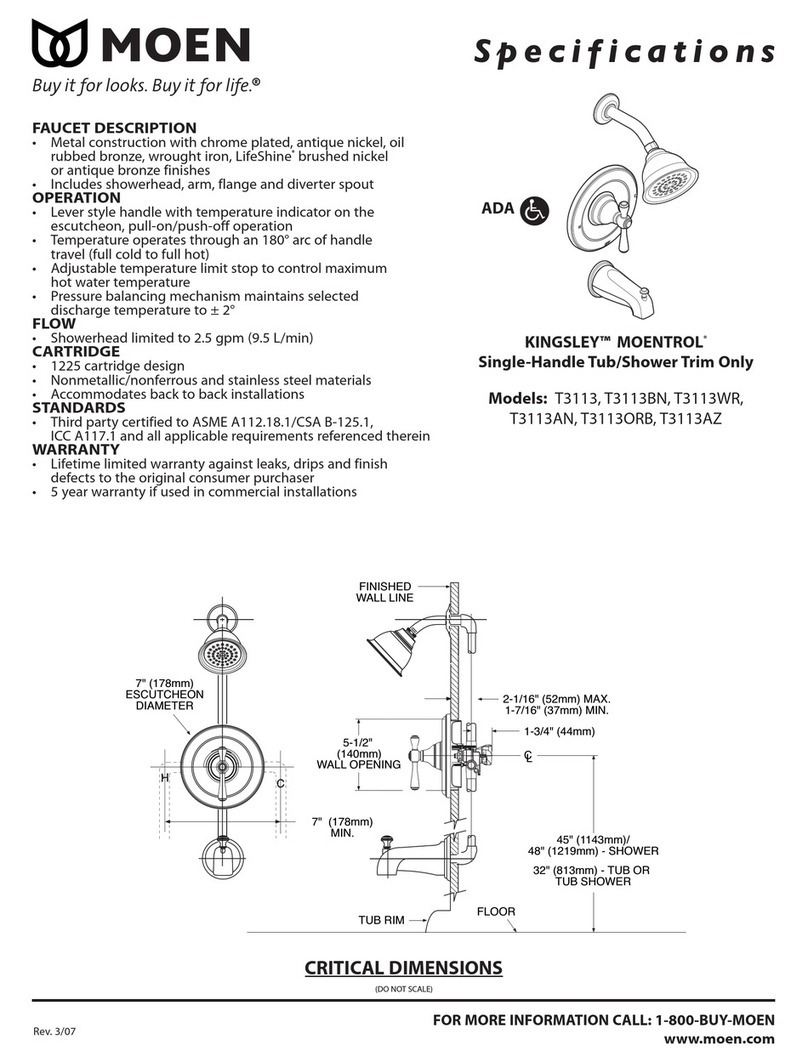
Moen KINGSLEY MOENTROL T3113 User manual
Moen

Moen KINGSLEY MOENTROL T3113 User manual

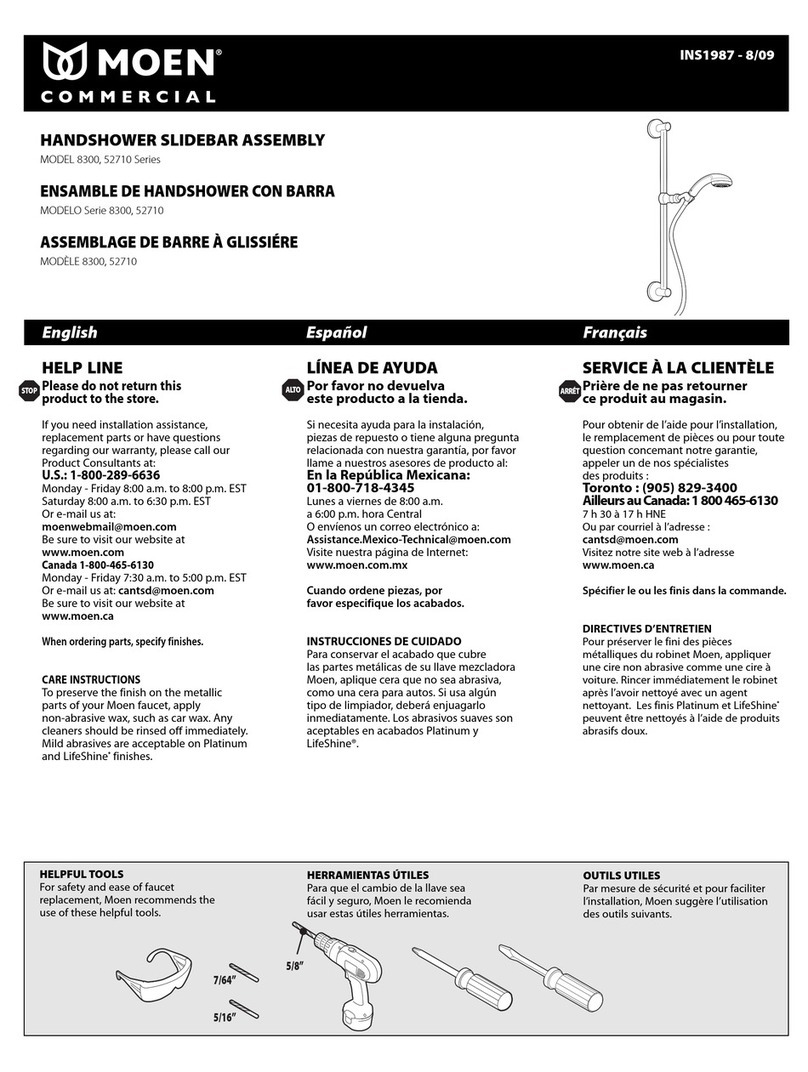
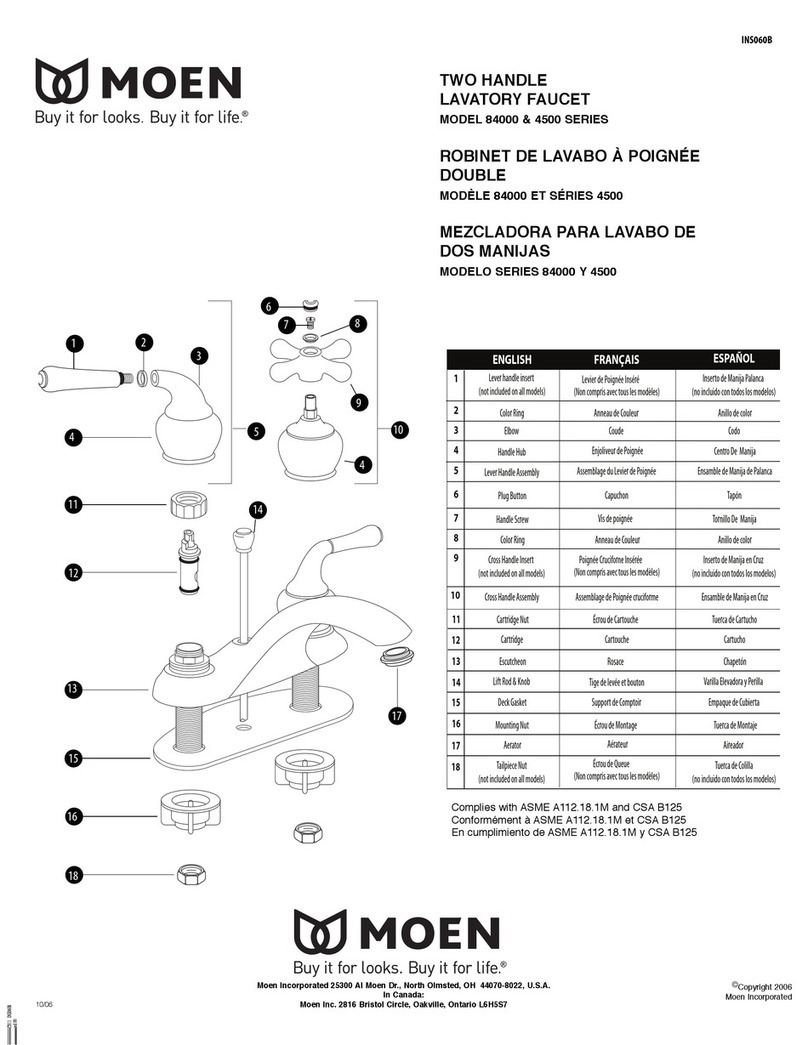
Moen HANDSHOWER SLIDEBAR ASSEMBLY 52710 User manual
Moen

Moen HANDSHOWER SLIDEBAR ASSEMBLY 52710 User manual

Moen Muirfield 84000 series Operational manual

Moen

Moen Muirfield 84000 series Operational manual

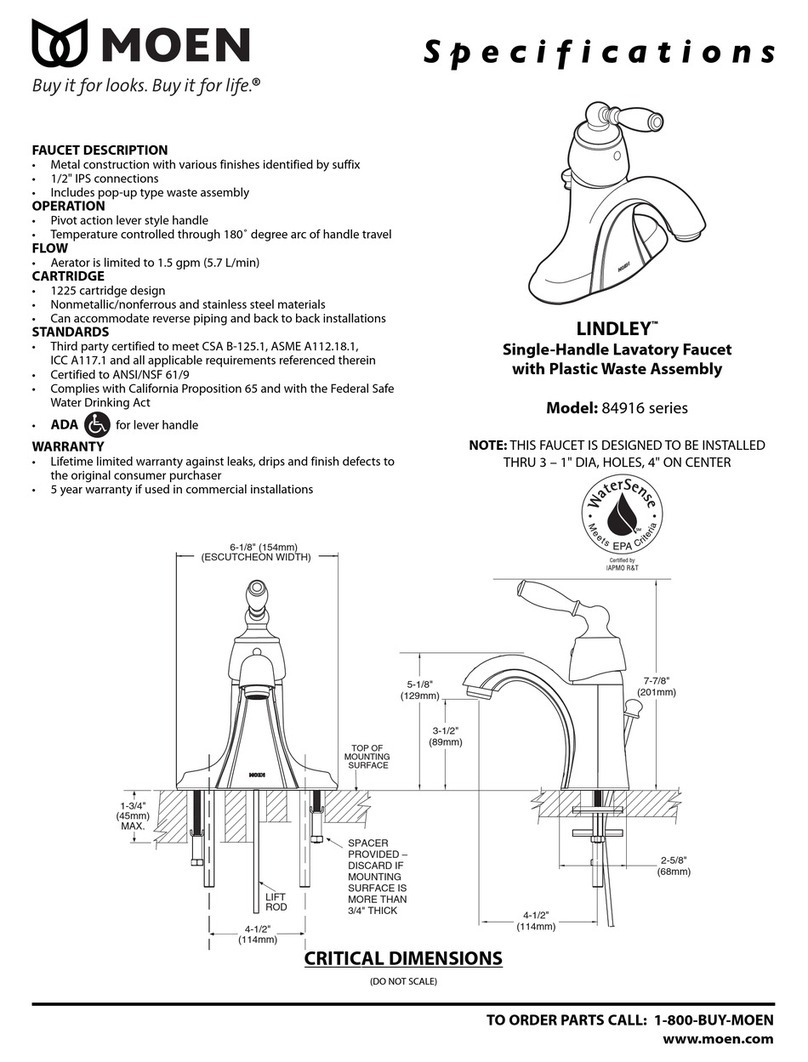
Moen Lindley 84916 series User manual

Moen

Moen Lindley 84916 series User manual

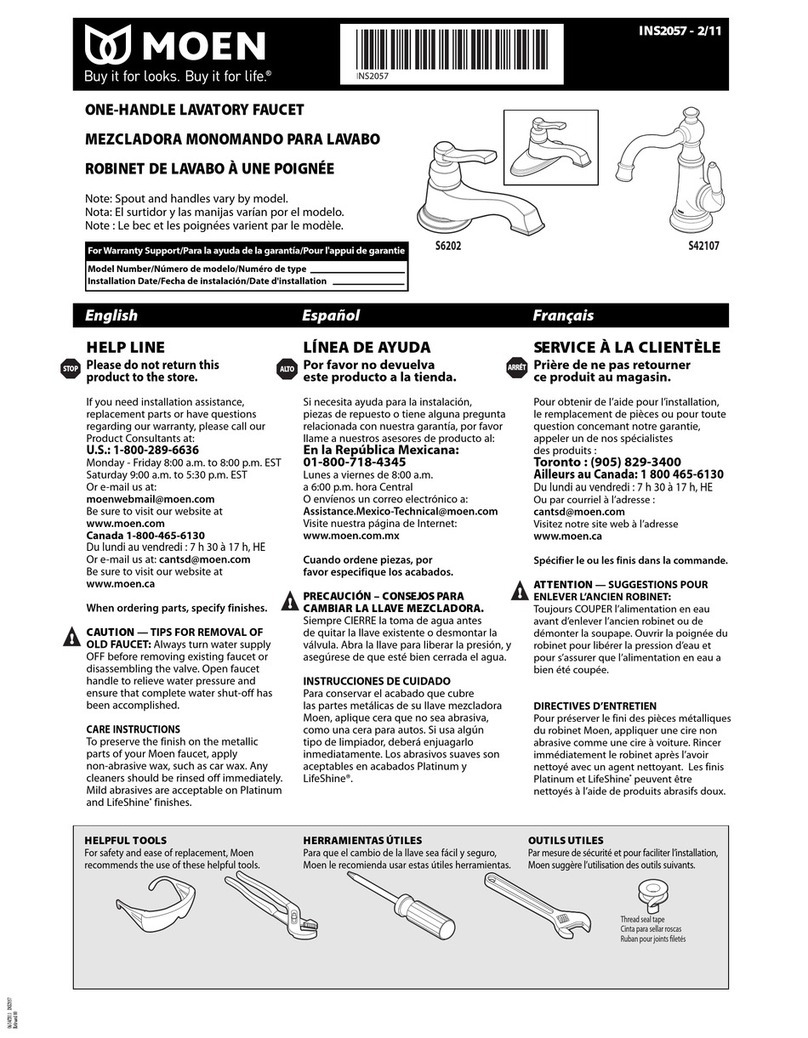
Moen S6202 User manual

Moen

Moen S6202 User manual

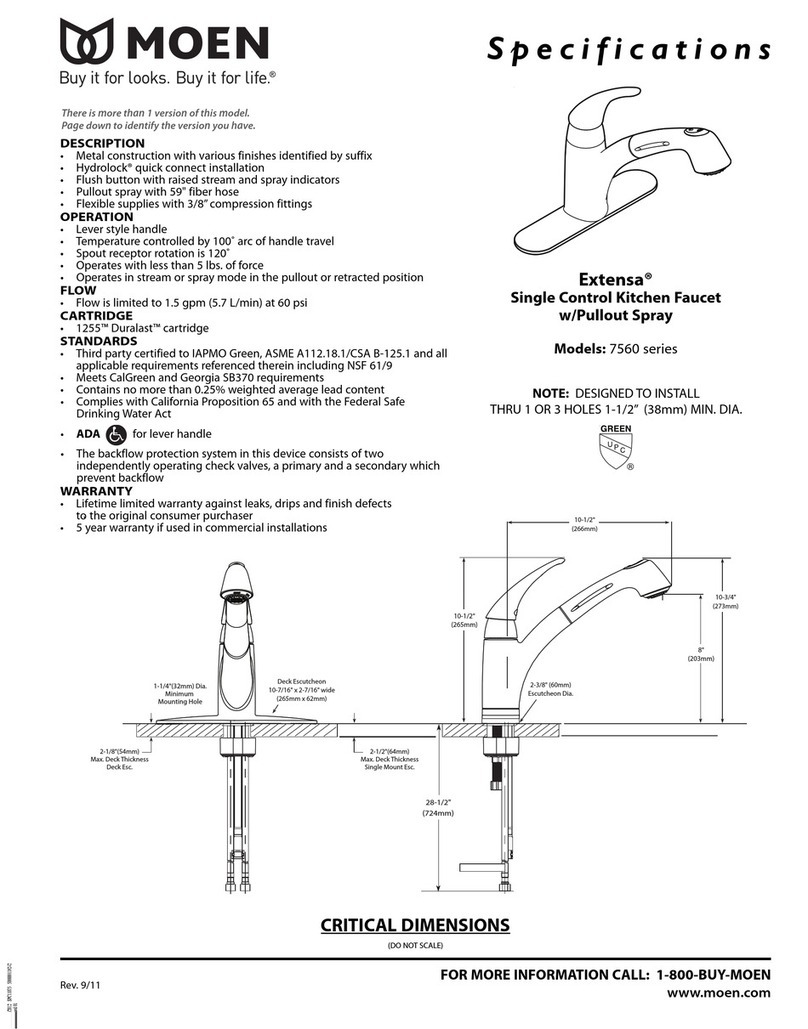
Moen EXTENSA 7560 series User manual

Moen

Moen EXTENSA 7560 series User manual

Moen Bamboo S936 User manual

Moen

Moen Bamboo S936 User manual

Popular Plumbing Product manuals by other brands

Grohe Allure Brilliant 19 784 manual

Grohe

Grohe Allure Brilliant 19 784 manual

Cistermiser Easyflush EVO 1.5 manual

Cistermiser

Cistermiser Easyflush EVO 1.5 manual

Kohler Triton Rite-Temp K-T6910-2A installation guide

Kohler

Kohler Triton Rite-Temp K-T6910-2A installation guide

BEMIS FNOTAB100 Installation instruction

BEMIS

BEMIS FNOTAB100 Installation instruction

Hans Grohe ShowerTablet Select 700 13184000 Instructions for use/assembly instructions

Hans Grohe

Hans Grohe ShowerTablet Select 700 13184000 Instructions for use/assembly instructions

Akw Stone Wash Basin Installation instructions manual

Akw

Akw Stone Wash Basin Installation instructions manual

Enlighten Sauna Rustic-4 user manual

Enlighten Sauna

Enlighten Sauna Rustic-4 user manual

Sanela SLWN 08 Mounting instructions

Sanela

Sanela SLWN 08 Mounting instructions

Franke 7612982239618 operating instructions

Franke

Franke 7612982239618 operating instructions

Heritage Bathrooms Granley Deco PGDW02 Fitting Instructions & Contents List

Heritage Bathrooms

Heritage Bathrooms Granley Deco PGDW02 Fitting Instructions & Contents List

Tres TOUCH-TRES 1.61.445 instructions

Tres

Tres TOUCH-TRES 1.61.445 instructions

STIEBEL ELTRON WS-1 Operation and installation
STIEBEL ELTRON

STIEBEL ELTRON WS-1 Operation and installation
Miomare HG00383A manual

Miomare

Miomare HG00383A manual

BELLOSTA revivre 6521/CR1 quick start guide

BELLOSTA

BELLOSTA revivre 6521/CR1 quick start guide

American Standard Heritage Amarilis 7298.229 parts list

American Standard

American Standard Heritage Amarilis 7298.229 parts list

BorMann Elite BTW5024 quick start guide

BorMann

BorMann Elite BTW5024 quick start guide

Agua MONACO quick start guide

Agua

Agua MONACO quick start guide

Peerless Faucet P99231 Assembly & parts list

Peerless Faucet

Peerless Faucet P99231 Assembly & parts list

manuals.online logo
manuals.online logoBrands
  • About & Mission
  • Contact us
  • Privacy Policy
  • Terms and Conditions

Copyright 2025 Manuals.Online. All Rights Reserved.

INS12071A - 6/01
Two-Switch Wall Mount
Cold Only Kitchen Faucet
POT FILLER Series
INSTALLATION INSTRUCTIONS
Record Purchased Model Number:
(Save instruction sheet for future reference)
Image is for reference only
(Style varies by model)
Pencil
Safety Glasses Tape Measure
Phillips Screwdriver Thread Seal Tape
MOEN
400-630-8866
www.moen.cn
PLEASE CONTACT MOEN FIRST
For Installation Help, Mis
Parts
(China) 400-630-8866
www.moen.cn
HELPFUL TOOLS
For safety and ease of replacement, Moen
Impact drill
3/32"
3/32"
Sealant
Adjustable Wrench
1/16" 5/32"
Strap Wrench
sing or Replacement
recommends the use of these helpful tools.
CAUTION — TIPS FOR REMOVAL OF OLD FAUCET:
Always turn water supply OFF before removing existing faucet or disassembling the valve.
Open faucet handle to relieve water pressure and ensure that complete water shut-off has
been accomplished.
2
Parts List
A. Expansion Tube
B. Gasket
C. Wall Seat
D. Screw 1
E. Connector
F. Self-tapping Screws
G. Decorative Cover
H. Screw 2
Icon Legend
Above sinkWarning Below sink
A
B
D
E
G
H
C
F
3
Wrap the installation screw with raw tape
and connect it to the water inlet pipe. Pay
attention to the maximum width of the
pipe and the reserved width of the wall.
Use a suitable tool such as a screwdriver
to remove the Screw 1 (D) as shown in
the figure.
Remove the faucet and Wall Seat (C).
Use a drill to drill holes according to the
marked screw positions.
Installthe Expansion Tube (A), Gasket
(B), and Wall Seat (C) in the order
shown inthe figure. Use a screwdriver
to tighten the Self-tapping Screws (F).
Put the G1/2 screw Connector (E) inthe
hole. After installing the Wall Seat (C)
into themainbody ofthe faucet, connect
the faucet and thewater inlet pipe, and
tighten the wall base counterclockwise.
Note: Do not over tighten.
Put thespirit level on the main body of
the faucet to test whether it is tilted.
Installthe Screw 1 (D) on the wall
base with a screwdriver and other
suitable tools as shown in the figure,
and markthe holes in thewall base
witha pencil.
2
1
3
5/32"
ø6
ø42 max
2-14mm
Option
ø42 max
7-19mm
1
2
3
1
1
2
2
12 3
5 6
C
E
D
1
2
3
4
1
2
3
3
C
C
A
B
C
E
F
4
Screw on the Screw (D) as shown in the
figure, and install the Decorative Cover
(G) on the faucet.
Install the faucet on thewall as shown in
the picture, and tighten the screw 2 (H).
Remove the Decorative Cover (G) as
shown in the figure, and tightenthe
Screw 1 (D).
The installation is completed.
Tighten the faucet completely with a
strap wrench.
Use a spirit levelto align the faucet.
1/16"
1
10 11 12
3
7
2
1
1
8
2
9
C
D
5
Pull the faucet as shown in the picture. Turn on the tapswitchto test whether
the water is normal.
13 14 15
Turn off both handles when not in use.
©2023 Moen Incorporated
INS12071A
We offer limited warranty and lifetime maintenance
for Moen products, which are all manufactured with
high standards of workmanship.
The period of warranty shall start from the date of
purchase of the product (according to the invoice or
receipt issued by Moen distributors) and shall
cover a period of the following: the warranty period for
cartridge is 5 years, the warranty period for solenoid
valve sensor is 2 years, the warranty period of other
accessories such as shower bar, hose, shower, drain
assembly, handle, cover, lift rod, aerator etc. is 1 year.
This warranty is your coverage against material and
workmanship malfunction or defects in Moen
products or components (such as shower bar, hose,
shower, drain assembly, handle, cover, lift rod,
aerator etc.). During the warranty period, we offer free
maintenance and changing of malfunctioned products
or product components. Moen’s after sales service
liability is limited to the maintenance of faulty items
and does not cover your other losses caused by
product malfunction, except for otherwise stipulated
by law.
Cosmetic damages (scratches, dents, etc.) and
malfunction or defects caused by abuse or improper
maintenance is not covered by this warranty. Although
the warranty period remains valid, in case of the
following conditions (1) - (5), the maintenance cost
(material cost and labor cost) shall still be charged as
the case may be:
1. Corresponding warranty card and valid invoice
cannot be presented;
2. Faults were caused by the incompliance with the
instructions and precautions provided in the user’s
manual;
3. Damages and faults were caused by self-actuated
dismantling, repair and refit;
4. Faults and damages were caused by external
factors such as force majeure;
5. Damages were caused by transportation,
unloading and extrusion, etc.
This warranty is valid for the original consumers only
(including hotel use), and excludes industrial and
commercial use of the product (except for hotel use).
This card is only responsible for product maintenance
rather than any other liabilities.
In the event that the product requires maintenance but
exceeds the warranty period, or that the product is not
covered by this warranty, labor cost and material cost
shall be charged as the case may be.
Please call 400-630-8866 or contact local dealer for
any question.
MOEN LIMITED WARRANTY
Two-Switch Wall Mount
Cold Only Kitchen Faucet
Compliance Certification
Product Name
Date of Production
Inspector
Fortune Brands Innovations (Shanghai) Co., Ltd
Room 207, Building4, No. 1, Lane1800, Xinyang Highway,
China (Shanghai) Pilot Free Trade Zone