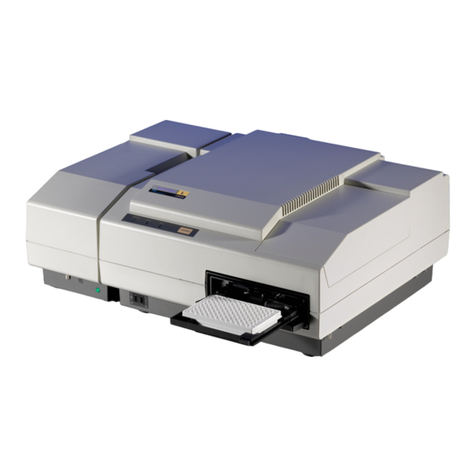
Molecular Devices SpectraMax MiniMax User manual
Other Molecular Devices Laboratory Equipment manuals
Molecular Devices
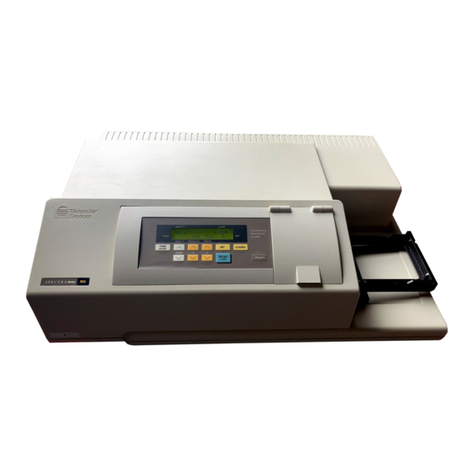
Molecular Devices SpectraMax M2 User manual

Molecular Devices
Molecular Devices SkanWasher 300 User manual
Molecular Devices
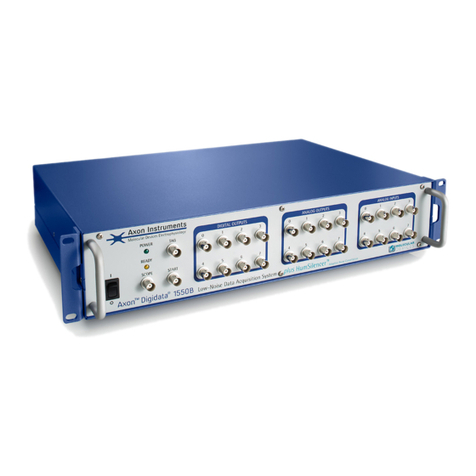
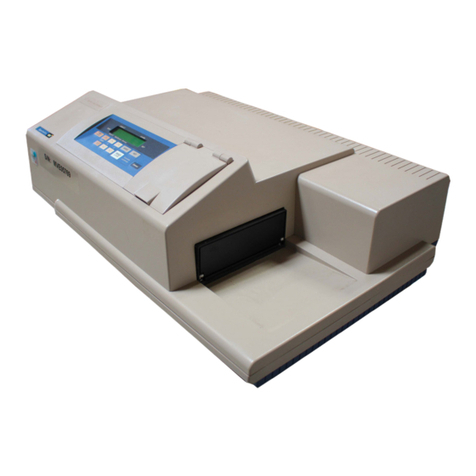
Molecular Devices Digidata 1550 User manual
Molecular Devices
Molecular Devices SpectraMax M3 User manual
Molecular Devices
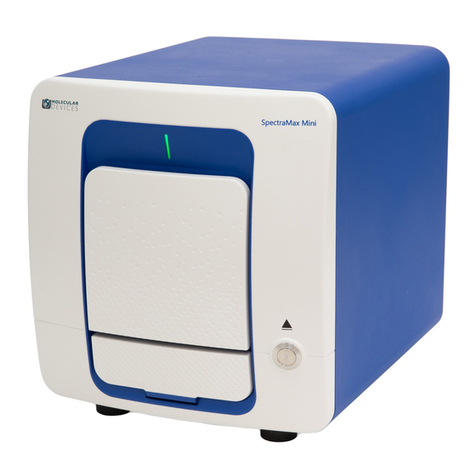
Molecular Devices SpectraMax Mini User manual

Molecular Devices
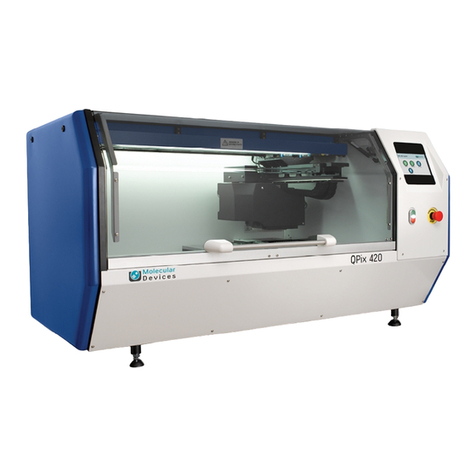
Molecular Devices QPix 450 User manual
Molecular Devices
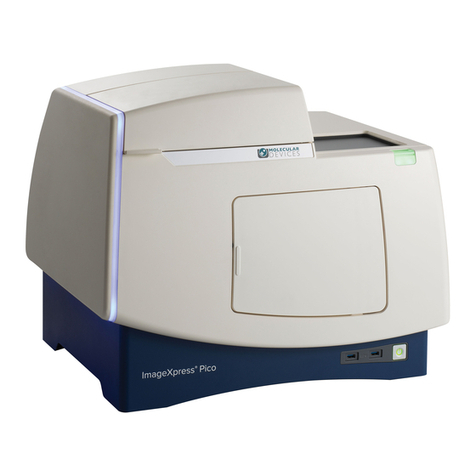
Molecular Devices ImageXpress Pico User manual
Molecular Devices
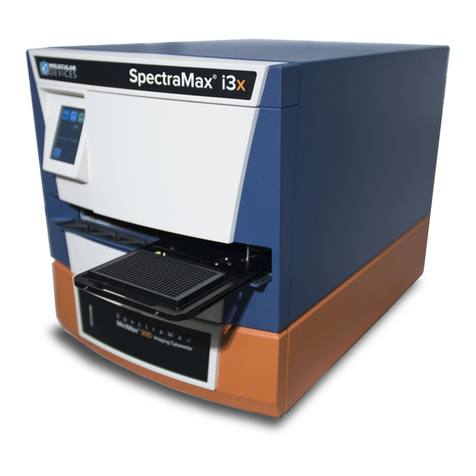
Molecular Devices SpectraMax MiniMax 300 User manual
Molecular Devices
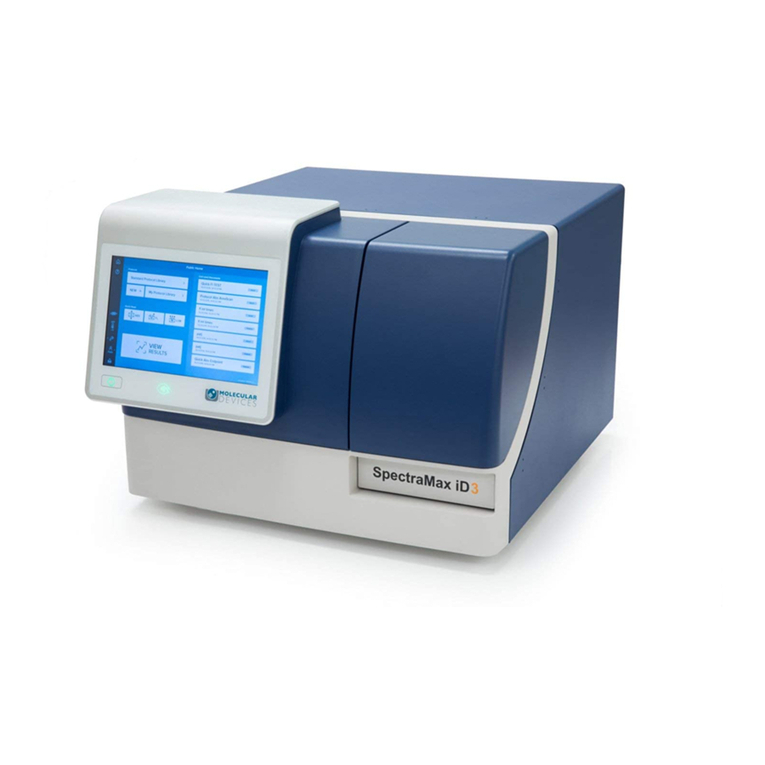
Molecular Devices SpectraMax iD3 User manual
Molecular Devices
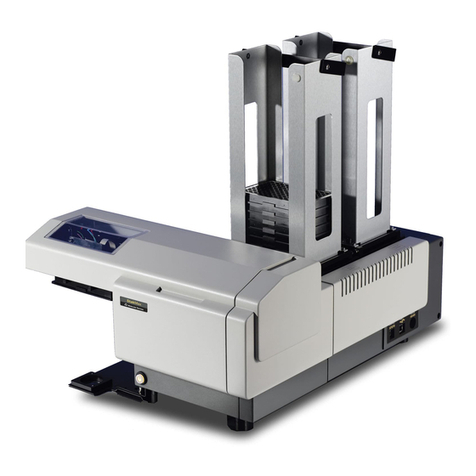
Molecular Devices StakMax User manual
Molecular Devices
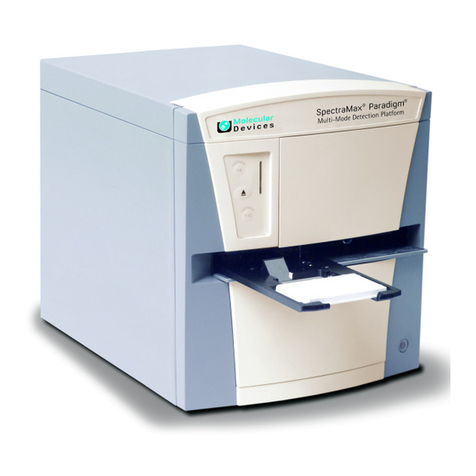
Molecular Devices SpectraMax Paradigm User manual

Molecular Devices
Molecular Devices EMax Plus User manual

Molecular Devices
Molecular Devices SpectraMax M2 User manual

Molecular Devices
Molecular Devices StakMax User manual

Molecular Devices
Molecular Devices QPix 450 User manual
Molecular Devices
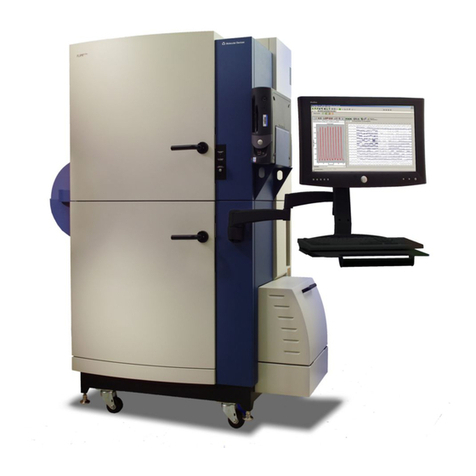
Molecular Devices FLIPR Tetra User manual

Molecular Devices
Molecular Devices SkanWasher 400 User manual
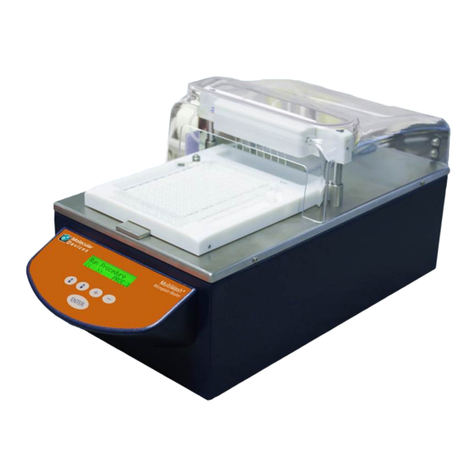
Molecular Devices
Molecular Devices MultiWash+ User manual

Molecular Devices
Molecular Devices ImageXpress Pico User manual
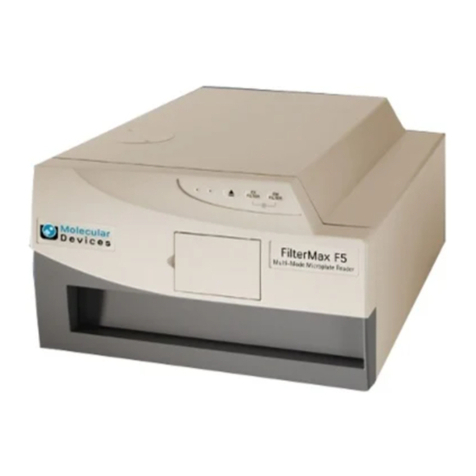
Molecular Devices
Molecular Devices FilterMax F3 User manual
Popular Laboratory Equipment manuals by other brands

Belden
Belden HIRSCHMANN RPI-P1-4PoE installation manual

Koehler
Koehler K1223 Series Operation and instruction manual

Globe Scientific
Globe Scientific GCM-12 quick start guide

Getinge
Getinge 86 SERIES Technical manual

CORNING
CORNING Everon 6000 user manual

Biocomp
Biocomp GRADIENT MASTER 108 operating manual

