molgen PurePrep 32 User manual

Operation Manual
V1.0
PurePrep 32
Nucleic Acid Purification
System

Foreword
Thank you for purchasing the PurePrep 32 Nucleic Acid Purification System.
In order to use the instrument properly, please read carefully this manual before
operating and keep it for future reference.
Opening Check
Please check the instrument and Appendix with the packing list when you first open the
package. If you find anything missing or incorrect, please contact the distributor.
MolGen B.V.
Kazemat 23
3905NR Veenendaal
The Netherlands
www.molgen.com

Safety Warnings and Guidelines
1Warning
Please read this Manual carefully before operation.
2Safety Tips
The operation, maintenance and repair of the Instrument should comply with the
basic guidelines and cautions as below. Improper use of the instrument may cause
damage to the system, inaccurate results, or potentially nullify warranties.
Operation without reading the manual may cause
damage or even electrical shock.
Indoor use only
Read the Manual carefully before operation, only qualified and trained
staff can operate this Instrument.
The operator should not open or repair the Instrument without Vendor’s
authorization, if not, there might be cause potential damages or injuries and
affect the warranty.
Before connecting to power, make sure the voltage used is same as the
instrument required, and the maximum rated load should be sufficient for
the instrument.
Please replace the power cord with same specs if the power cord is
damaged. Please make sure there’s nothing covered the power cord and
keep it away from crowds when in use.
When plug in and plug out, make sure to hold the plug firmly and not to pull
with power cord only.

3 The maintenance of Instrument
The inner side of drawer should be cleaned periodically by the cloth with alcohol.
If there are any stains on the Instrument, clean them with cleansing cream.
4 The limiting condition of transportation and storage environment
Ambient temperature range: 10°C~35°C
Relative humidity : ≤70%
Atmosphere range: 500~1060hpa
No corrosive gas and a well-ventilated room.
The Instrument should be placed in a position with low humidity, less dust,
and keep it away from water, sunshine and strong light source. Make sure of
adequate ventilation, no corrosive gases, no strong magnetic interference and
to avoid any heat sources.
When operating more than one Instrument simultaneously, the spacing
distance should be no less than 100 cm.
Power off the instrument after operation and please disconnect the plug if
long time no use of the instrument and cover it with something to prevent
from dust.
Under the following circumstances, please disconnect the power
immediately and contact with your distributor.
Liquids into the Instrument;
Drenched by rain or water
Abnormal operation especially like abnormal sound or smell
Instrument fell or outer shell damaged.
During operation, the surface temperature of heating block inside operation
window could be very high. To avoid possible scald or boiling of the liquid, do
not touch the metal part when operating.

Table of content
Chapter 1 Brief Introduction ....................................................................................... 1
1. Features ....................................................................................................................1
Chapter 2 Specifications ............................................................................................. 2
1. Normal operating conditions ........................................................................................2
2. Basic parameter & Performance ...................................................................................2
3. Overall Dimension.........................................................................................................3
Dimension(W×D×H)........................................................................................................3
PurePrep 32:400mm×470mm×450mm...........................................................................3
Chapter 3 Product Introduction .................................................................................. 4
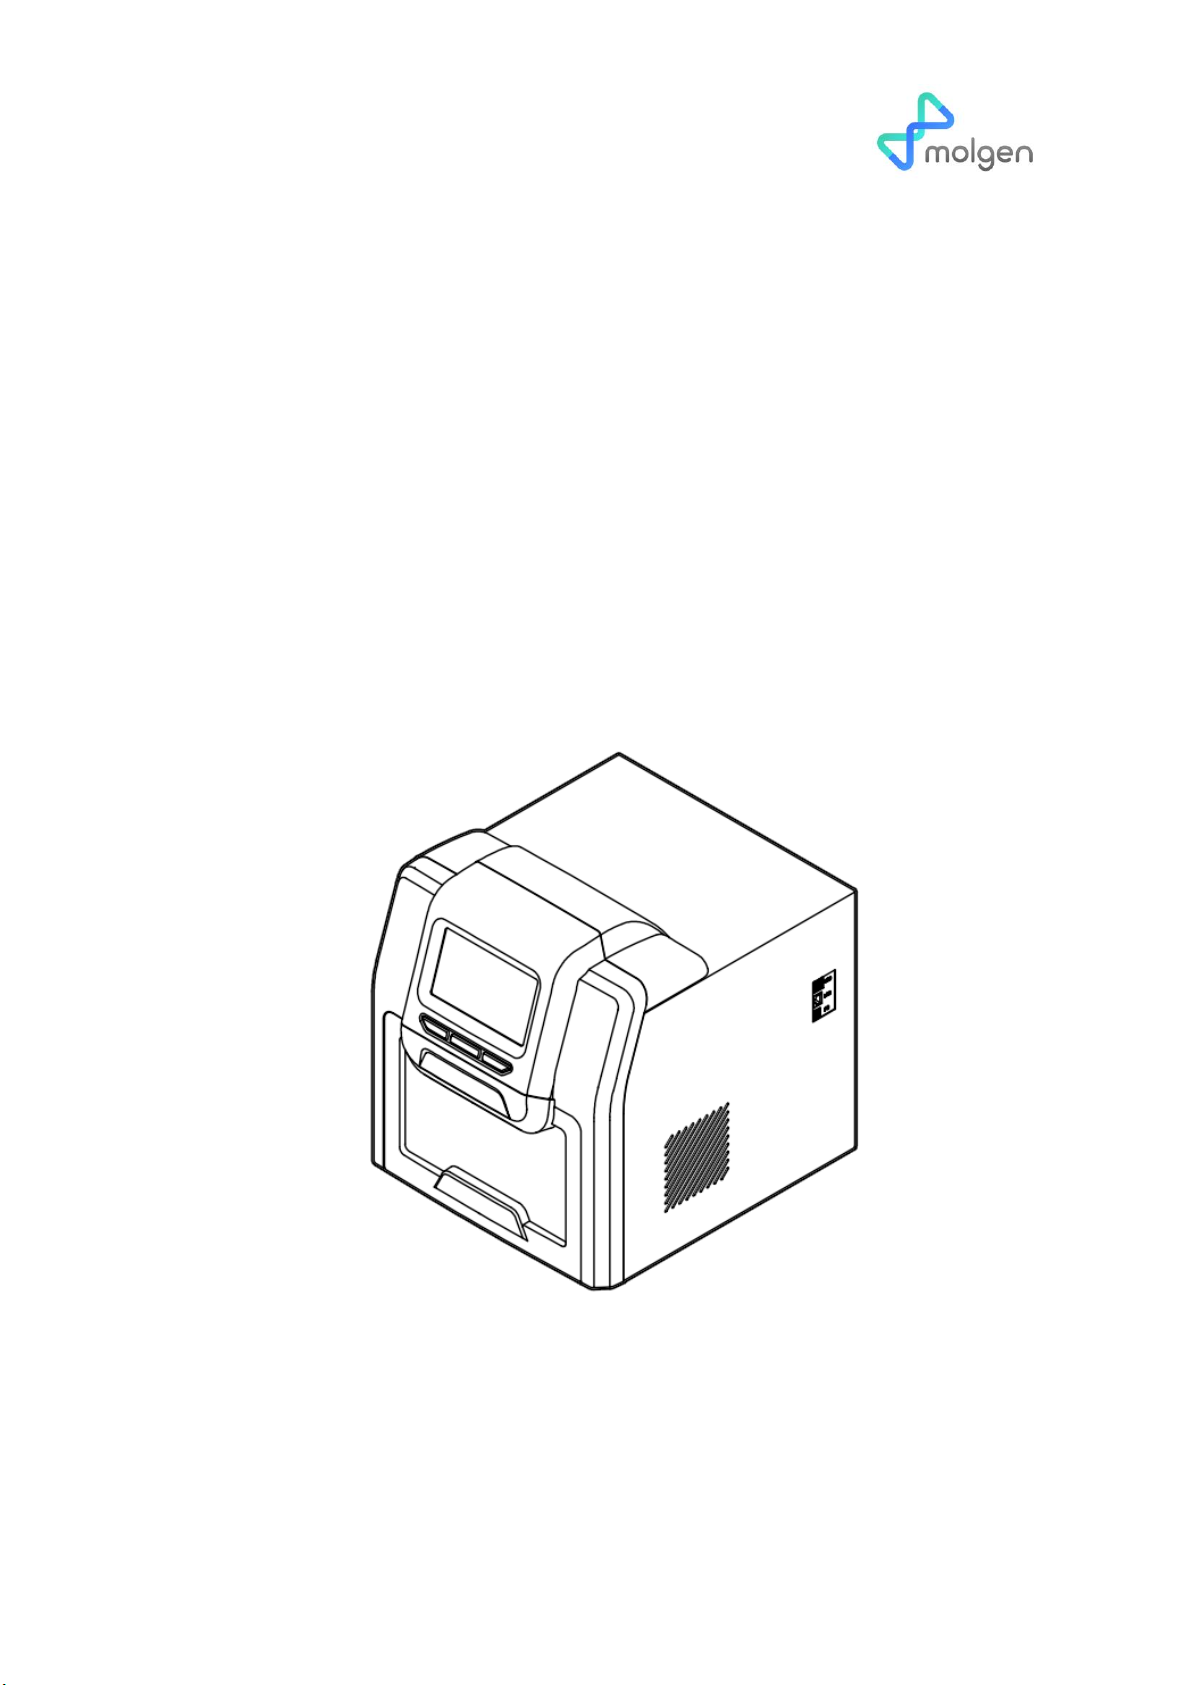
1. Structure.......................................................................................................................4
2. Operation panel............................................................................................................5
Chapter 4 Operation ................................................................................................. 6
1. Preparation ...................................................................................................................6
Take out the instrument from the packing carton and tear off the tape on the
edge of the operation window, then open it and take out the foam. First please
screw out the fixed screw of position ①as below .Second please screw the
screw of position ②then you can take out the baffle and release the moving
component.............................................................................................................6
2. Connect the power .......................................................................................................6
3. Install the reagent kit ....................................................................................................7
3.1 Install the 96 well reaction plate on PurePrep 32...................................................7
4. Install the magnetic rod cover.......................................................................................8
4.1 Install the magnetic rod cover for PurePrep 32......................................................8
5. Remove magnetic rod cover .........................................................................................8
6. Operation......................................................................................................................9
6.1 Start-up Interface...................................................................................................9
6.2 Shortcut mode .....................................................................................................10
6.2.1 List mode..............................................................................................................12
6.2.2 Lamp ....................................................................................................................13
6.3 Program Management .........................................................................................13
6.3.1 Shortcut operation...............................................................................................14
6.3.2 Program Management--Insert..............................................................................14
6.3.3 Program Management--Edit.................................................................................17
6.3.4 Program Management-Save as.............................................................................17
6.3.5 Program Management-Delete..............................................................................17

6.4 System Setting......................................................................................................17
6.4.1 System Setting-Instrument Setting.......................................................................18
6.4.2 System Setting -- System Time .............................................................................19
6.4.3 System Setting--Language....................................................................................19
6.4.4 System Setting –Fan ............................................................................................20
6.4.5 System Setting -- Import/Export...........................................................................20
6.4.6 System Setting--Software upgrade.......................................................................21
6.4.7 UV sterilization.....................................................................................................22
6.5 Help......................................................................................................................23
Chapter 5 Troubleshooting...................................................................................... 24
Chapter 6 Spare Parts List ....................................................................................... 26
1. PurePrep 32 Spare parts list....................................................................................26
Chapter 7 Abbreviation and Symbols...................................................................... 27
1. Abbreviation ...........................................................................................................27
2. Symbols...................................................................................................................28

Chapter 1 Brief Introduction
The PurePrep 32 Nucleic Acid Purification System uses the magnetic rod to adsorb,
transfer and release magnetic particles to transfer the sample to purify DNA/RNA, protein
and cell etc. The PurePrep 32 is able to handle 1 to 32 samples simultaneously with
extraction kits defined for different matrices.
1. Features
➢Friendly interface with easy operation
➢Touch screen with 3 shortcut key or mouse operation
➢Heating function for lysis and elution
➢UV sterilization
➢Low noise
➢One stop operation to avoid contamination
➢Rapid extraction time:10~60 minutes
➢Premium magnetic particles which leads to high yield

Chapter 2 Specifications
1. Normal operating conditions
Environmental temperature: 10C~35C
Relative Humidity ≤70%
Input: AC 100~240V,50Hz/60Hz
2. Basic parameter & Performance
Table 1 Basic parameter & Performance
Model
Parameter
PurePrep 32
Principle
Magnetic Bead Method
Throughput
1~32
Kits
96 Deep-well plate
Sample
Volume/μL
50~600
Stability
CV≤5%
Lysis temp.
Ambient temperature ~120°C
Elution temp.
Ambient temperature ~120°C
Heating time
Heating time(Ambient temperature ~120℃)≤4 minutes
Temperature
Accuracy
±1°C
Operation
interface
7-inch touch screen, 3 shortcut buttons and mouse is available
Built-in protocol
8 groups of preset protocols, 100 groups of protocols can be stored
Protocol
management
New, Edit, Delete, Save as
Expansion
interface
Standard USB, Ethernet port and WIFI are available
Network
Extensible Ethernet remote control, Wi-Fi, 4G network
Pollution control
UV light
Exhaust way
By Fan
Data storage
Available, with built-in SD card
Max. input power
450W
Dimension
(W×D×H)
400mm×470mm×450mm
Weight(kg)
28kg

3. Overall Dimension
Dimension(W×D×H)
PurePrep 32:400mm×470mm×450mm

Chapter 3 Product Introduction
This chapter basically introduces the instrument structure, operation buttons, display
panel and the preparations before operation. When using this instrument for the first
time, please make sure to read this chapter before start.
1. Structure
1.1. Front
1.2. Back
Display
screeen
Shortcut key
Operation Window
Socket
Fuse
Power Switch
USB port
Ethernet port
Debugging port
Fan

PurePrep 32 Inside view
Note: The only difference between the experiment module of above products is the
shape of the heating strip.
2. Operation panel
Display screen: Operate by touch screen or USB connected mouse.
TAB: Select for the shortcut program
RUN: Run for the shortcut program
STOP: Stop operating
Magnetic rod
(Over the magnetic rod cover)
Magnetic rod cover stand
Drawer
Heating strip
UV light
(top inside)
Fan
(bottom inside)
Display screen
TAB
RUN
STOP

─6─
Chapter 4 Operation
1. Preparation
Take out the instrument from the packing carton and tear off the tape on the edge of the
operation window, then open it and take out the foam. First please screw out the fixed
screw of position ①as below .Second please screw the screw of position ② then you
can take out the baffle and release the moving component.
Note: Be careful in operating or the magnetic rod will break.
2. Connect the power
Connect one end of power cord to the instrument socket and the other to power (AC100~240V),
then turn on the power switch.

─7─
3. Install the reagent kit
3.1 Install the 96 well reaction plate on PurePrep 32.
Take out the drawer and put the 96 well reaction plate which is already filled with samples
mounted on the locating slot, make sure the plate with chamfering should be on the left
side, and then push back the drawer slowly.
96 well reaction plate

─8─
4. Install the magnetic rod cover
4.1Install the magnetic rod cover for PurePrep 32
Insert the magnetic rod cover completely on the mounting groove, and the installation
quantity depends on the reagent kit number.
Note: Magnetic rod cover for PurePrep 32 at most is 4pcs.
5. Remove magnetic rod cover
Press the button and take out the magnetic rod cover as per below photo.
PurePrep 32
Magnetic rod cover

─9─
6. Operation
6.1Start-up Interface
Switch on the instrument and make sure the drawer is closed before start, the start-up
screen will appear on the display.
After start, it will enter into the shortcut mode as below:

─10─
6.2 Shortcut mode
Under the shortcut mode, select the program and click “Run”, it will enter into the
program run interface.
The program can also be selected by press “Tab” button on the panel and then press
“Run” for start or “Stop” for terminate.
PurePrep 32 Running interface
On the left side, current step info is shown. When the exact reagent position starts to run,
then this position will be highlighted, and there will be temperature display on the
position of heating function. The progress bar will display the progress and there is also a
left time display on the top right corner.

─11─
Click “Pause” to pause or continue the program.
Click “Stop”, the program will stop and there will be check box. Click “Cancel”, program
will be continue and click “OK” the program run will be back to original place and the
“Stop” button will change to “Run Again”. Click “Run Again” to continue the program.
Click “Back” to return the previous menu.
Remark: If the drawer is open during operation, there will be below message box and
the device will stop to run, and the instrument will continue to run only after the
drawer is closed.

─12─
6.2.1 List mode
Users may review the file by scroll bar on the right side.
Select the program and click "Run" to enter into the run interface.
Click “View” to enter into the check interface.

─13─
Click “Run” to enter the running interface.
Click “Option” to view the parameter setting of the program.
Click “Back” to previous interface.
6.2.2 Lamp
At the bottom of interface, the icon “ ” shows that the lamp is on, and the icon “ ”
shows that the lamp is off. Click this icon to change the state of the lamp.
6.3Program Management
Click “Manage prog” into the surface of program management

─14─
6.3.1 Shortcut operation
Click “√” of the program in the “Manage Prog.” interface, the program will be displayed in
the “Shortcut” list interface.
In the list of “Lock”, if the icon is “ ”, the program can’t be edited, deleted and saved as;
if the icon is “ ”, the program can be edited, deleted and saved as.
6.3.2 Program Management--Insert
Click “Insert” under the “Manage prog.” to enter into the “Insert” surface.
When new program, you should input the name of program in the first place.
Table of contents