manuals.online logo
Brands
  1. Home
  2. •
  3. Brands
  4. •
  5. Moller
  6. •
  7. Medical Equipment
  8. •
  9. Moller Liposat Pro User manual

Moller Liposat Pro User manual

INSTRUCTIONS FOR USE
en
Liposat® Pro
Liposat® Pro plus
IMPORTANT
READ CAREFULLY BEFORE USE
KEEP THESE INSTRUCTIONS FOR FUTURE CONSULTATION
© Möller Medical GmbH
All rights reserved.
No part of this documentation may be reproduced or translated in any way whatsoever without prior written approval from
Möller Medical GmbH. The status of the information, specifications and figures in these instructions for use is indicated by
the version number onthe last page. Möller Medical GmbH reserves the right to make changes to the technology, functions,
specifications, design and information at any time and without prior notification.
Liposat® Pro
Liposat® Pro plus
Contents
Page 4 of 58
Contents
1General safety information...........................................................................................7
1.1 Explanation of the safety symbols used....................................................................7
1.1.1 Symbols in the instructions for use....................................................................7
1.1.2 Symbols on the device......................................................................................7
1.1.3 Symbols in the screen.......................................................................................8
1.1.4 Additional symbols on the retail packaging......................................................10
1.2 Explanation of the format conventions used...........................................................11
1.3 Manufacturer’s responsibility ..................................................................................11
1.4 Operator's duty of care...........................................................................................12
1.5 Warning notices .....................................................................................................13
1.6 Non-product-related additional equipment..............................................................13
1.7 Single use..............................................................................................................13
1.8 Declaration on DEHP.............................................................................................14
1.9 Precautionary measures ........................................................................................14
1.10 Target group (users)...............................................................................................14
2Intended use................................................................................................................15
2.1 Proper use .............................................................................................................15
2.1.1 Intended use of the Liposat® Pro .....................................................................15
2.1.2 Intended use of the Liposat® Pro plus..............................................................15
2.2 Contraindications ...................................................................................................15
2.3 Complications.........................................................................................................16
2.4 Essential performance features..............................................................................16
2.5 Combination with other products............................................................................16
3Product description ....................................................................................................17
3.1 Design....................................................................................................................17
3.2 Liposat®Pro devices..............................................................................................18
3.2.1 Liposat® Pro.....................................................................................................18
3.2.2 Liposat®Pro plus.............................................................................................18
3.3 Footswitch..............................................................................................................18
3.4 Tubing sets ............................................................................................................19
Liposat® Pro
Liposat® Pro plus
Contents
Page 5 of 58
4Setup and commissioning..........................................................................................20
4.1 Transport and storage information..........................................................................20
4.2 Unpacking the device and checking the delivered items.........................................20
4.3 Suitable operating environment..............................................................................21
4.4 Use with defibrillation and RF surgical devices.......................................................21
4.5 Setting up the Liposat® Pro/Pro plus.......................................................................22
4.5.1 Inserting the tube sets.....................................................................................22
4.5.1.1 Insert TLA Tubing Liposat® Pro/power (Liposat®Pro)...............................23
4.5.1.2 Inserting a tubing set in the Liposat®Pro plus ..........................................25
4.5.1.2.1 Insert FAT Tubing Liposat®Pro plus (Liposat®Pro plus).......................26
4.5.1.2.2 Insert TLA Tubing Liposat®Pro plus (Liposat®Pro plus).......................28
4.6 Disassembly...........................................................................................................29
4.6.1 Removing the tube sets...................................................................................29
4.6.1.1 Remove TLA Tubing Liposat® Pro/power (Liposat®Pro)...........................29
4.6.1.2 Removing the tube set from the Liposat®Pro plus ...................................30
4.6.1.2.1 Remove TLA Tubing Liposat®Pro plus (Liposat®Pro plus)...................30
4.6.1.2.2 Remove FAT Tubing Liposat®Pro plus (Liposat®Pro plus)...................30
5Application and operation ..........................................................................................31
5.1 Switching on and off...............................................................................................31
5.2 Screen description: Start screen ............................................................................32
5.3 Operation...............................................................................................................33
5.3.1 Increase and decrease....................................................................................33
5.3.2 Screen description: Main menu.......................................................................33
5.3.2.1 Set brightness..........................................................................................34
5.3.2.2 Priming flow rate ......................................................................................34
5.3.2.3 Sound level..............................................................................................34
5.3.2.4 Service menu...........................................................................................34
5.3.2.5 Manufacturer information .........................................................................34
5.3.2.6 Factory settings........................................................................................34
5.3.3 Venting a tubing set ........................................................................................35
5.3.3.1 Priming.....................................................................................................35
5.3.4 Target volume.................................................................................................35
5.3.5 Flow rate.........................................................................................................36
5.3.5.1 Operating mode .......................................................................................36
5.3.6 Start/Stop........................................................................................................37
5.4 Example of infiltration.............................................................................................38
Liposat® Pro
Liposat® Pro plus
Page 6 of 58
6Cleaning and care .......................................................................................................40
6.1 Cleaning and disinfection .......................................................................................40
6.2 Maintenance ..........................................................................................................42
7Help in the event of a fault..........................................................................................43
8Service.........................................................................................................................45
8.1 Software update.....................................................................................................46
9Periodic safety checks................................................................................................48
10 Disposal.......................................................................................................................49
11 Annex...........................................................................................................................50
11.1 Technical data........................................................................................................50
11.2 General data..........................................................................................................51
12 Electromagnetic compatibility....................................................................................52
12.1 Electromagnetic emissions.....................................................................................52
12.2 Electromagnetic immunity ......................................................................................53
12.3 Recommended safety distances ............................................................................55
13 Accessories.................................................................................................................56
Liposat® Pro
Liposat® Pro plus
General safety information
Page 7 of 58
1 General safety information
1.1 Explanation of the safety symbols used
Important information is indicated visually in these instructions for use. This information is a
prerequisite for preventing hazards to patients and operating personnel, as well as for avoiding
damages or malfunctioning of the device.
1.1.1 Symbols in the instructions for use
Caution
Information or help
Non-ionising electromagnetic radiation
1.1.2 Symbols on the device
Consult instructions for use
Article number
Medical device
Unique identifier of a medical device
Serial number (the first 4 digits indicate the year and month of man-
ufacture in YYMM format)
Manufacturer
Alternating current
Return and disposal as per the WEEE Directive
Compliant with ANSI/AAMI ES 60601-1
CAN/CSA 22.2 No. 60601-1-6A:11
CAN/CSA 22.2 No. 60601-1:14
Liposat® Pro
Liposat® Pro plus
General safety information
Page 8 of 58
Standby switch
Standby switched on
Standby switched off
Input / Output (for energy and signals)
USB host
Applied part Type B
Footswitch
Direction of rotation: clockwise
1.1.3 Symbols in the screen
Accept / Confirm
Reject
Back
Plus (add / increase)
Minus (minus / decrease)
Target volume
Start
Prime (Rinse)
Reset
Reset to factory settings
Liposat® Pro
Liposat® Pro plus
General safety information
Page 9 of 58
Rotor signal
No rotor signal
No rotor function
Inserting the tubing set
Front panel open
Main menu
Rotate screen
Service menu
Volume / sound
Deactivate sound
Sound by pressing a button
Signal volume on starting and stopping the pump
Brightness
Fault / error
Device information
Existing connection
Liposat® Pro
Liposat® Pro plus
General safety information
Page 10 of 58
1.1.4 Additional symbols on the retail packaging
Packaging unit
Production lot number, batch
Expiry date (YYYY-MM-DD)
Date of manufacture (YYYY-MM-DD)
Sales partner
Store away from sunlight
Store in a dry place
Air humidity limitation
Temperature limitation
Stacking limit, do not store more than 3 packs high
Do not use if package is damaged
Do not reuse
Do not resterilise
Single sterile barrier system
Double sterile barrier system
Liposat® Pro
Liposat® Pro plus
General safety information
Page 11 of 58
Single sterile barrier system with protective outer packaging
Single sterile barrier system with protective inner packaging
Sterilised using ethylene oxide
Contains or presence of phthalates
Attention: Under US Federal law, this device may be only sold to a
physician or ordered by a physician.
Further information about the symbols used can be found on our website:
www.moeller-medical.com/glossary-symbols
1.2 Explanation of the format conventions used
In these instructions for use, different fonts are used to improve orientation.
Font
Use
Bold
Buttons (e.g. in instructions)
Italics
References to chapters, figures and tables
Table 1:
Use of fonts
1.3 Manufacturer’s responsibility
The manufacturer may only be regarded as responsible for the safety, reliability
and suitability for use of the devices if:
•Assembly, upgrades, recalibrations, modifications or repairs are performed
only by individuals authorised by the manufacturer.
•The electrical installation in the room in question complies with the applicable
requirements and regulations (e.g. VDE 0100, VDE 0107 or IEC specifica-
tions).
•The devices are used in accordance with the instructions for use and the
country-specific regulations and national deviations are observed.
•The conditions stated in the technical data are observed.
Any type of use other than that described in these instructions for use is not permitted and will
lead to the exclusion of liability and the loss of warranty.
The manufacturer undertakes to accept old devices as per the German Electrical and Elec-
tronic Device Act (ElektroG).
Liposat® Pro
Liposat® Pro plus
General safety information
Page 12 of 58
1.4 Operator's duty of care
The operator is responsible for the proper operation of the medical devices. In line with the
German Medical Device Operator Ordinance (MPBetreibV), the user must perform a wide
range of duties and also assume responsibility when handling medical devices within the
framework of his activities. Only qualified personnel may operate the Liposat® Pro devices.
Precise knowledge and compliance with these instructions for use is a prerequisite whenever
the Liposat® Pro devices are used. The devices may only be operated by persons with the
necessary training or knowledge and experience.
The Liposat® Pro devices are subject to special precautionary measures with re-
spect to electromagnetic compatibility (EMC) and must be installed and operated
in accordance with the EMC guidelines.
If one of the devices no longer works properly due to a malfunction, the device
must not be used any further and must be inspected by the technical service.
Performance and safetymay be compromised ifOriginal Equipment Manufacturer device parts
are not used.
All work that requires tools must be performed by the manufacturer's technical service or par-
ties authorised by the latter.
The user must decide whether the patient’s body temperature is to be monitored and at what
intervals in order to avoid medical risks for example (hypothermia, hyperthermia etc.).
All serious incidents which occur in connection with the product are to be re-
ported to the manufacturer and the competent authorities of the member state
in which the user and/or patient is based.
Liposat® Pro
Liposat® Pro plus
General safety information
Page 13 of 58
1.5 Warning notices
•The devices must not be modified.
•No liquids must be allowed to penetrate the current-conducting parts of the
devices.
•Disconnect the power cable before cleaning.
•Whencleaning,ensurethatnocleaningagent runsintotheconnectorsockets.
•Replace connecting cables of allkinds even if they are onlyslightly damaged;
make sure not to roll over cables.
•Keep the cables away from heat sources. This prevents the insulation from
melting which could cause a fire or an electric shock.
•Do not use force to push plugs into sockets.
•When removing plugs, do not pull on the cables. To remove, release the plug
lock if necessary.
•Do not expose the devices to intense heat or fire.
•Do not subject the devices to hard impact.
•If heat, fumes or smoke appear, disconnect the devices from the mains im-
mediately.
•In order to prevent damage, do not use the surfaces of the Liposat® Pro as
storage places.
1.6 Non-product-related additional equipment
Additional equipment which does not belong to the devices’ scope of supply and which are
connected to the devices’ analogue and digital interfaces must be shown to satisfy the relevant
EN specifications (e.g. EN 60601 for electromedical devices). Any operator connecting addi-
tional devices is the system configurator and is thus responsible for ensuring that the valid
version of the system requirements as per the standard IEC 60601-1 is observed.
If components are used that do not correspond to the original parts, the perfor-
mance, safety and EMC behaviour may be compromised.
1.7 Single use
Re-use of single-use devices creates a potential risk of infection for the patient and/or operator.
Contamination of the device may lead to injury, illness or death of the patient. Cleaning, disin-
fection and sterilisation may compromise essentialmaterial properties and product parameters
leading to device failure.
Dispose of used single-use products according to your hygiene requirements.
Liposat® Pro
Liposat® Pro plus
General safety information
Page 14 of 58
1.8 Declaration on DEHP
The Liposat®Pro devices do not contain di(2-ethylhexyl) or phthalates (DEHP).
1.9 Precautionary measures
•The application results vary depending on the patient’s age, site of intervention and the
surgeon’s experience. The application results may or may not be permanent.
•Clean all reusable components of the device according to the reprocessing instructions.
•Replace all disposable components before using the device on another patient.
Risk of infection from unsuitable aids
•Always wear your personal protective equipment. Personal protective equip-
ment, which must be worn for all steps in which product components are
contaminated, comprises: Protective gloves, protective clothing, protective
glasses, mouth and nose protection.
•The Liposat® Pro devices serve to infiltrate liquids into the patient’s body.
Make sure only suitable liquids are used and that the solutionto be infiltrated
cannot be contaminated.
•Only ever perform infiltration in a sterile environment.
•The general transport conditions in your facility must be observed without fail.
1.10 Target group (users)
The Liposat® Pro devices are reserved for use by doctors who can demonstrate that they have
the necessary expertise through the relevant specialist training or approved, specialist further
training.
Liposat® Pro
Liposat® Pro plus
Intended use
Page 15 of 58
2 Intended use
2.1 Proper use
2.1.1 Intended use of the Liposat® Pro
The Liposat®Pro is a peristaltic pump used both for medical indications, including those ac-
companied by a change in fatty tissue, and for aesthetic body shaping.
The Liposat®Pro is used to administer tumescent local anaesthesia, other aqueous infusion
solutions, as well as endogenous subcutaneous tissue and its components, into the body.
The peristaltic pump Liposat®Pro may only be used with the tubing set TLA Tubing Liposat®
Pro/ power from Möller Medical.
2.1.2 Intended use of the Liposat® Pro plus
The Liposat® Pro plus is a peristaltic pump used both for medical indications, including those
accompanied by a change in fatty tissue, and for aesthetic body shaping.
The Liposat® Pro plus is used to administer tumescent local anaesthesia, other aqueous infu-
sion solutions, as well as endogenous subcutaneous tissue and its components, into the body.
The peristaltic pump Liposat® Pro plus may only be used with the tubing sets TLA Tubing Lipo-
sat®Pro plus and FAT Tubing Liposat®Pro plus from Möller Medical.
2.2 Contraindications
•Clotting disorders or intake of anticoagulant medication
•Massive hernias
•Serious heart diseases
•Serious lung diseases
•Serious liver damage
•Serious kidney damage
•Risk of thrombosis (thrombophilia)
•Diabetes
Liposat® Pro
Liposat® Pro plus
Intended use
Page 16 of 58
2.3 Complications
•Volume losses (blood, lymph, tissue fluid etc.) can occur intra- and postoperatively with
use of this product and may negatively affect the patient’s haemodynamic situation. Vol-
ume substitution must thus be considered by the user.
•Vascular injuries
•Nerve injuries
•Tissue injuries
•Organ injuries
•Death
2.4 Essential performance features
The Liposat® Pro devices have no essential performance features.
2.5 Combination with other products
Only accessories that have been specified and approved by the device manufacturer should
be used. Please contact the device manufacturer if you are unsure.
Liposat® Pro
Liposat® Pro plus
Product description
Page 17 of 58
3 Product description
3.1 Design
No.
Name
No.
Name
1
Front panel
8
Footswitch
2
Rotor
9
Cable marker, blue
3
Threading loop
10
Mains cable
4
Direction of rotation (clockwise)
11
Standby switch
5
Screen
12
USB socket, service interface
6
Tube clamp
13
USB socket
7
Button for removing the rotor
(only for the Liposat®Pro plus)
14
Connection sockets for footswitch
15
Mains input socket
Figure 3:
Front view Liposat® Pro plus
Figure 3:
Back view Liposat®Pro/Pro plus
Figure 3:
Front view Liposat® Pro
Liposat® Pro
Liposat® Pro plus
Product description
Page 18 of 58
3.2 Liposat®Pro devices
3.2.1 Liposat® Pro
The Liposat® Pro assists you with the infiltration of sterile liquids such as TLA solutions into
patients.
3.2.2 Liposat®Pro plus
The Liposat® Pro assists you with the infiltration of endogenous tissues and sterile liquids such
as TLA solutions into patients.
3.3 Footswitch
You can connect two footswitches at the same time to the Liposat® Pro/Pro plus. Both connec-
tion sockets on the rear are equal and the footswitches behave identically. The connection
socket for the footswitchhas a blue ring marking. Attach the blue cable marker to the footswitch
cable for secure identification of correct positioning.
When inserting the footswitch, make sure that the notch on the plug points up-
wards and thus fits into the socket. Assembly the other way around causes the
devices to malfunction.
You can use the other cable markings to colour-code the footswitches of the other Möller
Medical devices so that you can tell them apart more easily.
The Liposat®/Vibrasat®footswitch (1-pedal) is included in the scope of delivery.
The Liposat®/Vibrasat®footswitch (3-pedal) is optionally available as an accessory.
Liposat®/Vibrasat®footswitch (1-pedal)
Figure 4:
Liposat®/Vibrasat® footswitch (1-pedal)
The Liposat® Pro/Pro plus can be started and stopped by pressing the On/Off button.
Liposat® Pro
Liposat® Pro plus
Product description
Page 19 of 58
Liposat®/Vibrasat®footswitch (3-pedal)
No.
Designation
1
Down button
2
On/Off button
3
Up button
Figure 5:
Liposat®/Vibrasat® footswitch (3-pedal)
Table 2:
Symbols for inserting the tubing set
By pressing the middle button (On/Off button) of the footswitch, the pump can be started and
stopped. The outer buttons change the flow rate (Up/Down button).
3.4 Tubing sets
Prior to each new application, insert a new, sterile tubing set in order to avoid
patient infections for example (Section 4.5.1).

This manual suits for next models

1

Other Moller Medical Equipment manuals

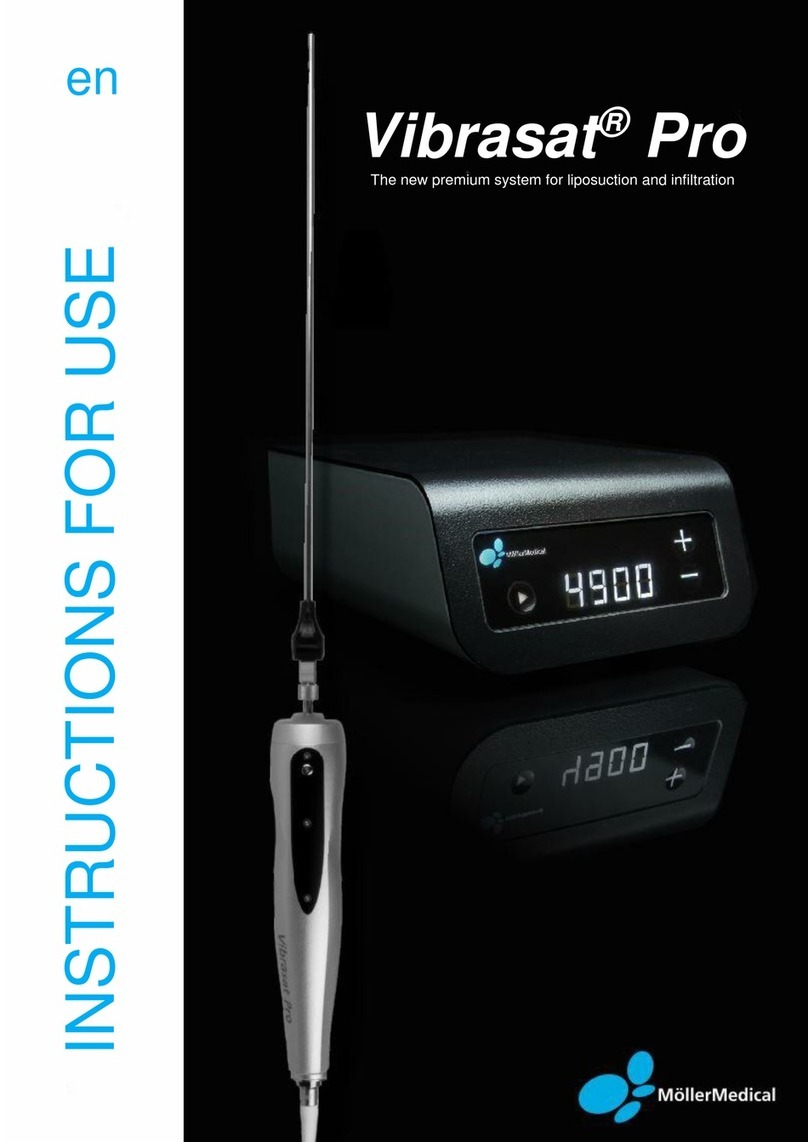
Moller Vibrasat Pro User manual

Moller

Moller Vibrasat Pro User manual

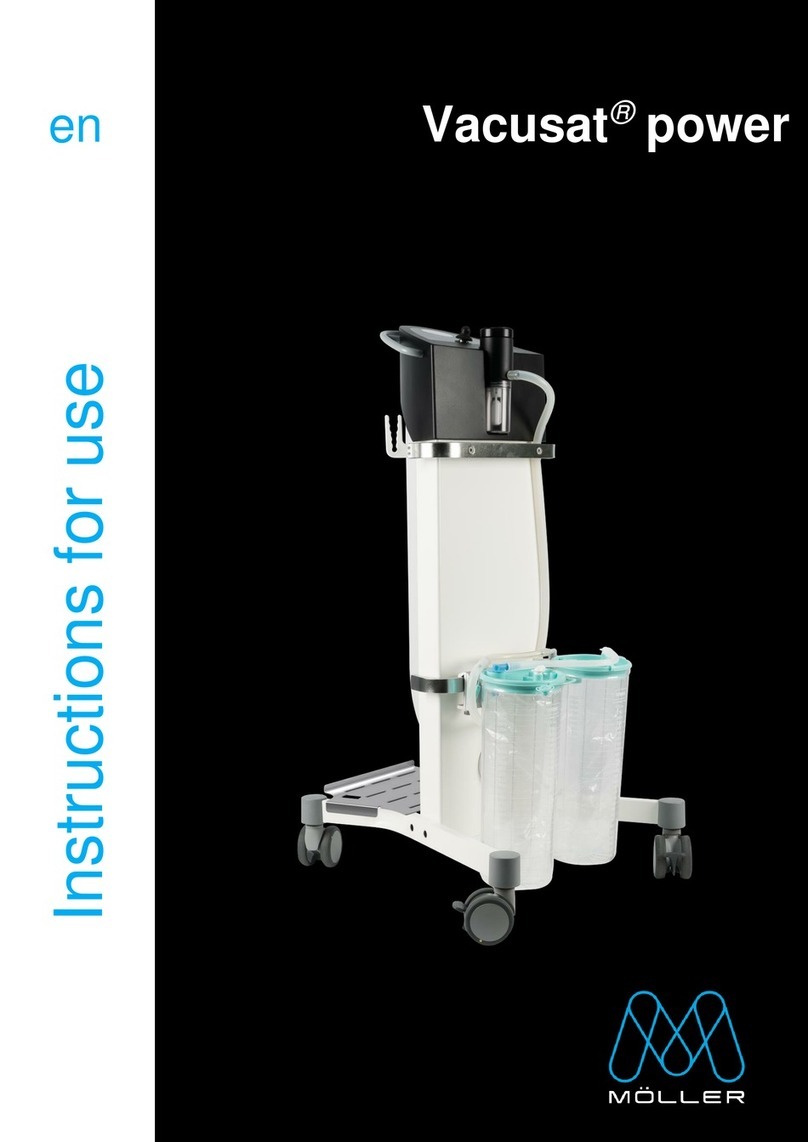
Moller Vacusat power User manual

Moller

Moller Vacusat power User manual

Popular Medical Equipment manuals by other brands

Integra MAYFIELD Head Clamp A2079 Instructions for use

Integra

Integra MAYFIELD Head Clamp A2079 Instructions for use

Sedeo Lite Technical manual

Sedeo

Sedeo Lite Technical manual

Gima OXY-5 Use and maintenance book

Gima

Gima OXY-5 Use and maintenance book

ResMed Ultra Mirage Clinical Guide

ResMed

ResMed Ultra Mirage Clinical Guide

CUDA lls-9500 Operation manual

CUDA

CUDA lls-9500 Operation manual

Apex Medical 9S-007301 instruction manual

Apex Medical

Apex Medical 9S-007301 instruction manual

Arjo Century Quick reference guide

Arjo

Arjo Century Quick reference guide

Penlon Prima 320 Advance user manual

Penlon

Penlon Prima 320 Advance user manual

Clement Clarke Perkins Mk2 instruction manual

Clement Clarke

Clement Clarke Perkins Mk2 instruction manual

ViOL SYLFIRM X user manual

ViOL

ViOL SYLFIRM X user manual

Zimmer enPuls Instructions for use

Zimmer

Zimmer enPuls Instructions for use

mychway LY-2191 user manual

mychway

mychway LY-2191 user manual

baxter Flo-Gard 6201 Operator's manual

baxter

baxter Flo-Gard 6201 Operator's manual

Accu-Chek FastClix quick start guide

Accu-Chek

Accu-Chek FastClix quick start guide

PARAMOUNT BED A5 Series instruction manual

PARAMOUNT BED

PARAMOUNT BED A5 Series instruction manual

Nonin LS1 Operator's manual

Nonin

Nonin LS1 Operator's manual

Ross Patrol Enteral Pump operating manual

Ross

Ross Patrol Enteral Pump operating manual

Nipro PHOENIX ONE Operator's manual

Nipro

Nipro PHOENIX ONE Operator's manual

manuals.online logo
manuals.online logoBrands
  • About & Mission
  • Contact us
  • Privacy Policy
  • Terms and Conditions

Copyright 2025 Manuals.Online. All Rights Reserved.