Moorings Buddy Roamer User manual

Page | 1
Buddy Roamer Size 0
Instruction Manual

Page | 2
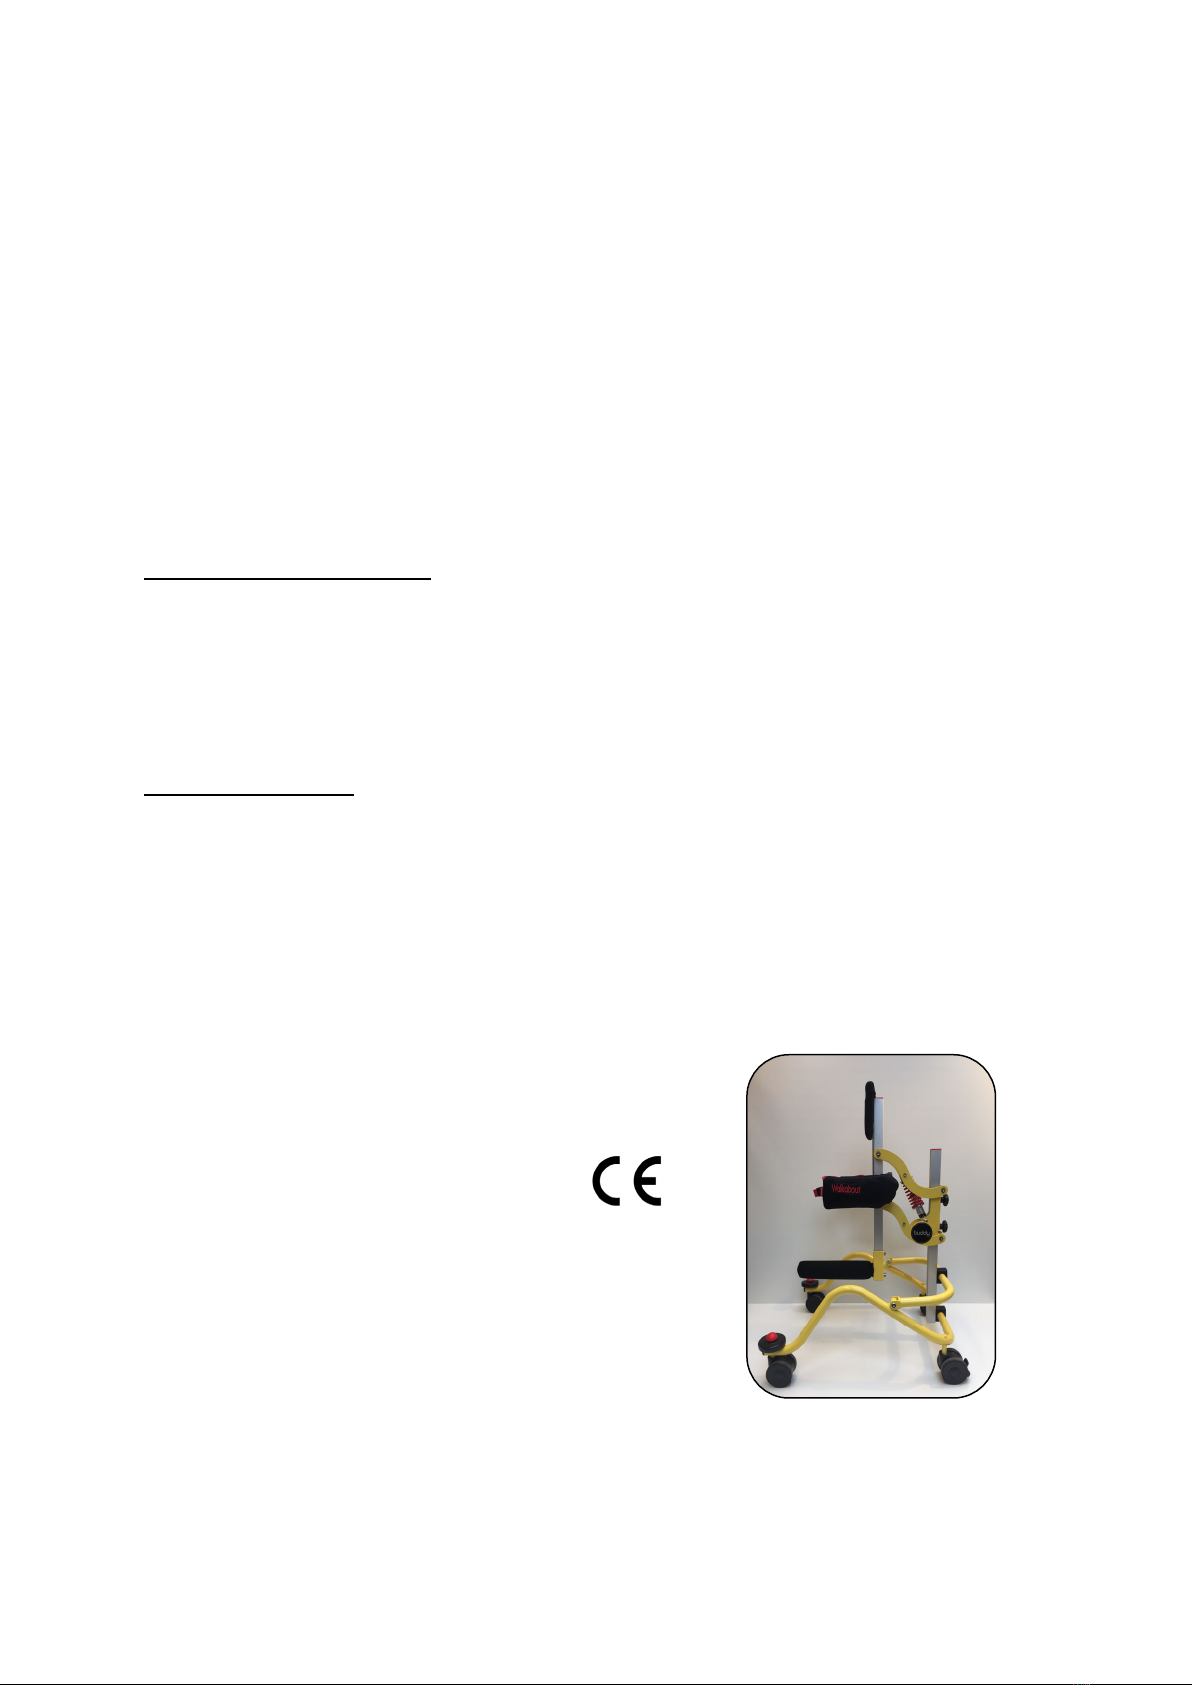
The Buddy Roamer is a posterior walking aid that provides partial weight bearing
postural support with mobility.
The ergonomically designed frame supports body weight while allowing the child to
walk around freely and unaided.
This manual will show you how to easily set-up the walker for first use and the
adjustments available to enable full functionality of the device. Before assembly, please
read the safety, information notices to ensure the Buddy Roamer is used effectively.
Declaration of Conformity
Moorings Mediquip as manufacturer declares that the Buddy Roamer walking aid
conforms to the requirements of (EU) MDR 2017/745
Terms of Warranty
The warranty applies only when the product is used according to the specified
conditions and for the intended purposes, following all manufacturers’
recommendations. A One-year warranty is provided with all Buddy Roamer walking
aids.
CONTENTS
01. Safety Information – Page 3
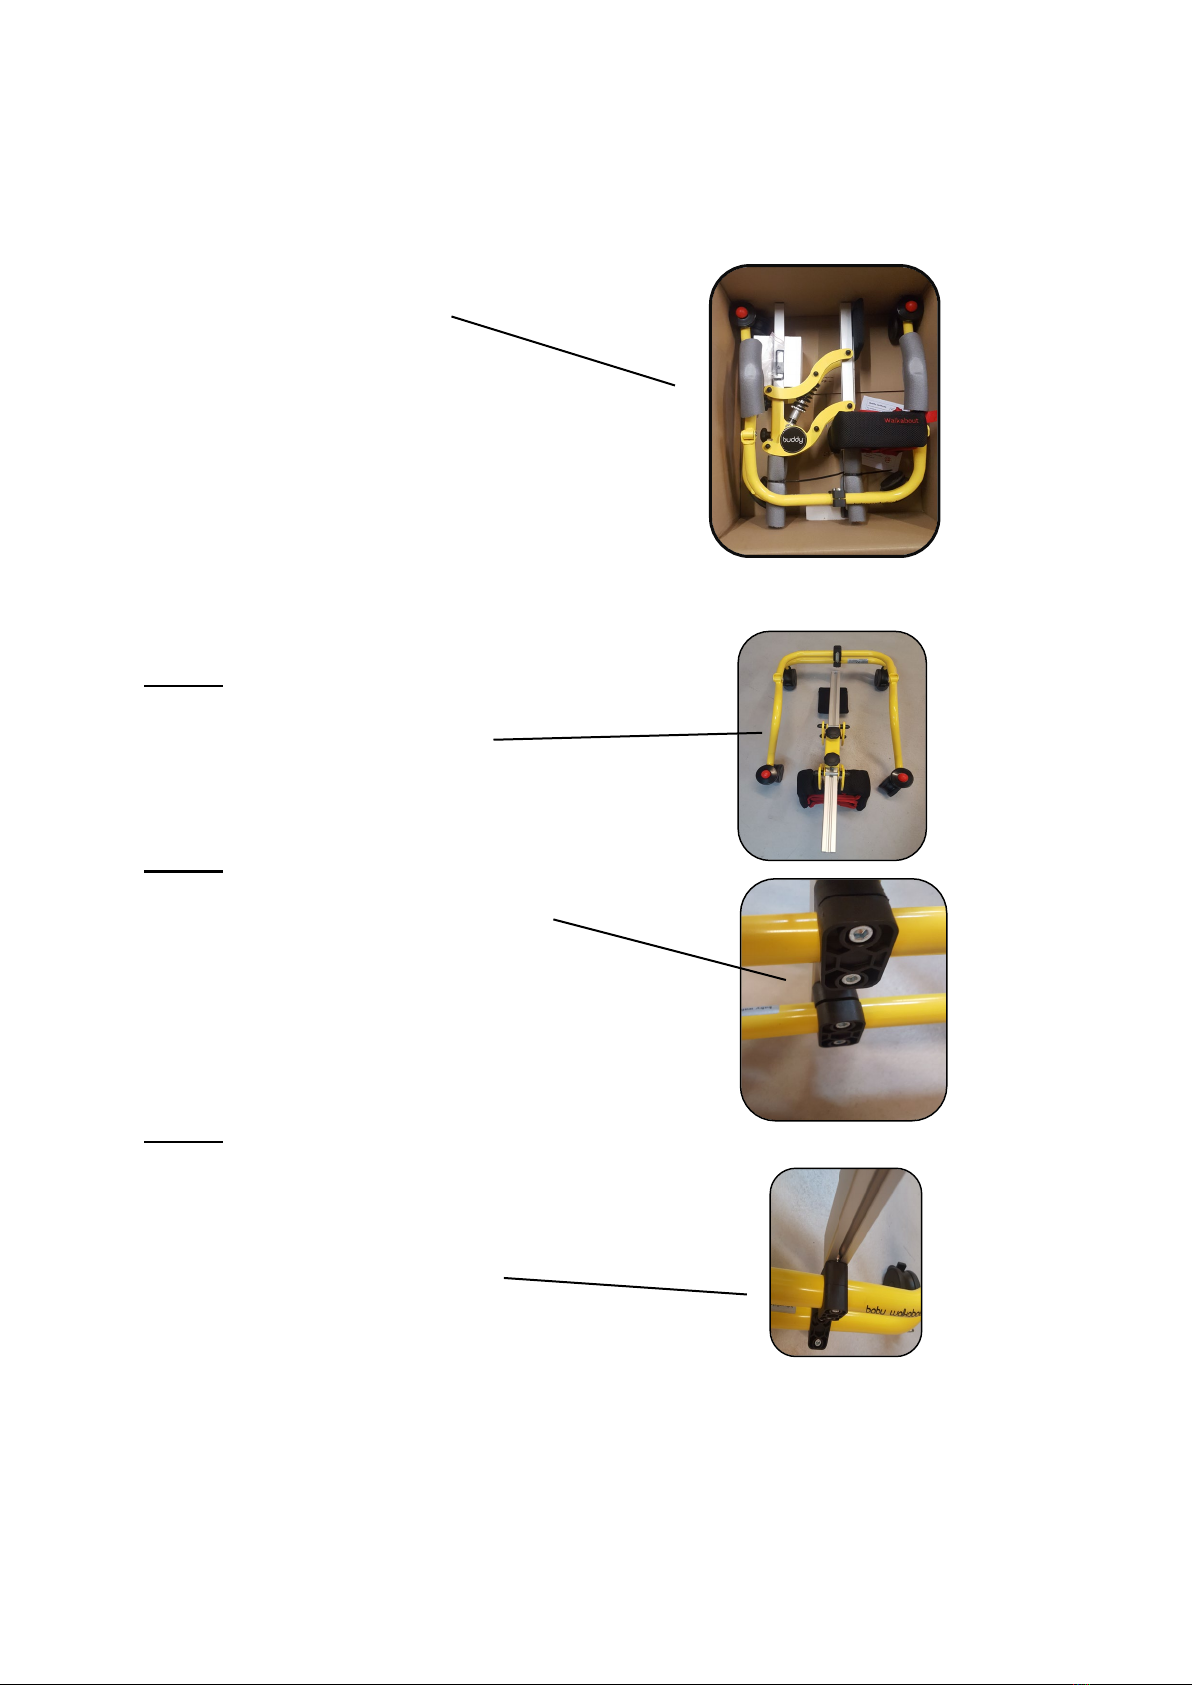
02. First Assembly – Page 4
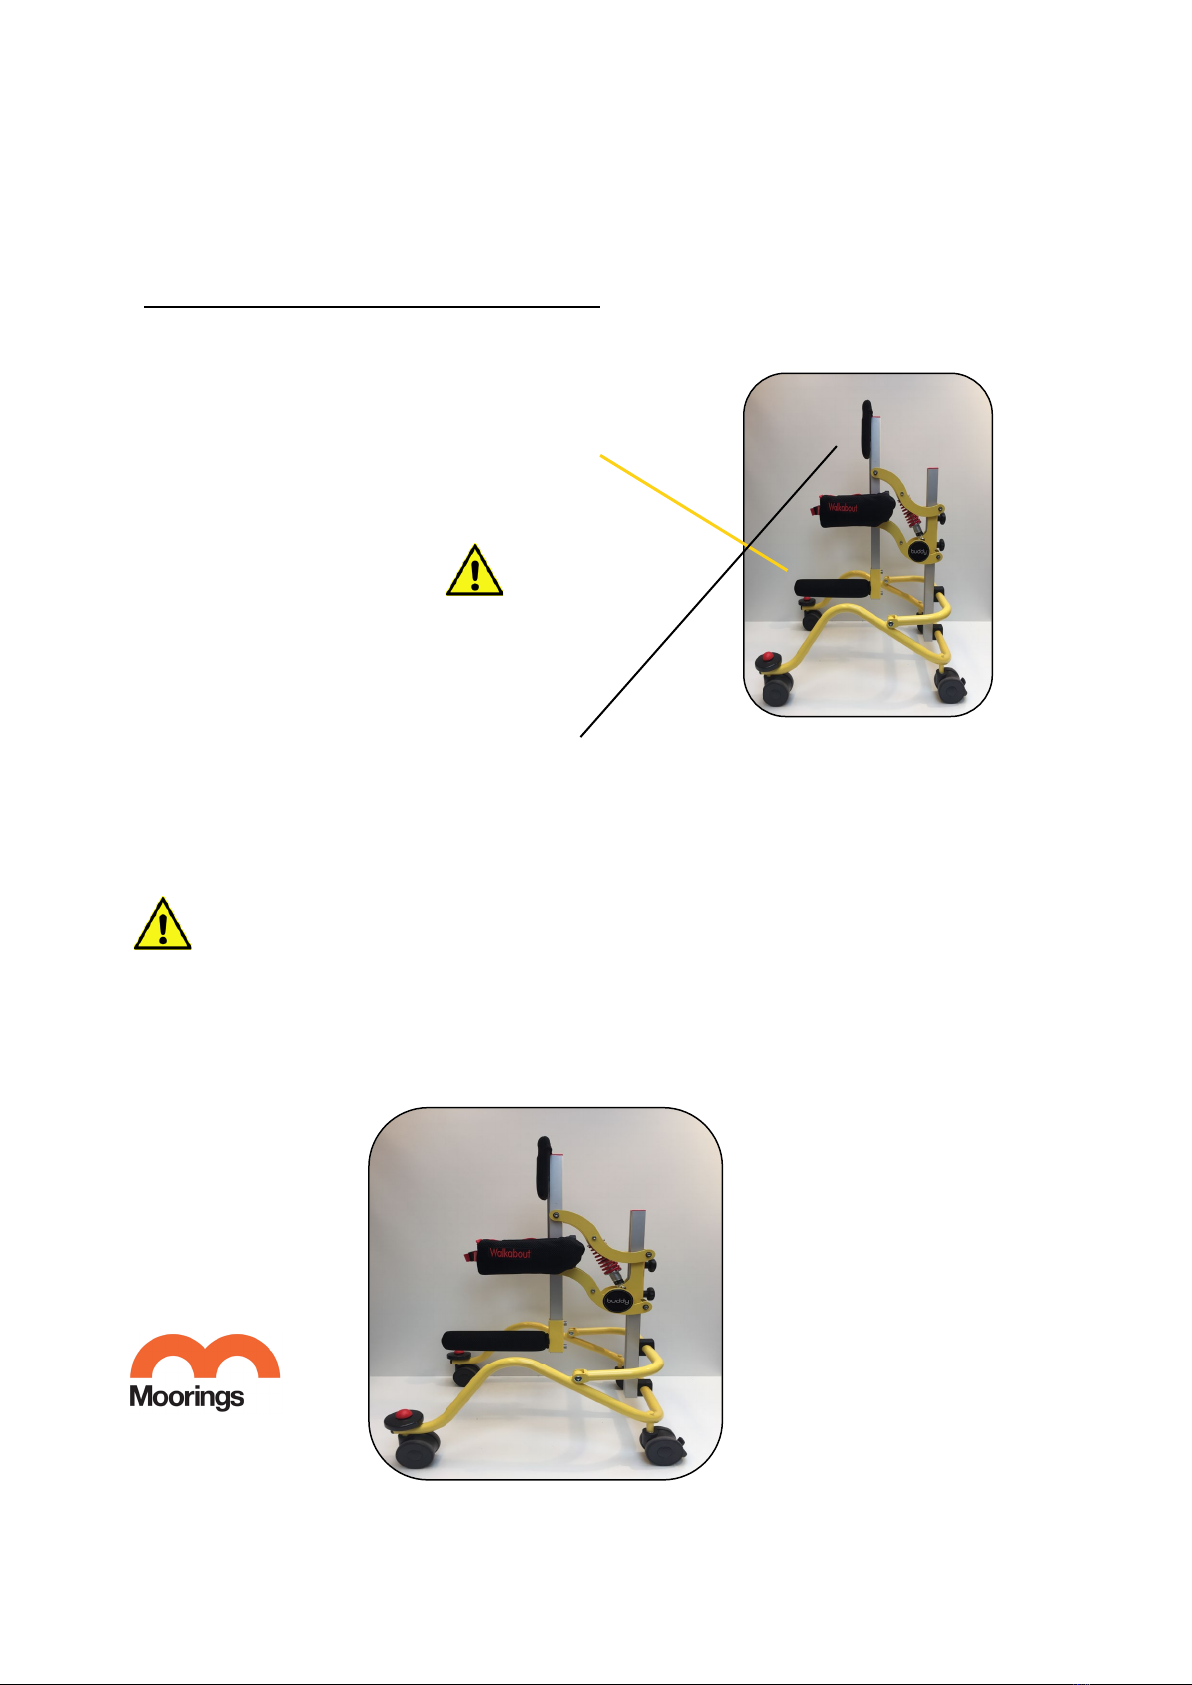
03. Measurements – Page 5
04. Adjustments – Page 6, 7, 8, and 9
05. Accessories – Page 10
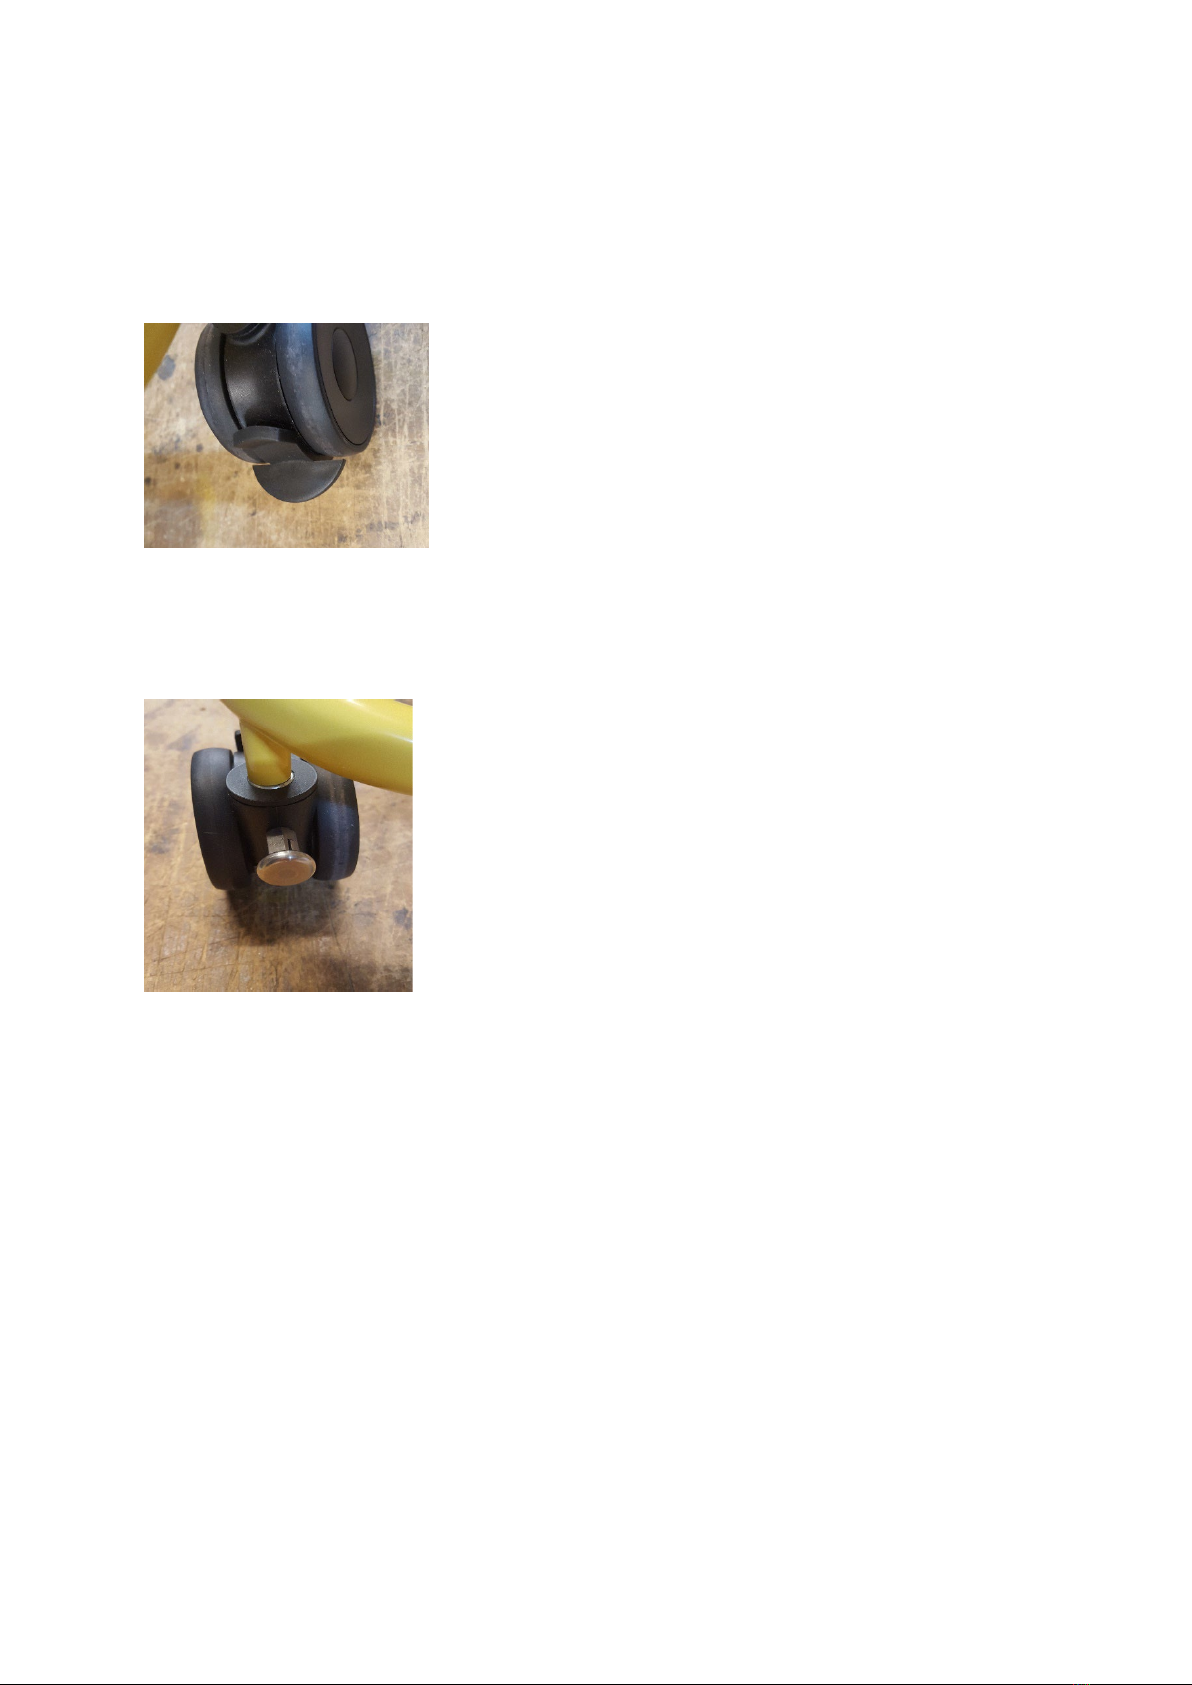
06. Maintenance – Page 11
07. Care and Cleaning – Page 11
08. Technical information – Page 12
09. Contact us – Page 13

Page | 3
01 Safety information
All instructions in this manual should be read fully before use.
The maximum user weight for the Buddy Roamer Size 0 “Walkabout™” is 30Kg.
This weight limit must not be exceeded.
Users should not be left unattended at any time while using the Buddy Roamer.
All assembly and adjustments to be completed by a Competent adult or Engineer.
Only use Moorings Mediquip approved components with the walker. Never
modify the device in anyway. Doing so may put the user at risk and will
invalidate the warranty.
If any product defects become obvious or if any parts should fail, discontinue use
immediately and contact your local dealer as soon as possible to rectify them.
All positional adjustments should be made before the user is put into the walker.
All adjustment bolts, grip knobs and straps must be securely fastened again
before use.
The product should be kept away from all direct sources of heat including naked
flames, cigarettes, heaters, and radiators. When not in use the walker should be
stored in a dry place that is not subject to extremes of temperature.
Follow all daily, weekly, and annual product inspections. (See maintenance (06)
section of this manual)
Please keep all plastic packaging material away from children as plastic
packaging can present the danger of suffocation.
Recommended for Indoor Use only with competent Supervision.

Page | 4
02 First assembly
Contents of the box:
1) Base frame Assembly
2) Column with Laterals attached
3) Central Positioning Bar
4) User Manual
5) Serial Number Attached to Frame
6) Allen Keys
(4mm and 5mm Allen key provided
in the plastic bag with this manual)
Step 1
Unpack the Base frame assembly
and place on a flat surface as shown.
Step 2
Loosen all the socket screws using
the 5mm Allen key provided and slide Column
into the slot stone. Ensure both Slot stones are
inserted into column.
Step 3
Ensure black clamps are in centre of Walkabout
Frame and Column at proper height before clamps
Are tightened.

Page | 5
03 Measurements
For each child the following measurements should be taken and recorded in the table
below:
These values correspond to the following adjustments on the walker; these adjustments
should be set to the correct value before use:
Measurement
Value (cm / inch)
1
Inside Leg
2
Underarm
3
Overall height
4
Chest Width
1
2
3
4
1
2
3
4

Page | 6
04 Adjustments
Central Positioning Bar Adjustment
Loosen each of the socket screws on the back
of the CPB. This allows the CPB to be raised
or lowered along the extrusion track.
Ensure all Screws are tightened
After adjustments.
Step 5
Loosen 2 Screws of Headrest Bar and adjust
By sliding bar up or down extrusion track to
Preferred position. Tighten screws when complete.
Ensure all screws are
tightened after adjustment

Page | 7
04 Adjustments
Apply Brake on Back Wheel by Pushing down on pedal. Photo 1
1
Wheel Anti-Lock released by pulling out and turning the Metal Nut at back.
To lock just turn back and slot into position. Photo 2
2
Please take a note of the Serial number of your Product and keep it in
the box below. You will find it on the base Frame. This will help with
any queries should they arise.
S/N -

Page | 8
Adjustments to height.
This can be done by loosening the 2 Knobs shown in photo 1. Slide to
position up or down then tighten knobs.
Do not Extend over the Extrusion Bar.
Photo 1
Prone Angle Adjustment
The prone angle can be adjusted forward
to a maximum of 10°. Firstly, loosen both
of the socket screws on the top clamp,
Slide the clamp down along the vertical square post to move
the prone angle forward,
Ensure screws are fully
tightened again before use.Do not exceed 10 degrees forward.

Page | 9
Lateral Belt Adjustments
04
Adjustments to Lateral Belts Step 6
1. Open Buckle at Front of Belt. Photo 1
2. Loosen Bolt at Back of Laterals and Open out to adjust width. Photo 2
3. Adjust height by sliding up or down Extrusion track.
And tighten bolt.
12
Careful of moving Parts when making any adjustments

Page | 10
05 Accessories
Shoulder Straps 06
This accessory will be mounted off a horizontal bar attached to the front profile extrusion (Photo 1) It will
help hold the user’s shoulders in the correct position while in use. These are adjustable in height, width,
and angle to deal with different size variations.
1
2

Page | 11
06 Maintenance
Daily
The following checks should be carried out by therapists, carers or parents to ensure the Buddy Roamer
Size 0 ™” is safe for use.
1. Check that all parts are resent and in good condition. Check all Cap Covers are in place with no
Screw heads visible.
2. Ensure all adjustment screws, including the plastic clamps, central positioning bar, lateral supports
and headrest are fully tightened before use.
3. Perform a functional check of the parking brake, Directional Lock, and anti-roll-back lock (if
supplied) to ensure they are in full working order.
Weekly
1. Check of all screw connections to ensure none have come loose.
2. Check all upholstery for signs of wear and tear.
3. Check all Velcro straps and brush off any fluff build up to ensure straps secure correctly.
07 Cleaning and care
1. The upholstery and fabrics can be cleaned by hand while still in place using warm water and a non-
abrasive detergent.
2. Ordinary soiling and spillages should be removed as soon as possible using soap and warm water.
3. Metal or plastic components can be cleaned using a damp cloth or soap and water if necessary.
Always ensure product is completely dry before use.
DO NOT use organic solvents or dry-cleaning fluids on any part of the Buddy Walkabout™.
Regular cleaning and maintenance will increase the lifespan of the product.
Clean the unit regularly using only standard household cleaning agents. DO
NOT use abrasive cleaners.

Page | 12
08 Technical Information
ALL MEASUREMENTS ARE TAKEN FROM THE FLOOR TO TOP OF SUPPORT
MAX USER WEIGHT NOT TO EXCEED 30KG
SAFE TILT RANGE FORWARD 10 DEGREES
MAX Walker Turning distance 140cm
UDI – BUDDY ROAMER Size 0 - 5065012131000
Always take care when making Adjustments / Moving Parts and nipping Hazards.
All Adjustments to be carried out by a Competent Adult
Serial No – 8 Digits - First 2 digits = Year / Next 2 digits = Month / Last 4 Digits = number of Units
made. See Example -22 10 3009
Serial Number –
Date of Manufacture -
Measurements
Size 0
Headrest Height
52cm – 100cm
Max User Height
100cm
Min User Height
50cm
Max User Weight
30kg
Weight of Unit
6.5kg – (Boxed 8Kg)
Max Lateral Support Width
23cm
Lateral Support Max Height
70cm
Technical Info
Size 0
Unit Length
58cm
Unit Width
52cm
Wheel Diameter
7cm
Safe Tilt Range
-10 degree

Page | 13
For further information, downloads, inspirational stories, videos,
features and much more visit:

Page | 14

Page | 15

Page | 16
Moorings Mediquip
51 Slaght Road TEL: +44(0) 28 2563 2777
Ballymena FAX; +44(0) 28 2563 2272
Co.Antrim www.mooringsmediquip.com
United Kingdom
BT42 2JH
Version 4.22
Table of contents
Other Moorings Mobility Aid manuals
Popular Mobility Aid manuals by other brands

Schuchmann
Schuchmann SMILLA Instructions for use

Sunrise Medical
Sunrise Medical Quickie Smart Seat User instruction manual

Winncare
Winncare C4300 user manual

Vela
Vela 104260 Mounting instructions

LiftSeat
LiftSeat Independence Owner's operator and maintenance manual

Drive DeVilbiss Healthcare
Drive DeVilbiss Healthcare 10306AT-6 instruction manual