manuals.online logo
Brands
  1. Home
  2. •
  3. Brands
  4. •
  5. Mortara
  6. •
  7. Medical Equipment
  8. •
  9. Mortara H3+ User manual

Mortara H3+ User manual

H3+
3-CHANNEL HOLTER ELECTRODE PL ACEMENT
V
RA
RL
LL
LA
LEAD PLACEMENT
•
RA – Right clavicle as shown.
•
LA – Left clavicle as shown.
•
RL – Reference or ground lead. Should be placed to
maximize patient comfort.
•
LL – Lower left side of the rib cage or body.
•
V– Precordial exploring lead.
The V lead can be positioned according to clinician
preference. (Shown in V1 position in illustration.)
Left leg electrode positioned on lower left rib cage may lessen
amount of artifact; however, to be comparable with a standard
12-lead ECG lead II, the LL lead should be placed on the
lower left side of the body, as close to hip as possible.
IEC AHA
R
●
RA
●
L
●
LA
●
N
●
RL
●
F
●
LL
●
C
●
V
●
H3+
™
DIGITAL HOLTER RECORDER
Ref: 9503-165-02-ENG Rev H1
To B gin a S ssion
1.
Attach the patient cable to the H3+.
2.
Remove the battery door of the H3+,
insert a new AAA battery, and close the
battery door.
3.
Press the Ent r button to move
through the menu displays.
•
Verify the current time setting.
•
Verify the ID number.
•
Verify the ECG signal quality.
Not : aveform is shown at 4 mm/mV gain to
allow full representation of ECG.
4.
To begin recording, press and hold the
Ent r button for a period of 3 seconds.
An Rindicates Recording Mode.
Ent ring Optional Diary Ev nts
To mark an event, press the Ent r button.
A▼indicates that a new event cannot be
entered while the ▼is displayed.
End of R cording
hen the recording period has ended,
the ID is displayed in reversed color
indicating that the H3+ memory is full.
1.
Remove the battery door.
2.
Remove the battery and dispose
of properly.
3.
Replace the battery door.
4.
Remove the patient cable from
the recorder.
5.
H3+ recorded data is ready to be
transferred through connection of
the USB cable.
Ending a R cording Early
The in-progress recording can be ended
before the set duration is reached.
1.
Remove the battery door.
2.
Remove the battery.
3.
Reinsert battery to display the ID in
reversed color.
4.
Replace the battery door.
www.mortara.com
ISO 13485 CERTIFIED
H3+
™
and Mortara
®
are trademarks or registered trademarks of
Mortara Instrument, Inc.
2015-12
H3+
3- CH 48H
Mil w a u k e e , W I US A Medica l Equipm ent
Model: H3+
UL60601-1,IEC60601-1,
CAN /CSA C22 .2 No. 60 1.1 ,
IEC60601-2-47
5P3 5
H3+
08:02:34
H3+
ID: 01234567890
12345678901234
H3+
CH1
H3+
R 08:04:32
H3+
R23:08:39
H3+
ID: 01234567890
12345678901234
9503-165-02-ENG Rev H1
to come

Other Mortara Medical Equipment manuals
Mortara ELI 280 User manual

Mortara

Mortara ELI 280 User manual

Mortara ELI 380 User manual

Mortara

Mortara ELI 380 User manual

Mortara Surveyor User manual

Mortara

Mortara Surveyor User manual

Mortara ELI 280 User manual

Mortara

Mortara ELI 280 User manual

Mortara X-Scribe User manual

Mortara

Mortara X-Scribe User manual

Mortara H12+ User manual

Mortara

Mortara H12+ User manual

Mortara ELI-200 User manual

Mortara

Mortara ELI-200 User manual
Mortara ELI 230 User manual

Mortara

Mortara ELI 230 User manual

Mortara S19 User manual

Mortara

Mortara S19 User manual

Mortara Surveyor S4 User manual

Mortara

Mortara Surveyor S4 User manual

Mortara Surveyor S4 User manual

Mortara

Mortara Surveyor S4 User manual

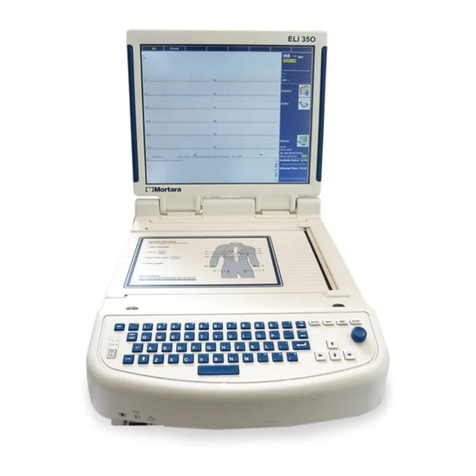
Mortara ELI 350 User manual

Mortara

Mortara ELI 350 User manual

Mortara Surveyor Central 3.x User manual

Mortara

Mortara Surveyor Central 3.x User manual

Mortara ELI 10 Use and care manual

Mortara

Mortara ELI 10 Use and care manual

Mortara ELI 150 Rx User manual

Mortara

Mortara ELI 150 Rx User manual

Mortara ELI 250 User manual

Mortara

Mortara ELI 250 User manual

Mortara ELI 380 User manual

Mortara

Mortara ELI 380 User manual

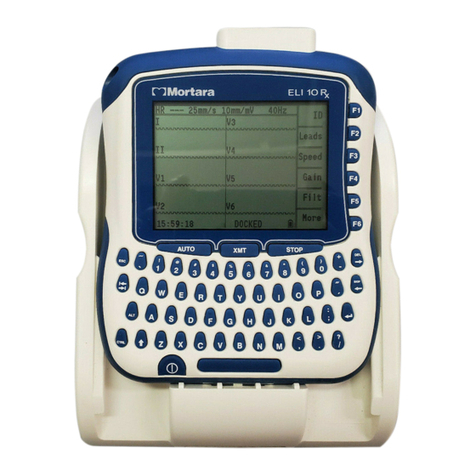
Mortara ELI 10 Rx User manual

Mortara

Mortara ELI 10 Rx User manual

Mortara ELI 380 User manual

Mortara

Mortara ELI 380 User manual

Mortara Surveyor S2 User manual

Mortara

Mortara Surveyor S2 User manual

Mortara H12+ User manual

Mortara

Mortara H12+ User manual
Popular Medical Equipment manuals by other brands

Itamar Medical WatchPAT Operation manual

Itamar Medical

Itamar Medical WatchPAT Operation manual

PROTEOR 1P650 KNEE Assembling and adjustment instructions

PROTEOR

PROTEOR 1P650 KNEE Assembling and adjustment instructions

Liberate Medical VentFree user manual

Liberate Medical

Liberate Medical VentFree user manual

Dicarre DA20 user guide

Dicarre

Dicarre DA20 user guide

Stryker Medical M Series Operation manual

Stryker Medical

Stryker Medical M Series Operation manual

Invacare ScanBed 750 user manual

Invacare

Invacare ScanBed 750 user manual

Getinge Arjohuntleigh Nimbus 3 Professional Instructions for use

Getinge

Getinge Arjohuntleigh Nimbus 3 Professional Instructions for use

Mettler Electronics Sonicator 730 Maintenance manual

Mettler Electronics

Mettler Electronics Sonicator 730 Maintenance manual

Pressalit Care R1100 Mounting instruction

Pressalit Care

Pressalit Care R1100 Mounting instruction

Denas MS DENAS-T operating manual

Denas MS

Denas MS DENAS-T operating manual

bort medical ActiveColor quick guide

bort medical

bort medical ActiveColor quick guide

AccuVein AV400 user manual

AccuVein

AccuVein AV400 user manual

agiliti NP Trio user manual

agiliti

agiliti NP Trio user manual

Rocket Medical Rocket Digital Oocyte Aspiration Pump Service manual

Rocket Medical

Rocket Medical Rocket Digital Oocyte Aspiration Pump Service manual

Monteris Medical Neuroblate Instructions for use

Monteris Medical

Monteris Medical Neuroblate Instructions for use

Otto Block 8E33 7 manual

Otto Block

Otto Block 8E33 7 manual

ADVANCED HOME CARE Helios Guide

ADVANCED HOME CARE

ADVANCED HOME CARE Helios Guide

NeuLog NUL-208 Guide

NeuLog

NeuLog NUL-208 Guide

manuals.online logo
manuals.online logoBrands
  • About & Mission
  • Contact us
  • Privacy Policy
  • Terms and Conditions

Copyright 2025 Manuals.Online. All Rights Reserved.