manuals.online logo
Brands
  1. Home
  2. •
  3. Brands
  4. •
  5. mothercare
  6. •
  7. Indoor Furnishing
  8. •
  9. mothercare Newbury Wardrobe User manual

mothercare Newbury Wardrobe User manual

Lower shelf
Estante inferior
important notes notas importantes
1
Please take a few minutes to read this user guide.
Lay the parts out on the floor and compare to the parts checklist (below). Do not discard any
packaging until you are sure that you have all the parts.
Because of its weight and bulk, this product requires two people to build it safely.
This furniture is provided with an anti-topple device for securing to a wall. Failure to use this could
result in the furniture toppling onto the child.
Por favor, tómese unos minutos en leer esta guía de usuario.
Desembale cuidadosamente su producto en el suelo y familiarícese con las piezas, comparándolas
con el catálogo de piezas que sigue. No tire el embalaje hasta que esté seguro de que tiene todas las
piezas.
Está proveído un aparato anti-volcar con este mueble para asegurarlo a un muro. El dejar de utilizarlo
puede resultar en el mueble caéndose en el niño.
You will also need a screwdriver.
También se va a necesitar un destornillador.
parts checklist catálogo de piezas
2
2
assembly montaje
3
7
13
introduzca el cajón
6 Large cams
6 Levas grandes
6 Cam pins
6 Chavetas
26 Short screws (16mm)
26 Tornillos cortos (16mm)
2 Hanging rail brackets
2 Soportes para el rascón
3 Hinge sets
3 Juguetes de
gozne
1 Allen key
1 Llave Allen
1 Wall strap
1 Correa
Strap screw
Tornillo
2 Washers
2 Arandelas
1 Hanging rail
1 Rascón
2 Knobs and bolts (30mm)
2 Tiradores y pernos (30mm)
prepare the drawer sides
10 Insert 2 small cams into the holes near the front
of both sides.
Introduzca 2 levas pequeñas en los agujeros
cerca del borde delantero de los lados.
prepare los lados de cajón
Left side
Lado izqo.
Right side
Lado dcho.
Door
Puerta
Plinth
Plinto
Middle shelf
Estante intermedio
Top
Parte superior
2 Back panels
2 tableros para
el fondo
Back brace
Abrazadera
para el fondo
2 Flat head screw bolts
2 Pernos como tornillos
cabeza plana
6 Short screws (9.5mm)
6 Tornillos cortos (9.5mm)
4 Shelf supports
4 Soportes para estantes
6 Dowels
6 Clavijas
8 Screw bolts
8 Pernos como tornillos
Front
Frente
assemble the drawer
11 Attach the back (groove inwards) to the sides,
the dowels entering the holes in the sides. Fix
with a screw bolt into each side. Place the
drawer bottom in the groove in the drawer front
and slide the back and sides assembly over it
until the cam pins enter their correct holes.
Tighten the cams.
Monte el fondo, ranura hacia adentro, a los
lados, las clavijas se introducen en los
agujeros de los lados. Apriete con un perno
como tornillo en cada lado. Monte el fondo en
la ranura del frontal, y deslice la ensamblaje de
parte trasera y lados por sus bordes y hasta
que entrén las clavijas en sus agujeros
apropiados. Apriete las levas.
monte el cajón
attach the knob
12 Attach the knob, as shown, using the 30mm
bolt.
Monte el tirador, tal como se indica, utlizando
el perno de 30mm
monte el tirador
Hook the wheels on each side of the back of
the drawer over the wheels of the runners
attached to the carcase sides. Check that the
drawer closes and opens again smoothly.
Enganche las ruedas al fondo de cajón en las
ruedas de las correderas encontradas en los
lados internos de la cómoda. Asegúrese de
que se cierre y se abra suavemente.
insert the drawer
14
el estante mediano
Insert the 4 shelf supports, at the same level, in
the array of holes above the lower shelf. The
middle shelf has small cutouts on the
underside that coincide with them.
Introduzca los 4 soportes para el estante, al
mismo nivel, en los agujeros arriba del estante
inferior. El estante mediano tiene recortes en
su superficie inferior que coinciden con ellos.
the middle shelf
2
attach the plinth monte el plinto insert the back introduzca el fondo
4
assembly montaje
3assembly montaje
3
45
3
fit the lower shelf monte el estante inferior
5
fix the opposite side monte el otro lado
Arrow
Flecha
Push the end of the plinth down over the cam pin
and dowel at the bottom and front of one of the
prepared sides. There are holes in one face
which must be at the back. Insert a large cam
into the hole with the cam pin now visible inside
(the arrow must point towards the side panel) and
tighten with a screwdriver.
Baje el borde del plinto sobre la chaveta y la
clavija al borde inferior y al borde delantero de
uno de los lados preparados. Hay agujeros en
una superficie que deben mirar hacia atrás.
Introduzca una leva grande en el agujero con la
chaveta visible adentro. (La flecha debe apuntar
al lado). Apriete con un destornillador.
Cam pin
Chaveta
Groove
Ranura
With the groove to the back and facing upwards,
lower the edge of the lower shelf onto the cam
pins and dowels above the drawer runner. Insert
2 cams and tighten with a screwdriver.
La ranura hacia el fondo y arriba, baje el borde del
estante inferior sobre la clavijas y las chavetas por
encima de la corredera. Introduzca 2 levas y
apriete con un destornillador.
Insert the 2 back panels as shown, longest edge
into the side’s groove and white face towards the
front of the wardrobe. The lower panel must enter
the groove in the lower shelf. The back brace
slides in between the two panels. (Do not attempt
to screw this to the side at this stage)
Introduzca los dos tableros para el fondo, tal
como se indica, el borde más largo entra en la
ranura del lado y la superficie blanca hacia la
parte delantera del ropero. El tablero inferior entra
en la ranura del estante inferior. La abrazadera
deslice entre los dos tableros. (No se ensaye de
apretarla al lado ahora.
Gently lower the other side onto the
assembly, taking care that all the dowels and
cam pins enter their correct holes, and that
the back boards enter the rear groove
completely. Insert cams into the holes on the
underside of the lower shelf and into the back
of the plinth and tighten with a screwdriver.
Insert a flat headed screw bolt into the hole at
the back edge of the side and tighten into the
back brace with the Allen key.
Baje el otro lado cuidadosamente en la ensambladura,
teniendo cuidado de que todas las clavijas y las
chavetas entrén en los agujeros apropiados, y que los
tableros para el fondo entrén completamente en la
ranura al fondo. Introduzca levas en los agujeros en la
superficie inferior del estante inferior, y en la superficie
trasera del plinto y apriete con un destornillador.
Introduzca un perno como tornillo (cabeza plana) en el
agujero al borde trasero del lado y apriete hasta la
abrazadera con la llave Allen.
assembly montaje
3
63
6
attach the top monte la parte superior
assembly montaje
3
1
prepare the sides prepare los lados
6
attach the door hinges monte los gozne para la puerta
7
Drawer front
Frontal de cajón
Drawer side (R)
Lado de cajón (D)
Drawer side (L)
Lado de cajón (I)
Drawer back
Parte trasera de cajón
Drawer bottom
Fondo de cajón
parts checklist catálogo de piezas
2
4 Cam pins
4 Chavetas
4 Small cams
4 Levas pequeñas
2 Screw bolts
2 Pernos como tornillos
1) Use 2 short (9.5mm) screws on each side
panel to attach the rail supports to the pairs of
pilot holes near the top of the side panels (use
the 2 upper holes in the support).
2) Use 4 short (16mm) screws to attach each
hinge base plate to the sets of holes near the
front of the left side, (as shown).
3) Screw 2 cam pins into the 2 holes with nylon
inserts in the row of holes above the drawer
runners on each side. Insert 2 dowels into the
other holes.
4) Use 4 short screws (16mm) on each side to
attach the drawer runners as shown to the pilot
holes provided. Begin with the hole above the
wheel (the second hole on the runner),
attaching this to the pilot hole on the front frame
piece. The other screw positions will line up
after this.
5) Screw a cam pin into the nylon insert near
the front edge at the bottom of both sides.
Insert a dowel into the hole next to it.
1) Utilice 2 tornillos cortos (9.5mm) en cada lado
para montar los soportes para los rascones a los
pares de agujeros pequeños cerca de la parte
superior de los lados. (Utilice los agujeros
superiores en el soporte)
2) Utilice 4 tornillos cortos (16mm) para montar
cada base de gozne a los grupos de agujeros
cerca del frente del lado izquierdo, (tal como se
indica).
3) Apriete 2 chavetas en los agujeros con
inserciones de nylon en la fila de agujeros arriba de
la correderas en cada lado. Introduzca 2 clavijas
en los otros agujeros.
4) Utilice 4 tornillos cortos (16mm) en cada lado
para montar las correderas a los agujeros de guía
proveídos. Empiece con el agujero arriba de la
rueda, (el segundo agujero en la corredera),
montando esto al agujero en la tablilla de montura
delantera. Las otras posiciones llegan a ser facil
despúes.
5) Apriete 1 chaveta en la inserción de nylon cerca
del borde delantero al pie de cada lado.
Introduzca una clavija en el agujero cercano.
1) 4)
2)
2)
3)
5)
2)
1 Drawer runner (Left)
1 Corredera (Izq)
1 Drawer runner (Right)
1 Corredera (Der)
Stand the wardrobe up. Insert the
other flat headed screw bolt near the
rear of the side that had been on the
floor and tighten into the back brace.
Use 6 screw bolts to attach the top to
the sides, as shown. Do not tighten
fully until all the bolts are in place.
Alze el ropero, Introduzca el otro perno
como tornillo con cabeza plana en el
agujero cerca del borde trasero del
lado que era en el suelo, y apriete
hasta la abrazadera.
Utlice 6 pernos como tornillos para
juntar la parte superior a los lados, tal
como se indica. No apriete totalmente
hasta que todos los pernos estén en
sitio.
B
Attach the 3 hinges to the doors, as
shown, using the small 16mm screws.
Tighten.
Fije los 3 goznes a la puerta, tal como
se indíca, utillizando los tornillos de
16mm. Apriete.
6
attach the door monte la puerta
8
A
C
The slot “A” goes under the bolt “B”.
The bolt “B” is then tightened.
Adjustment may be made by
slackening “B” and either tightening or
loosening “C” as appropriate. Re-
tighten “B”.
Attach a knob to the door, using the
supplied (30mm) bolt
La ranura “A” pasa debajo del perno
“B”. Pues, se apriete el perno. Se
puede modificar el gozne por el aflojar
de “B” y el apretar o aflojar de “C” como
necesario. Apriete “B” de nuevo.
Monte 1 tirador en la puerta, utilizando
1 perno de 30mm, provéido.
prepare the drawer front
9Screw the 4 cam pins into the nylon
inserts in the back of the drawer front.
Apriete las 4 chavetas en las inserciones
De nylon en la superficie trasera del
frontal.
prepare el frontal de cajón
newbury
wardrobe
ropero
newbury
guía para el usuariouser guide
Importante. Retenga para
referencia futura
Important. Keep for
future reference
If you have a problem with this product or require replacement parts, please
contact your nearest Mothercare store or telephone the Mothercare customer care
line on 08453 30 40 30.
Alternatively write to: Customer Care, Mothercare, Cherry Tree Road, Watford, Herts. WD24 6SH
www.mothercare.com
Si surgiera algún problema con este producto o si necesita piezas de recambio, sirvase ponerse en
contacto con el almacén Mothercare más próximo o llamar a la línea de Atención al Cliente de
Mothercare número (+44) 1923 210 210
También puede escribir a: Customer Care, Mothercare, Cherry Tree Rd, Watford, Herts.
WD24 6SH, Inglaterra
www.mothercare.com
care and safety cuidado y seguridad
4
customer care atención al cliente
5
Periodically check all fittings to ensure that none have come loose.
The wardrobe must be set up on an even and stable surface.
Clean your wardrobe by wiping with a damp cloth & drying with a soft cloth.
Never clean with abrasives, chemical cleaners or household polishes.
Keep away from direct sources of heat, such as electric, gas or coal fires.
Take care when handling or moving the wardrobe. Careless handling can damage wooden furniture.
Compruebe periódicamente todos los accesorios para asegurarse que no se hayan aflojado.
Puede limpiar su ropero con un paño húmedo y secarla con un paño suave seco.
Nunca la limpie con limpiadores abrasivos ni a base de amoníaco, lejia o alcohol.
Tenga cuidado al manejar o mover el ropero. Un manejo sin cuidado puede dañar los muebles de
madera.
Las fuentes de calor fuerte, p.ej chimeneas, estufas a gas o eléctricas en las proximidades del ropero
pueden ser peligrosas si se colocan cerca del ropero.
This work is only to be carried out by a competent person.
Because of the diverse nature of walls, wall plugs and screws
have not been supplied with this anti-topple device. If you are
at all unsure of the type or suitability of the wall, or of the
appropriate fixings for it, seek professional advice
Attach the wall strap to the rear edge of the top using the strap
screw, inserted through one of the washers. Place the furniture
in its final position, adjacent to the wall, and fix to the wall,
using fixing and screw appropriate for that wall.
Sólo se cumple este trabajo por alguién capaz. Los muros
son variados, y por eso no se han proveido tornillos y tapones.
Si Vd. tiene dudas sobre el tipo o la conveniencia del muro, o
de los acesorios apropiados para ello, busque consejo.
Utilizando el tornillo, introducido por una de las arandelas, fije la
correa a la superficie trasera de la parte superior del mueble.
Coloque el mueble en su posición final, cerca del muro, y fíjela
al muro utilizando lo acesorios apropiados para el muro.
15
attach to the wall asegure al muro
to wall
al muro
BACK
FONDO
assembly montaje
3

Other mothercare Indoor Furnishing manuals

mothercare solna User manual

mothercare

mothercare solna User manual

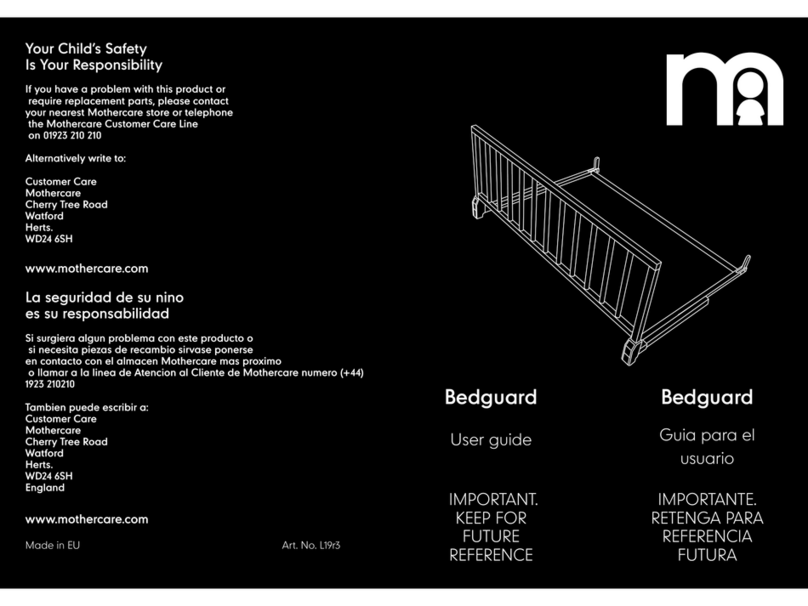
mothercare Bedguard User manual

mothercare

mothercare Bedguard User manual

mothercare hereford User manual

mothercare

mothercare hereford User manual

mothercare KA475 User manual

mothercare

mothercare KA475 User manual

mothercare bloomsbury User manual

mothercare

mothercare bloomsbury User manual

mothercare FOLDING HIGHCHAIR User manual

mothercare

mothercare FOLDING HIGHCHAIR User manual

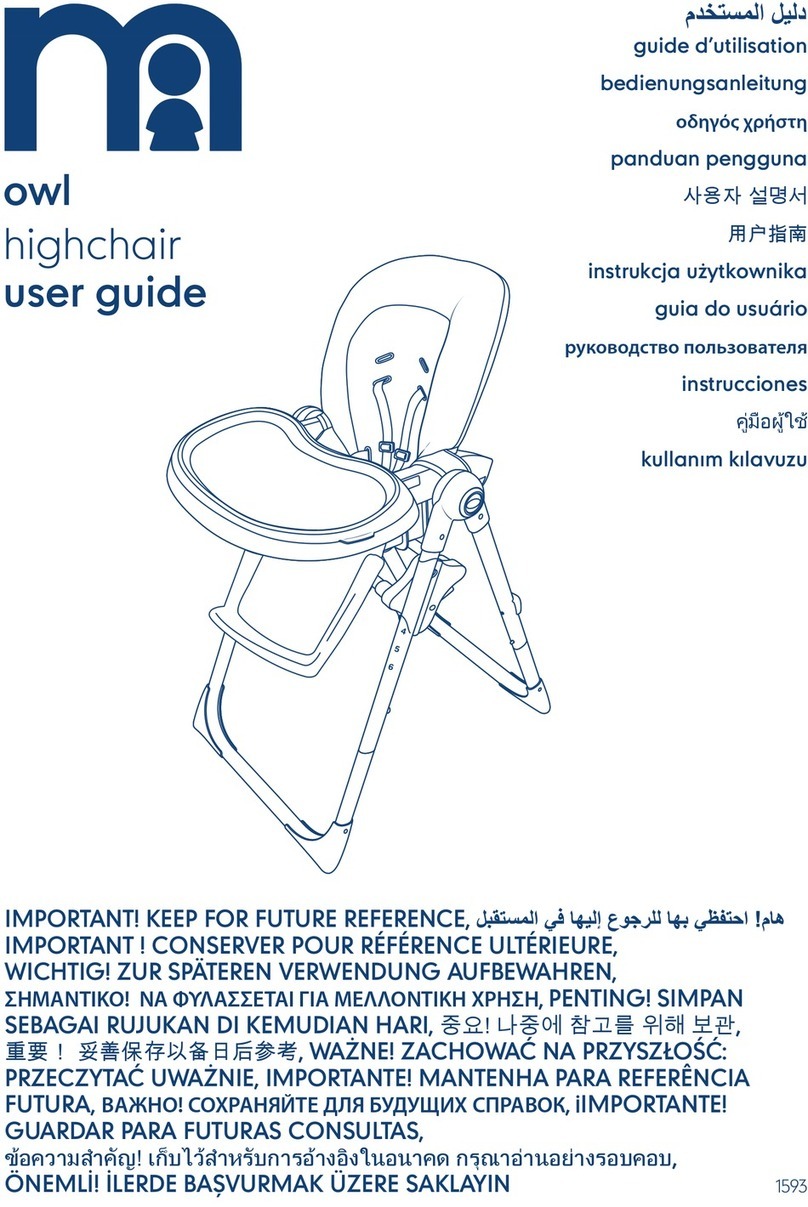
mothercare Owls Highchair User manual

mothercare

mothercare Owls Highchair User manual

mothercare Hampshire User manual

mothercare

mothercare Hampshire User manual

mothercare Carnaby Tallboy User manual

mothercare

mothercare Carnaby Tallboy User manual

mothercare lulworth User manual

mothercare

mothercare lulworth User manual

mothercare little bird User manual

mothercare

mothercare little bird User manual

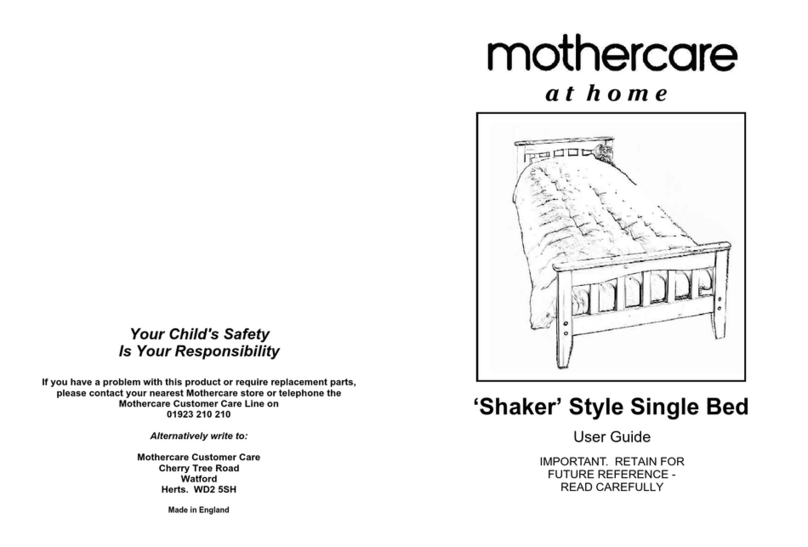
mothercare Shaker User manual

mothercare

mothercare Shaker User manual

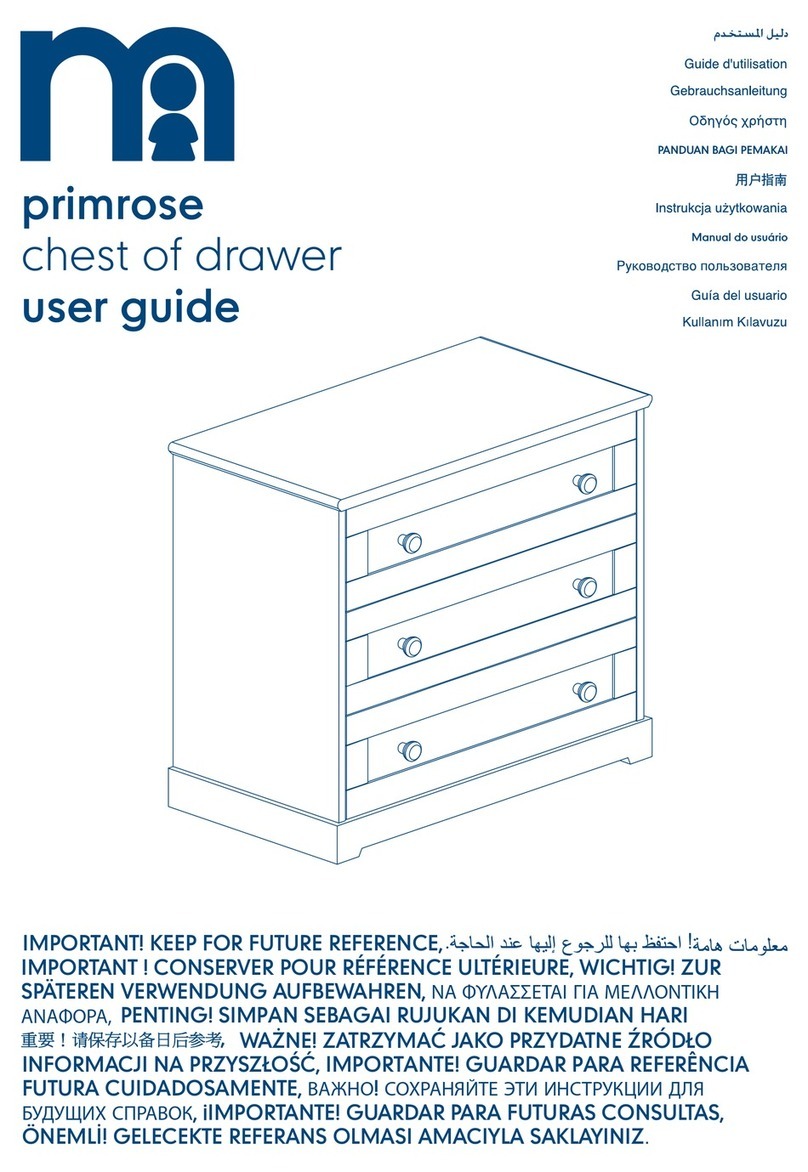
mothercare primrose User manual

mothercare

mothercare primrose User manual

mothercare Little Hampton User manual

mothercare

mothercare Little Hampton User manual

mothercare lulworth tallboy User manual

mothercare

mothercare lulworth tallboy User manual

mothercare antique User manual

mothercare

mothercare antique User manual

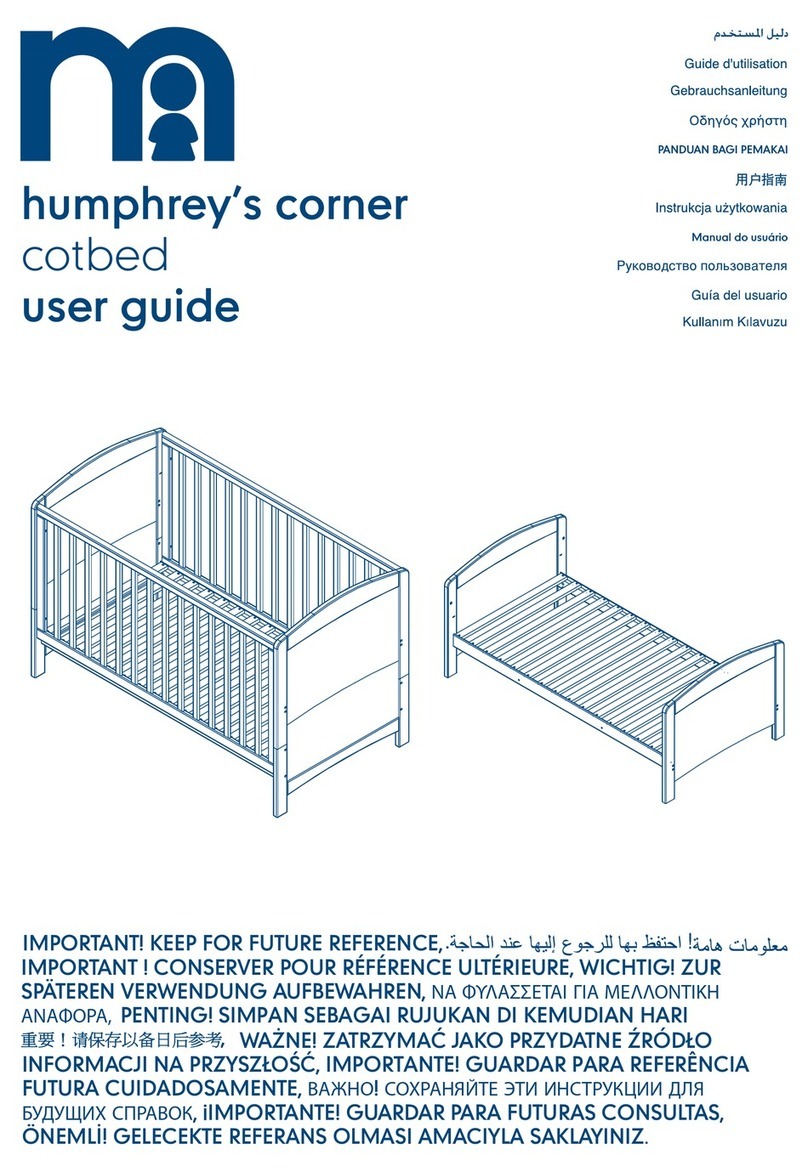
mothercare humphrey's corner User manual

mothercare

mothercare humphrey's corner User manual

mothercare apsley User manual

mothercare

mothercare apsley User manual

mothercare padstow changer Instruction Manual

mothercare

mothercare padstow changer Instruction Manual

Popular Indoor Furnishing manuals by other brands

bonaselect JOHN 10 Assembly instructions

bonaselect

bonaselect JOHN 10 Assembly instructions

Target SVEIN SIDE TABLE WITH SHELF manual

Target

Target SVEIN SIDE TABLE WITH SHELF manual

Unfinished Furniture of Wilmington S-9202 Assembly instructions

Unfinished Furniture of Wilmington

Unfinished Furniture of Wilmington S-9202 Assembly instructions

Carmelli Park Avenue NG2530PR Assembly instructions

Carmelli

Carmelli Park Avenue NG2530PR Assembly instructions

Sauder Pinwheel 421885 Instruction booklet

Sauder

Sauder Pinwheel 421885 Instruction booklet

Graco Brooklyn 03546-31 CT Series instructions

Graco

Graco Brooklyn 03546-31 CT Series instructions

Steelcase Ology Assembly Directions

Steelcase

Steelcase Ology Assembly Directions

Lightolier Uniframe Lytecaster 2001F specification

Lightolier

Lightolier Uniframe Lytecaster 2001F specification

Sony SU-32XBR45 Assembly instructions

Sony

Sony SU-32XBR45 Assembly instructions

Furniture of America Therese CM-BK628 Assembly instructions

Furniture of America

Furniture of America Therese CM-BK628 Assembly instructions

Today's Tot mission toy box Assembly instructions

Today's Tot

Today's Tot mission toy box Assembly instructions

YitaHome HEFTDR-8003 Assembly instructions

YitaHome

YitaHome HEFTDR-8003 Assembly instructions

Ergotron LearnFit user guide

Ergotron

Ergotron LearnFit user guide

comfortel Twilight Footrest 10286 owner's manual

comfortel

comfortel Twilight Footrest 10286 owner's manual

Kvik CU948 manual

Kvik

Kvik CU948 manual

Seconique Furniture Corona Dressing Table Assembly instructions

Seconique Furniture

Seconique Furniture Corona Dressing Table Assembly instructions

Broan 942224 Specification sheet

Broan

Broan 942224 Specification sheet

Allermuir ARC Assembly instructions

Allermuir

Allermuir ARC Assembly instructions

manuals.online logo
manuals.online logoBrands
  • About & Mission
  • Contact us
  • Privacy Policy
  • Terms and Conditions

Copyright 2025 Manuals.Online. All Rights Reserved.