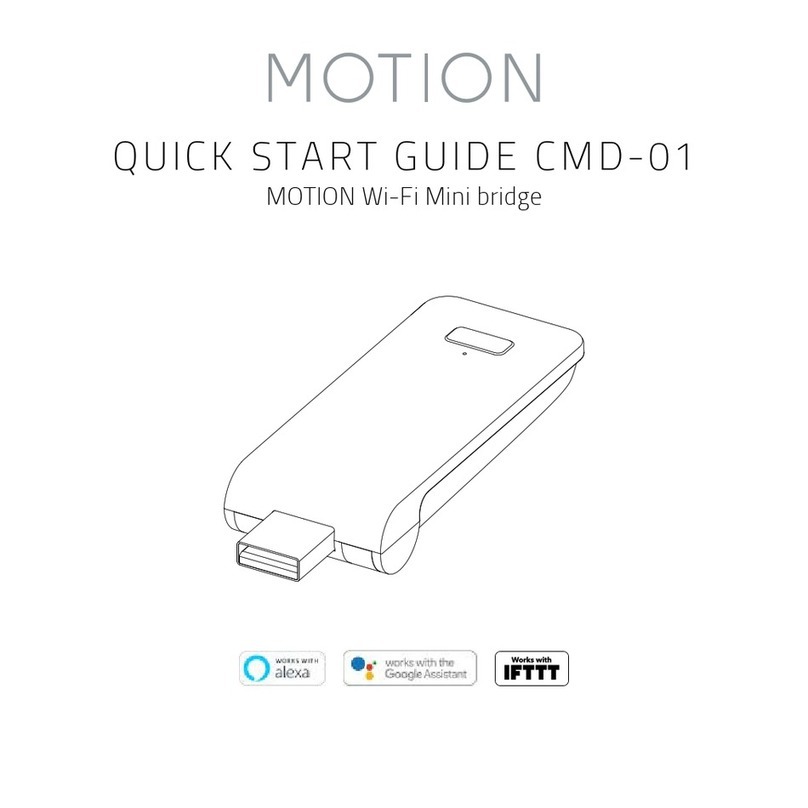
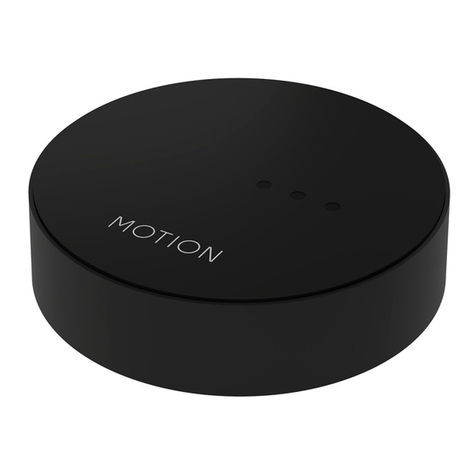
Motion CM-20 User manual

MANUAL CM-20
MOTION Wi-Fi bridge
English

54mm
(2.1 in)
25mm
(1 in)
100mm
(4 in)
54mm
(2.1 in)
25mm
(1 in)
100mm
(4 in)
54mm
(2.1 in)
25mm
(1 in)
100mm
(4 in)
The MOTION Wi-Fi bridge is the heart of your automated blinds network at home.
The bridge unlocks endless possibilities to operate blinds with the MOTION app.
Cloud connections with leading smart home applications enable voice control and a
variety of smart automation options.
This box includes the following items:
CM-20 MOTION Wi-Fi Bridge Micro-USB cable 75cm
Micro-USB 5VDC
Reset button
Power indicator
Internet connectivity
Data transfer
Set button
For the latest information and updated manuals, visit rtube.nl/cm-20
Max.
blinds
Scenes Timers Frequency Range
radio
Power
supply
Length Height Certificates
30 20 20 433 MHz
2.4 GHz 30 m Micro USB
DC 5V 1A 100 mm ø 25 mm

FCC Manual I FCC ID: ZY4CM20
Regulatory Information
1 FCC Information for User
This product does not contain any user-serviceable
components and is to be used with approved an-
tennas only. Any product changes or modifications
will invalidate all applicable regulatory certifications
and approvals.
2 FCC Electronic Emission Notices
This device complies with part 15 of the FCC Rules.
Operation is subject to the following two conditions:
1. This device may not cause harmful interference
2. This device must accept any interference
received, including interference that may cause
undesired operation.
3 FCC Radio Frequency Interference
Statement
This equipment has been tested and found to
comply with the limits for a class B digital device,
pursuant to Part 15 of the FCC Rules. These limits
are designed to provide reasonable protection
against harmful interference when the equipment
is operated in a commercial environment. This
equipment generates, uses and can radiate ra-
dio-frequency energy and, if not installed and used
in accordance with the instructions, may cause
harmful interference to radio communications.
Operation of this equipment in a residential area
may cause harmful interference, in which case the
user will be required to correct the interference at
their own expense.
If this equipment does cause harmful interference
to radio or television reception, which can be de-
termined by turning the equipment off and on, the
user is encouraged to try to correct the interference
by one or more of the following measures:
Reorient or relocate the receiving antenna.
Increase the distance separating the equipment
and receiver.
Connect the equipment to an outlet on a circuit
different from that to which the receiver is
connected.
Consult the dealer or an experienced radio/TV
technician for help.
MPE Reminding
To satisfy FCC RF exposure requirements, a
separation distance of 20 cm or more should be
maintained between the antenna of this device and
persons during device operation.
To ensure compliance, operations at closer than this
distance is not recommended.
Safety
WARNING: Important safety instructions. Follow all
instructions, since incorrect installation can lead to
severe injury.
Do not let children play with the blind and/or
remote control.
Take care that the blind can move freely and is
not blocked by any objects.
Do not paint the device.
Keep the device dry.
Do not drop, knock, or shake the device. Rough
handling can break internal circuit boards.
Cleaning
Follow these general rules when cleaning the
outside of the device and its components:
Use a damp, soft, lint-free cloth. Avoid getting
moisture in openings.
Do not use aerosol sprays, solvents, alcohol, or
abrasives.
Service & Support
Do not perform repairs yourself. Do not attempt to
open the device or disassemble it. You run the risk
of electric shock and voiding the limited warranty.
No user-serviceable parts are inside.
Warranty Service
First follow the advice in this manual. If the product
appears to be damaged or does not function
properly, go to your local dealer for instructions on
how to obtain warranty service.
Recycle
This marking indicates that this product should
not be disposed with other household wastes
throughout the EU. To prevent possible harm to the
environment or human health from uncontrolled
waste disposal, recycle it responsibly to promote
the sustainable reuse of material resources. To
return your used device, please use the return and
collec-tion systems or contact the retailer where
the product was purchased. They can take this
product for environmental safe recycling.
EU Declaration
Hereby, Coulisse declares that the radio equipment
type CM-20 is in compliance whith directive
2014/53/EU The full text of the EU declaration of
conformity is available at the following internet
address: www.coulisse.com

1 2Download the app and create an account
The MOTION Wi-Fi bridge needs to be set up with the MOTION
Blinds app before installation on the wall or ceiling. Download
the MOTION Blinds app from the App Store or Google Play with
your smartphone or tablet. Open the MOTION app and create
an account.
2. POWER THE BRIDGE
Power the bridge
There is no charger included with this product. Any universal
DC 5V 1A micro-USB charger can be used to power the
MOTION bridge.
App Store
Download the
MOTION Blinds app
rtube.nl/red981
Google Play
Download the
MOTION Blinds app
rtube.nl/red982
MOTION LED indicators
LED Color Status
Right Solid Red Bridge is powered on
Center Blinking purple Bridge connecting mode
Center Blinking red Not connected to Wi-Fi
Center Solid Yellow Connected to Wi-Fi, not
connected to MOTION cloud
Center Solid Blue Connected to Wi-Fi
Connected to MOTION cloud
Left Blinking purple Pairing blind with bridge
Left
Center
Blinking green
Solid blue Bridge firmware update
LED indicators
1. DOWNLOAD THE APP AND CREATE AN ACCOUNT

3
3G/4G
3.1 3.2 3.3
3. CONNECT THE BRIDGE TO A WI-FI NETWORK 3. CONNECT THE BRIDGE TO A WI-FI NETWORK
Connect the bridge to a Wi-Fi network
An active internet connection is required to add the MOTION bridge to your home Wi-Fi network.
Choose a location for the MOTION bridge in your home. Connect your smartphone or tablet to your
home Wi-Fi network to check the strength of the Wi-Fi signal at this location.
To avoid interference please make sure the MOTION bridge is located at least one meter away from
any other Wi-Fi devices, including your router.
Video
MOTION app:
how it works
rtube.nl/red1074
Press ‘Add Bridge’ and
follow the installation
wizard to setup your
bridge.
Choose ‘Edit’ at the
top right of your
screen and open
‘Settings’.
Click on your location
(MyHouse) to add the
MOTION bridge to this
location.
The MOTION Blinds
app allows to create
5 different locations.
Up to 3 bridges can be
added per location.

3.73.4 3.5 3.6 3.8 3.9
3. CONNECT THE BRIDGE TO A WI-FI NETWORK 3. CONNECT THE BRIDGE TO A WI-FI NETWORK
Press and hold the
‘Set’ button on the
MOTION bridge
until the LED
on top of the
bridge starts to flash
purple. Go to the app
and press ‘Connect’.
Now a MOTION Wi-Fi
network is created by
the bridge.
Make sure the
MOTION bridge is
powered ON. Open
the Wi-Fi settings of
your mobile device and
connect to the Wi-Fi
network you want to
connect the MOTION
bridge with.
Return to the MOTION
Blinds app and enter
the password of the
Wi-Fi network.
The bridge
automatically
connects to your Wi-Fi
network. The middle
LED on the bridge first
turns yellow and then
blue. Now the bridge
is connected to your
Wi-Fi network and the
MOTION cloud.
Keep the MOTION
Blinds app running
on the background,
while opening the
Wi-Fi settings of your
mobile device.
Choose the MOTION_
XXXX network to
connect with the
bridge. Return to the
MOTION Blinds app to
finish the installation
wizard.

4
4.1 4.2 4.3
4.4
4. ADD A BLIND 4. ADD A BLIND
Add a blind Before adding a blind to the MOTION bridge, the end positions of the blind must be programmed with a
remote control.
Choose the blind type
and follow the setup
wizard.
Go back to the start
screen in the app and
open your location.
Navigate to ‘Blind’ and
press the ‘+’ button
to add a new blind.
(Make sure your blind
has a top and bottom
position programmed.
If your blind does not
have end positions
please program first.)
Pair button
Program button on
motor
Shortly press the program button on the blind. (Please see the manual of your motor to see
where the program button is located.) The blind will start stepping, indicating that program
mode is activated. Press the ‘pair’ button to connect the blind with your bridge.

5 6
5. ROLLER BLIND CONTROL 6. DOUBLE ROLLER CONTROL
Roller/ Honeycomb/ Roman blind control Double roller control
Power indicator
Blind position
Press to move the blind
Close blind
Tap to move the blind to 0%
Edit blind
Hold and slide to set the
favorite position. Tap to
move the blind to the
favorite position
Blind position
Press to move the blind
Open blind
Tap to move the blind to 100%
Blind position
Slide to move the blind to
any position
Stop blind
Tap to stop the blind
Power indicator
Edit blind
Light control
Slide to control the stripes
with high precision
Hold and slide to set the
favorite position. Tap to
move the blind to the favorite
position
Blind position
Slide to move the blind to any
position
Close blind
Tap to move the blind to 0%
Open blind
Tap to move the blind to 100%
Stop blind
Tap to stop the blind
Blind position
Press to move the blind
Blind position
Press to move the blind

7 8
7. TOP-DOWN/BOTTOM-UP CONTROL 8. VENETIAN CONTROL
Top-down/Bottom-up control Venetian control
Power indicator Power indicator
Blind position
Press to move the blind
Blind position
Press to move the blind
Tilt control
Press to tilt
Close blind
Tap to move the blind to 0%
Close blind
Tap to move the blind to 0%
Hold and slide to set the
favorite position. Tap to
move the blind to the
favorite position
Hold and slide to set the
favorite position. Tap to
move the blind to the
favorite position
Edit blind Edit blind
Mid rail position
Slide to move the mid rail
to any position
Blind position
Press to move the blind
Blind position
Press to move the blind
Tilt control
Press to tilt
Open blind
Tap to move the blind to 100%
Open blind
Tap to move the blind to 100%
Dual control
Slide to move both rails
at the same time
Hold and slide to set the
favorite position. Tap to
move the blind to the
favorite position Tilt control
Slide to tilt the blind
Bottom rail position
Slide to move the bottom
bar to any position
Blind position
Slide to move the blind
to any position
Stop blind
Tap to stop the blind
Stop blind
Tap to stop the blind

9 10
9.1 9.2
9. CREATE A ROOM 10. CREATE A SCENE
Create a room Create a scene
Add blinds to a room to control individual blinds or all
blinds in a room at the same time. Shortly click on a
room to see/control all the blinds in this room
Scenes can be created to move your blinds to preset
positions.
Position slider
Press the ‘+’ button
to add a new room.
Target Position
Add room
Click and hold on a
room and control
all the blinds to a
certain postion.
Edit scenes
Swipe right to edit
Add new scene
Play scene
Swipe left to delete

11 12
11. CREATE A TIMER 12. CONNECT TO THIRD PARTY
Create a timer Connect to third party
Timers can be created to automate blinds and scenes
to make the home seem inhabited.
Third party
Discover third party
connections for MOTION
blinds rtube.nl/red1062
Edit timers
Swipe right to edit
Add new timer
Turn on/off timer
Swipe left to delete
The MOTION bridge allows to seamlessly connect motorised blinds to smart home
applications. Scan the QR code below to discover the third party connections.

13
Problem Cause Solution
Blind is not responding
Motor battery is empty Charge the motor. See the manual of your
motor
Radio interference / shielding Make sure that the bridge/antenna of the
motor is out of the way from metal objects
The distance from the bridge to
the motor is too far Move the bridge closer to the blind
The bridge is turned off Power the bridge
Can not pair your bridge
Wrong password
Start the setup wizard again and use the
right password. The password is case
sensitive
Router does not give an IP
address to the bridge
Press and hold the reset button for 10
seconds. The center LED indicator will be
RED. Retry to add the bridge
Frequently Asked Questions
13. FREQUENTLY ASKED QUESTIONS
All rights reserved. No part of this publication may be reproduced, stored in a retrieval
system, or transmitted, in any form, by any means, electronic, mechanical, photocopying,
recording, digital or otherwise without the written permission of the publisher.
Although this manual has been composed with the utmost care, Coulisse b.v. does not
accept any responsibility for damage due to mistakes and/or faults in this manual.
Coulisse b.v. reserves the right to revise the manual and to revise and/or change its
content at any time, without obligation to notify any person or entity of such revisions
or changes.

CM20U-R2
motion-blinds.com
Other manuals for CM-20
1
Table of contents
Other Motion Wireless Access Point manuals